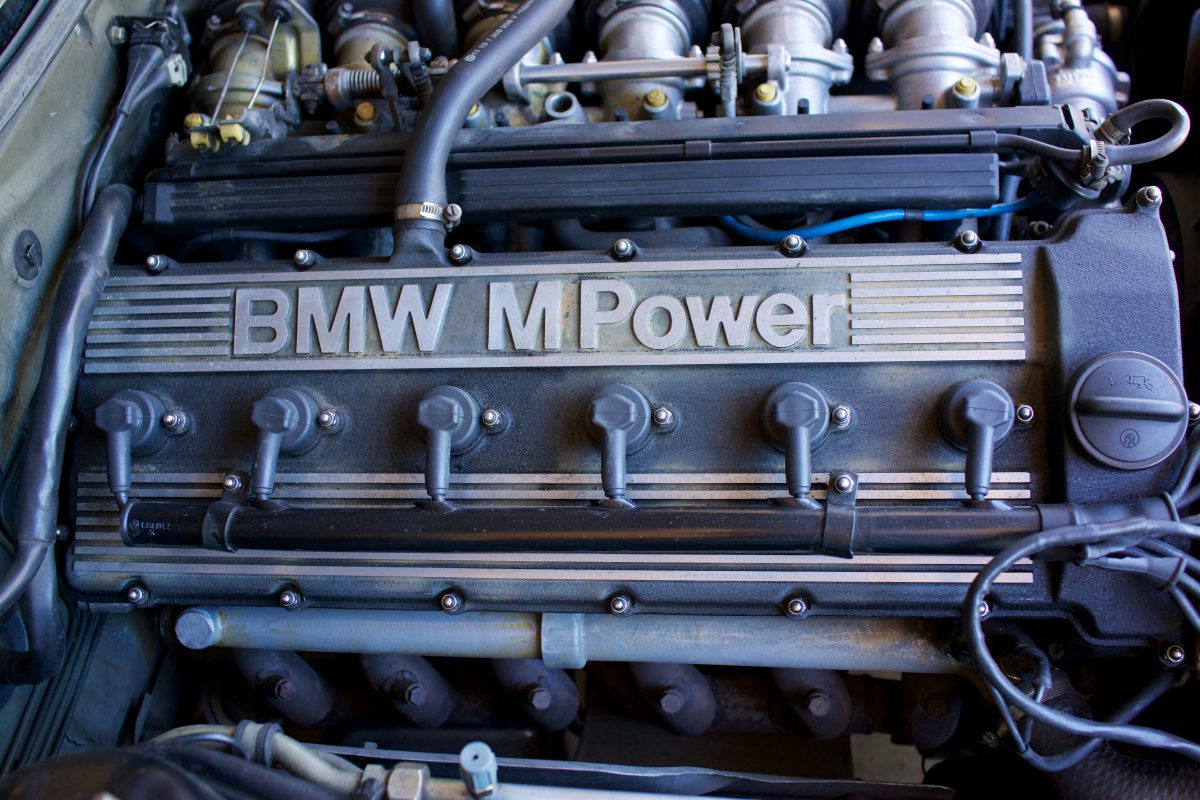
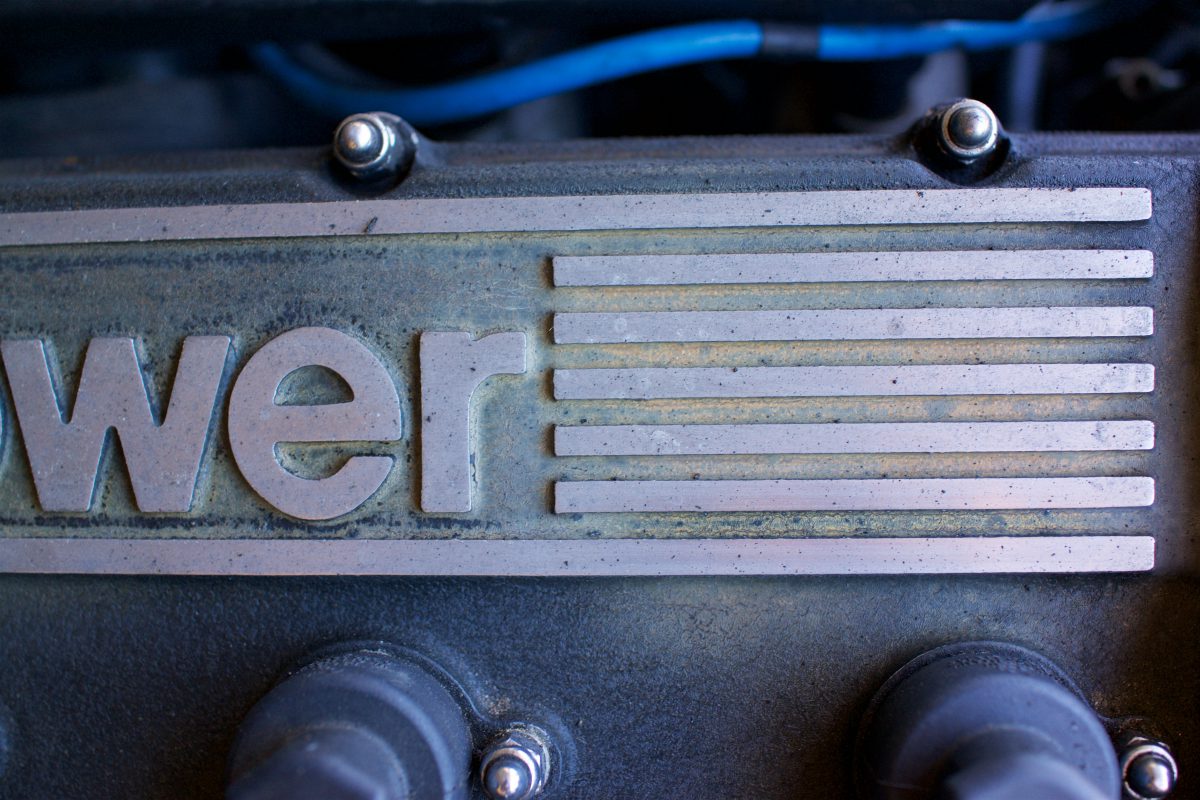
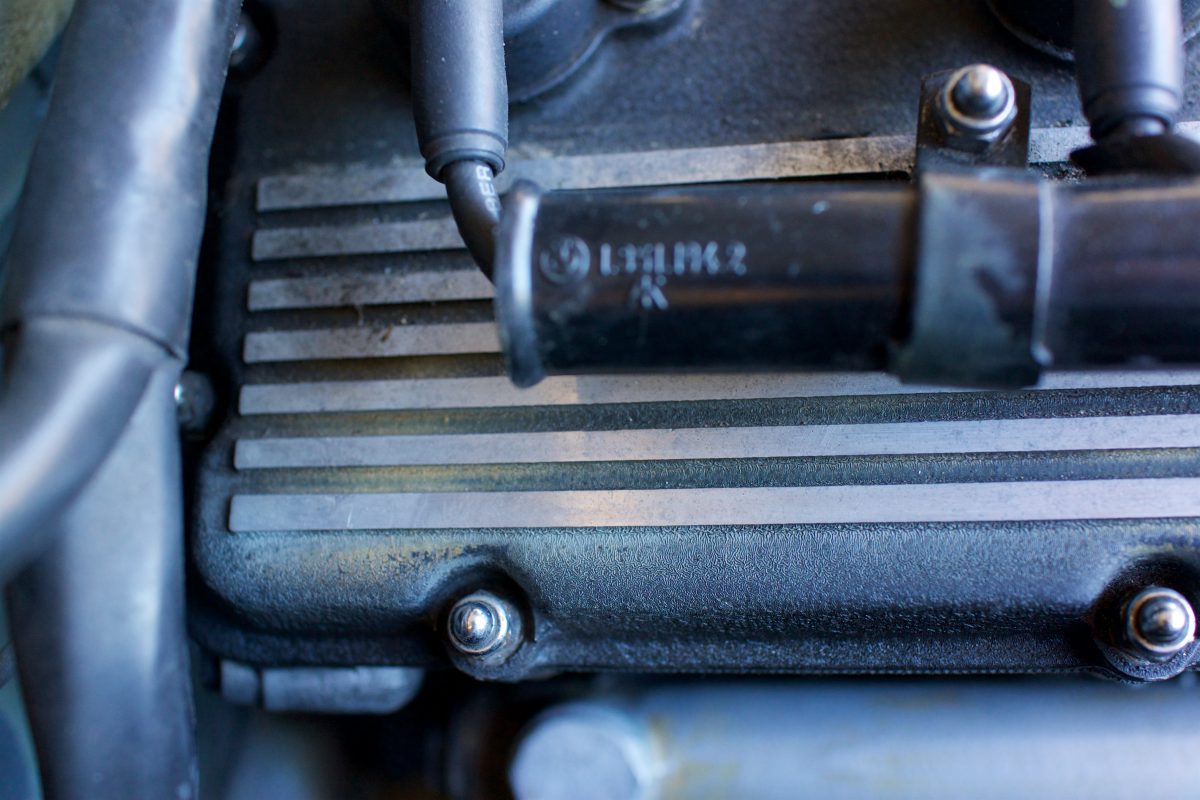
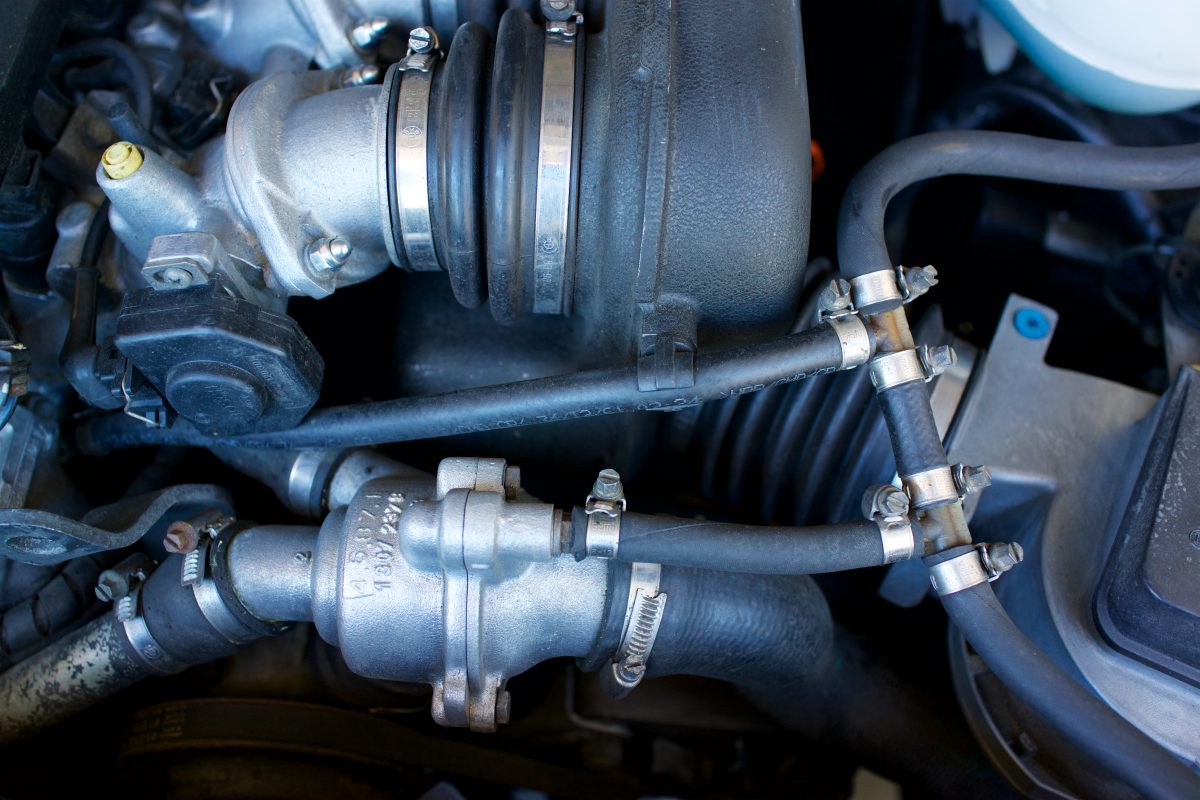
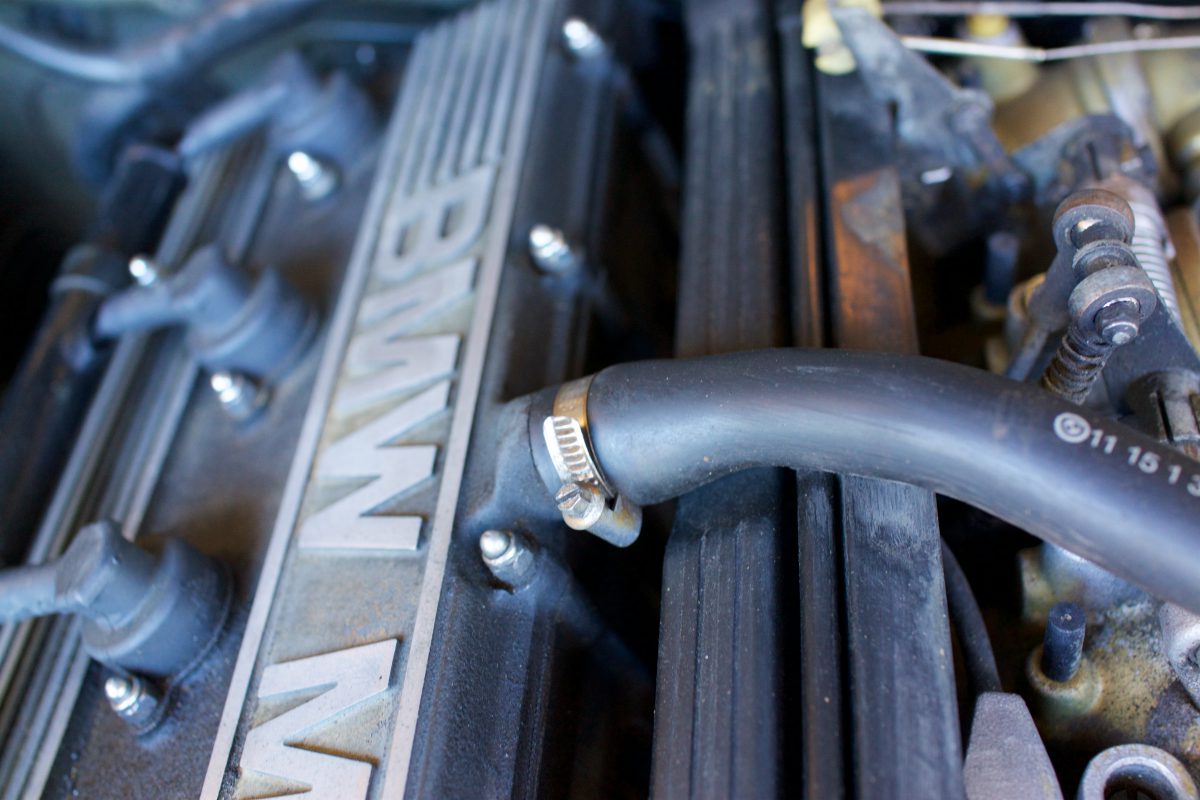
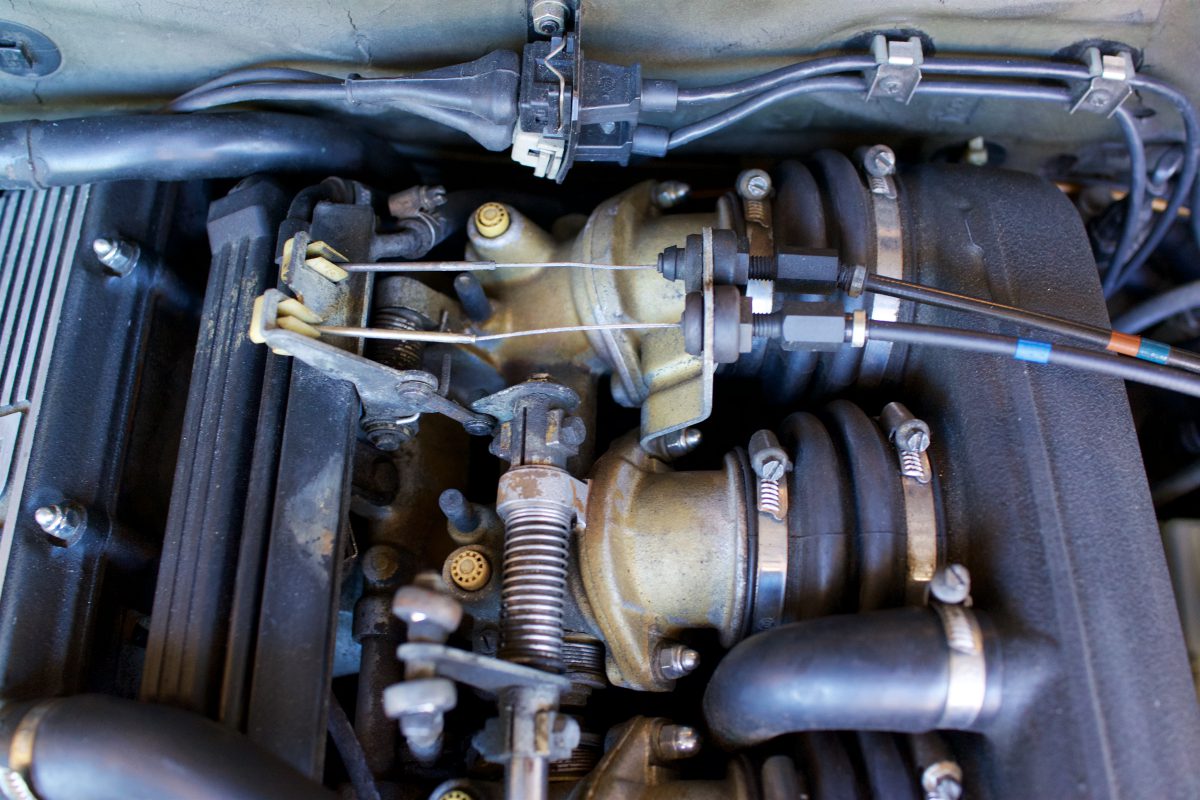
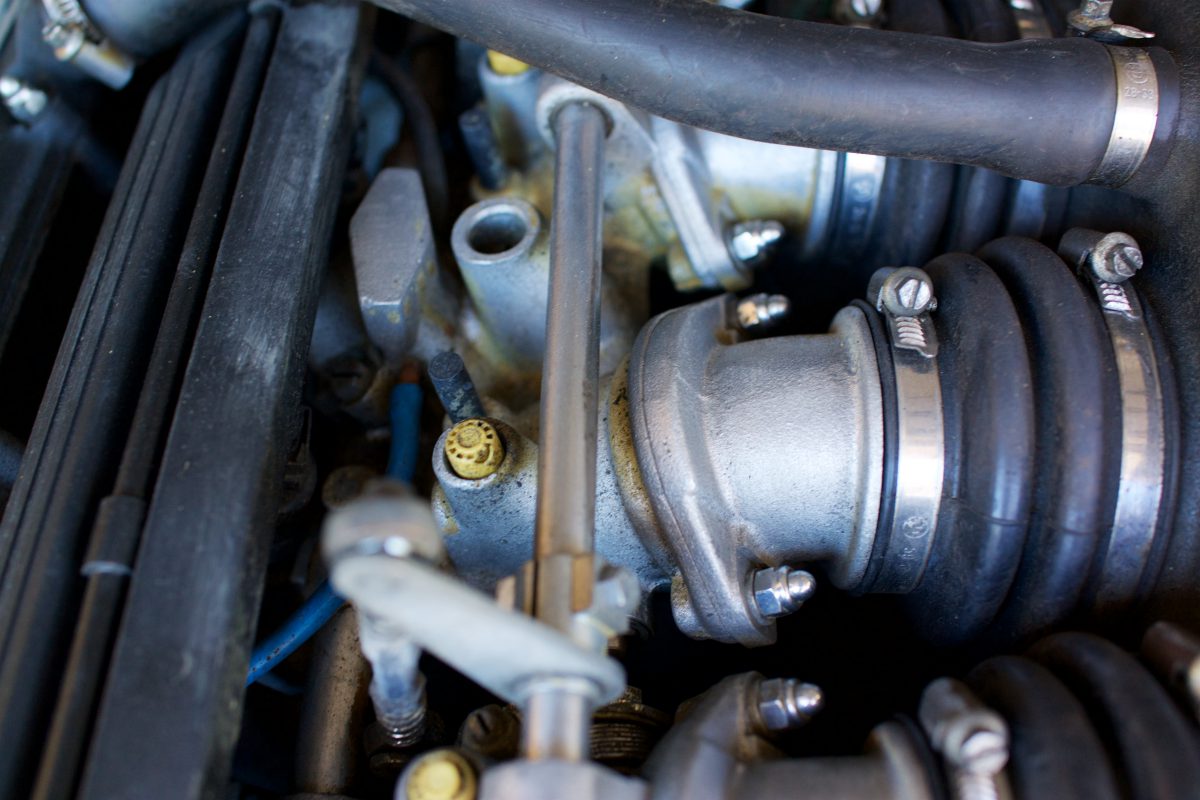
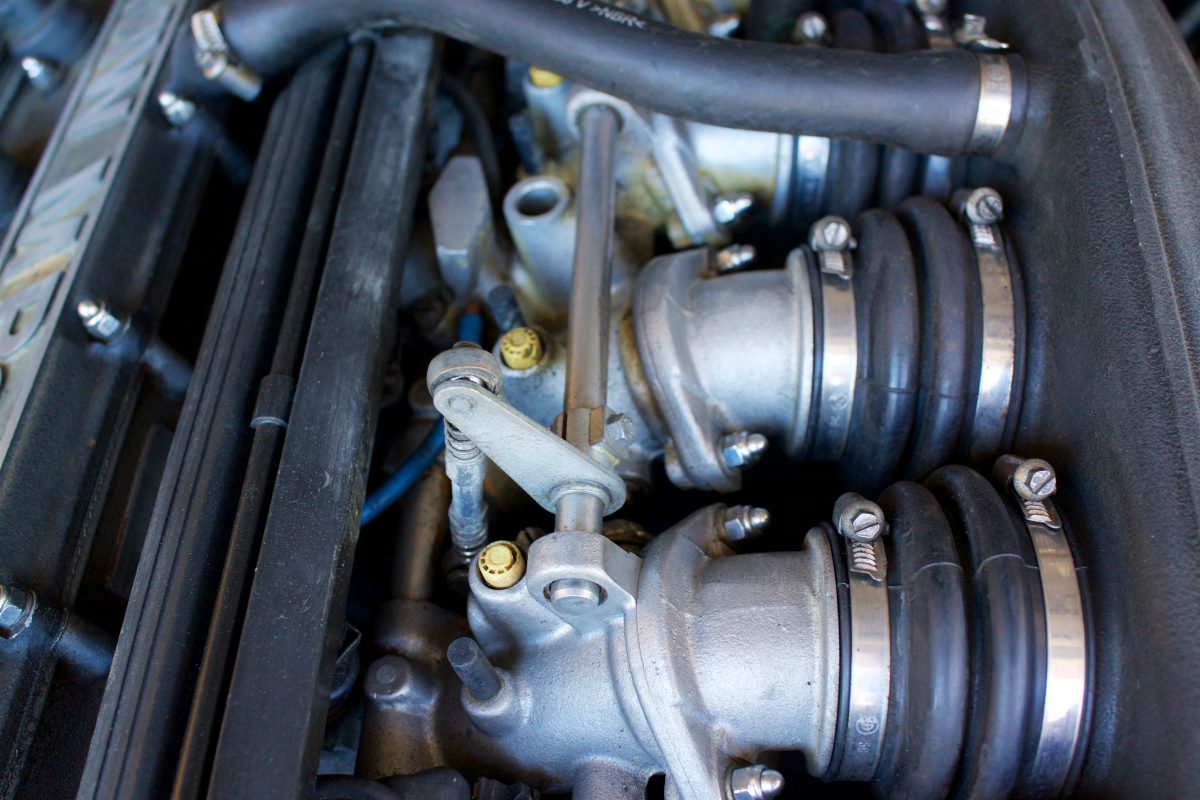
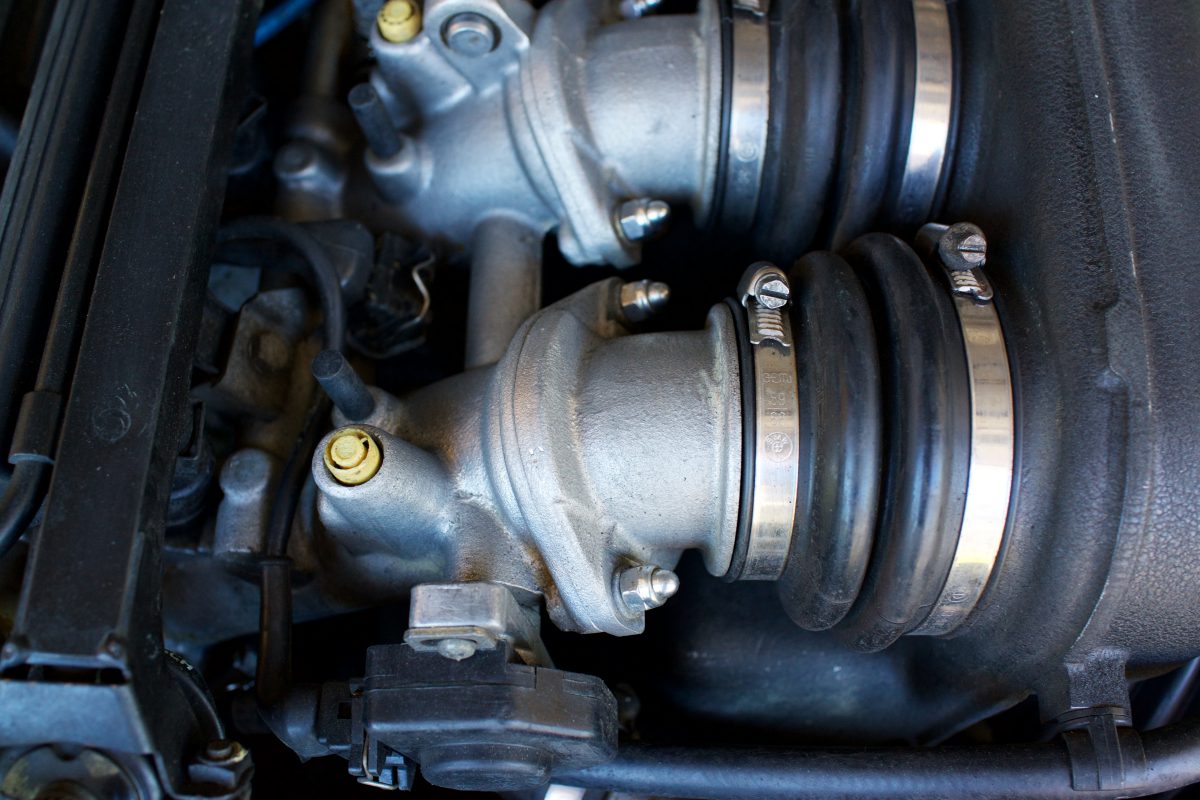
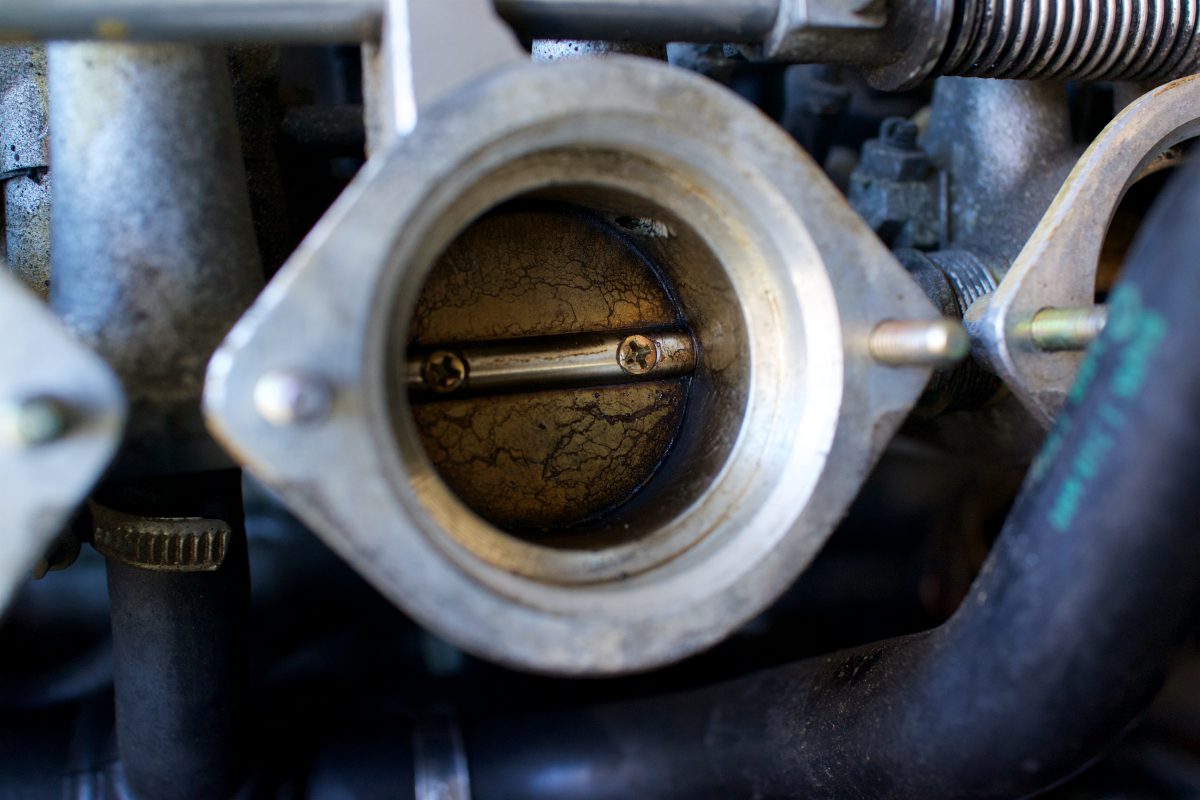
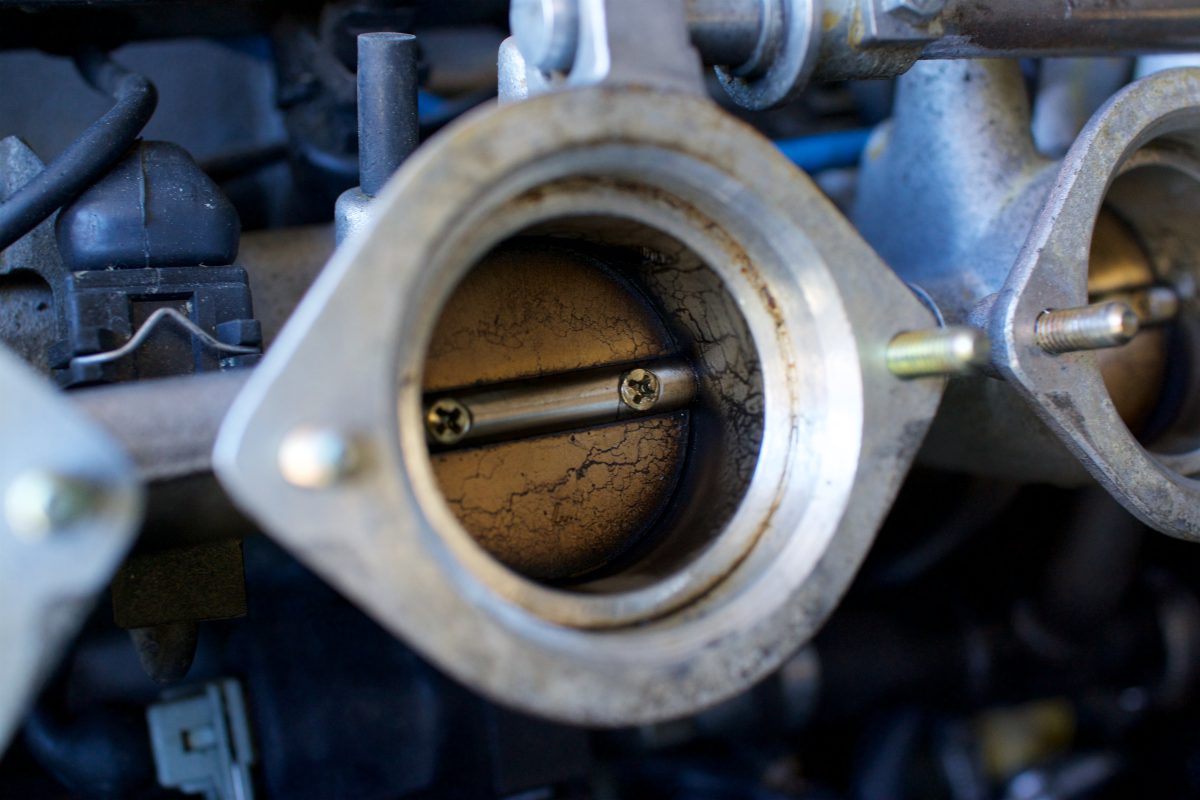
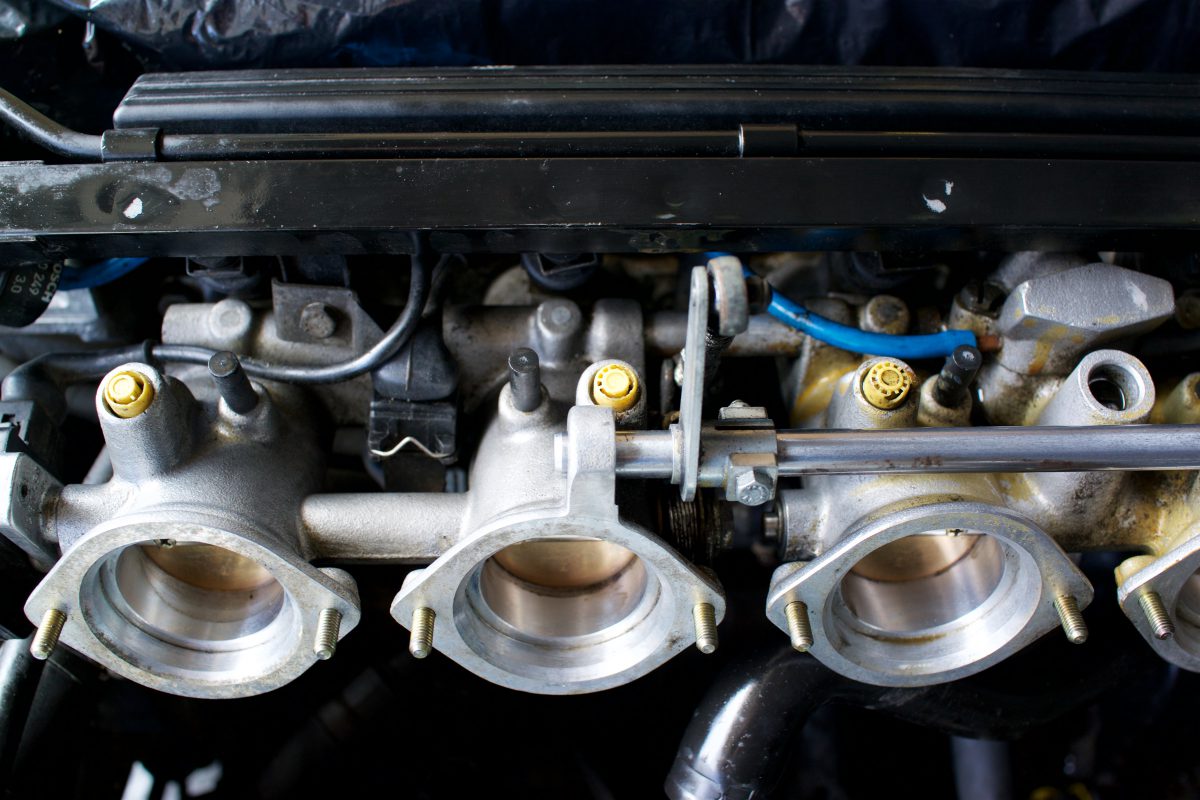
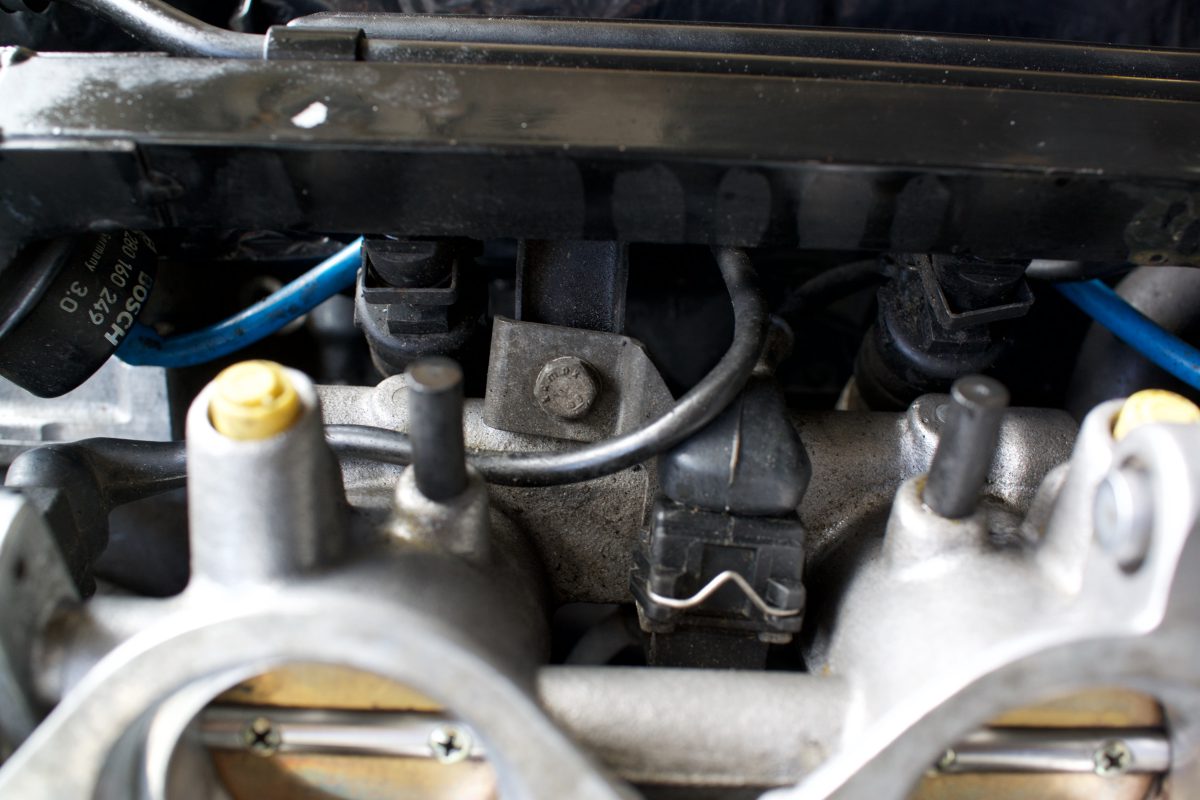
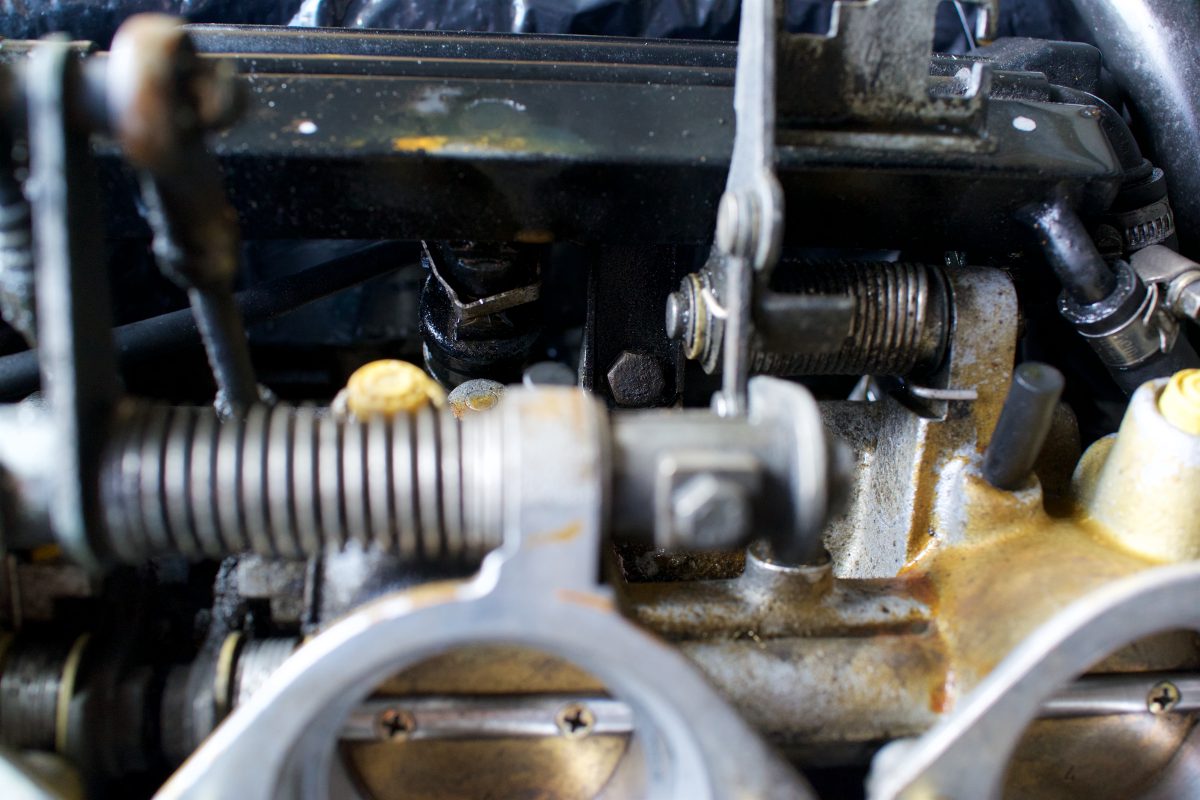
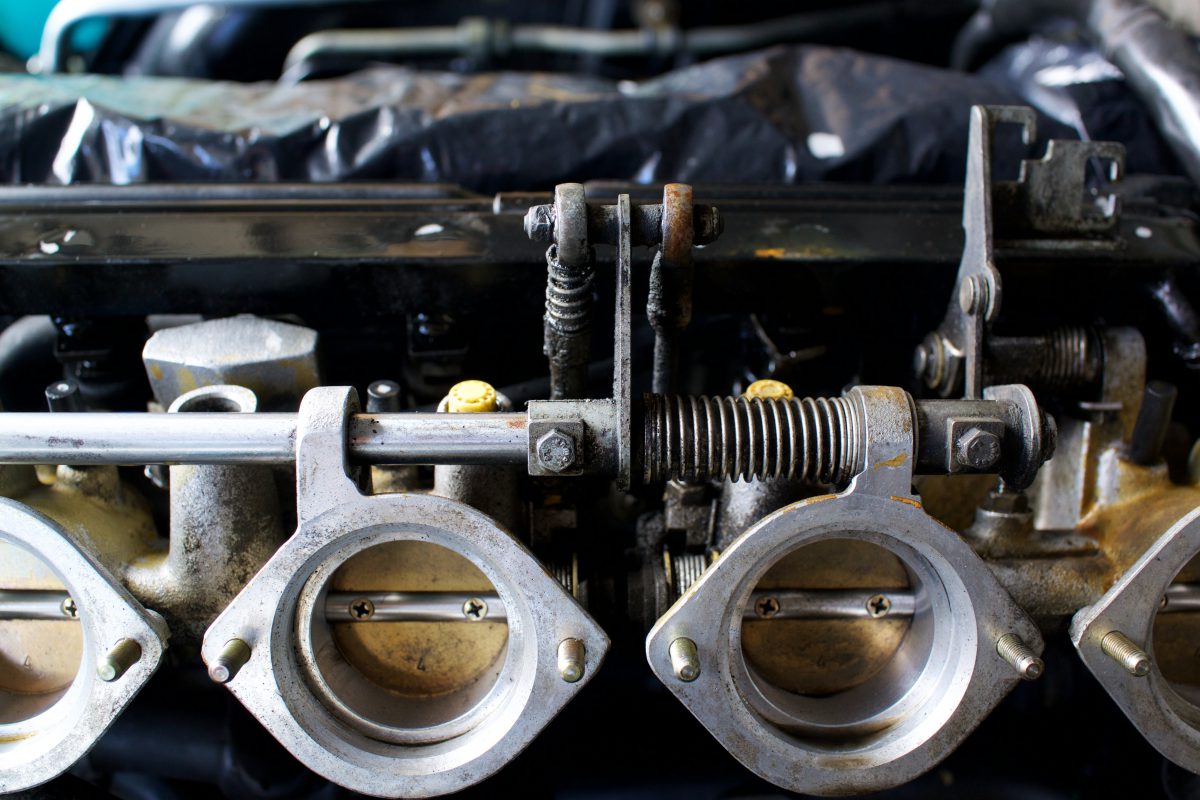
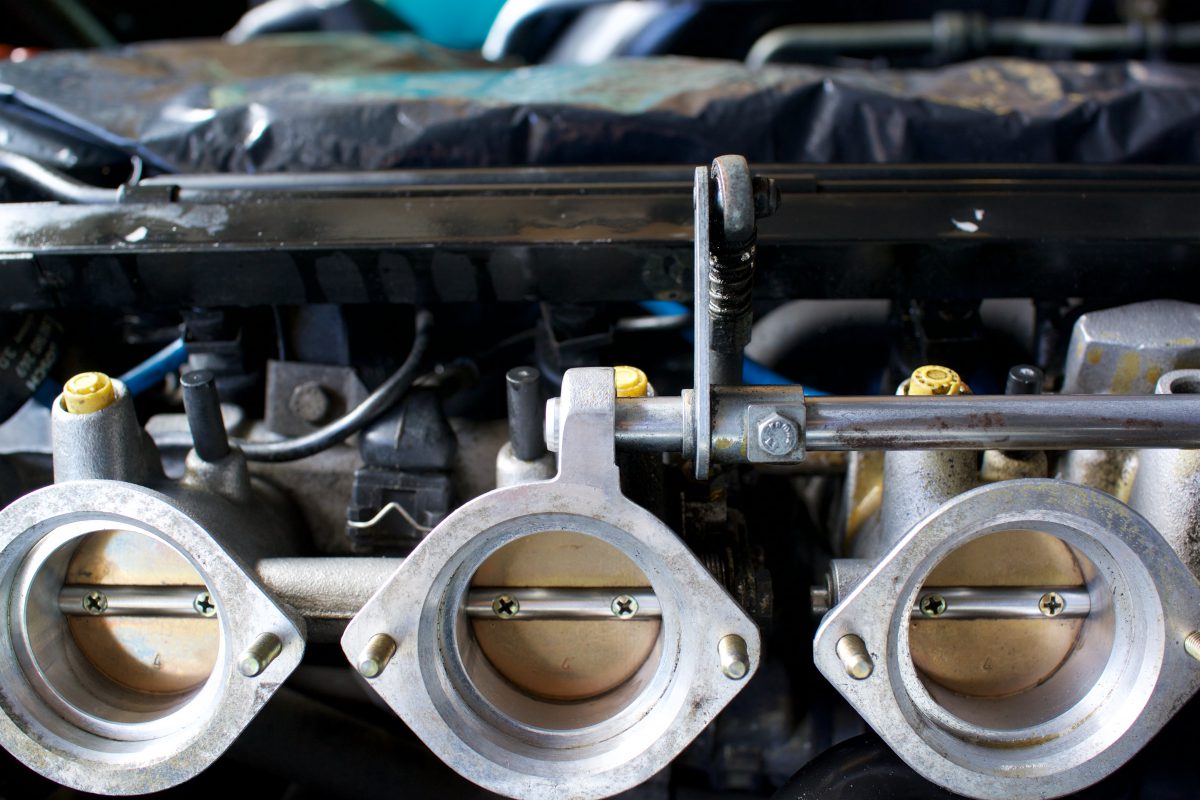
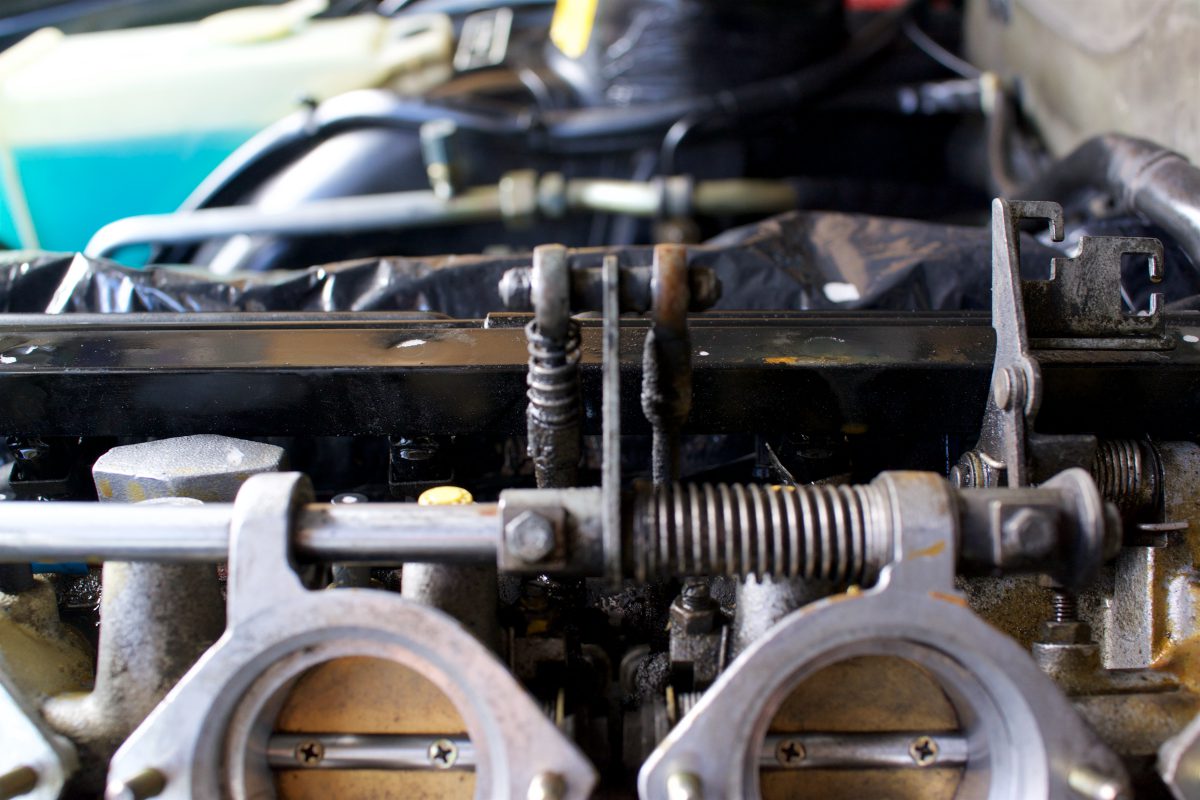
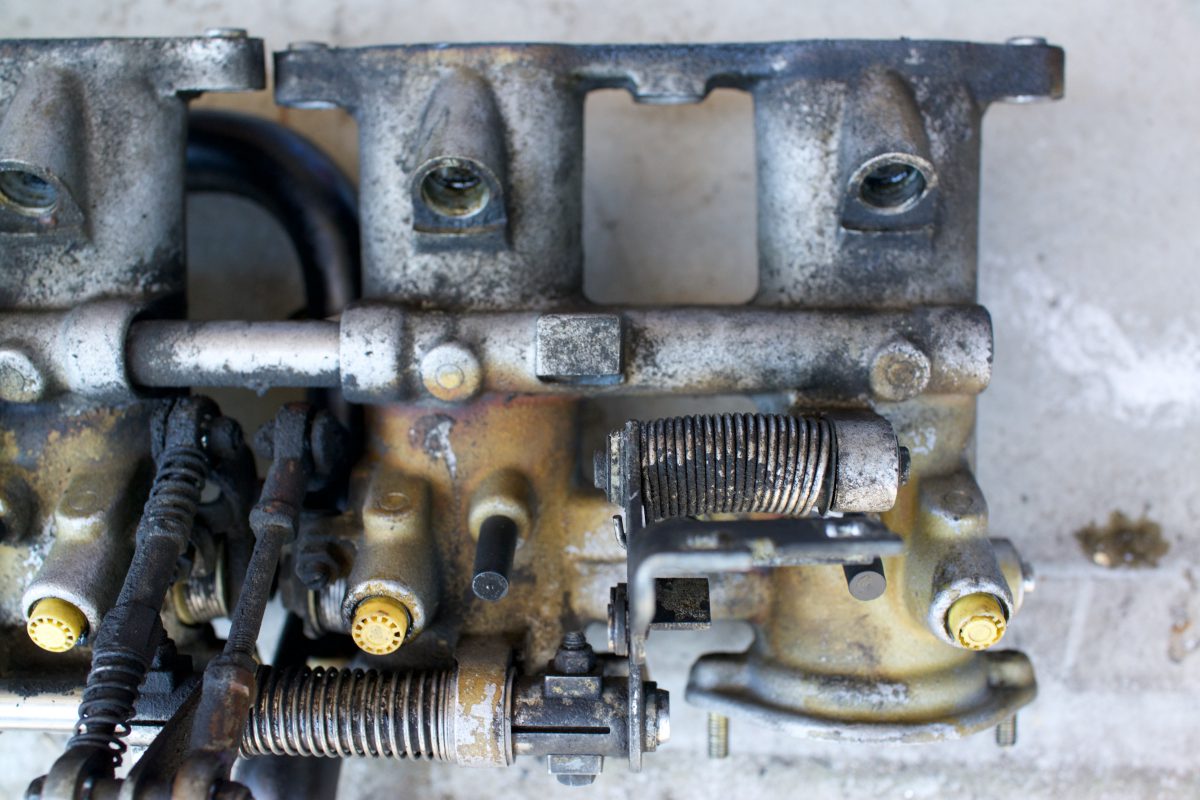
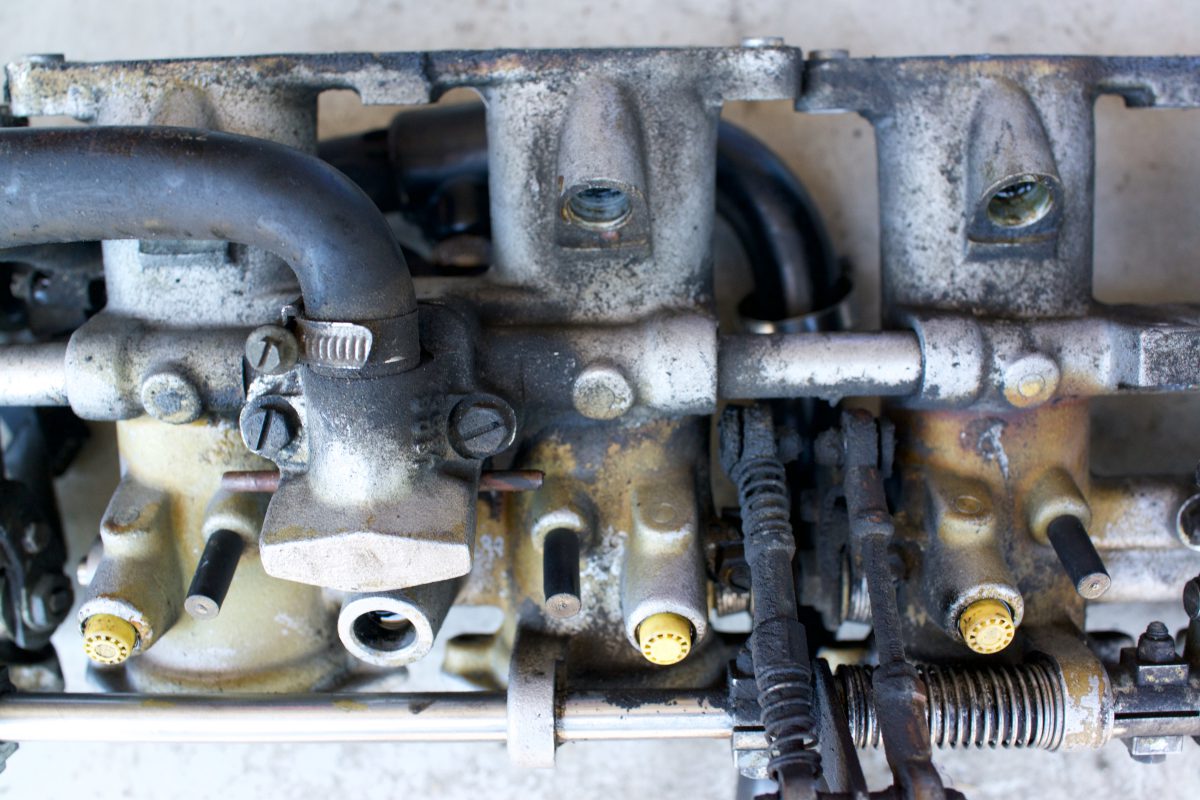
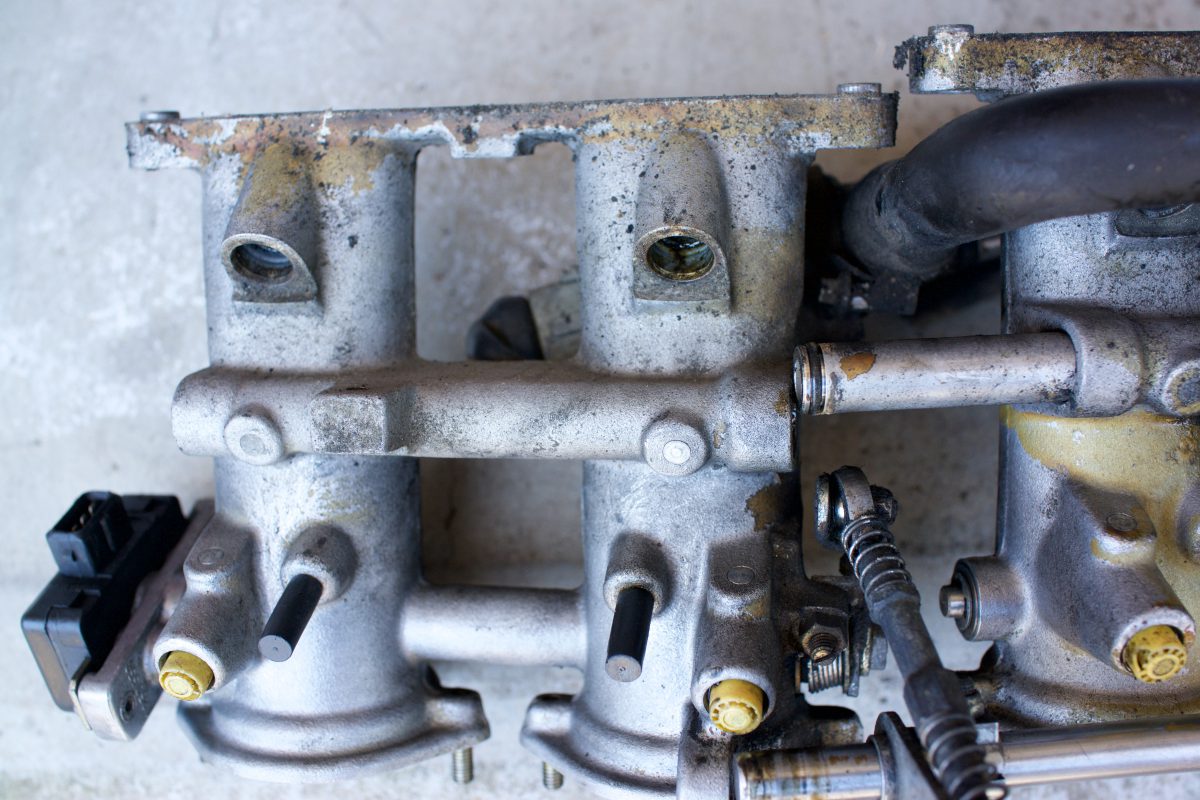
One of the things that always bothered me about my M5 engine bay (as well as other German cars I’ve owned) was that it was covered in cosmoline, which after almost 30 years had become dark yellow and baked to a very hardened finish. I’ve tried various methods of cleaners, steam and elbow grease to remove it from components in situ. I didn’t make nearly as much progress as I would have liked.
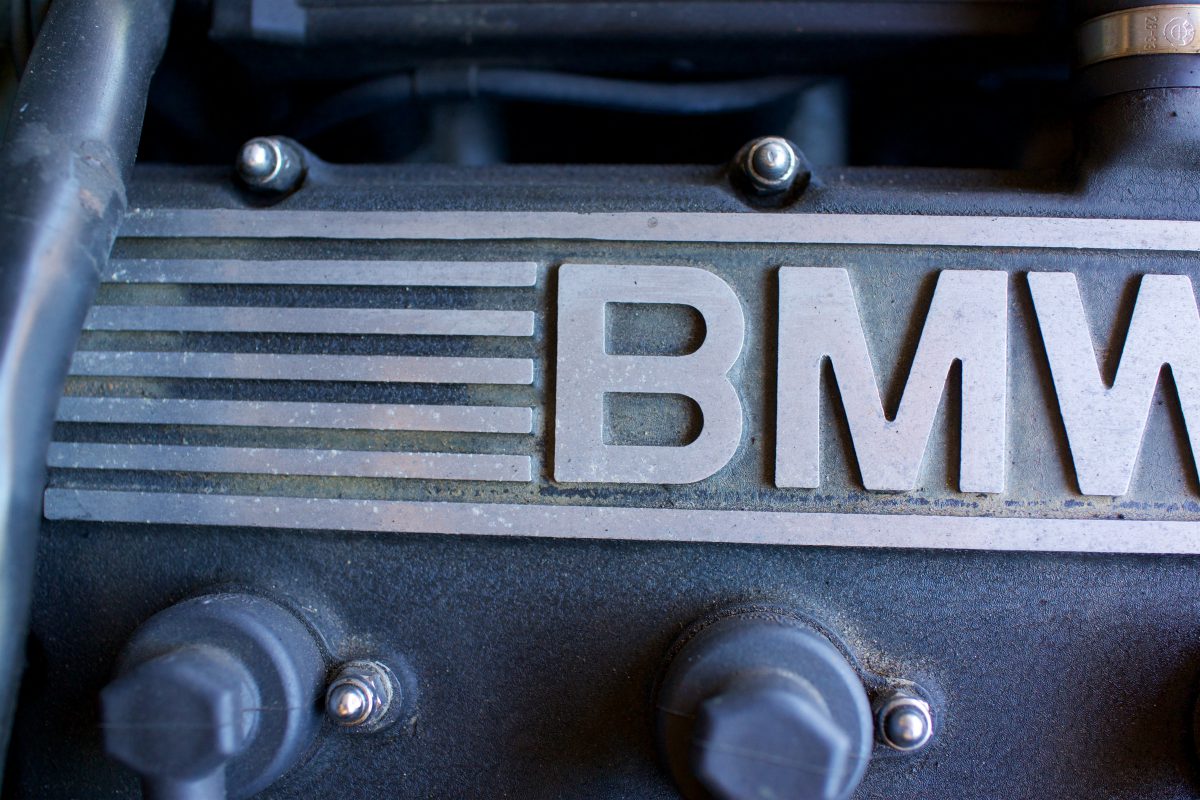
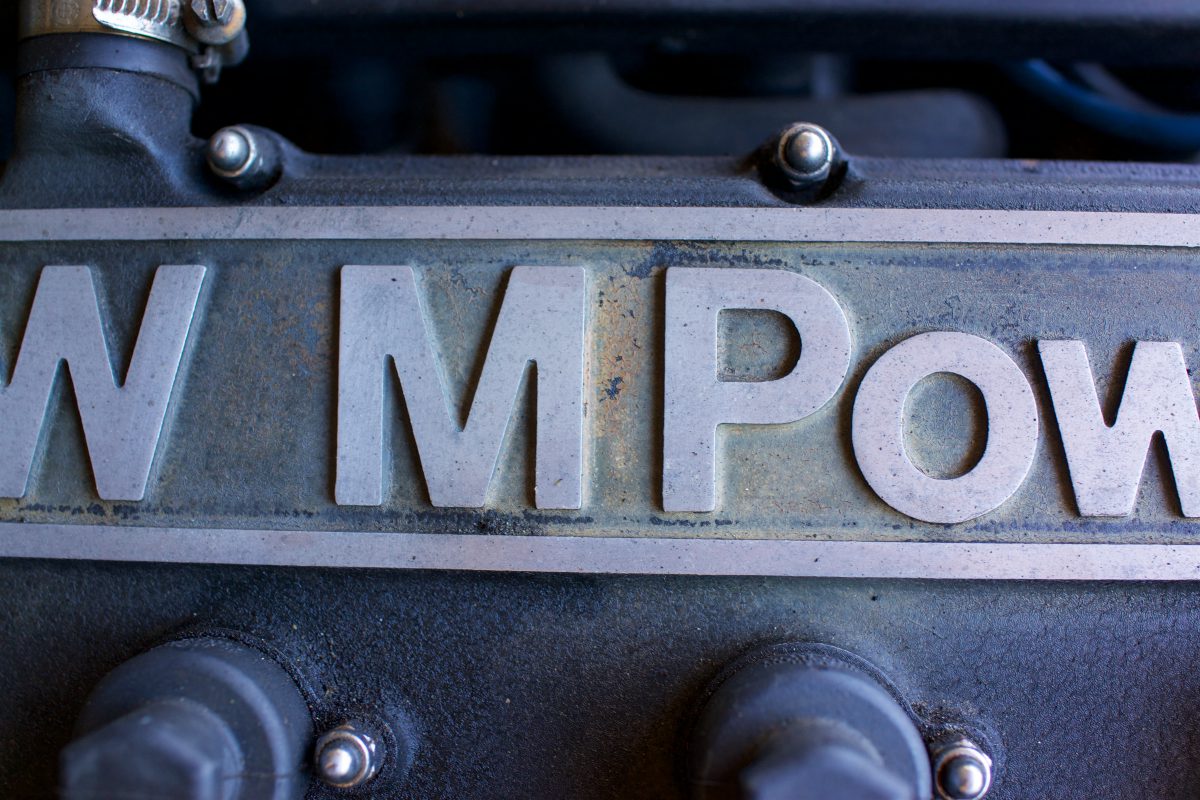
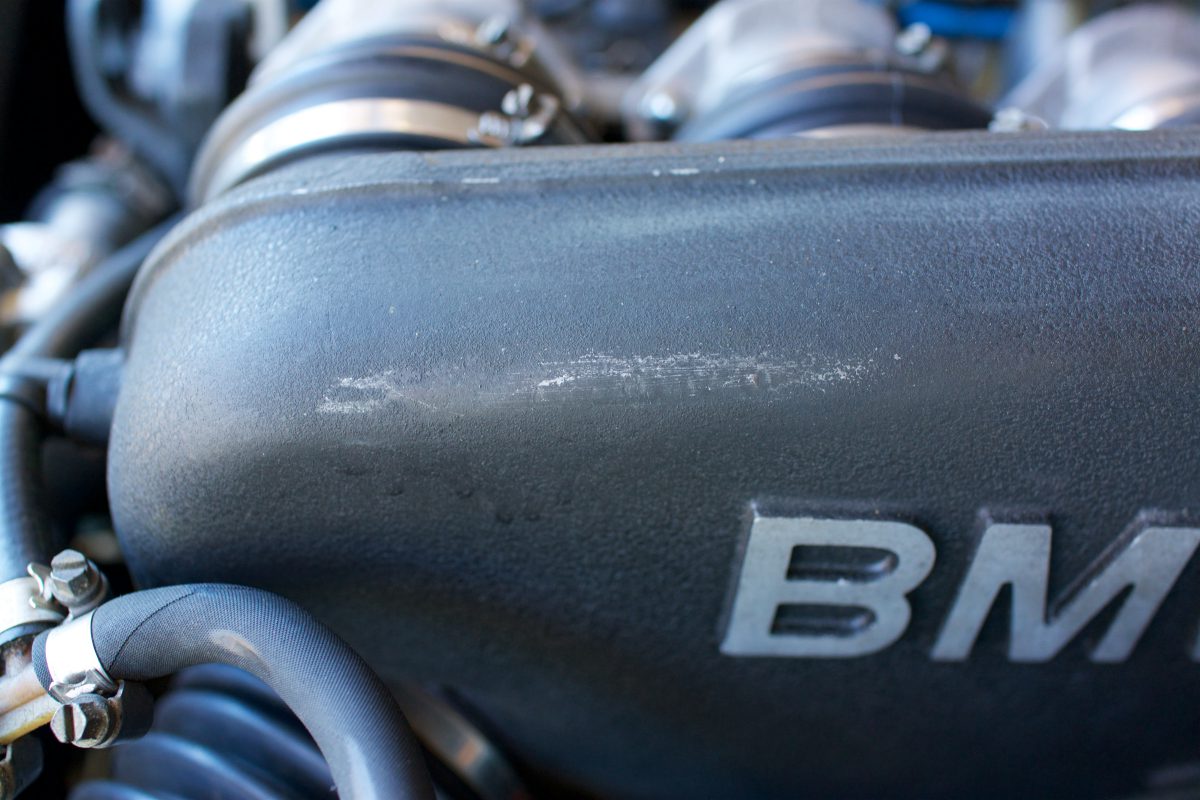
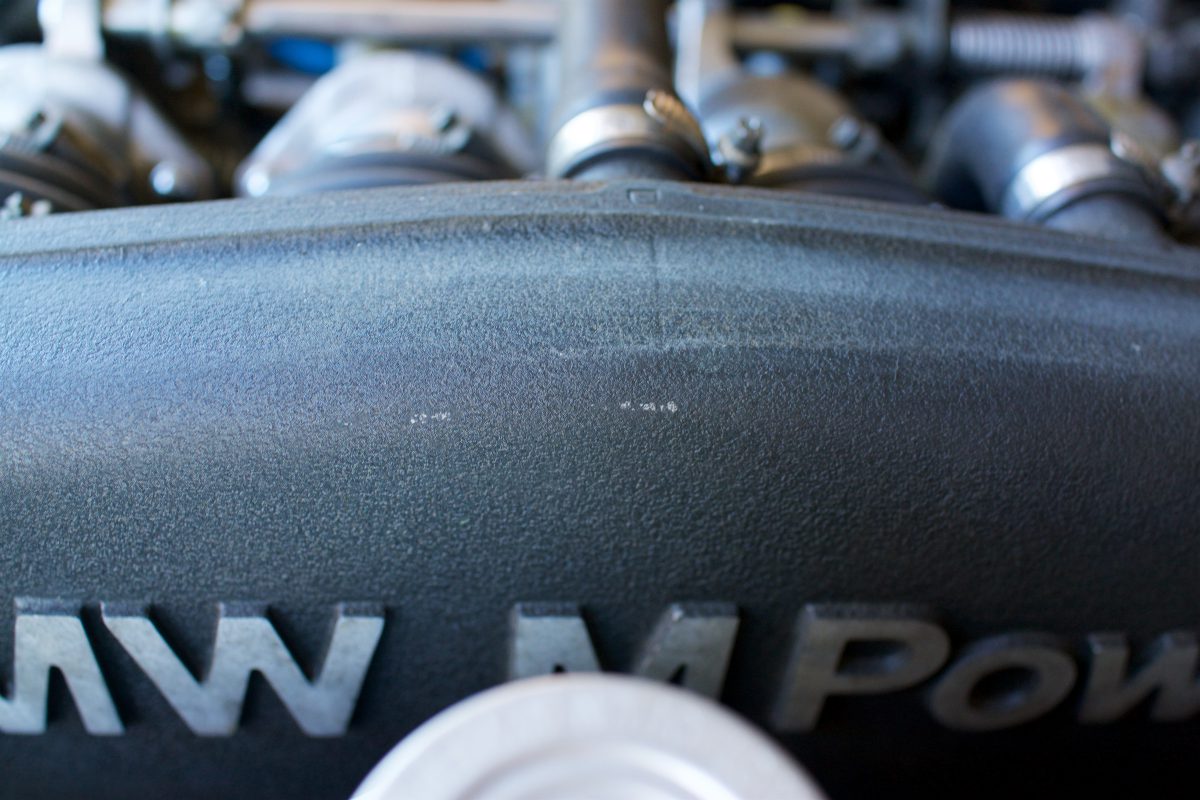
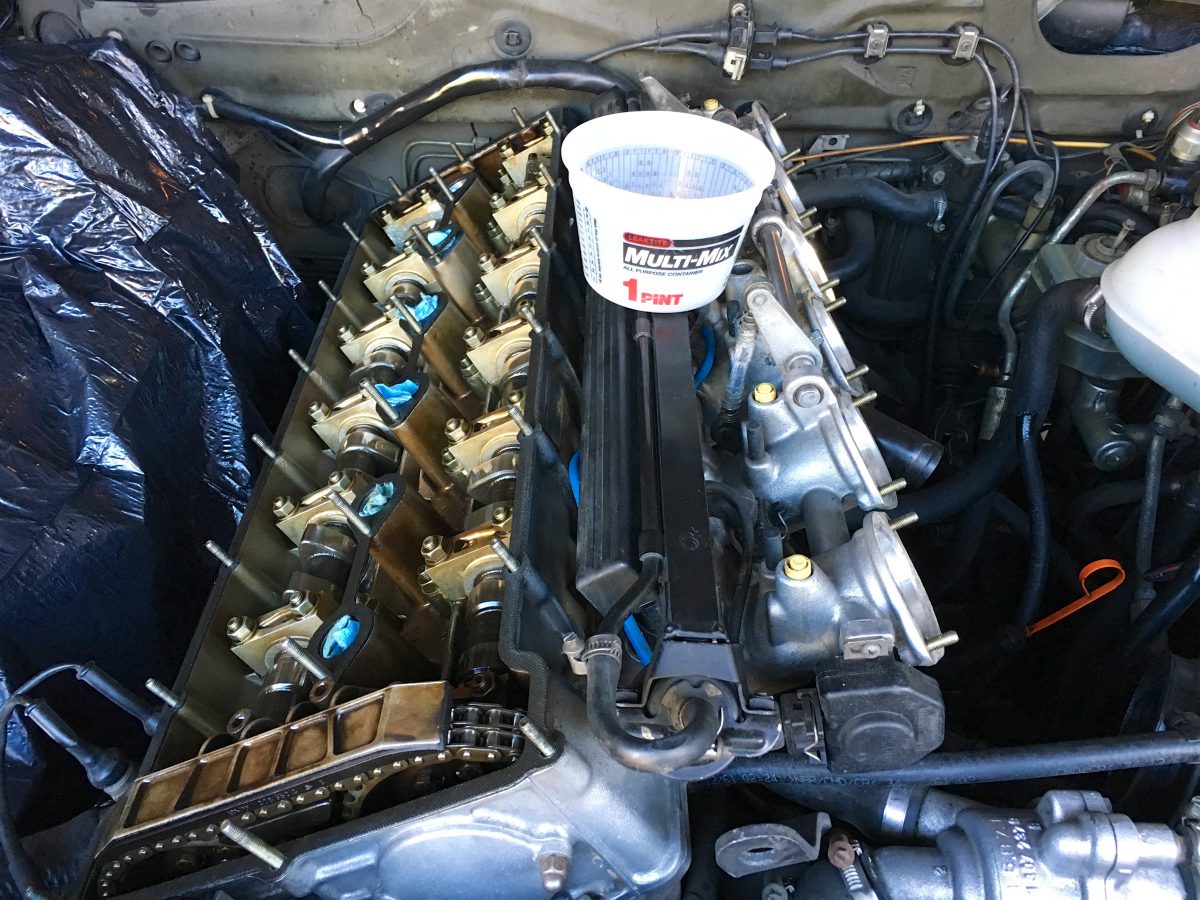
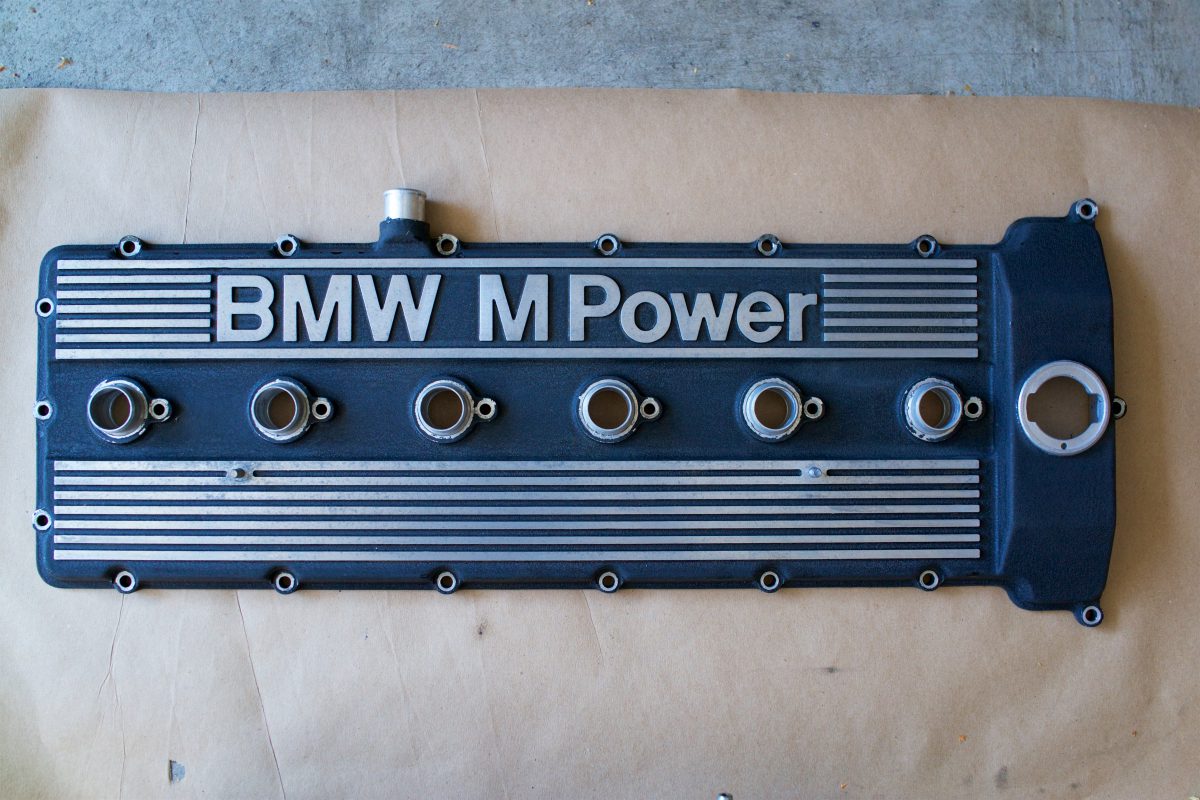
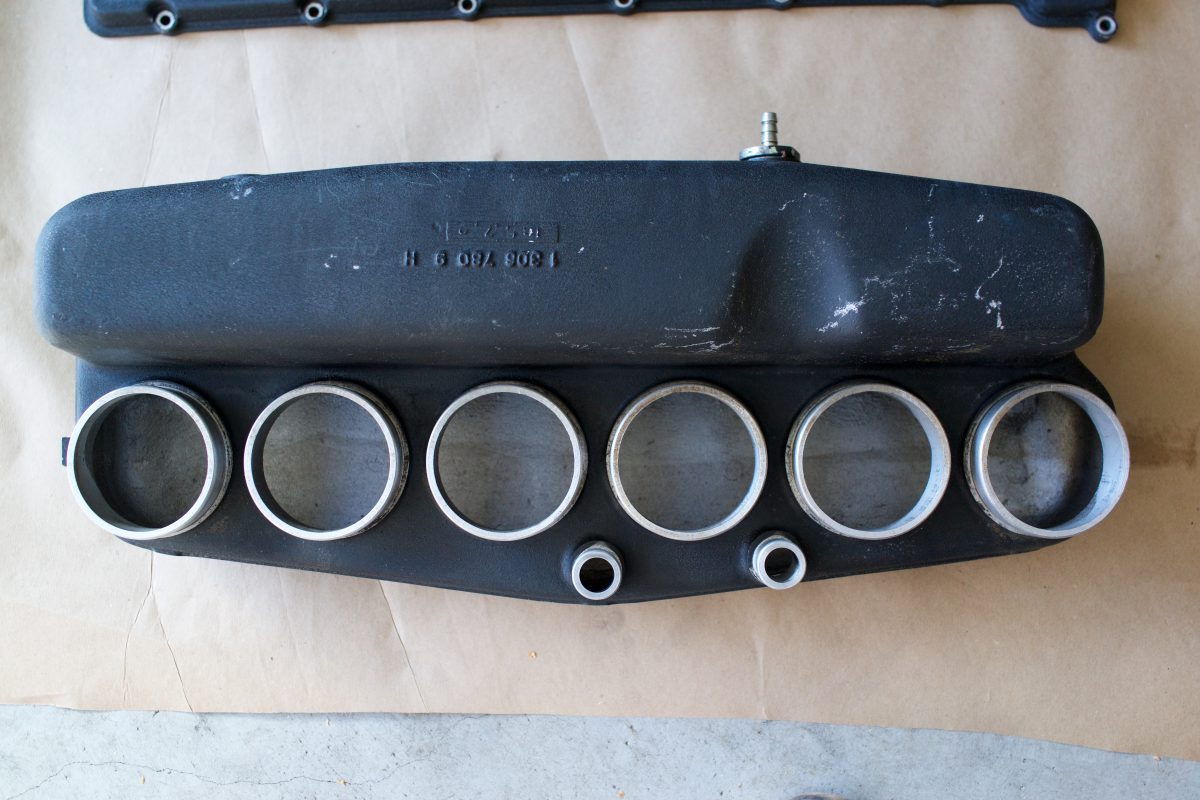
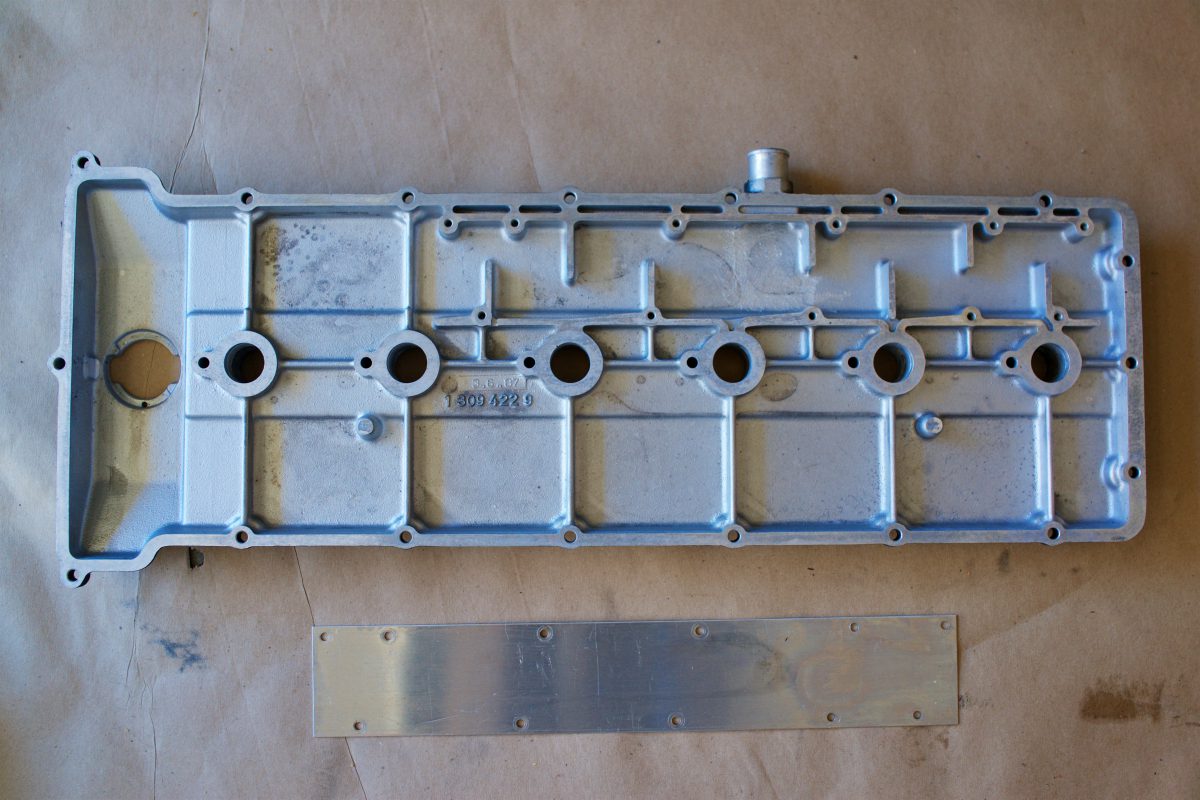
I also thought I had ruined the valve cover when I previously tried to scrub it clean, thinking I had worn through the original paint. When I took the valve cover off for the valve adjustment, my first thought was to get it powder coated professionally. The intake plenum was in similar shape, so I removed that, too, which required me to unbolt the intake runners from the throttle bodies and then remove the boots from the plenum.
I took both pieces to a couple of shops, which described to me all the work required to media blast, thoroughly clean, powder coat and finally bake the two pieces. The quotes are a lot more than I wanted to spend. I then considered a DIY approach and bought some black VHT wrinkle paint and aircraft paint stripper in anticipation of the attempt.
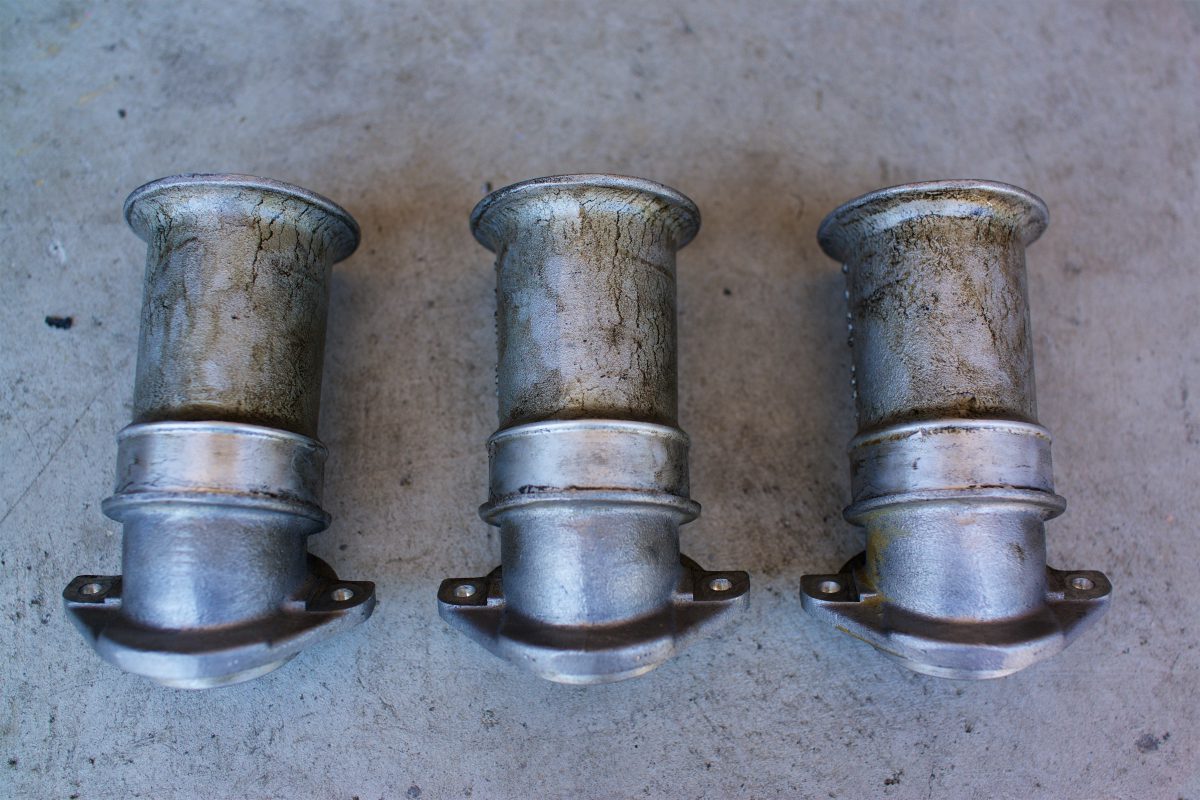
When I removed the intake plenum, I had the aluminum intake runners in hand, which were pretty dirty and oily. I first attempted to soak them in gasoline (premium, of course), which did a remarkably good job of loosening the cosmoline on the exposed portions (most of the part is covered by the flexible boot). However, I felt the gasoline was pretty hazardous with which to work as evidenced by the warping it did to the plastic containers I was using.
I researched some more, and in an interest of using something more green and less hazardous to my health, I came back to Simple Green, which I already had on hand. However, it appears that regular Simple Green isn’t suggested for use with aluminum, as it reacts with the metal and can darken it. I then came across Simple Green Aircraft & Precision Cleaner, which was designed to be safe for aluminum (on aircraft, presumably?). It was worth the premium and I ordered a gallon to start.
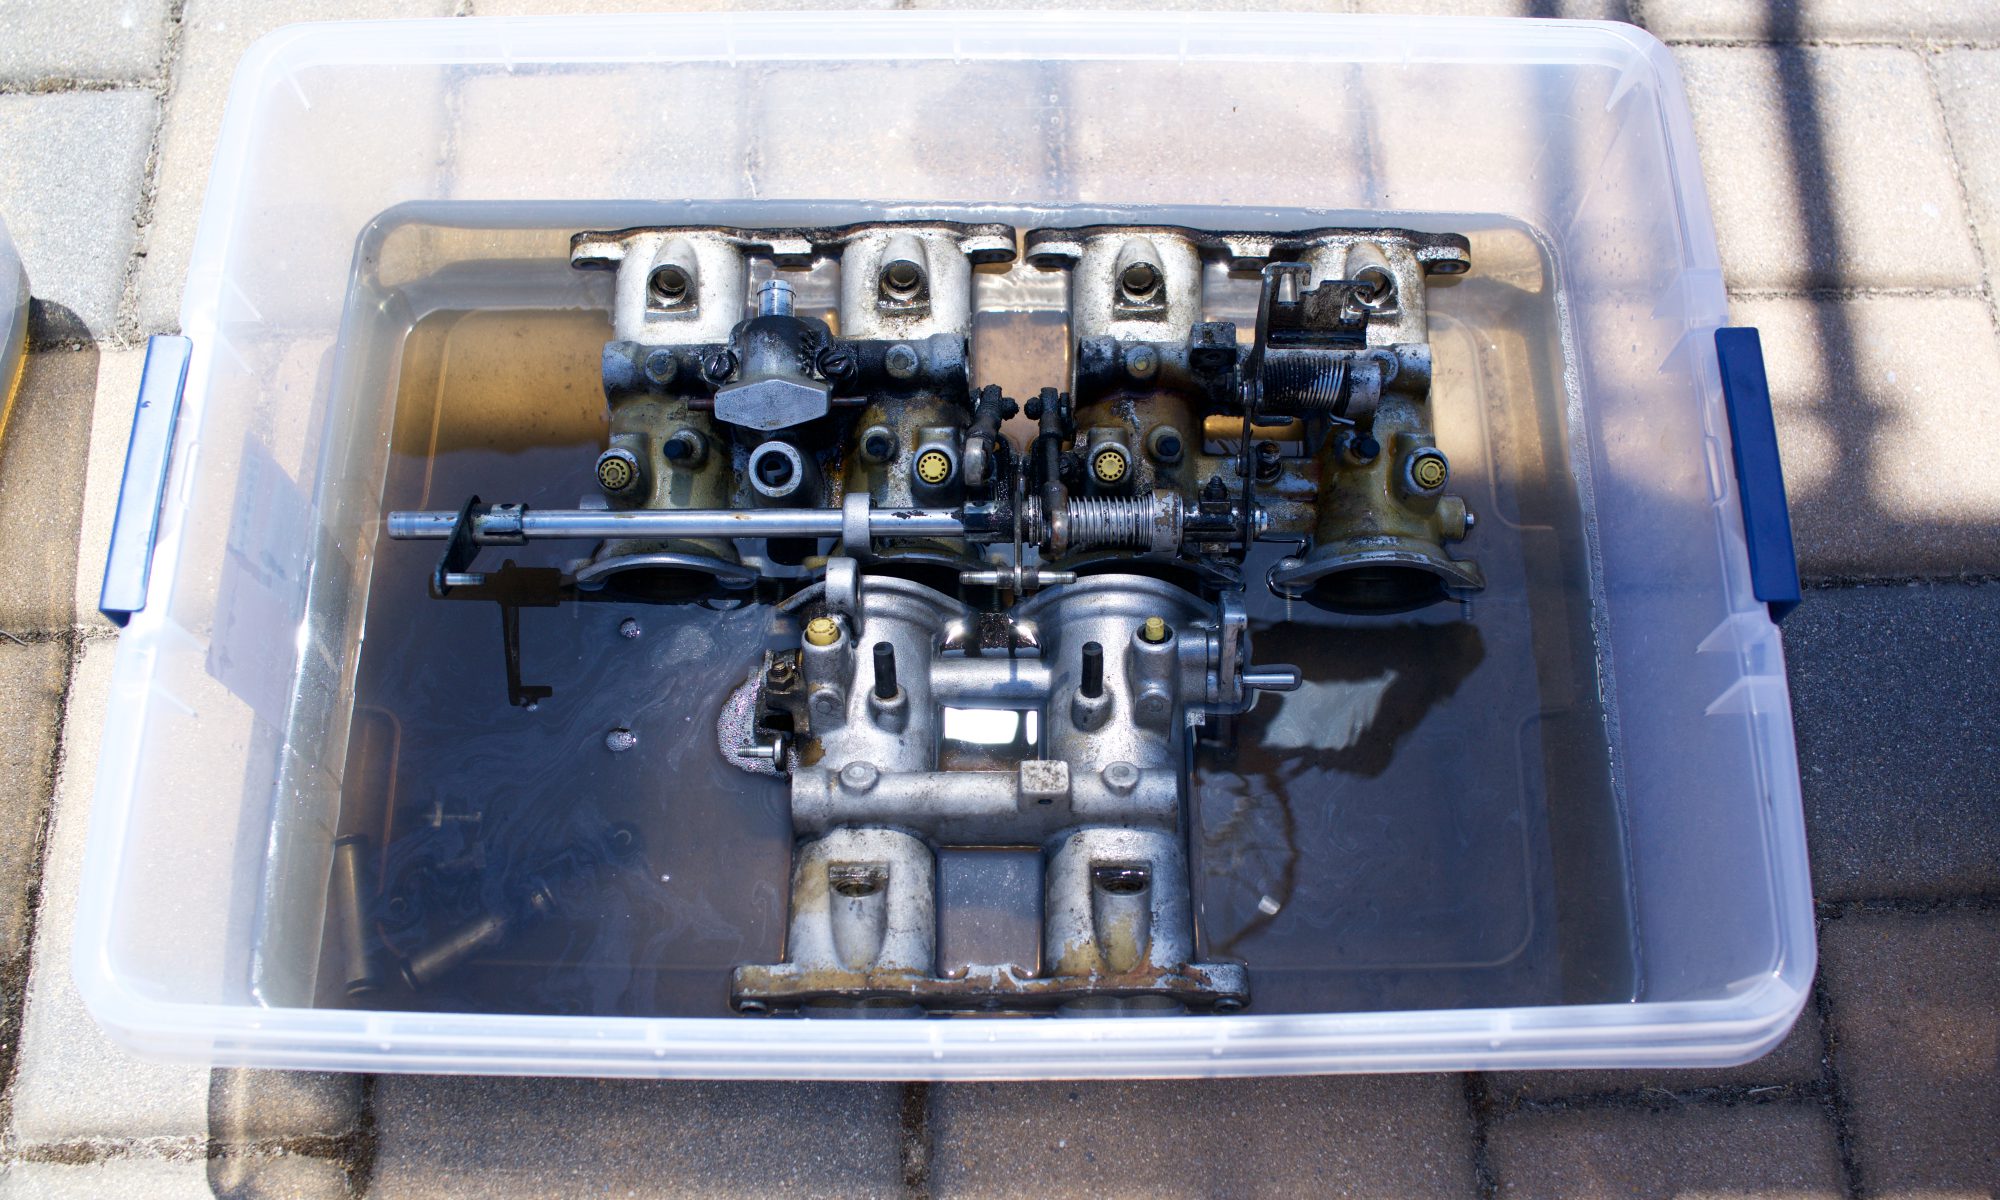
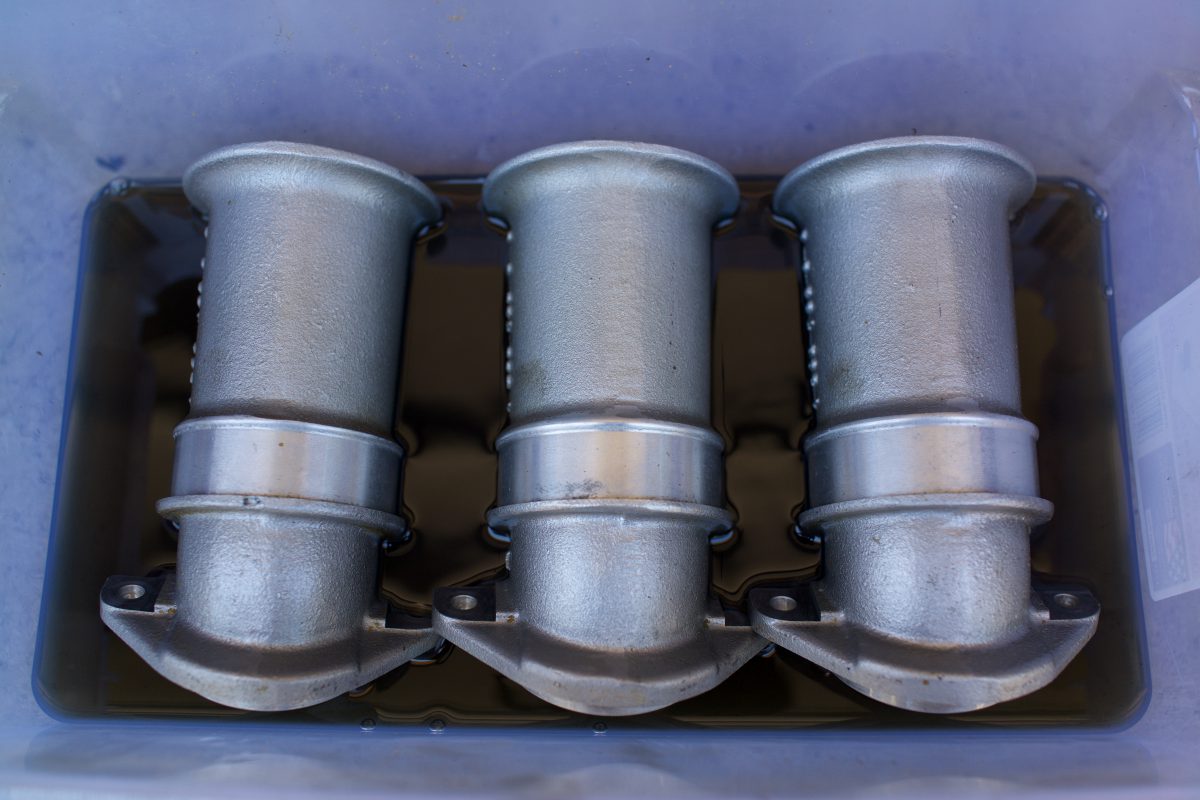
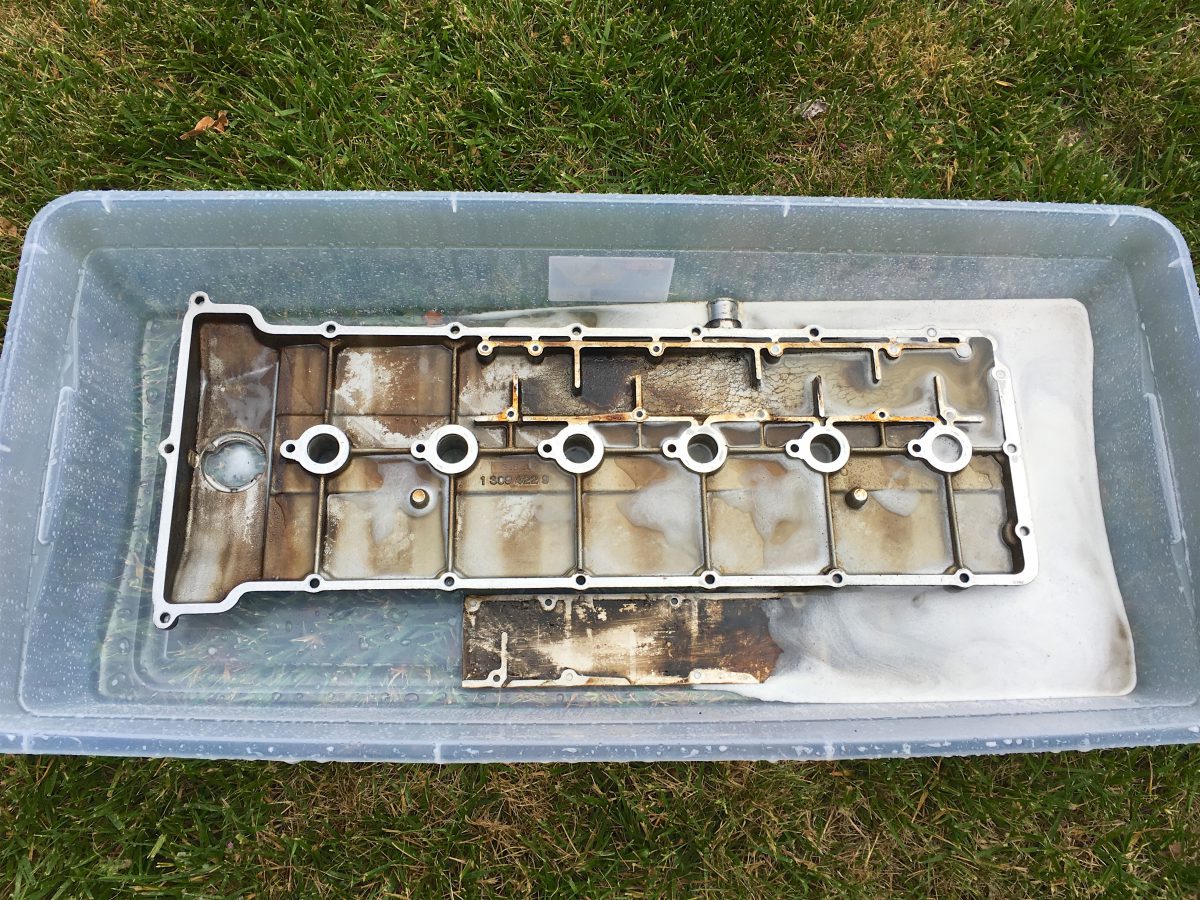
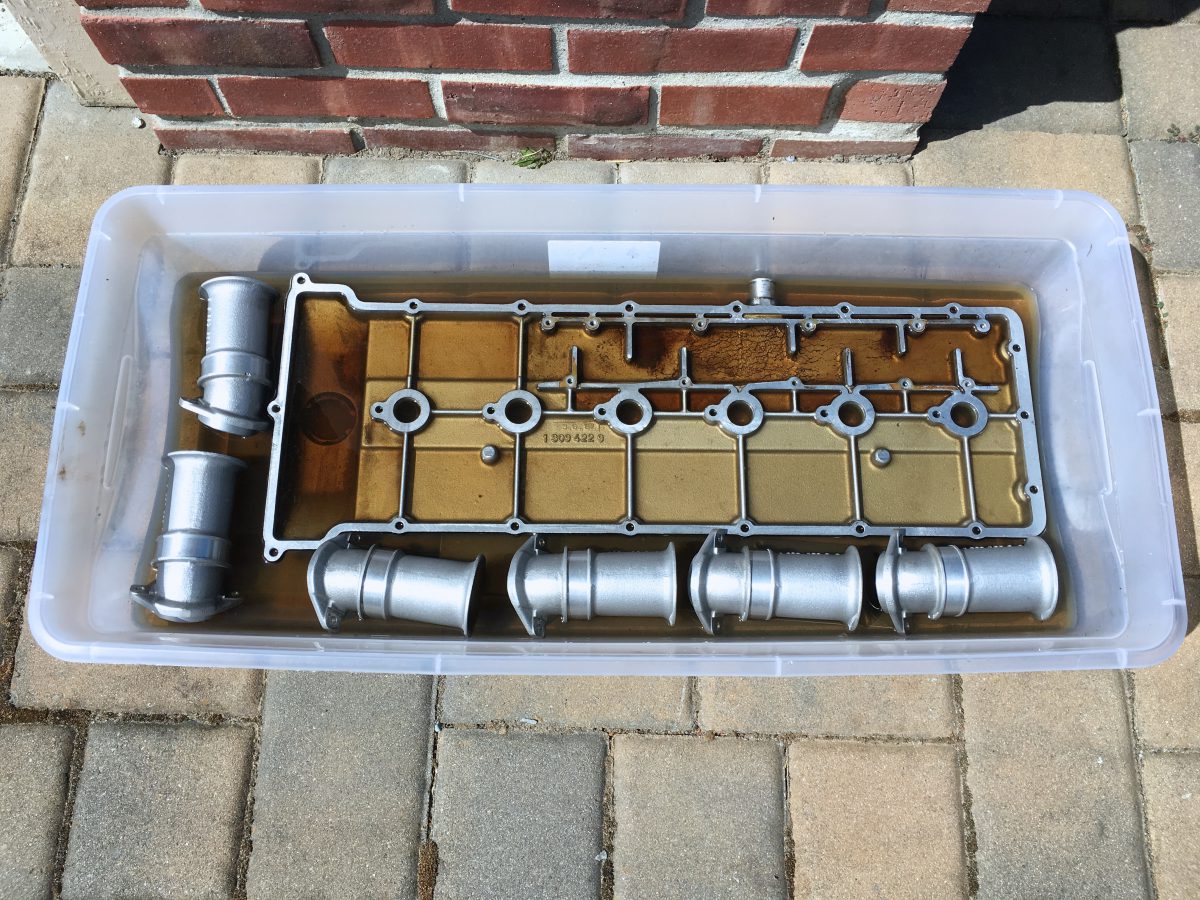
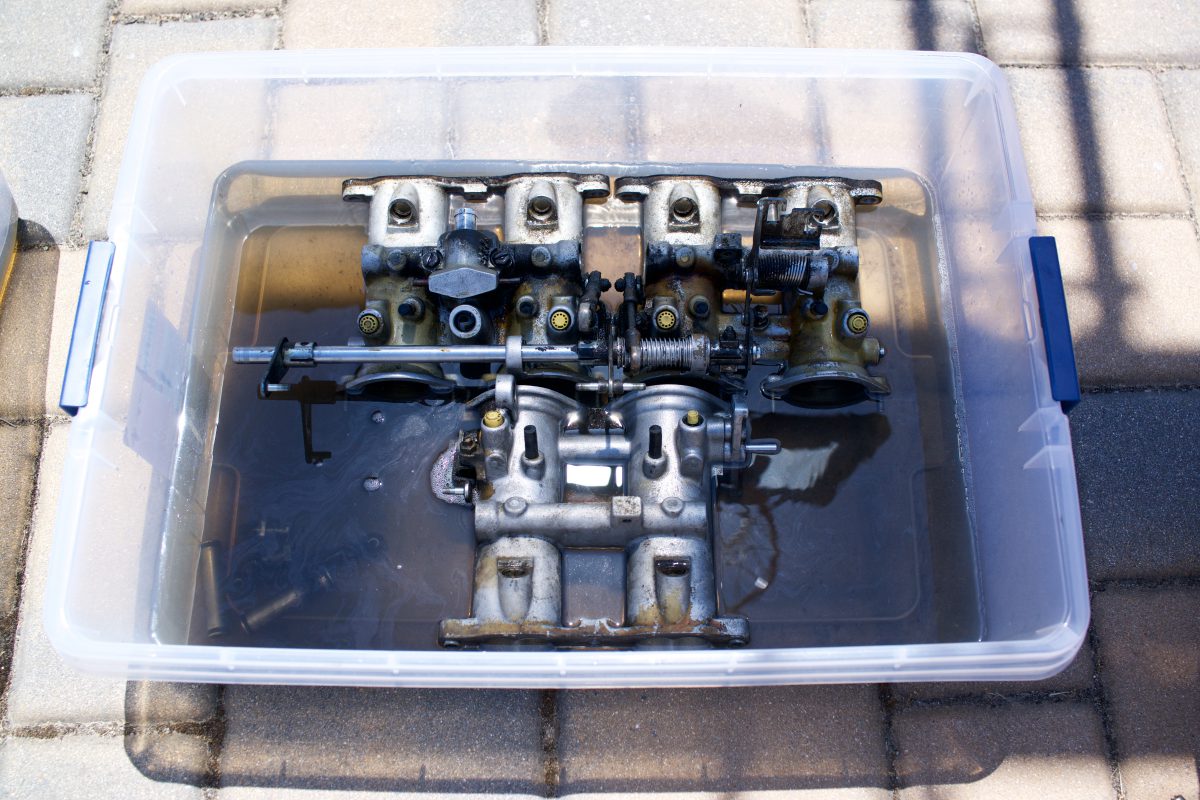
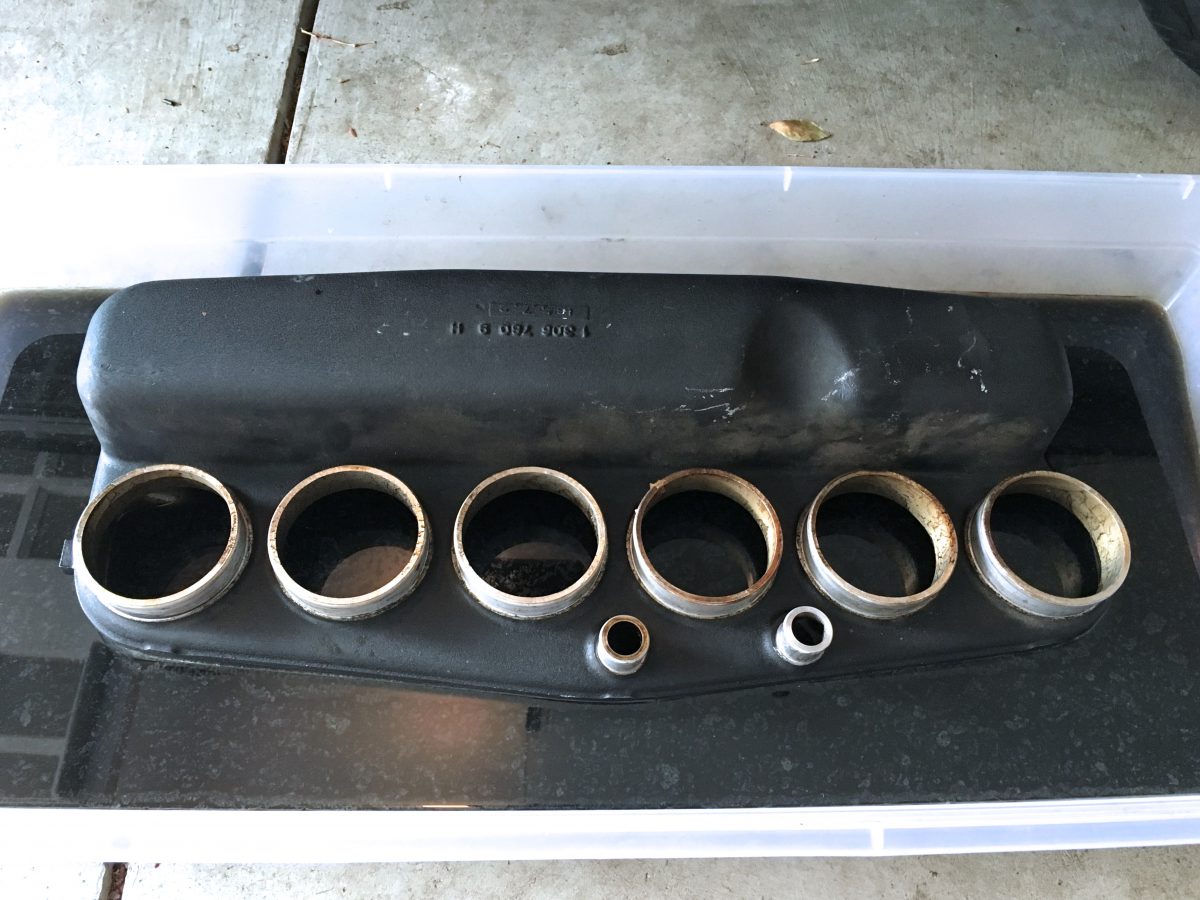
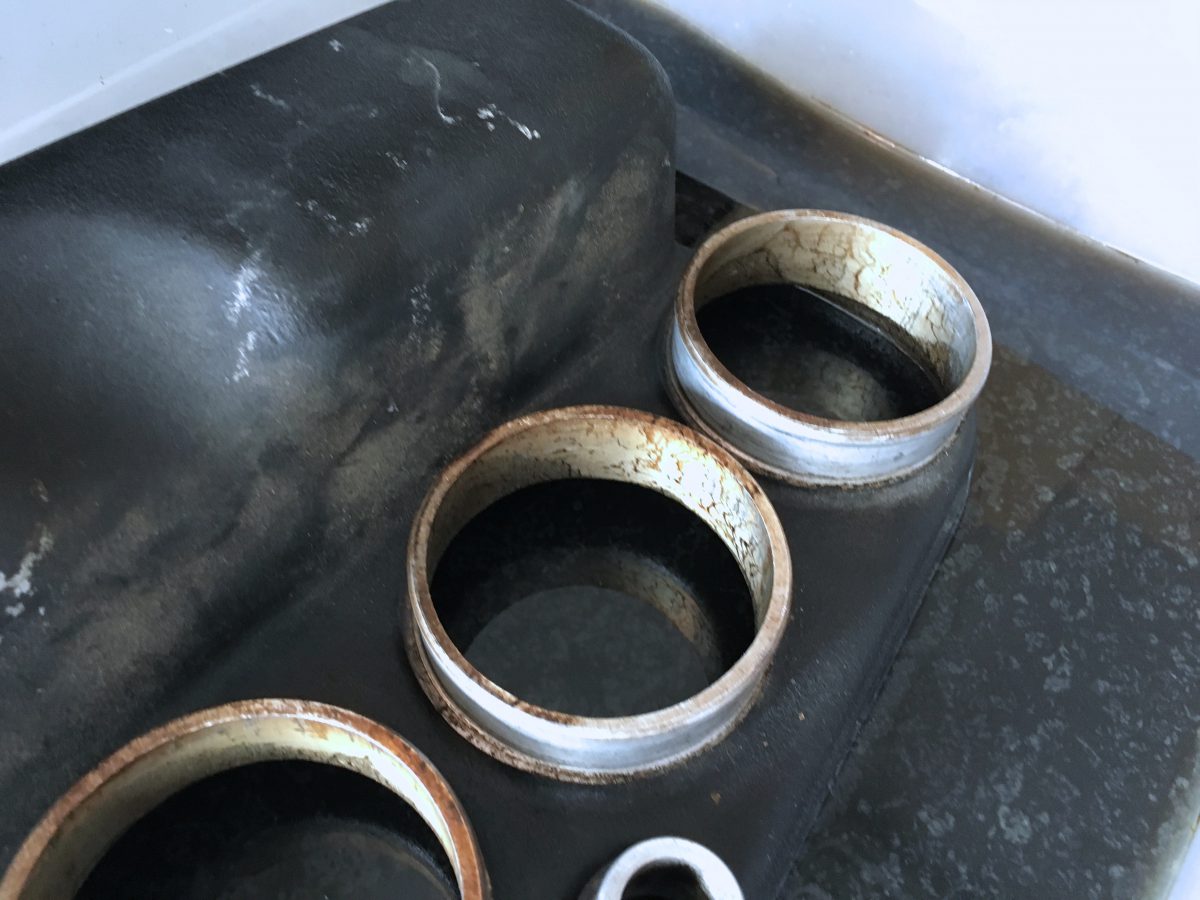
I intended to use it as full strength as recommended, which was a 1:3 dilution with water. Cleaning the valve cover was on the critical path to whatever I was planning to do with it, so I removed the oil breather vent cover from the back side and placed the valve cover, vent cover, and intake runners it in a plastic container with the cleaning solution. I was amazed at how well it removed all the grease and amazingly much of the cosmoline from the paint by just letting it soak with no agitation at all. I was especially pleased to find out that I didn’t actually ruin the valve cover paint, but it was just the baked cosmoline that had become hazy from prior scrubbing. The paint was beautifully pristine under the melting cosmoline.
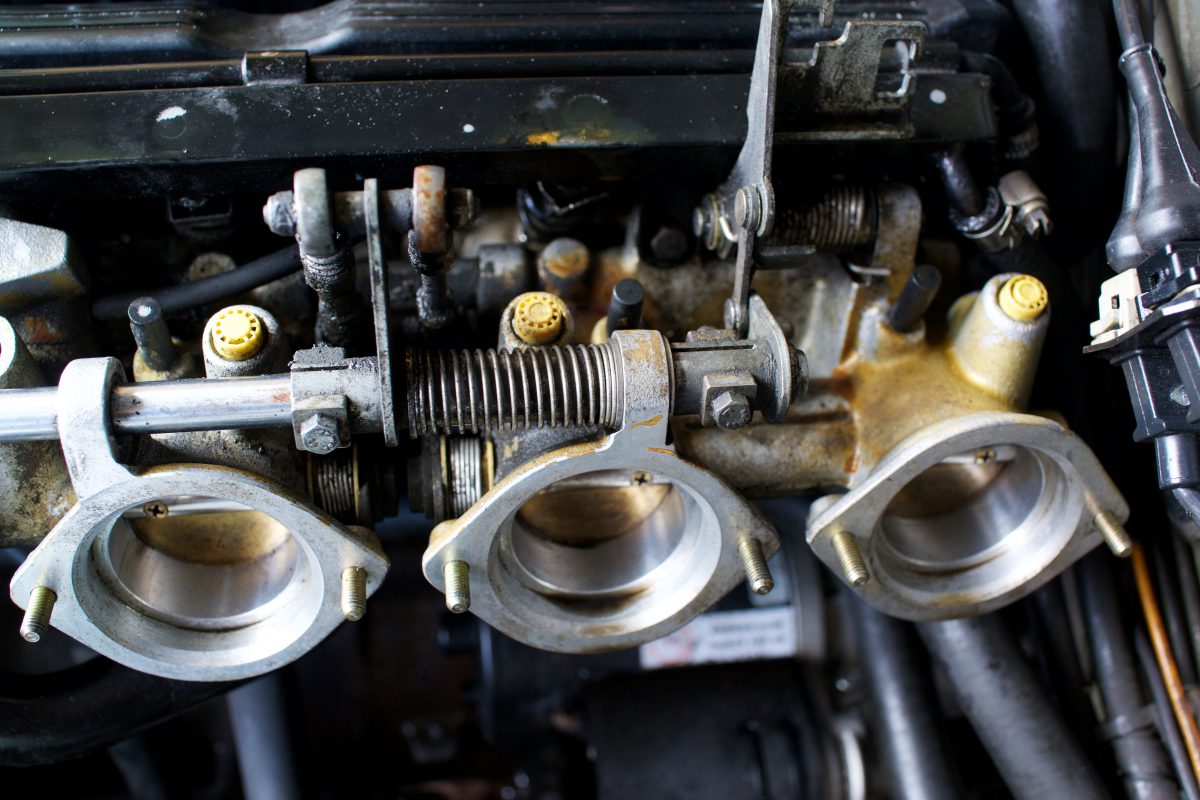
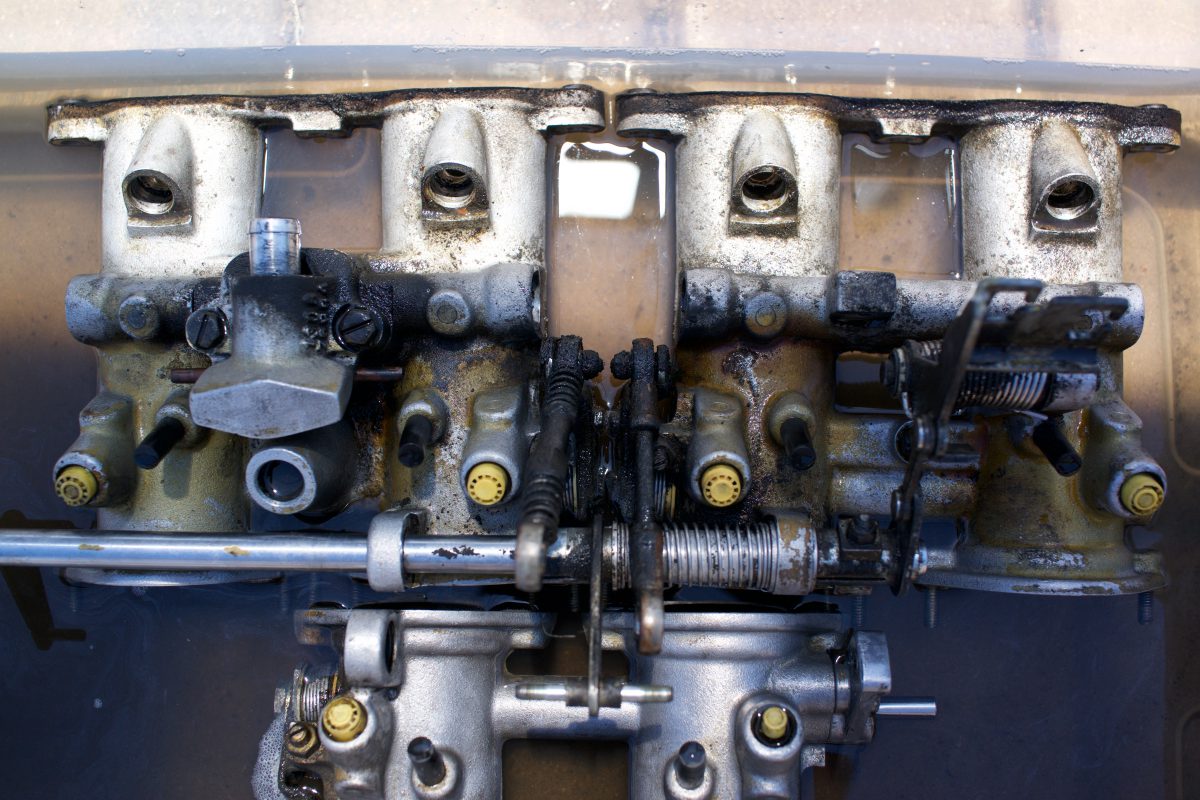
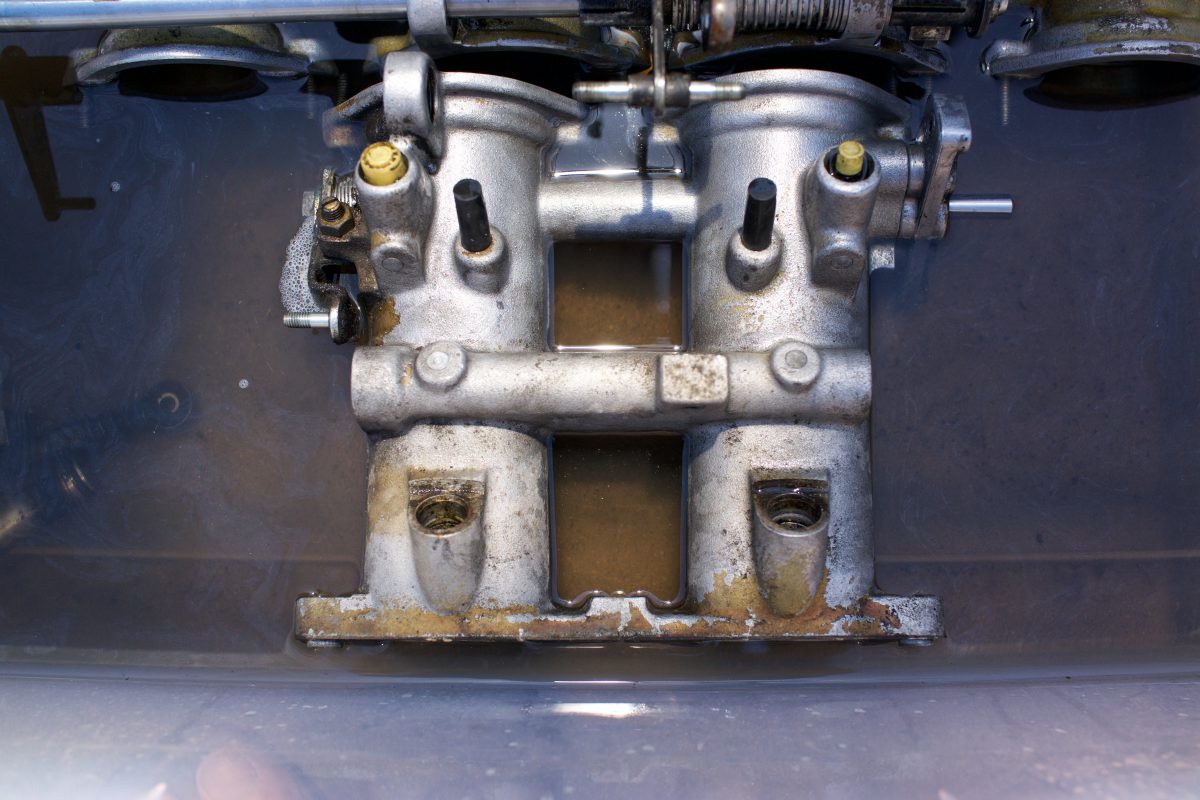
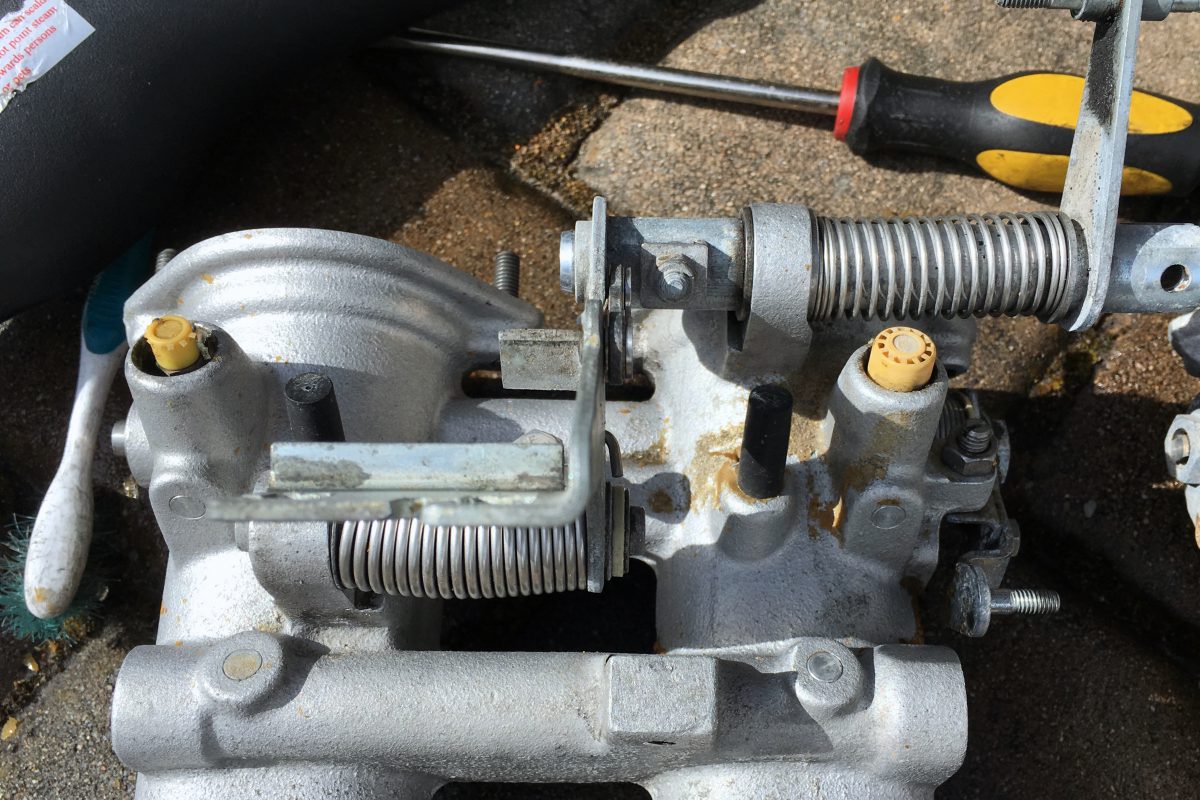
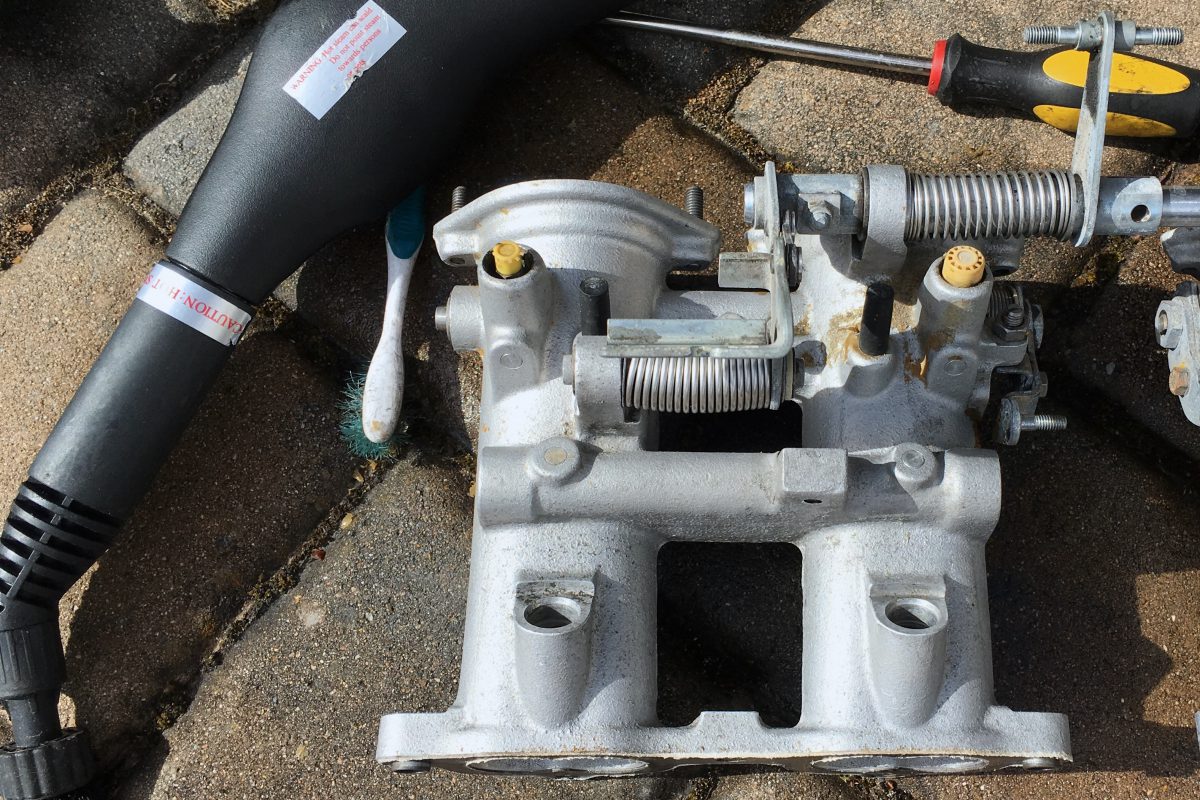
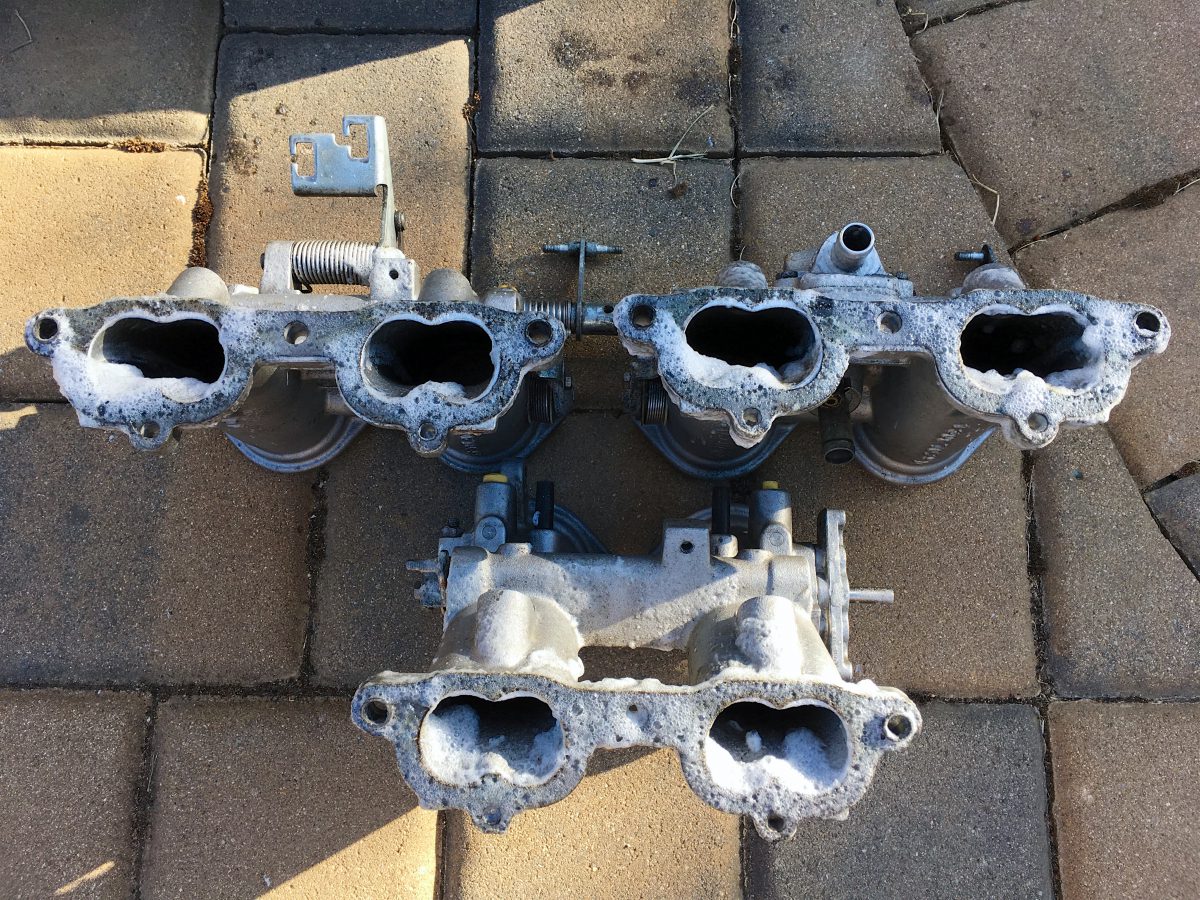
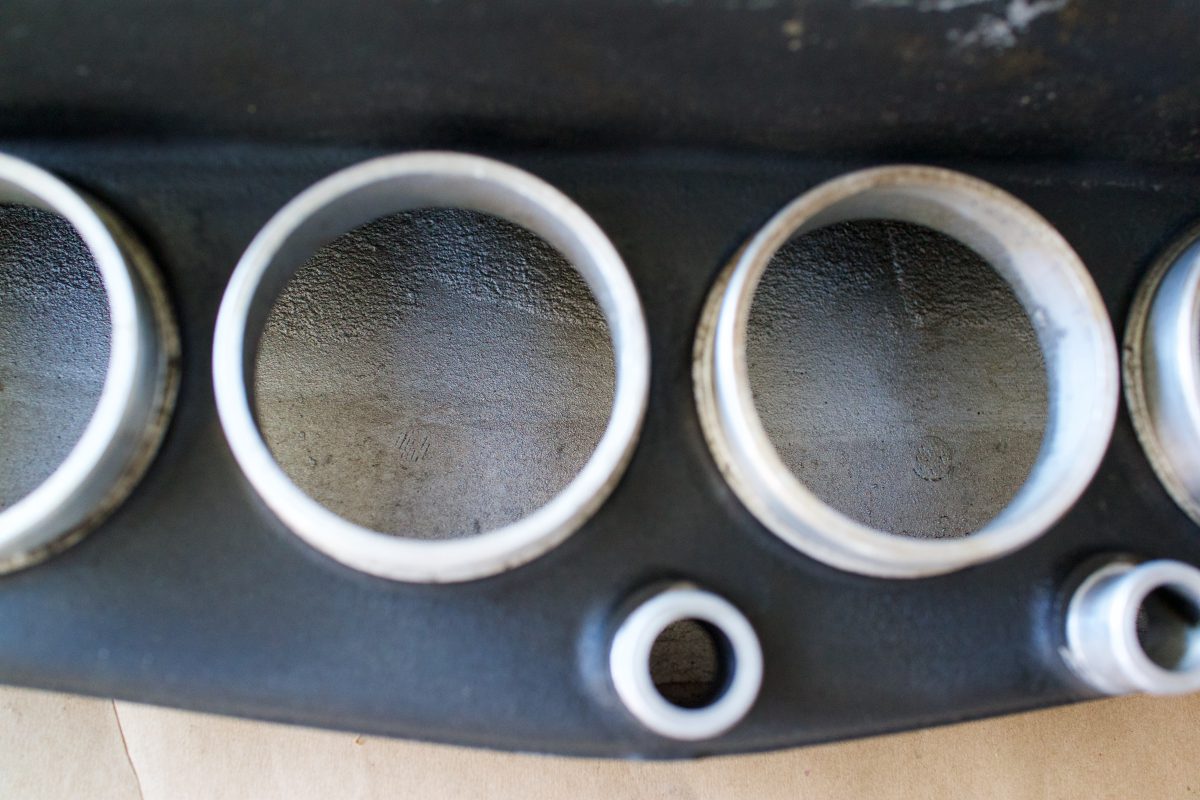
With this revelation on the wonders of my Simple Green Aircraft cleaner, I decided that the only way to really clean up the throttle bodies was to remove them and soak them in the solution. I anticipated that this would likely be required, so I had already ordered new gaskets and o-rings for the intake runners, balance tubes, bleeder screws, and throttle screw; basically everything required to fully restore the entire intake assembly. I soaked the throttle bodies for days, which melted away 95% of the cosmoline. I used steam, various scrapers and elbow grease to remove the other 95%, which didn’t take long. Finally, I also soaked the intake plenum, which not only had some cosmoline on the exterior, but was covered in oil on the inside.
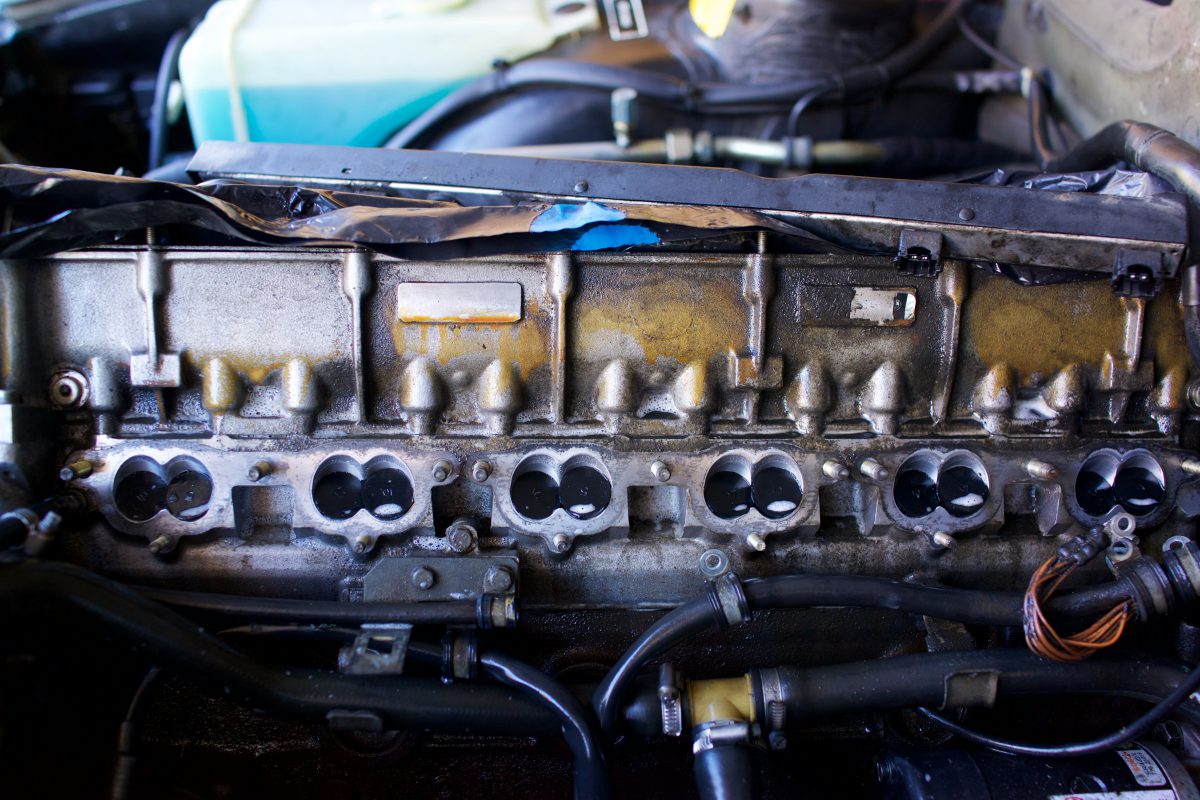
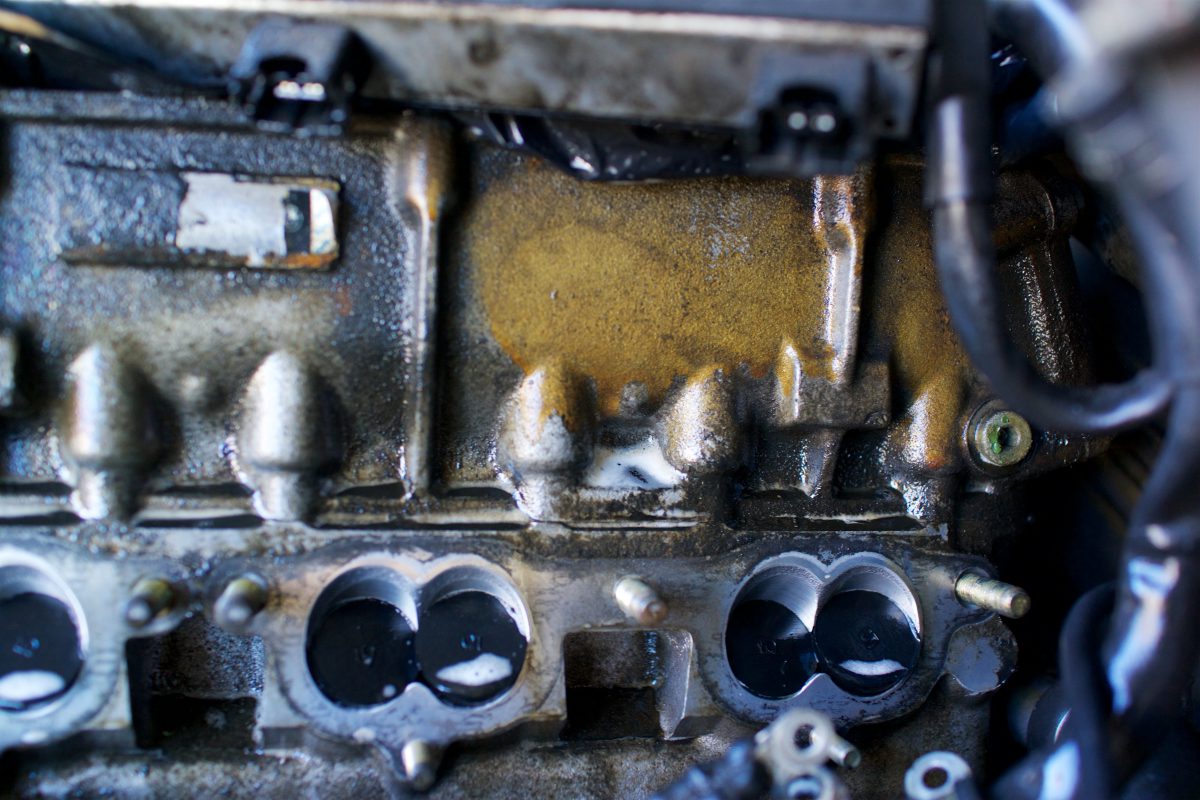
Once the throttle bodies were removed from the cylinder head, that helped expose all the cosmoline that was baked on there. Not wanting anything to get into the intake valves, I bought some rubber stoppers (size 5), which worked perfectly to keep out liquid and debris during the cleaning process and while the throttle bodies were removed. Sprayed on Simple Green Aircraft and a lot of scrubbing with nylon and brass brushes removed most of the grease and a lot of the cosmoline. I finished the job with a lot of steam and more scrubbing.
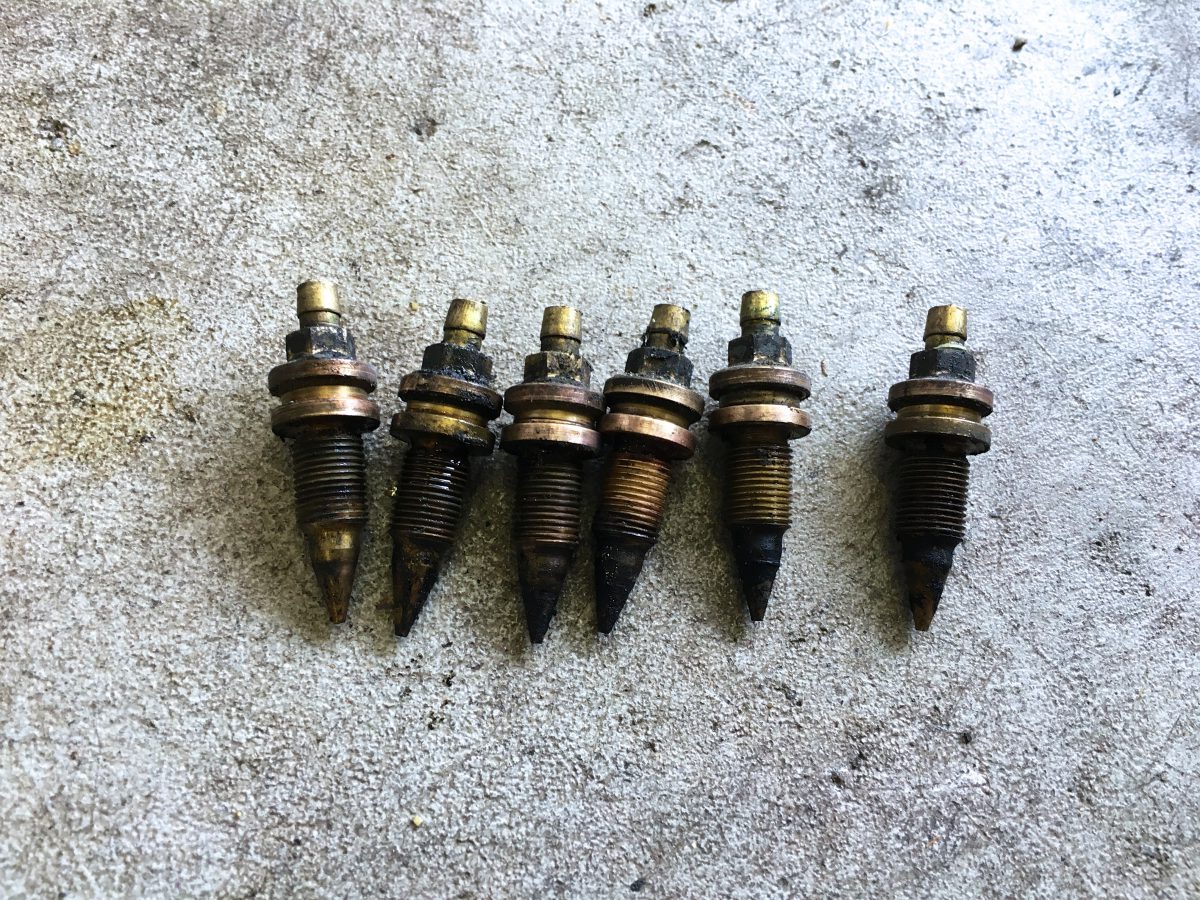
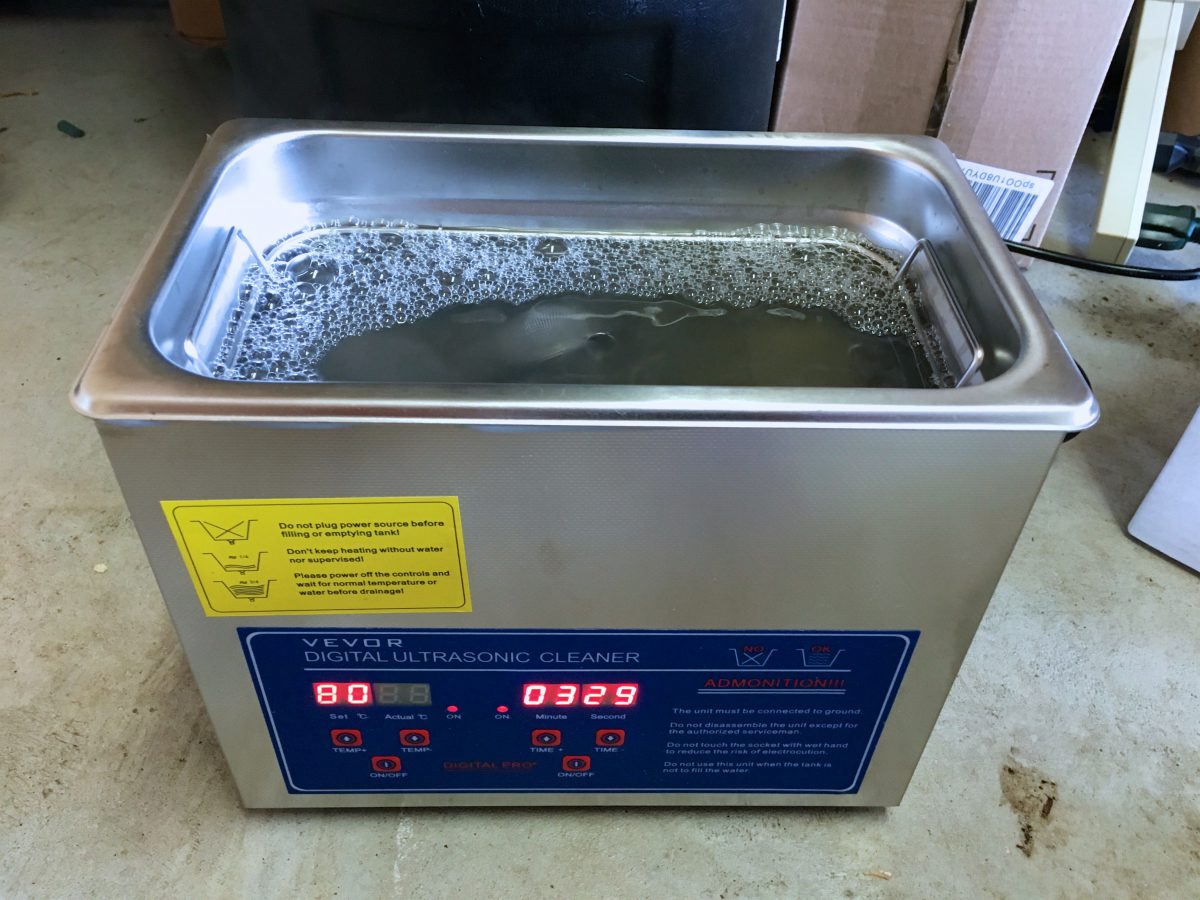
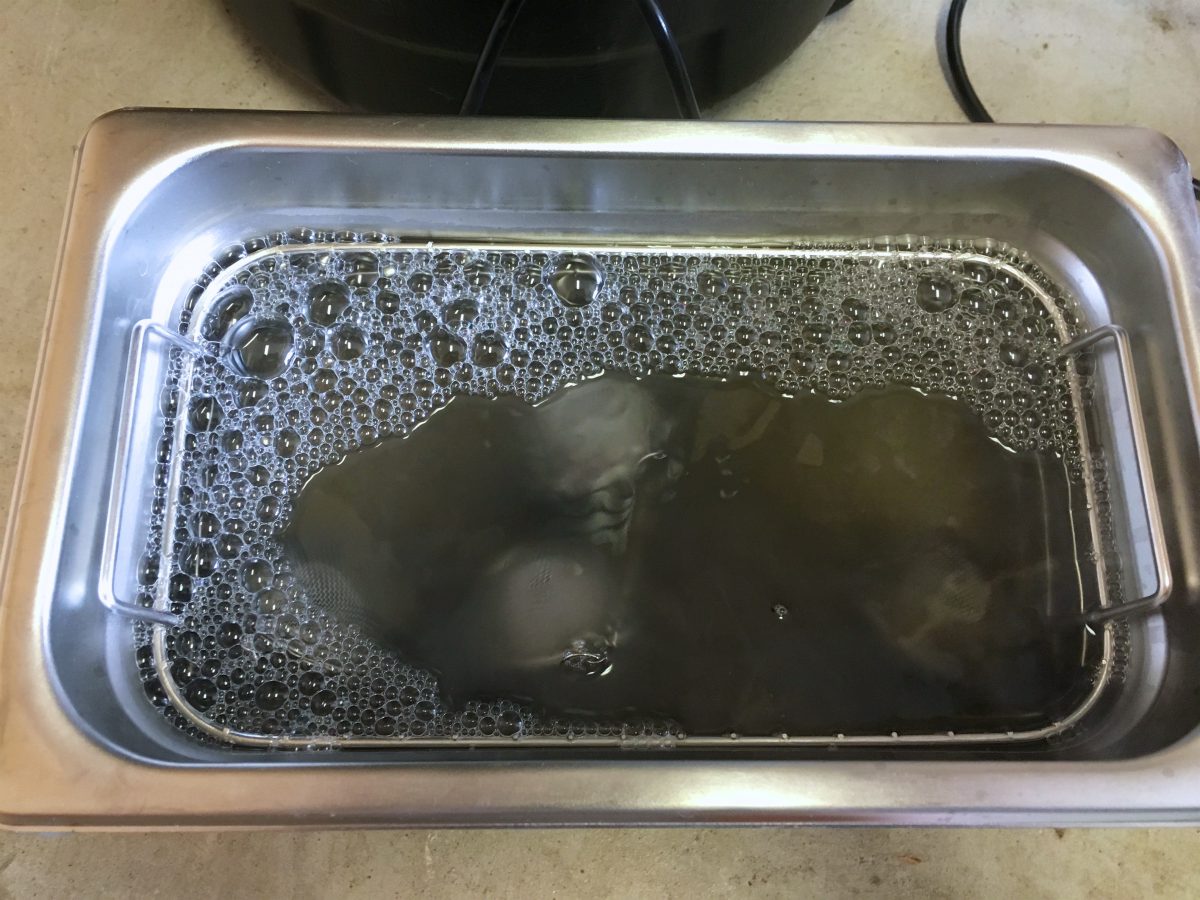
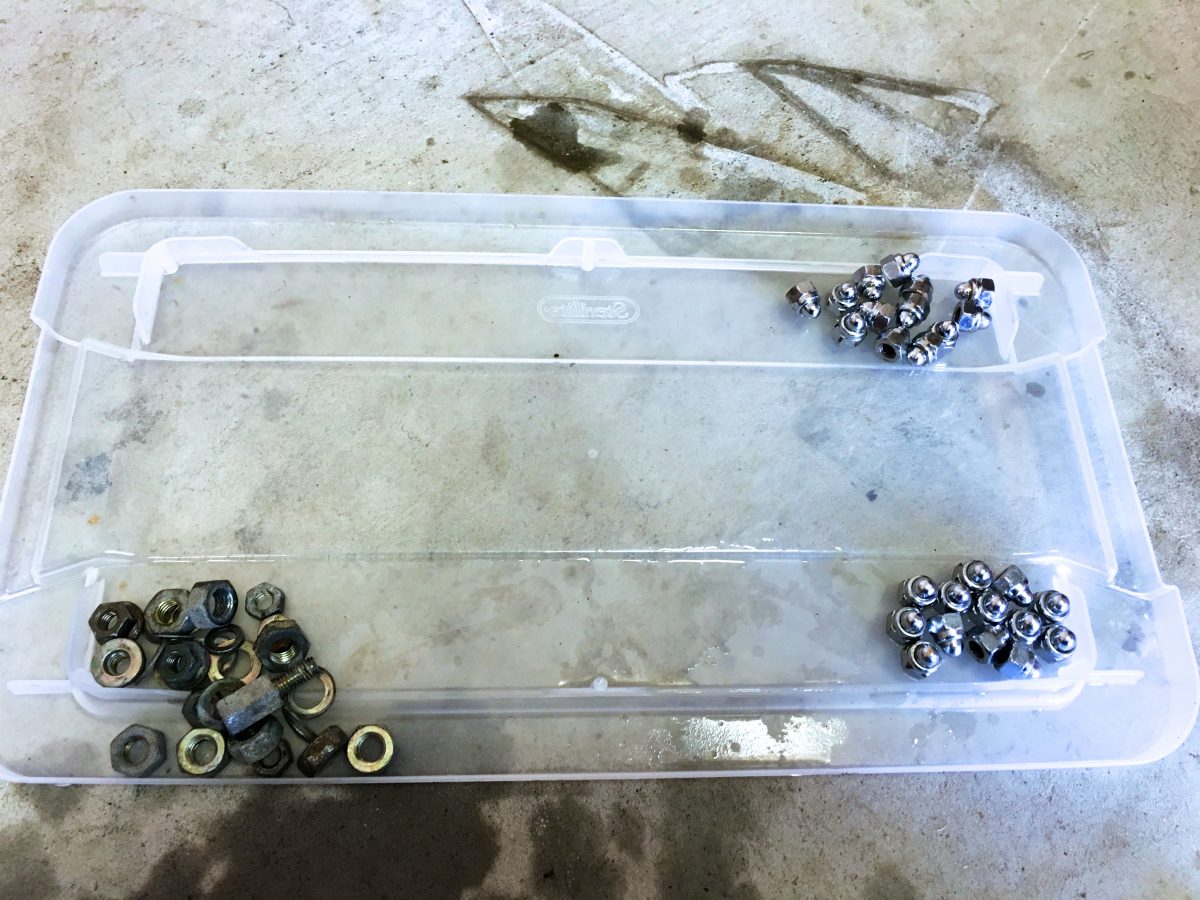
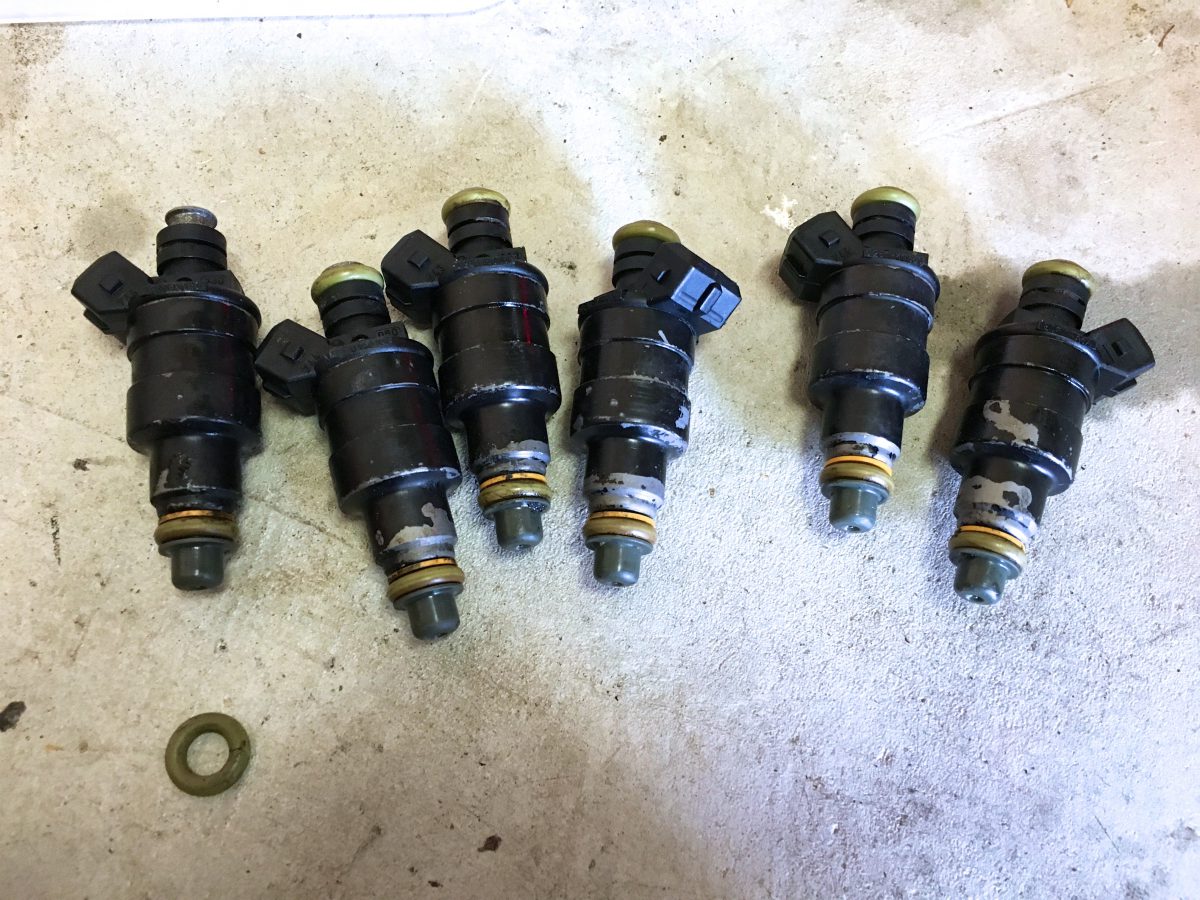
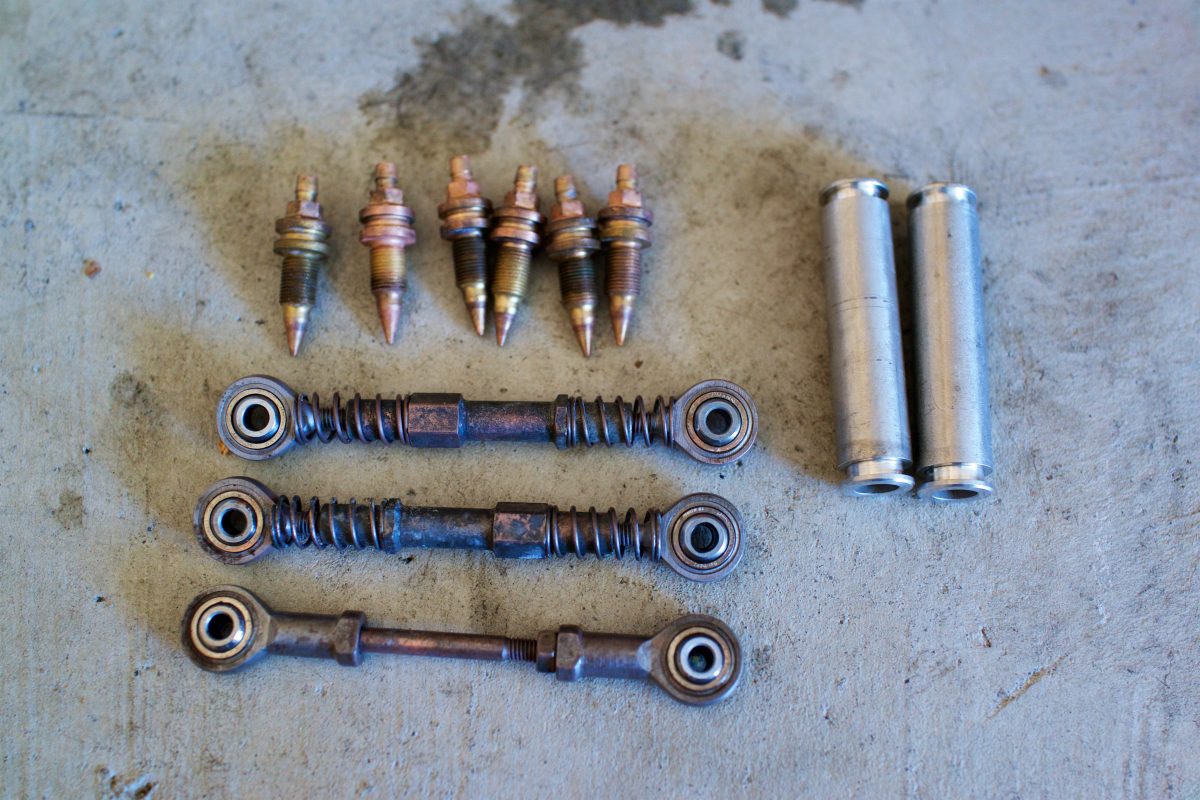
I went a little crazy with cleaning all of the little throttle assembly bits, like the brass bypass screws, throttle linkage adjusters and all of the acorn nuts, washers, hex nuts, etc. I ended up buying a heated ultrasonic cleaner, which did a great job cleaning up the fuel injectors. I placed all of the little parts in tea strainer balls, which worked perfectly. I used the Simple Green Aircraft for this, too, and when heated, it worked its cleaning magic even better.
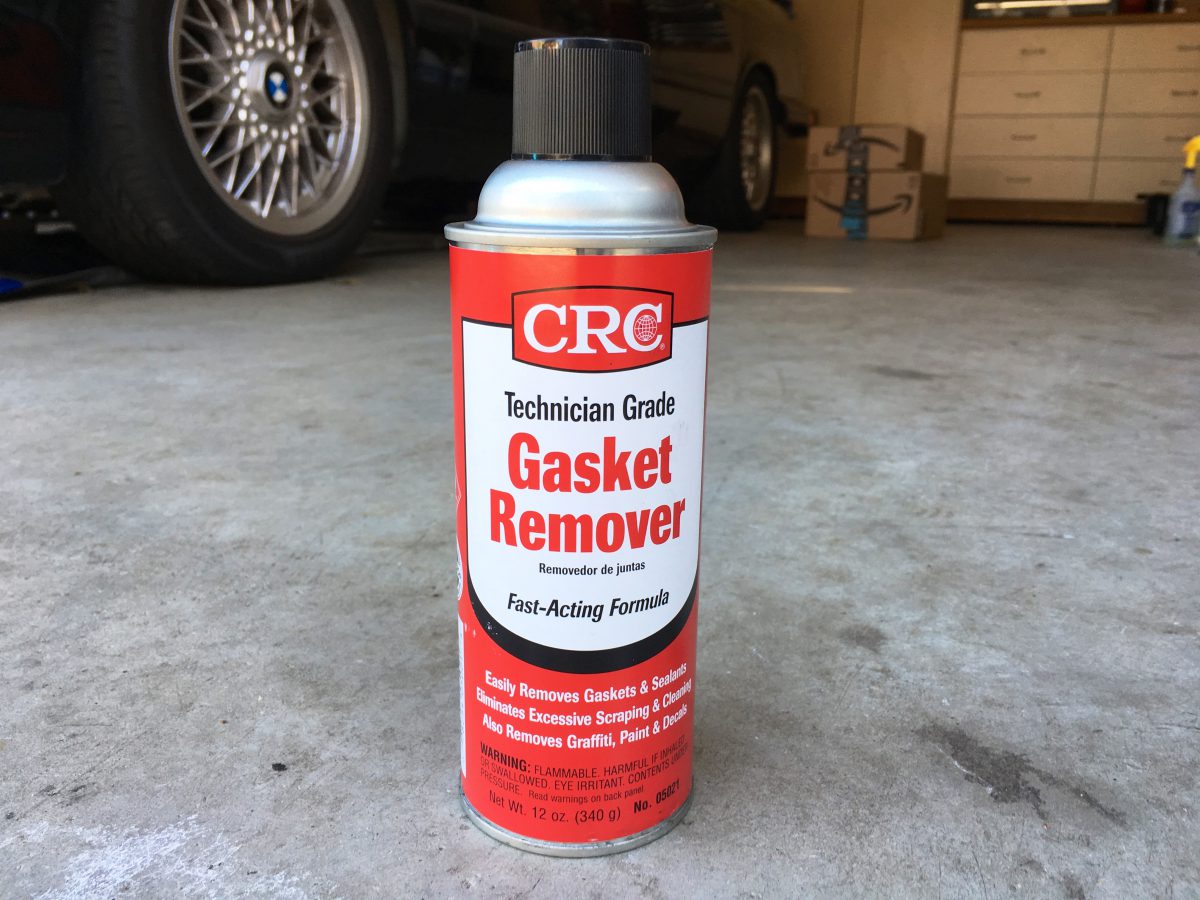
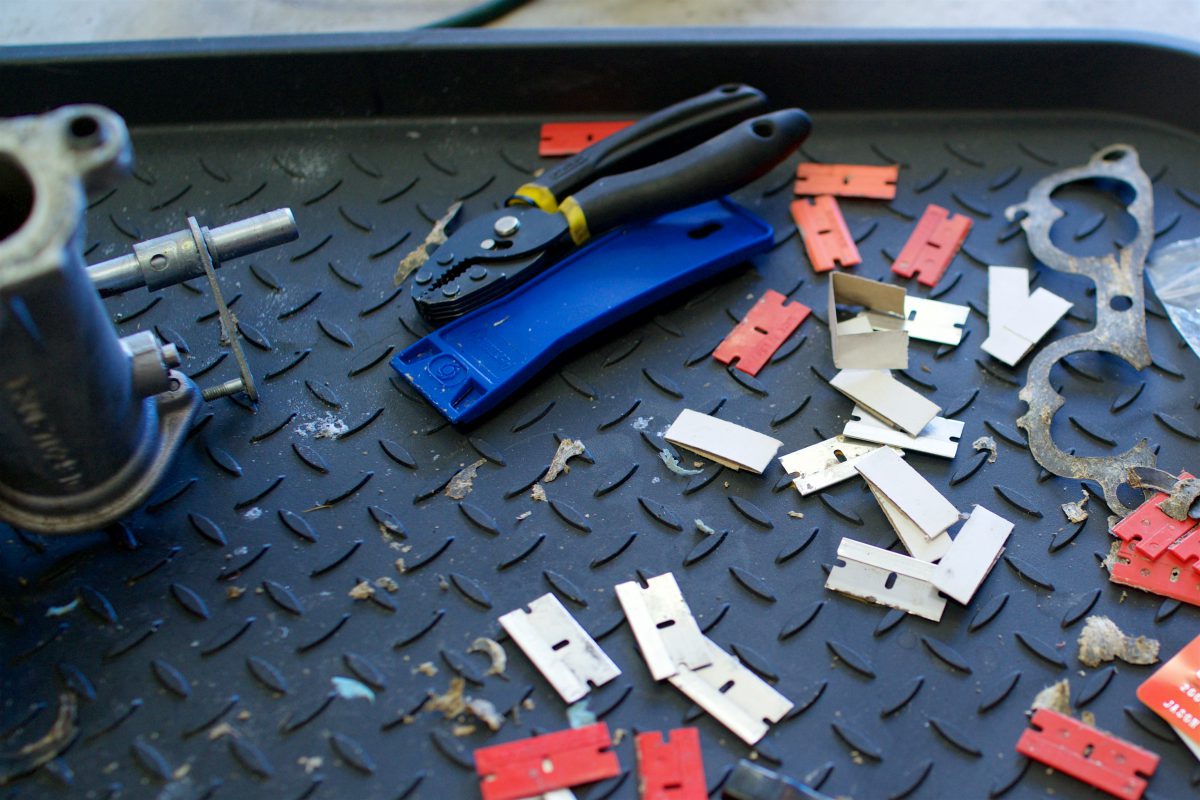
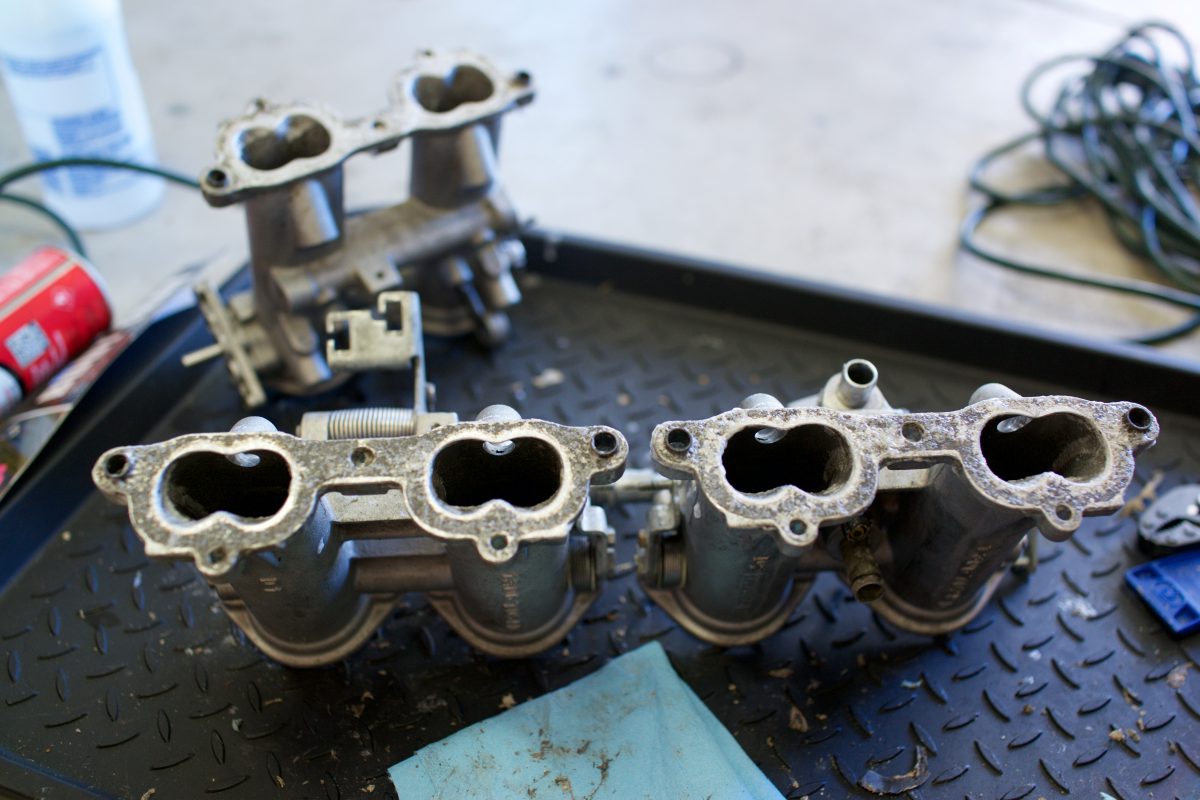
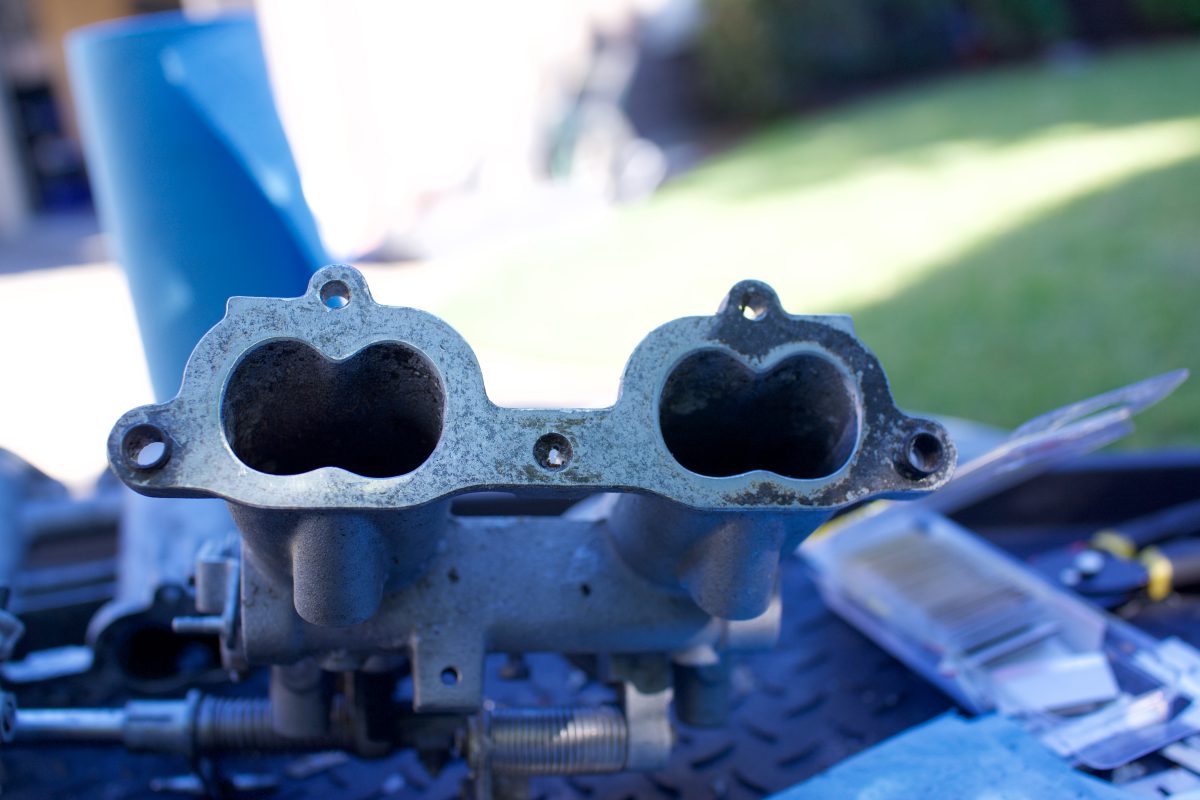
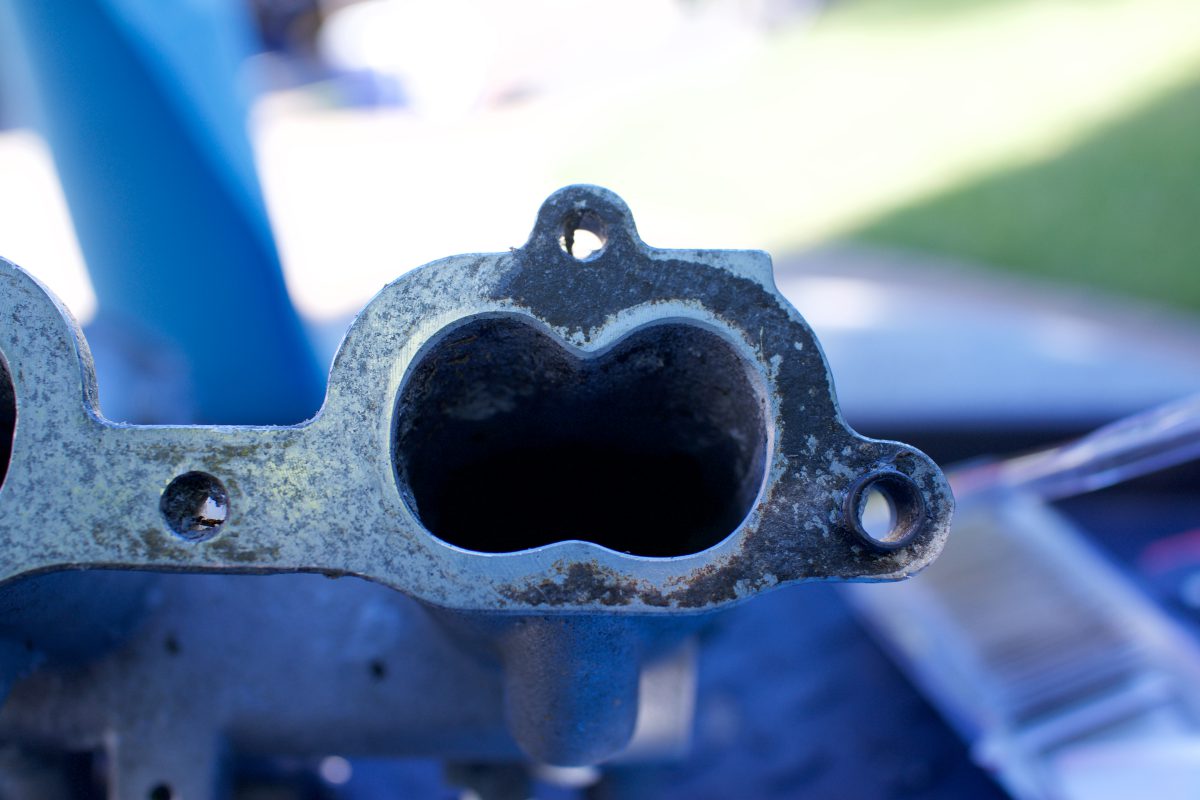
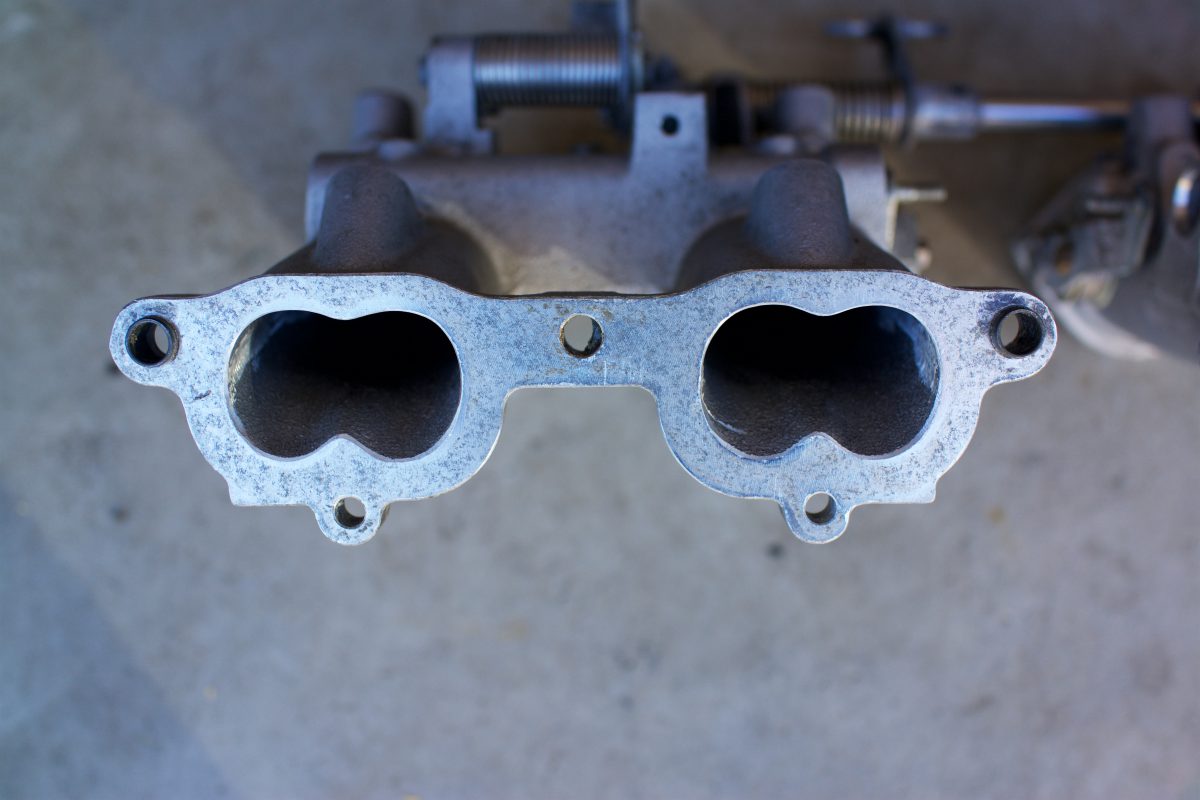
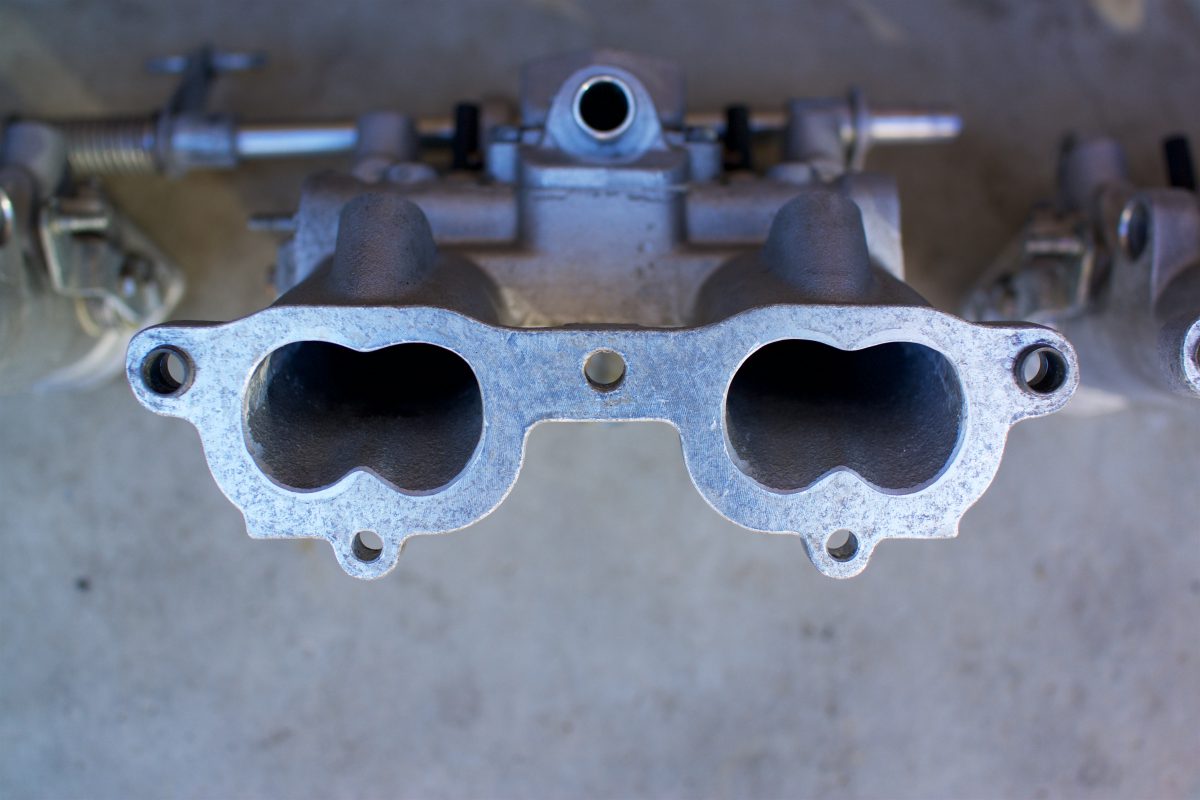
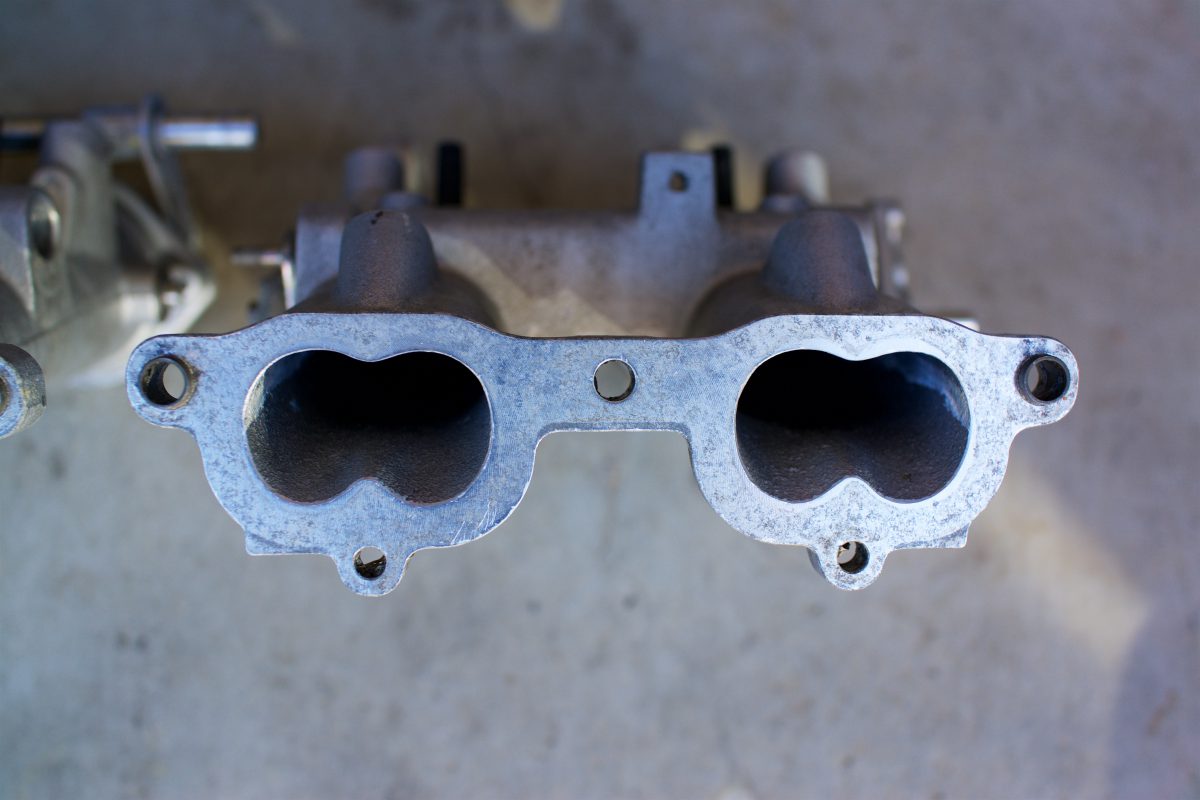
By far, the worst part of this job was removing the old gaskets from the throttle bodies. They were beyond baked on and after 30 years were basically petrified. I read up a lot about the horrors of 3M Roloc discs, bristle discs, scotch bright, aluminum oxide, etc. on aluminum parts and around any open engine. I also read about the dangers of using steel razor blades. So, out of an abundance of caution, I started with CRC Gasket Remover and plastic razor blades. Even with leaving the Gasket Remover to penetrate for hours or even overnight, it did very little to soften the gaskets. Some of the gasket pieces came off in big chunks, leaving mostly the adhesive residue. Other parts seemed impenetrable. I did my best with the plastic blades, which dulled very quickly. In short, I was getting nowhere.
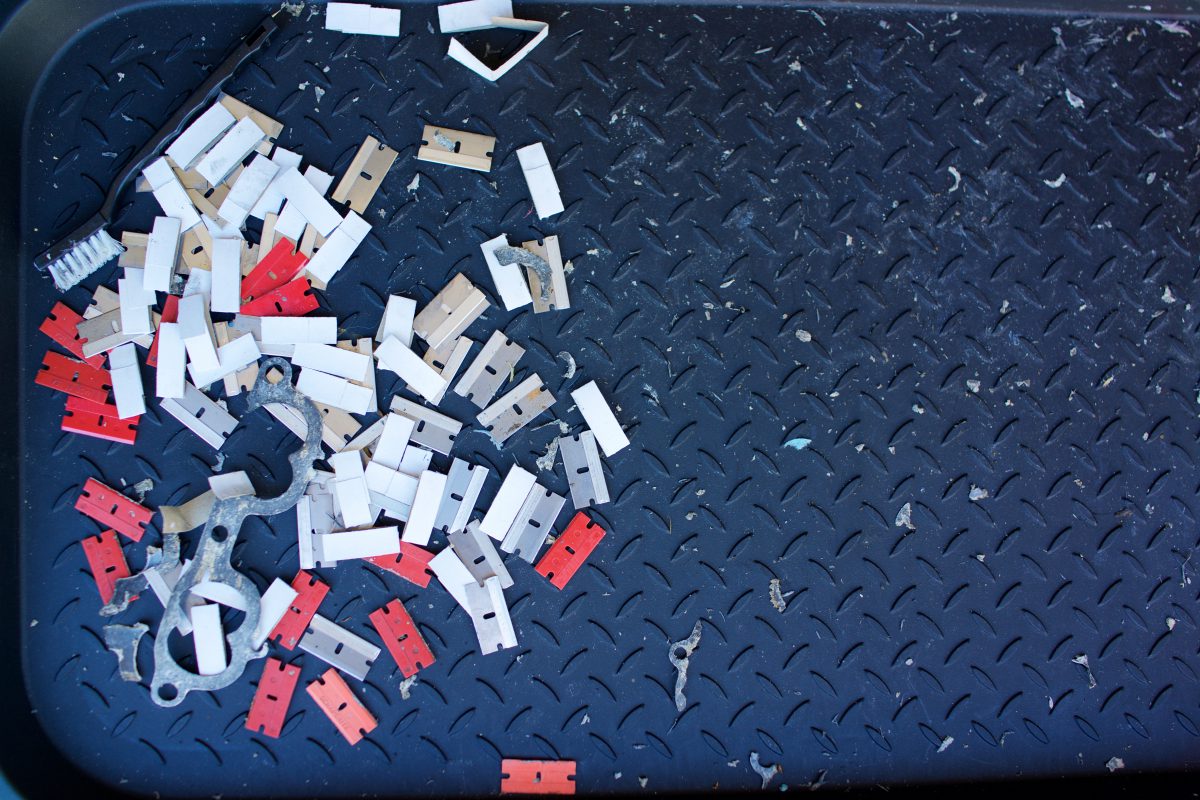
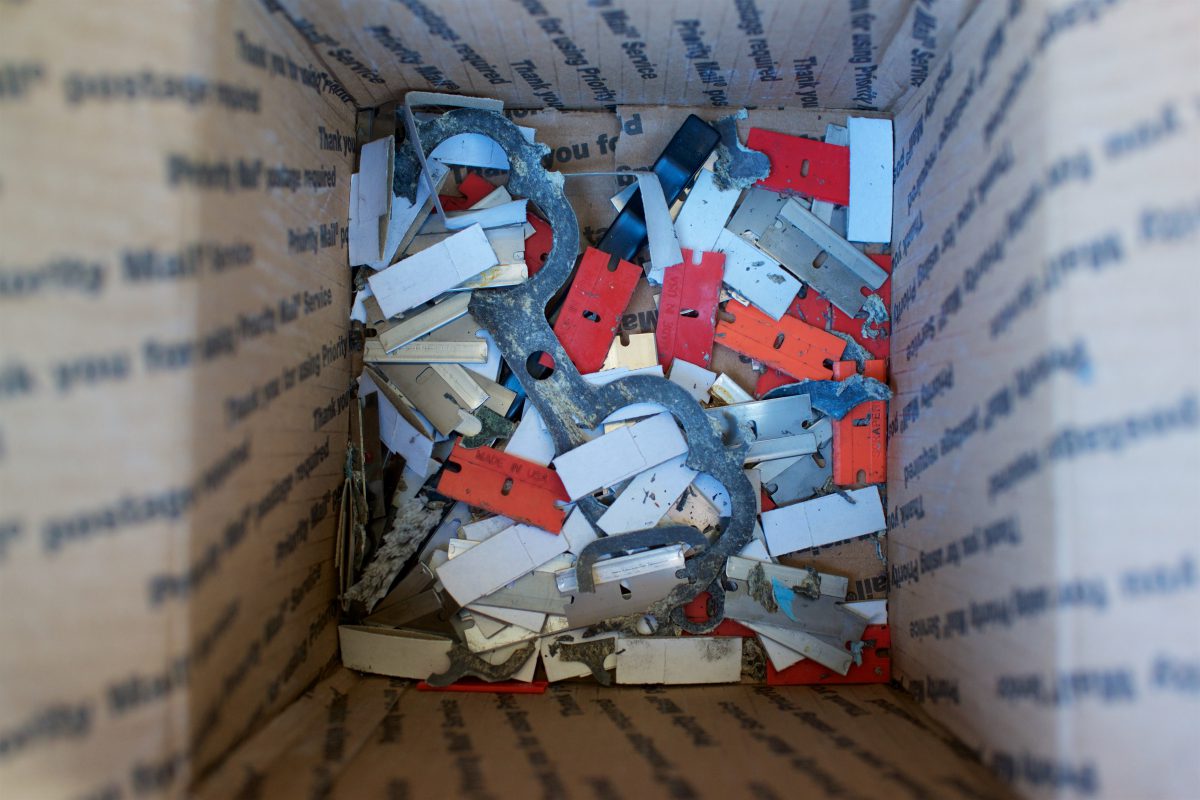
After a day or so of futility, I decided to throw caution to the wind and ordered 100 steel razor blades. With extreme caution, I honed a technique to remove the gasket little by little. The process was the safest and most effective when the blades were sharp, so I retired them quickly. In the end, I probably ended up using close to 50 blades with repeated application of the gasket remover. This was the most tedious and least gratifying project ever, on any car. I was just happy it was done so I could move forward with the reassembly.
