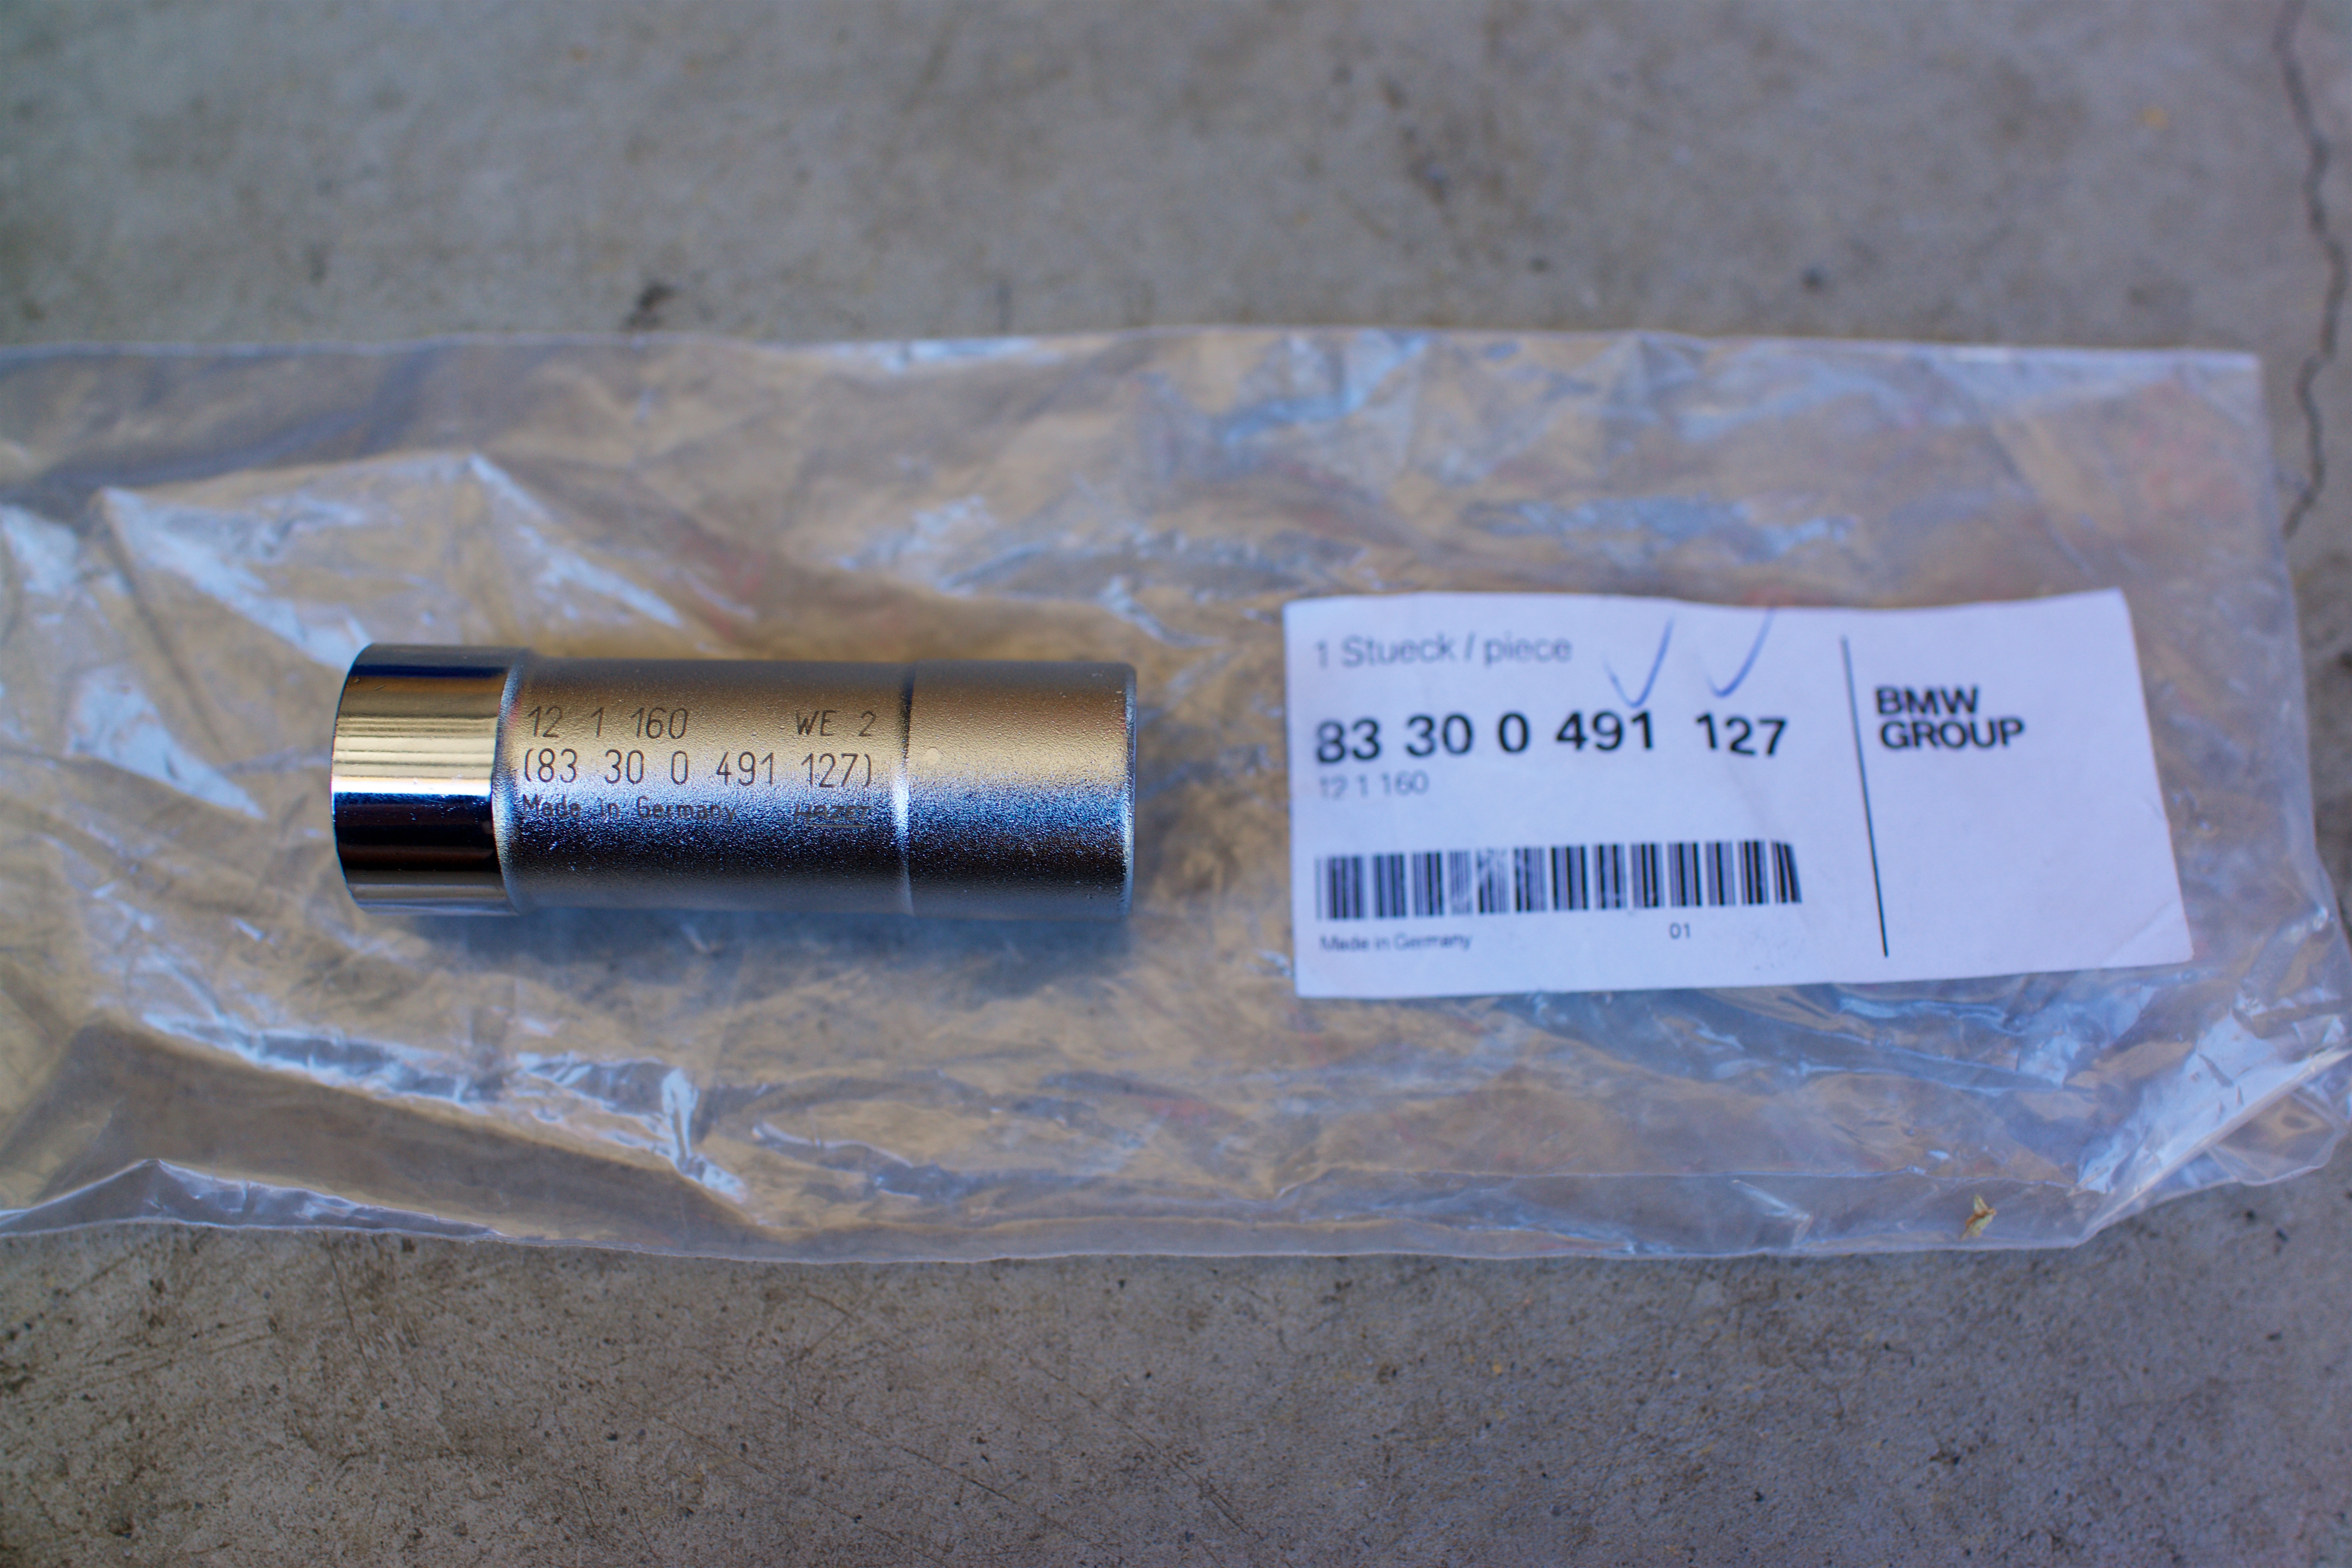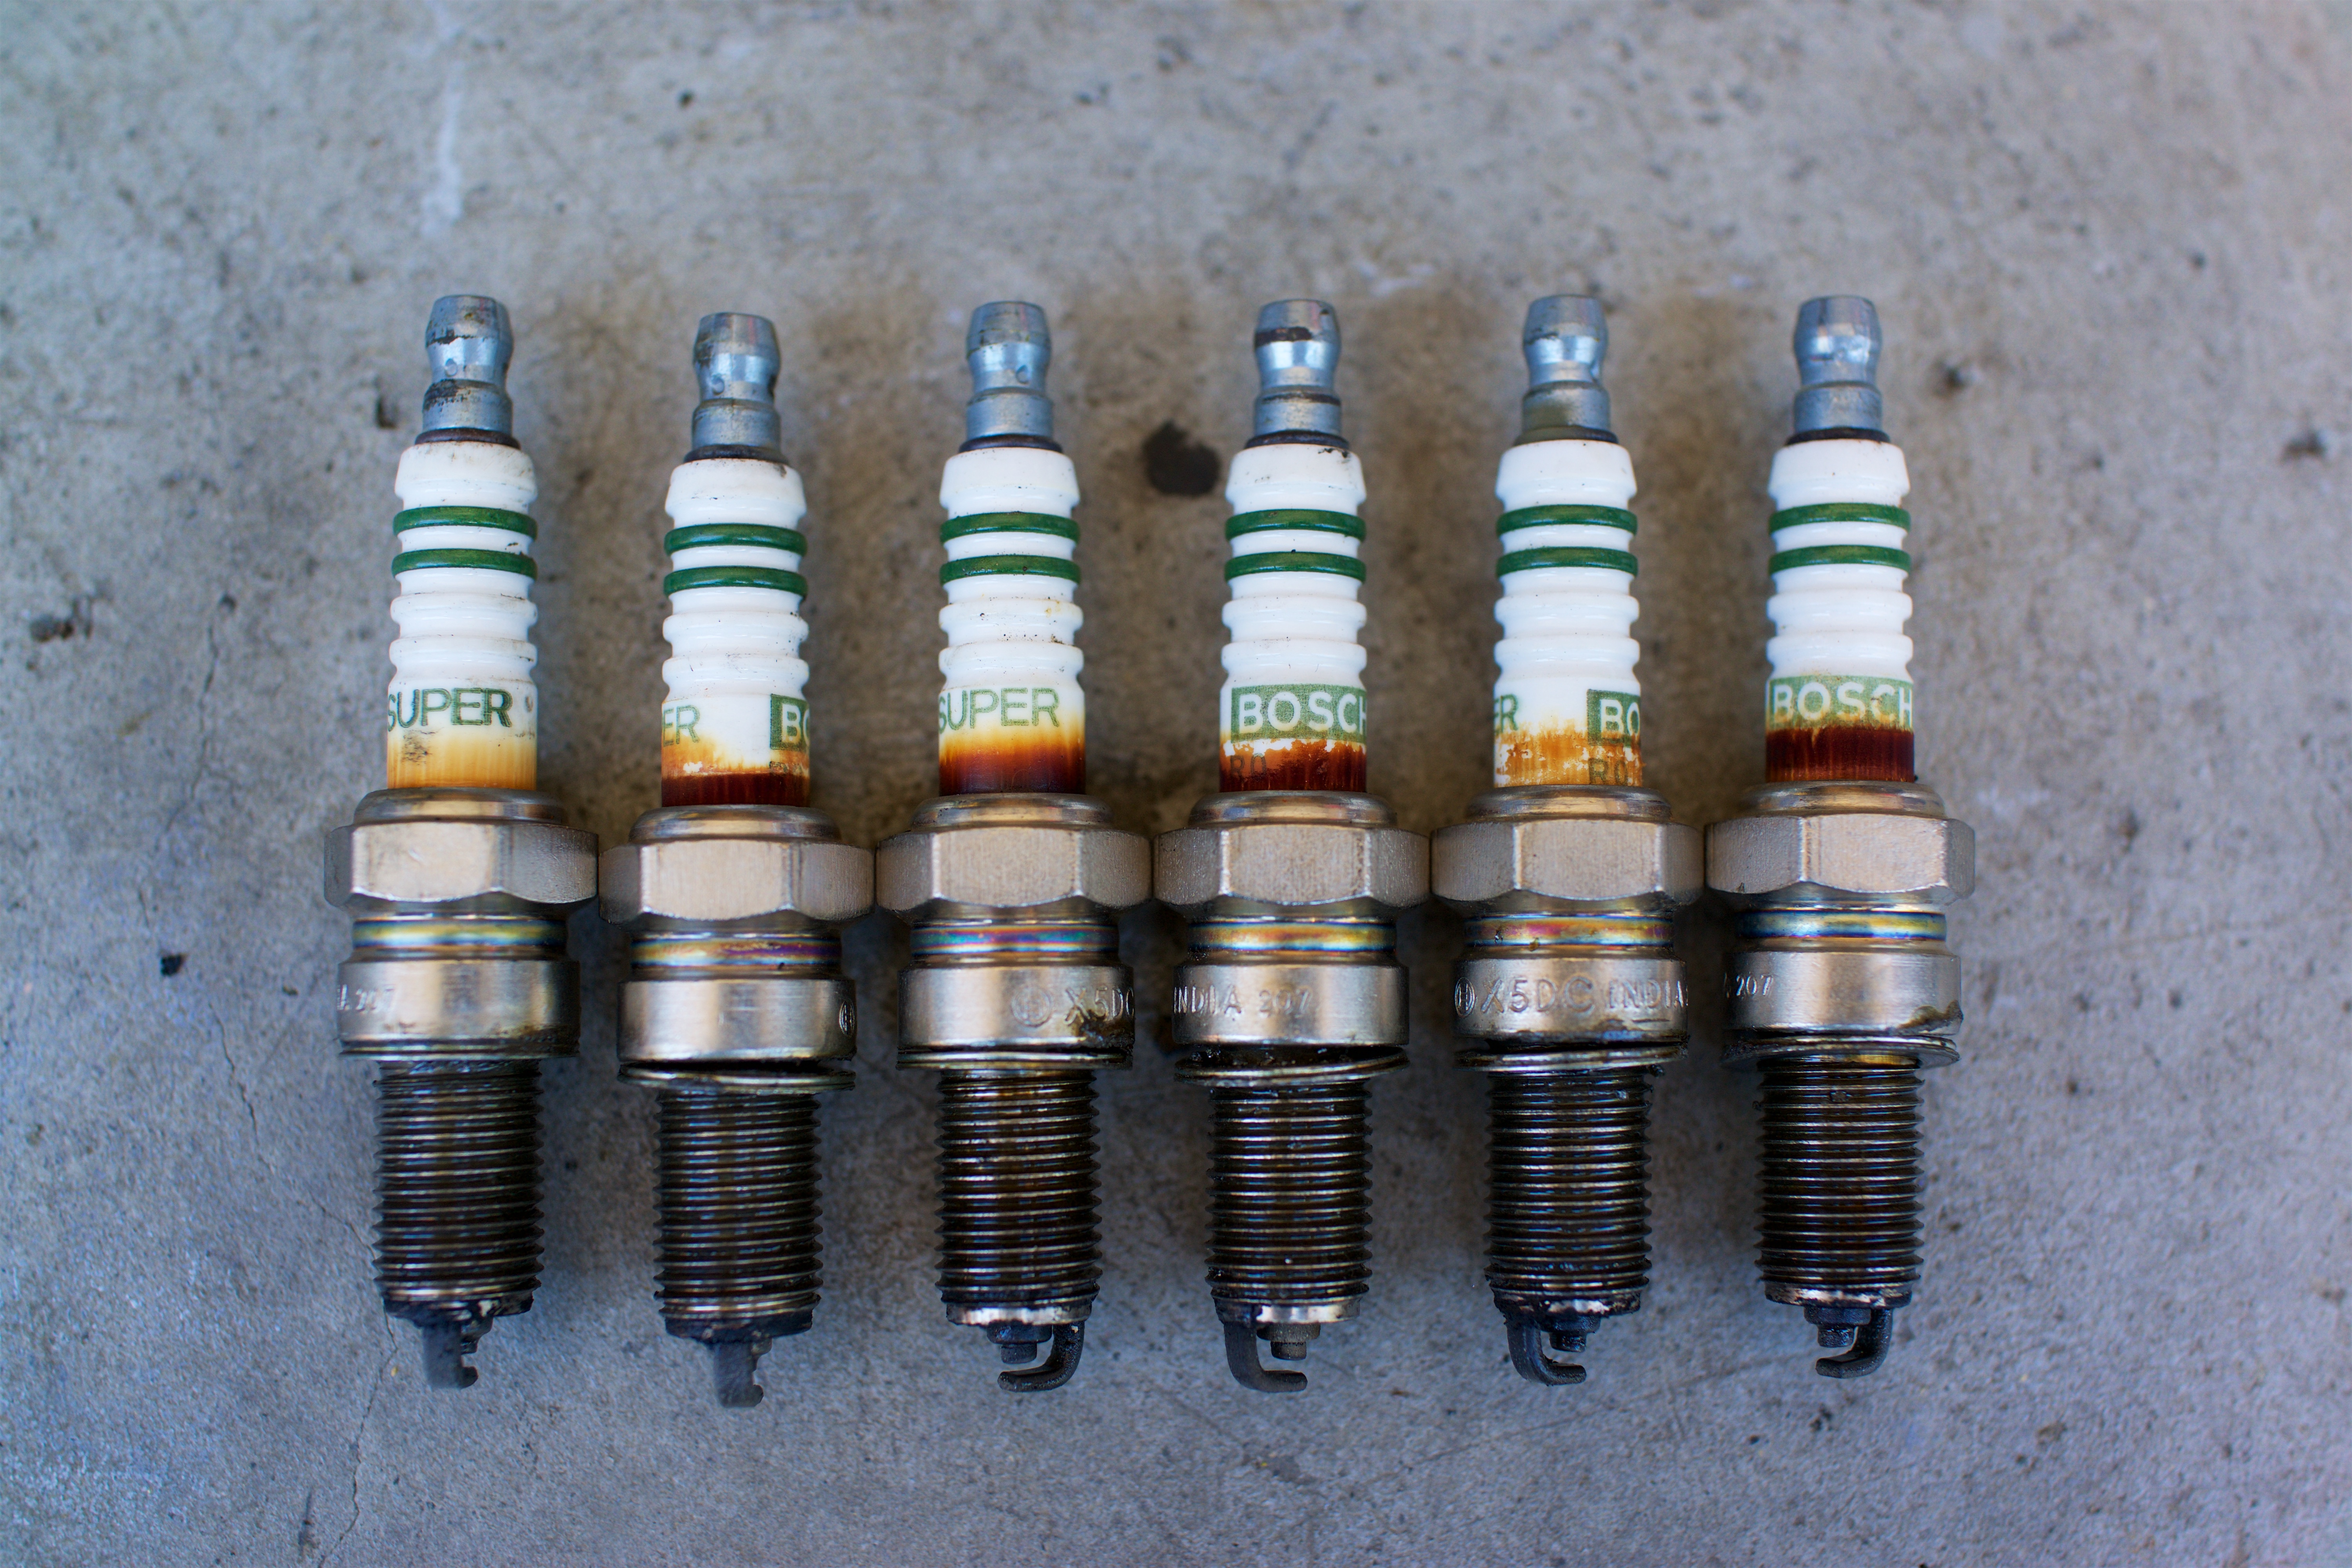
After completing the valve adjustment, I properly gapped and installed a new set of Bosch X5DC spark plugs. I had bought a replacement NOS telescoping spark plug wrench, which was missing from the trunk tool kit. When I gave it a try, I found that the wrench would not fit all the way inside the narrow passage right around the plug. That was frustrating.
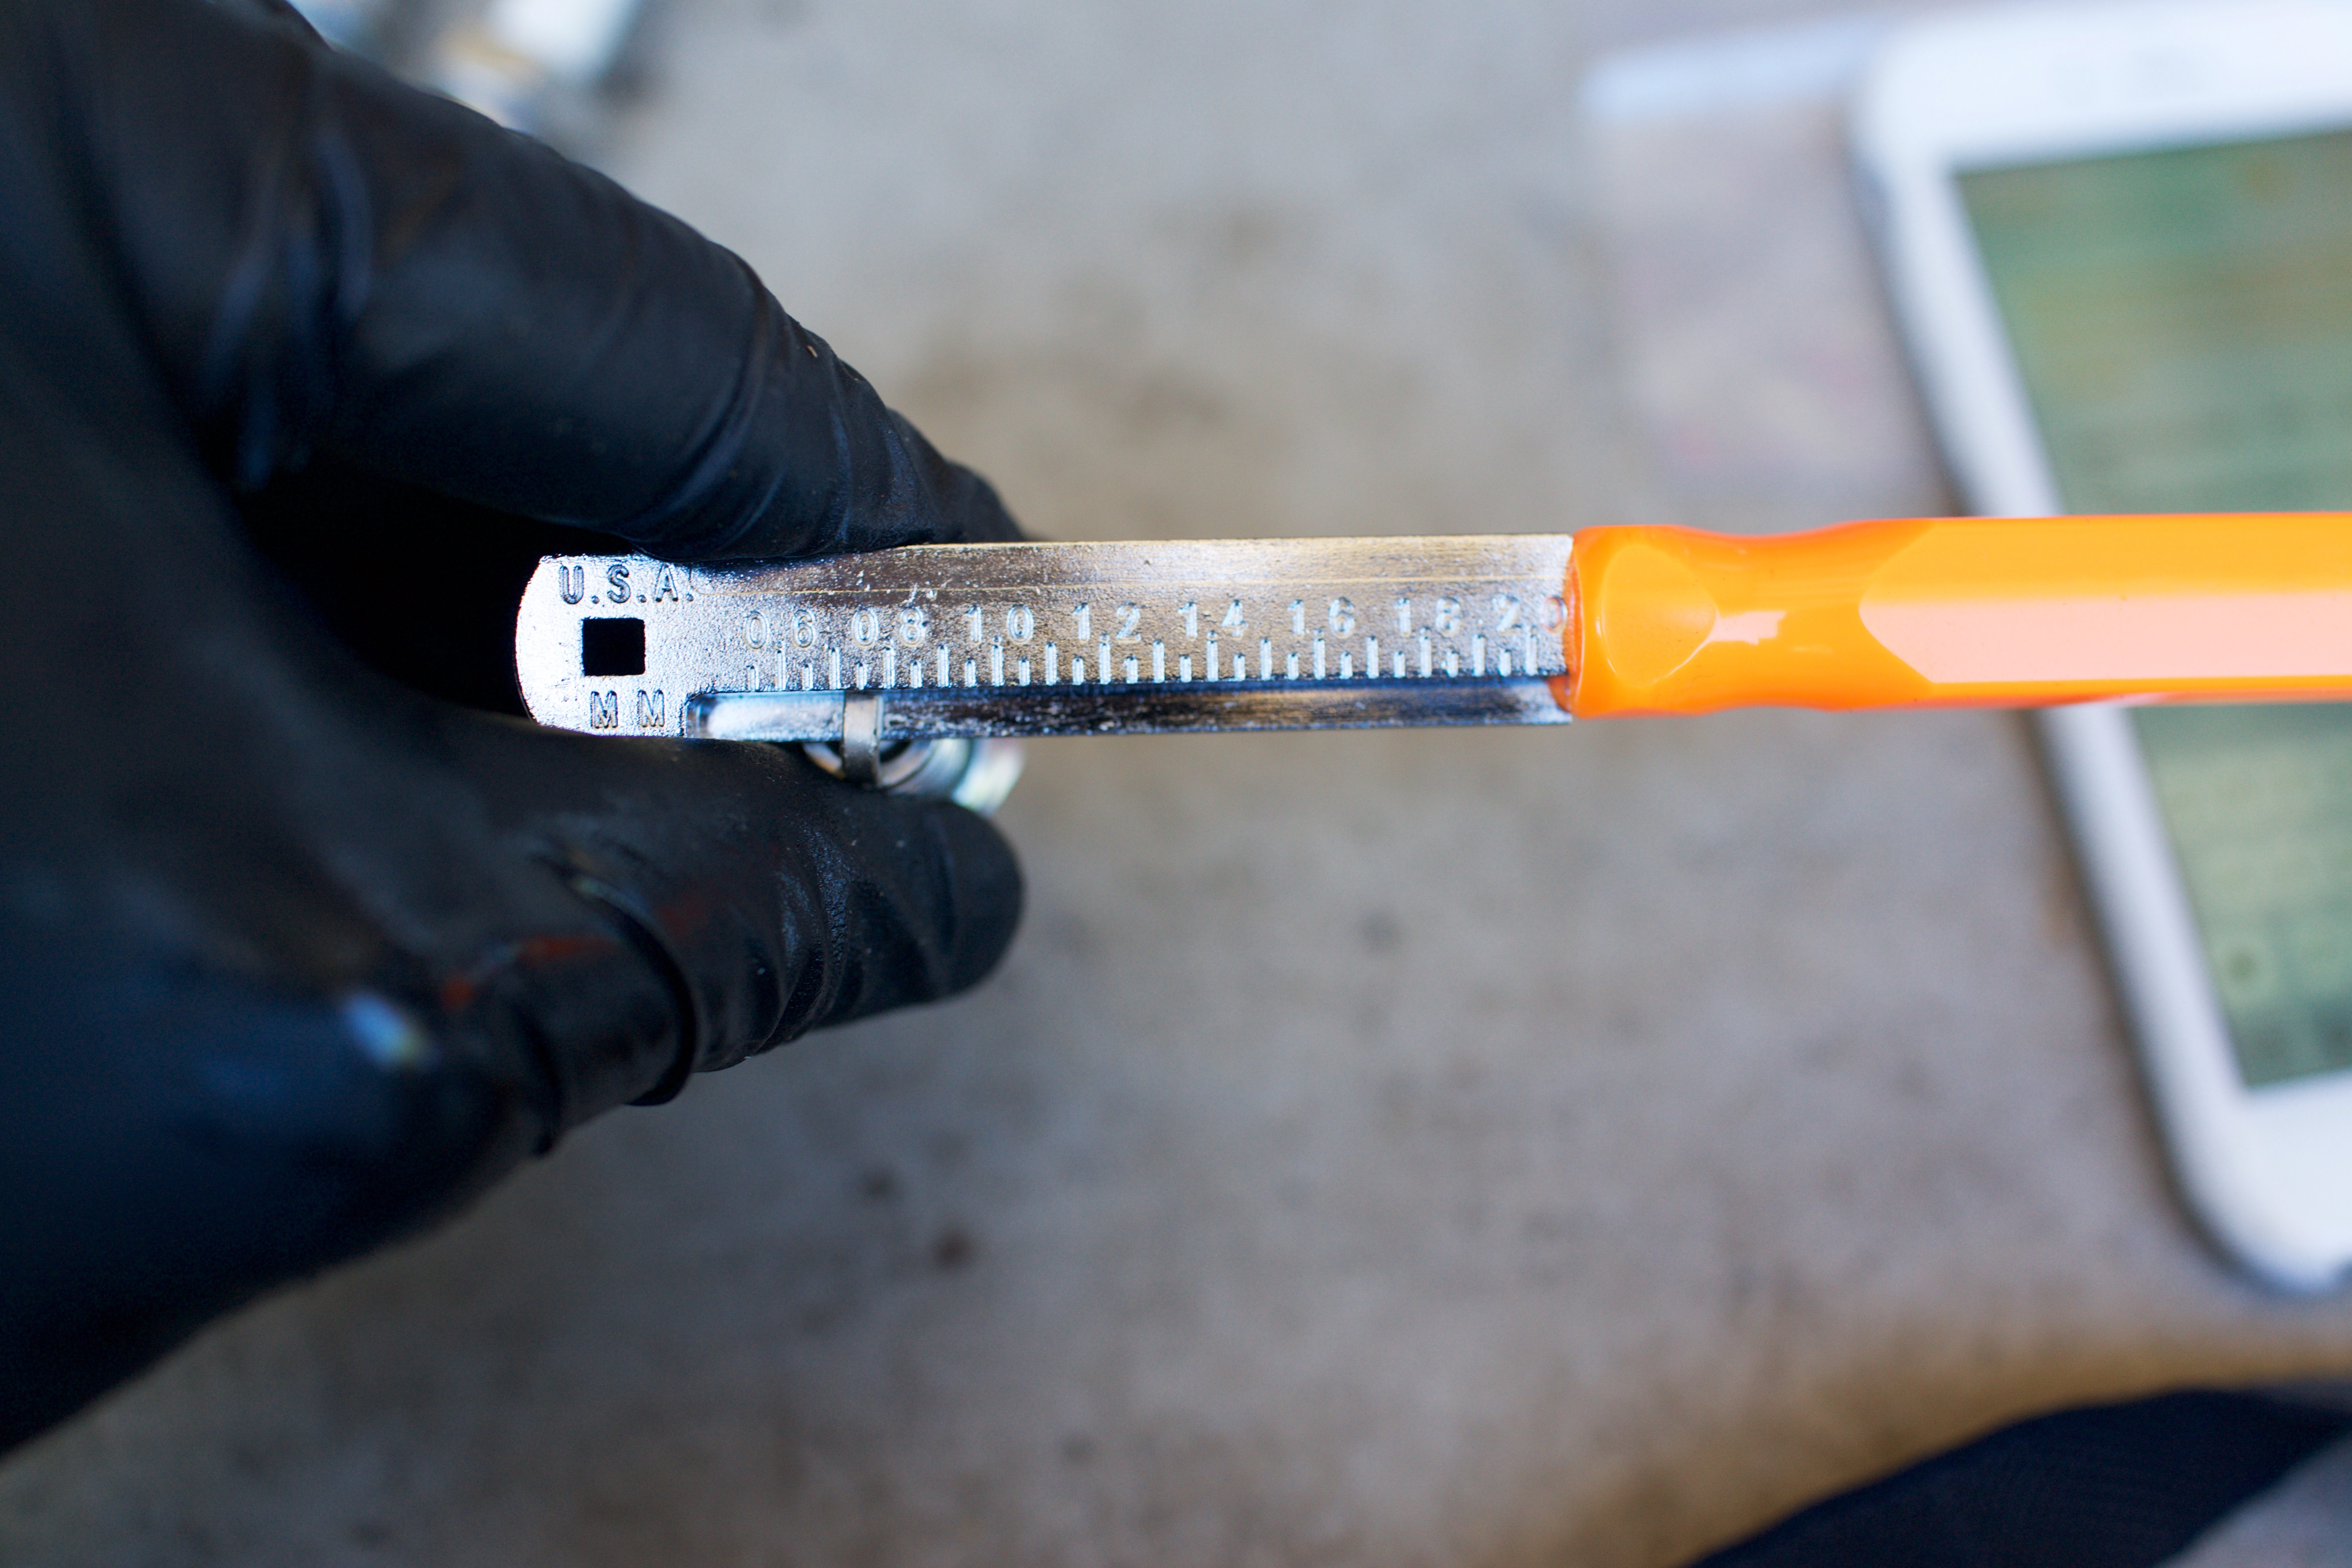
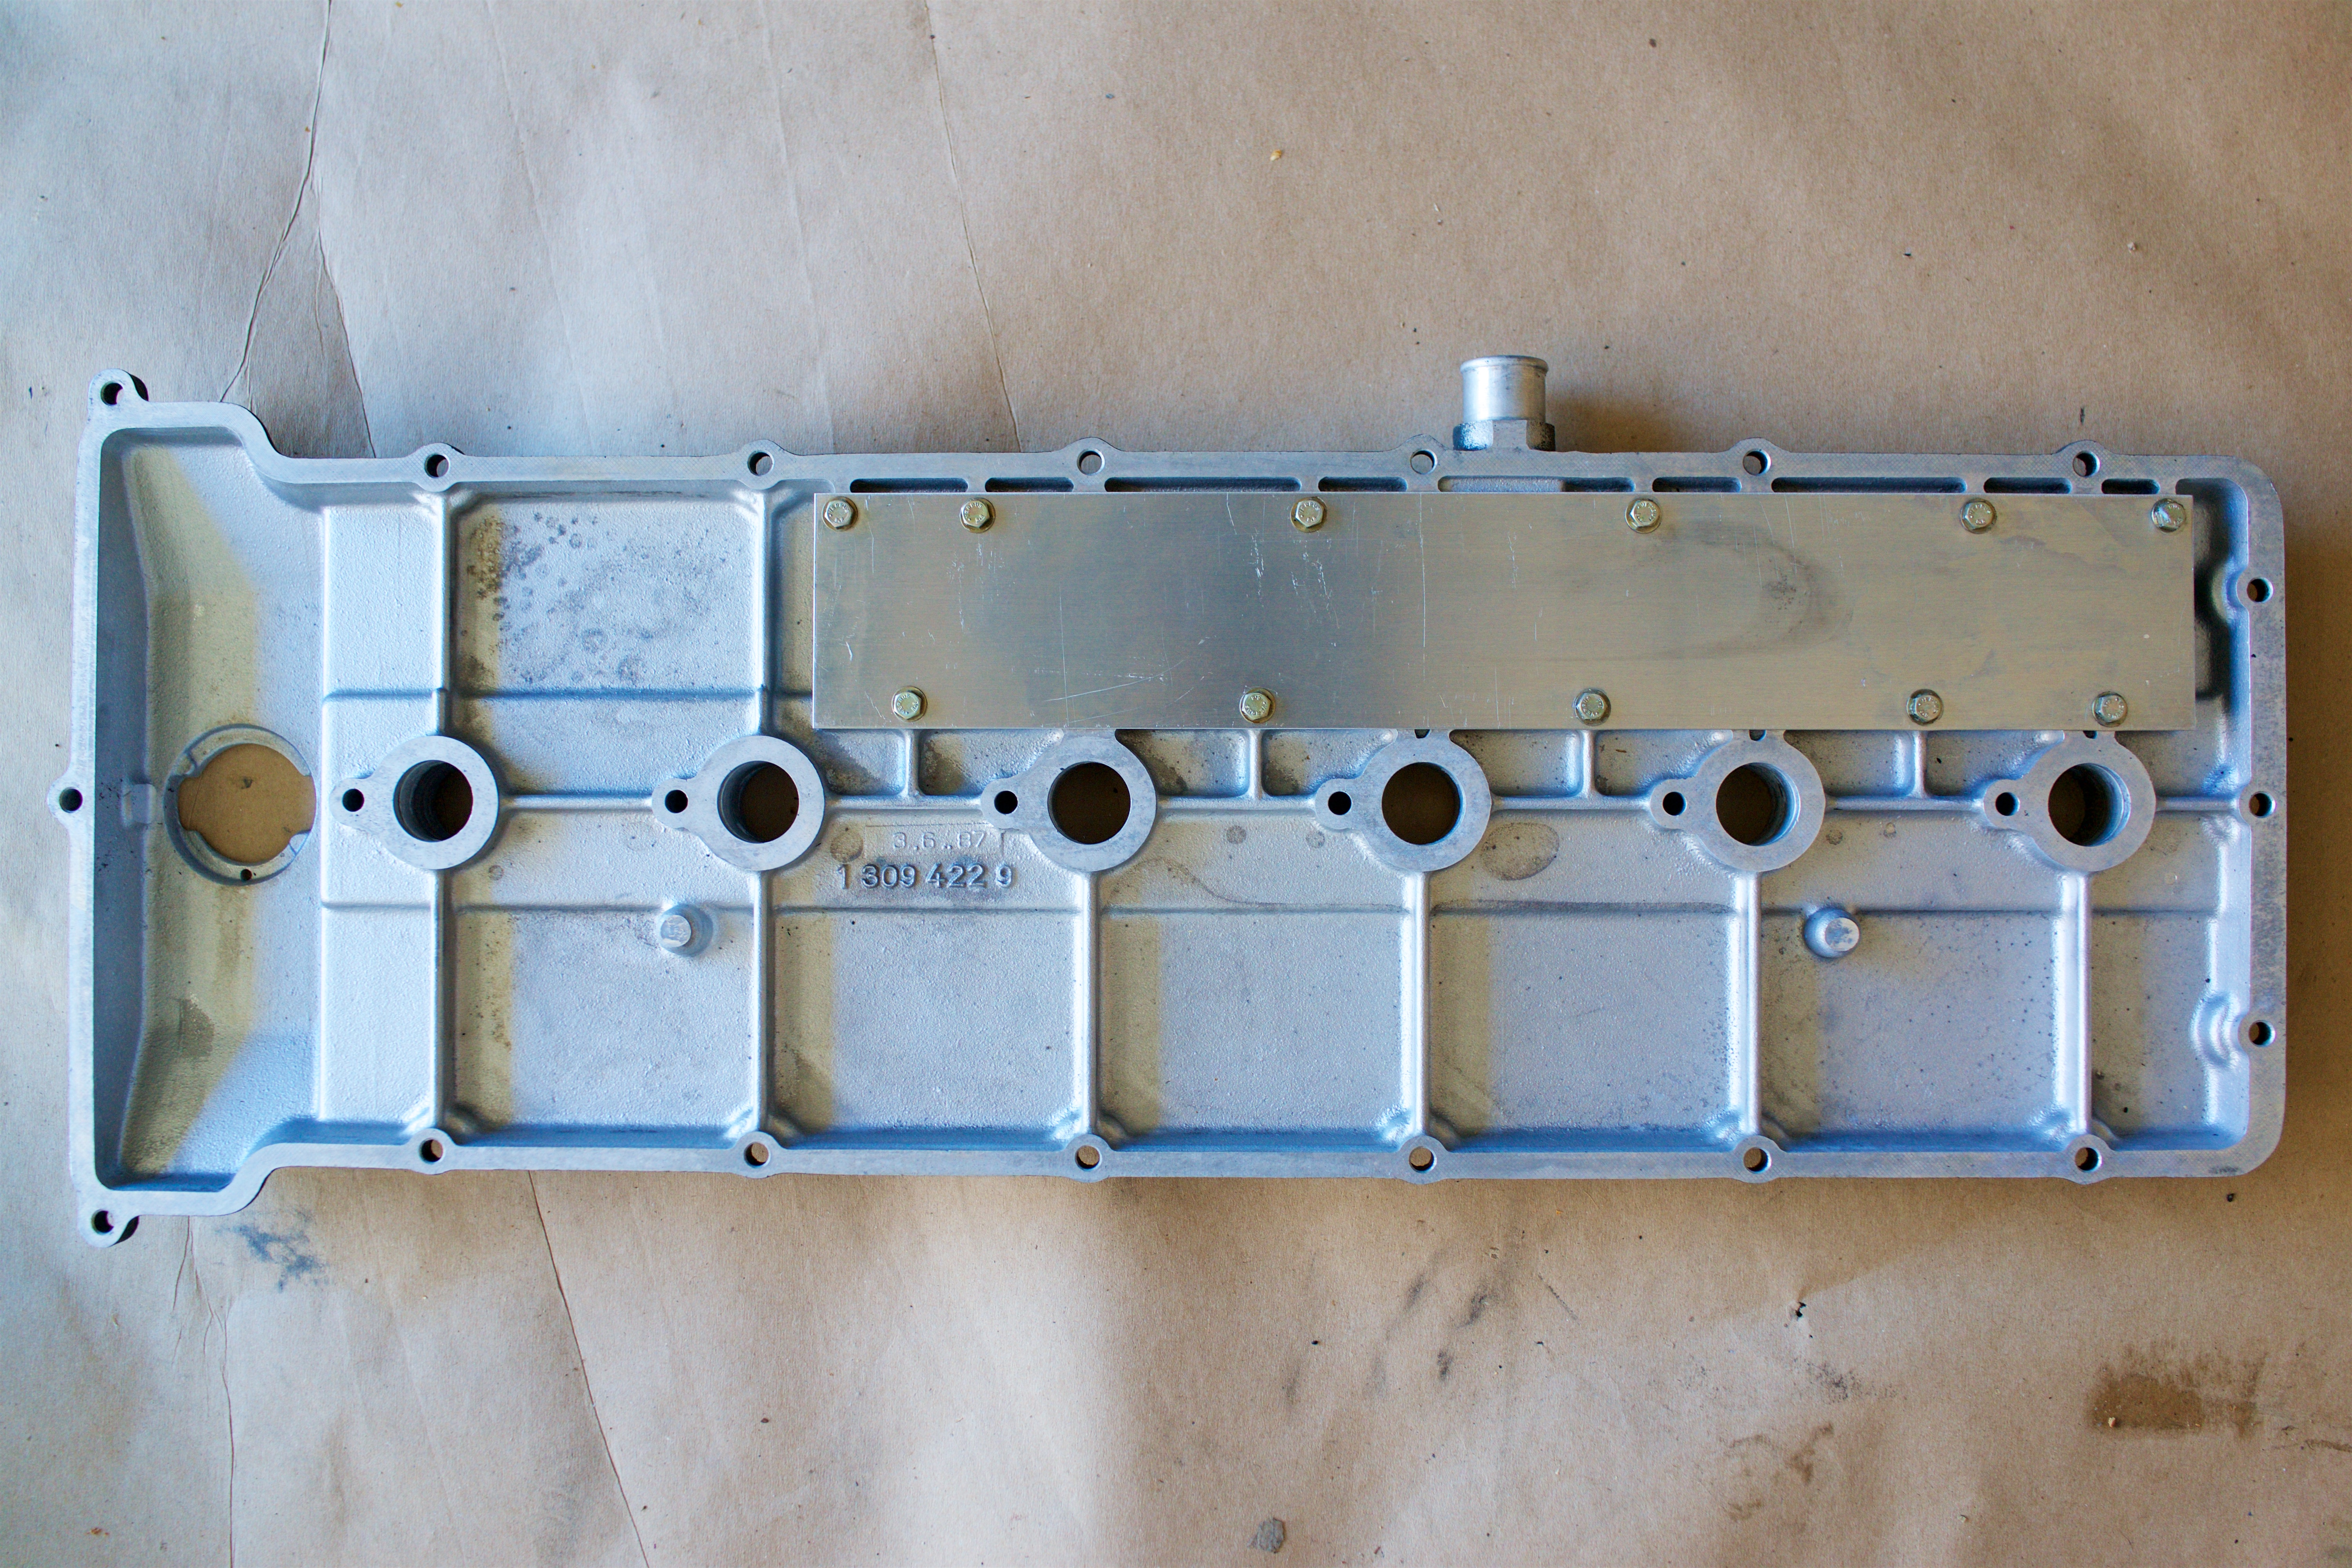
I ended up purchasing a Hazet 16mm thin-wall spark plug socket, which like most specialized tools for the M5/S38, was not inexpensive. It ended up being the correct and perfect tool for this job. Like the tappet depressor tool, I’m going to hang on to this tool (just in case…). To button up the valve adjustment, I re-installed the steel cover for the oil breather vent on the valve cover, installed four new valve cover gaskets, and torqued down the cover from the middle out.
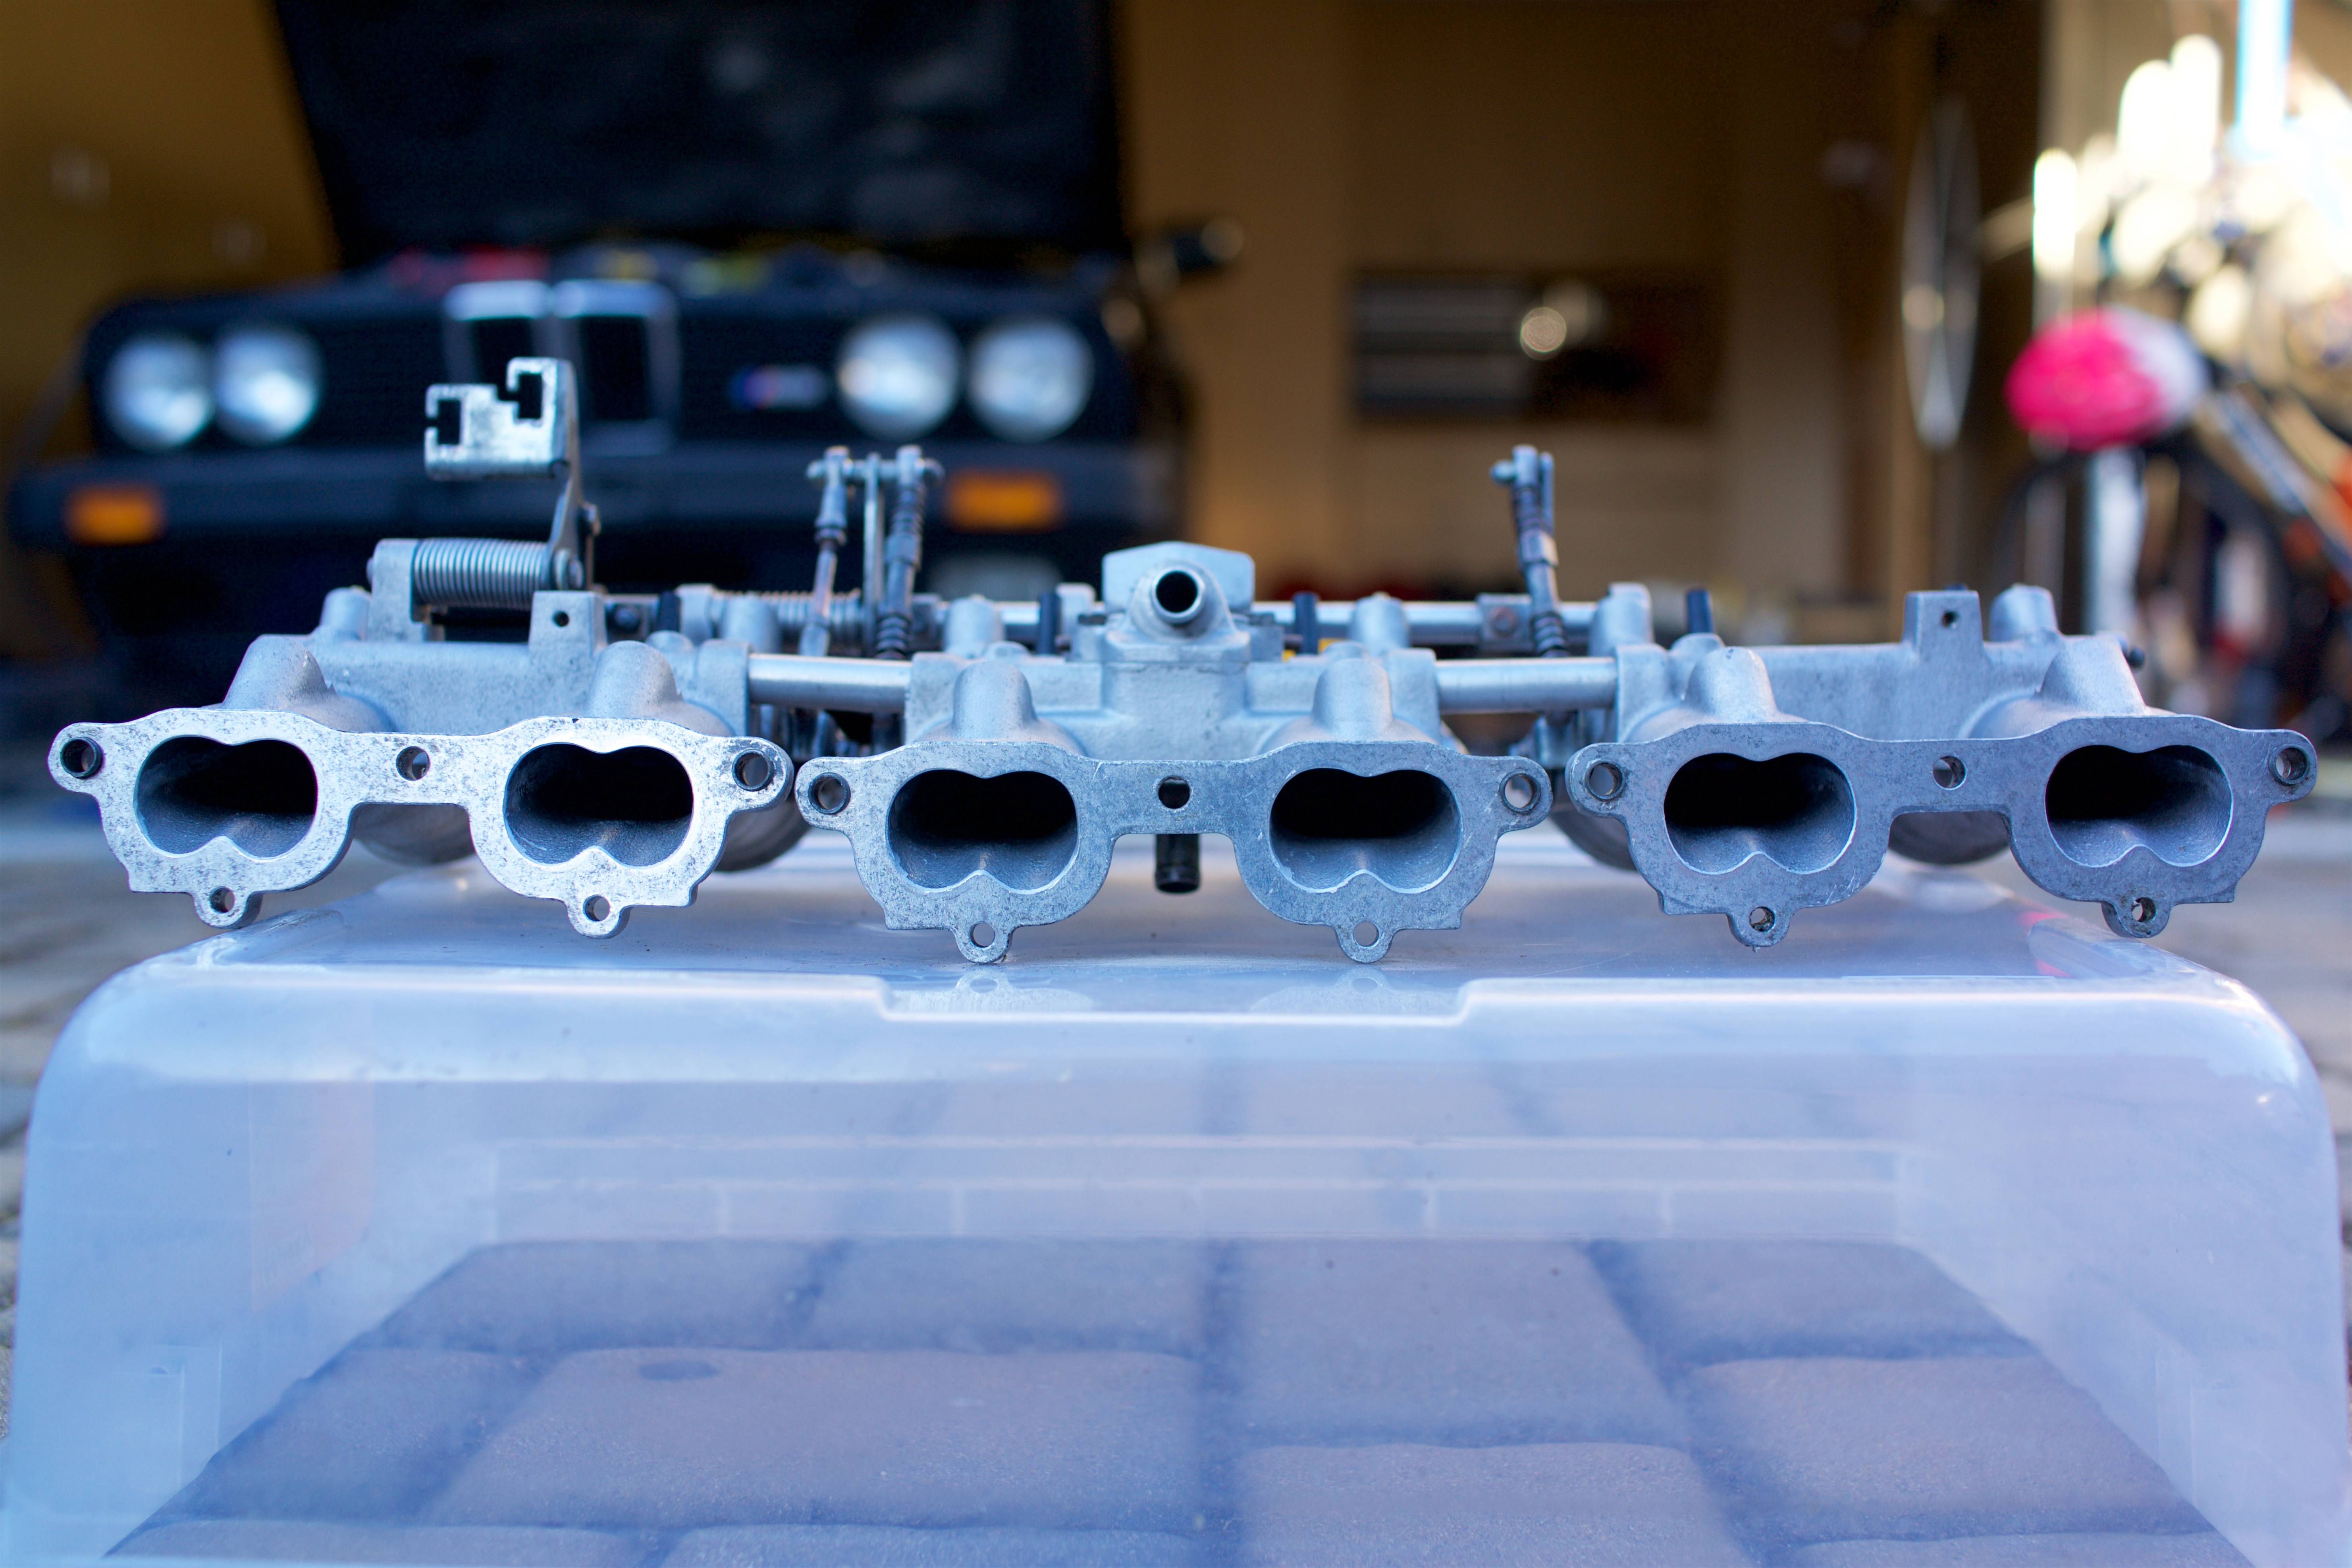
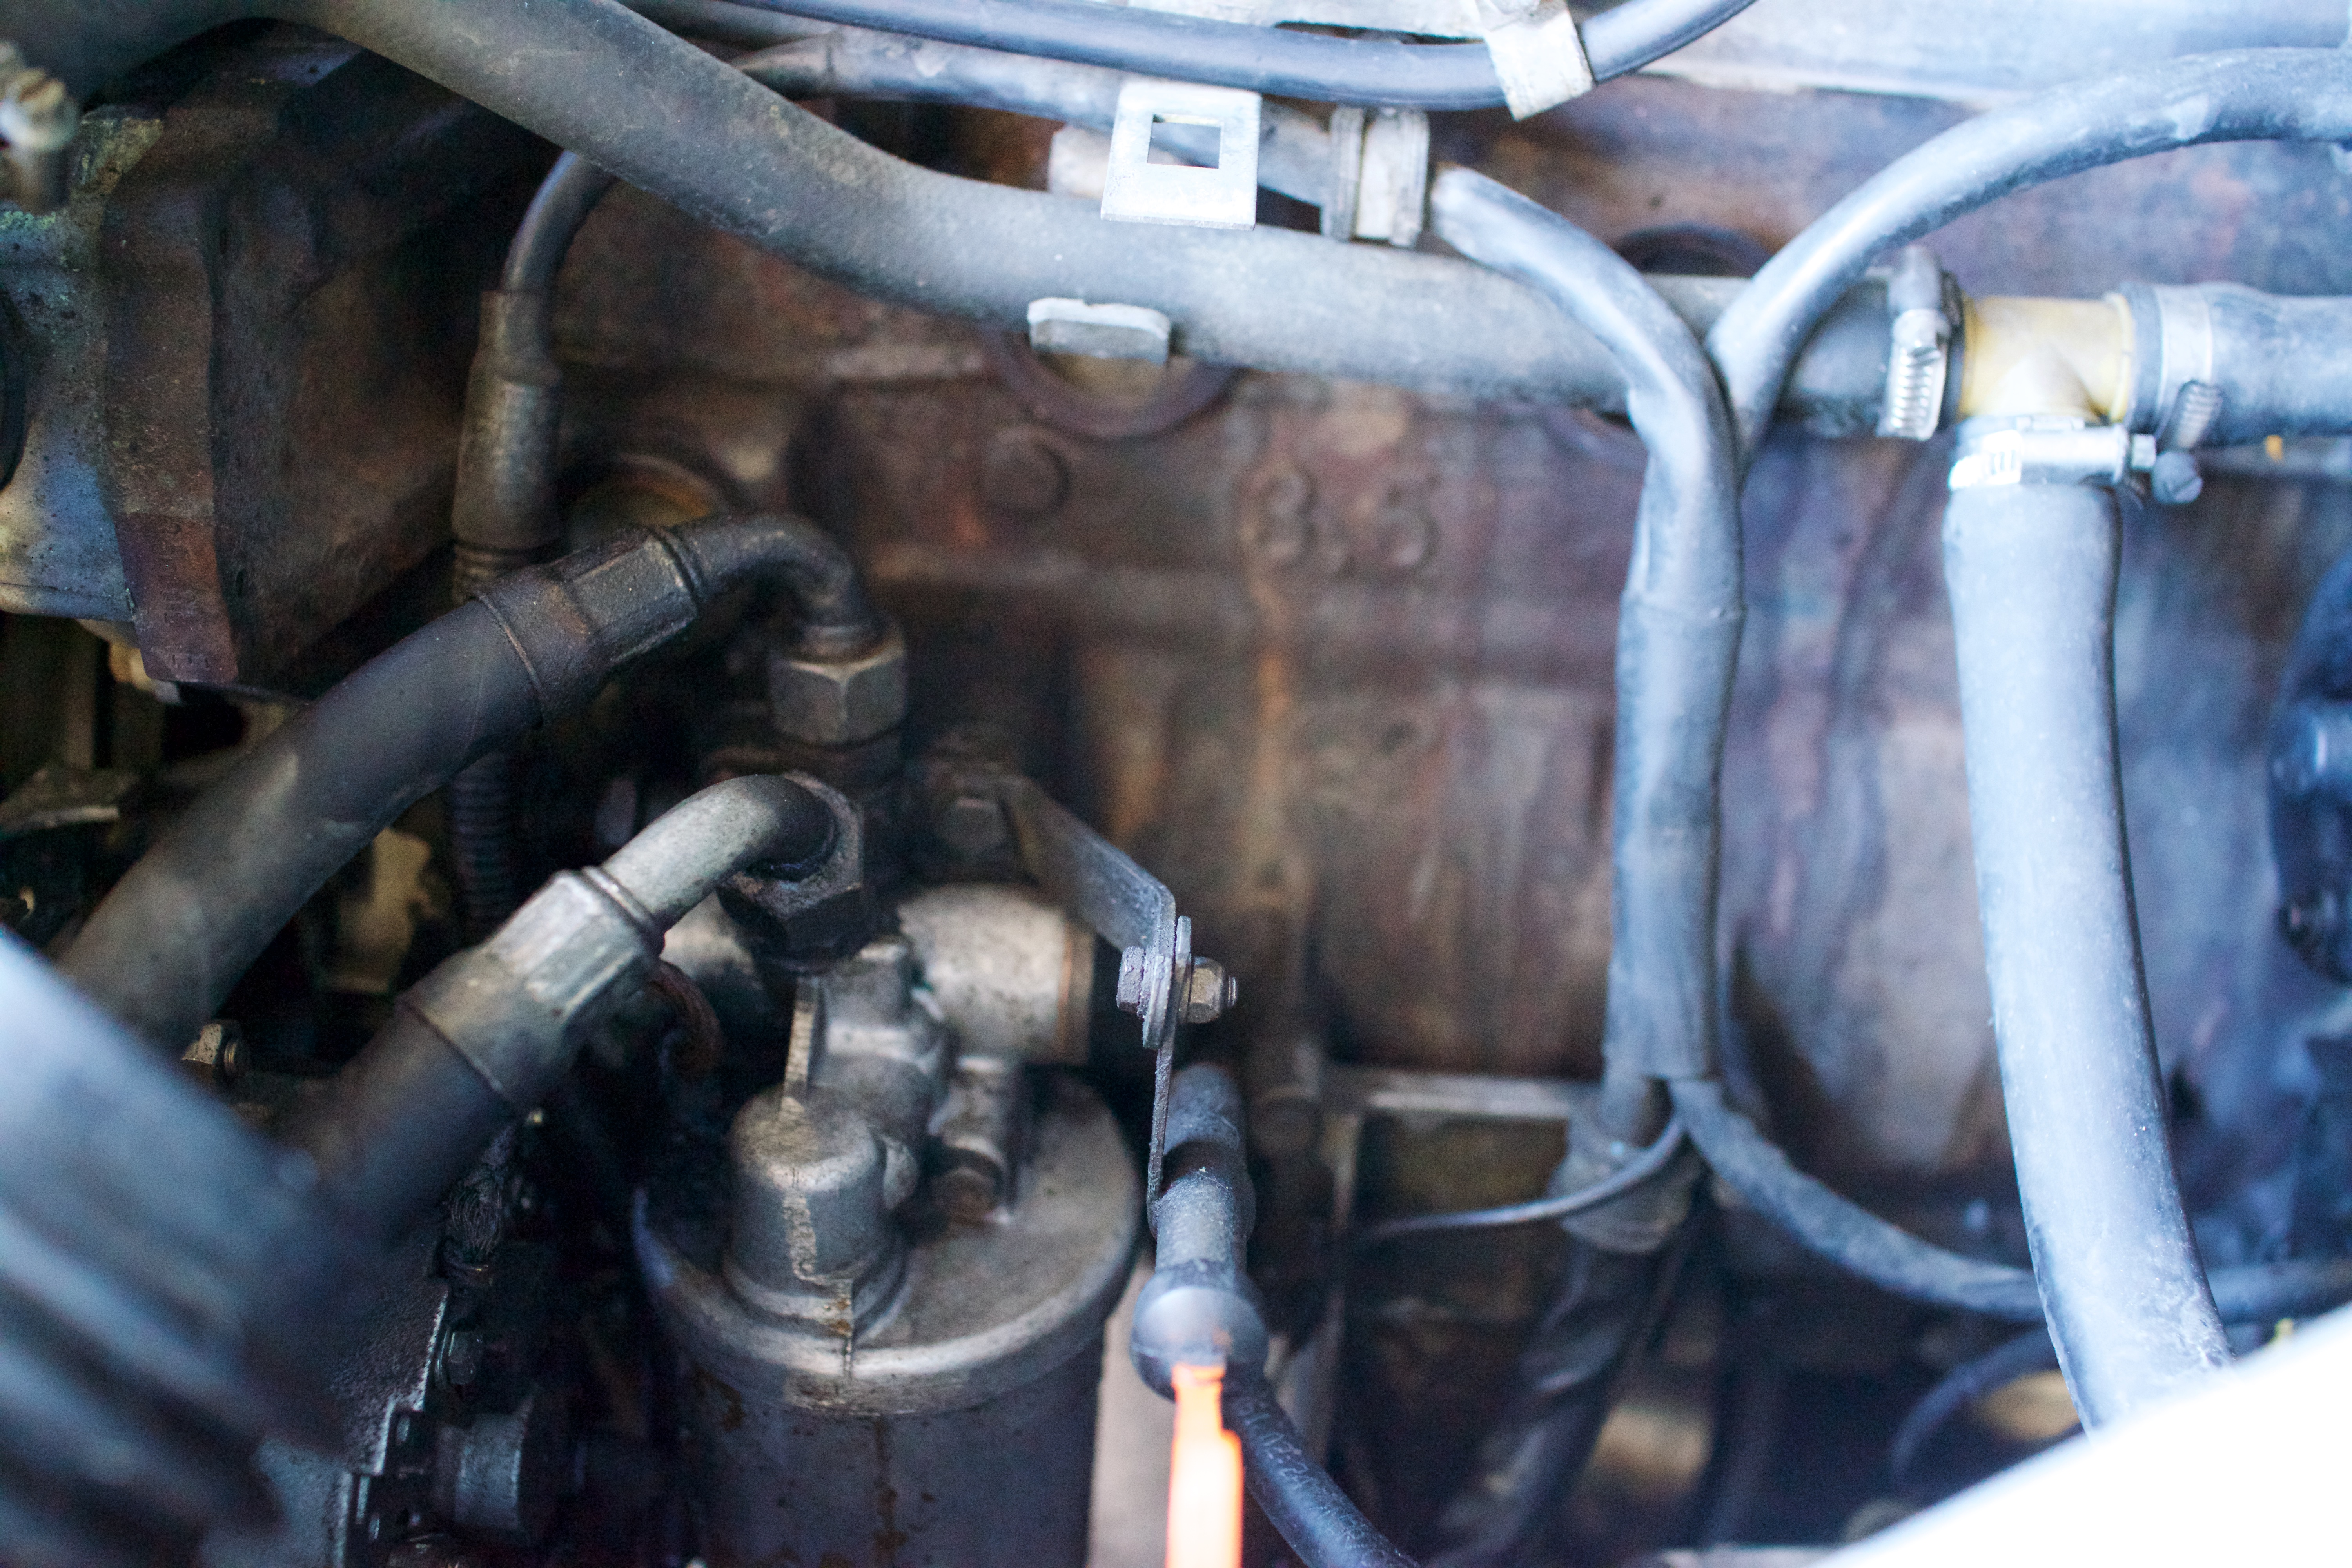
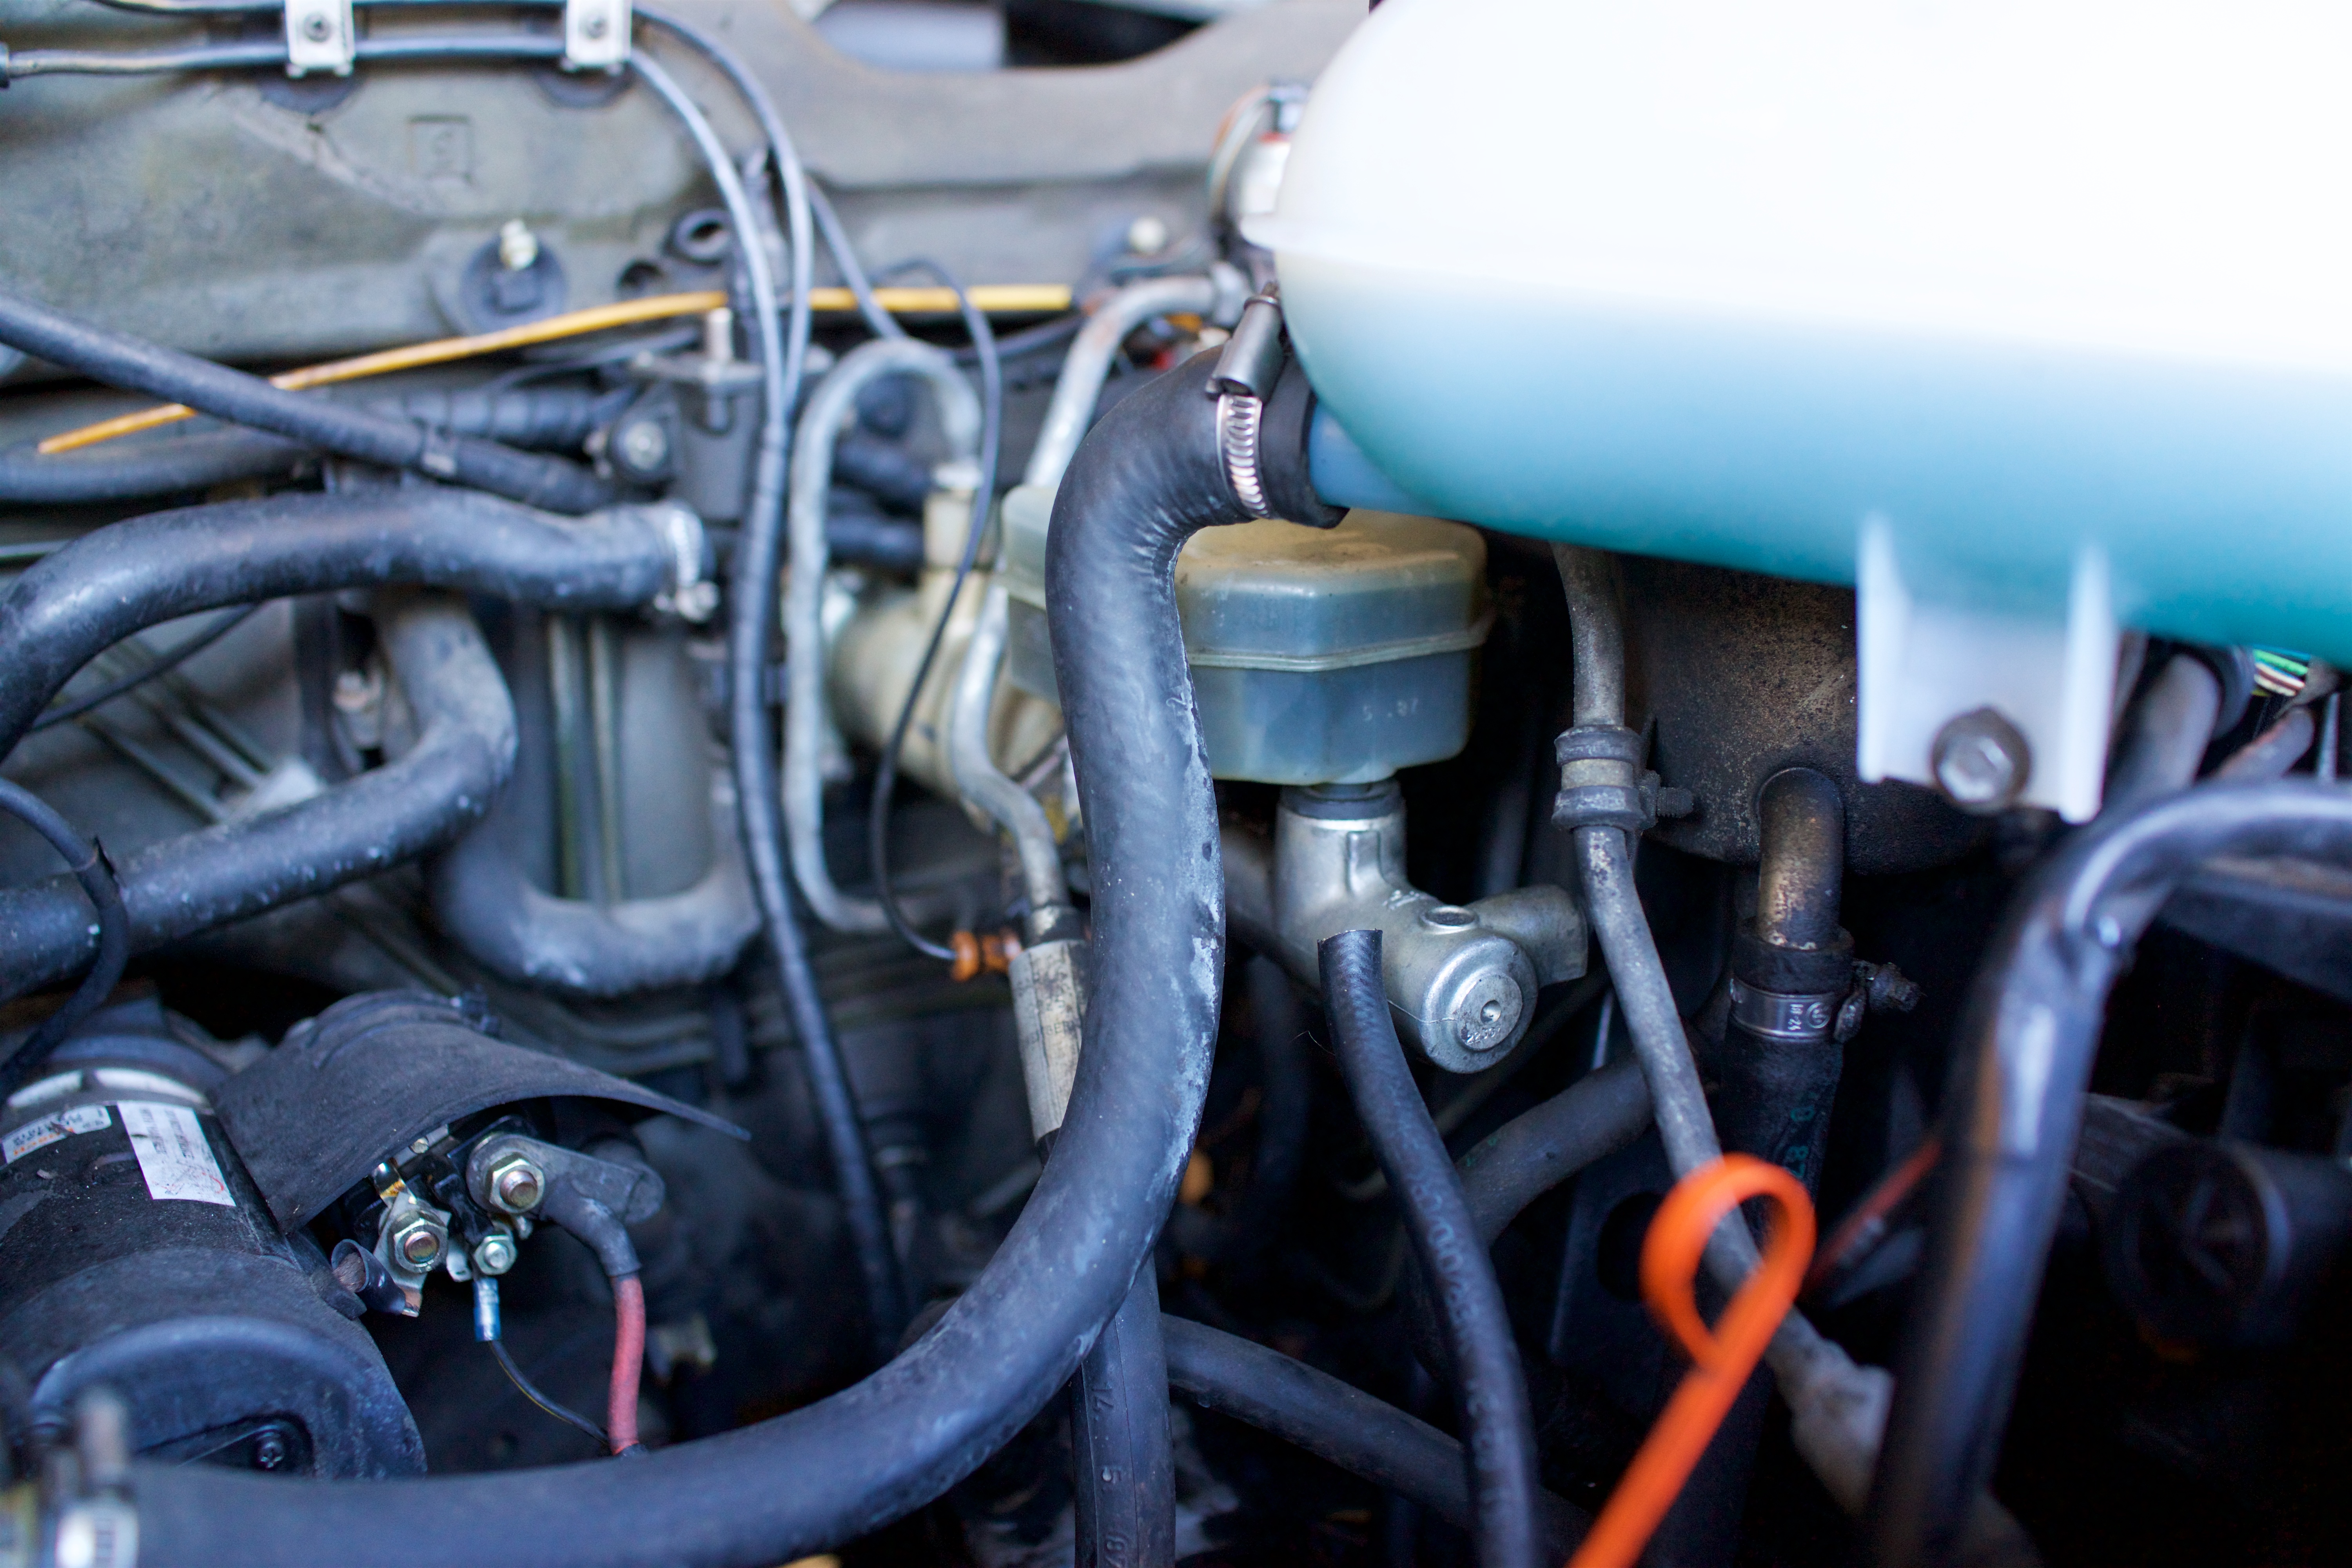
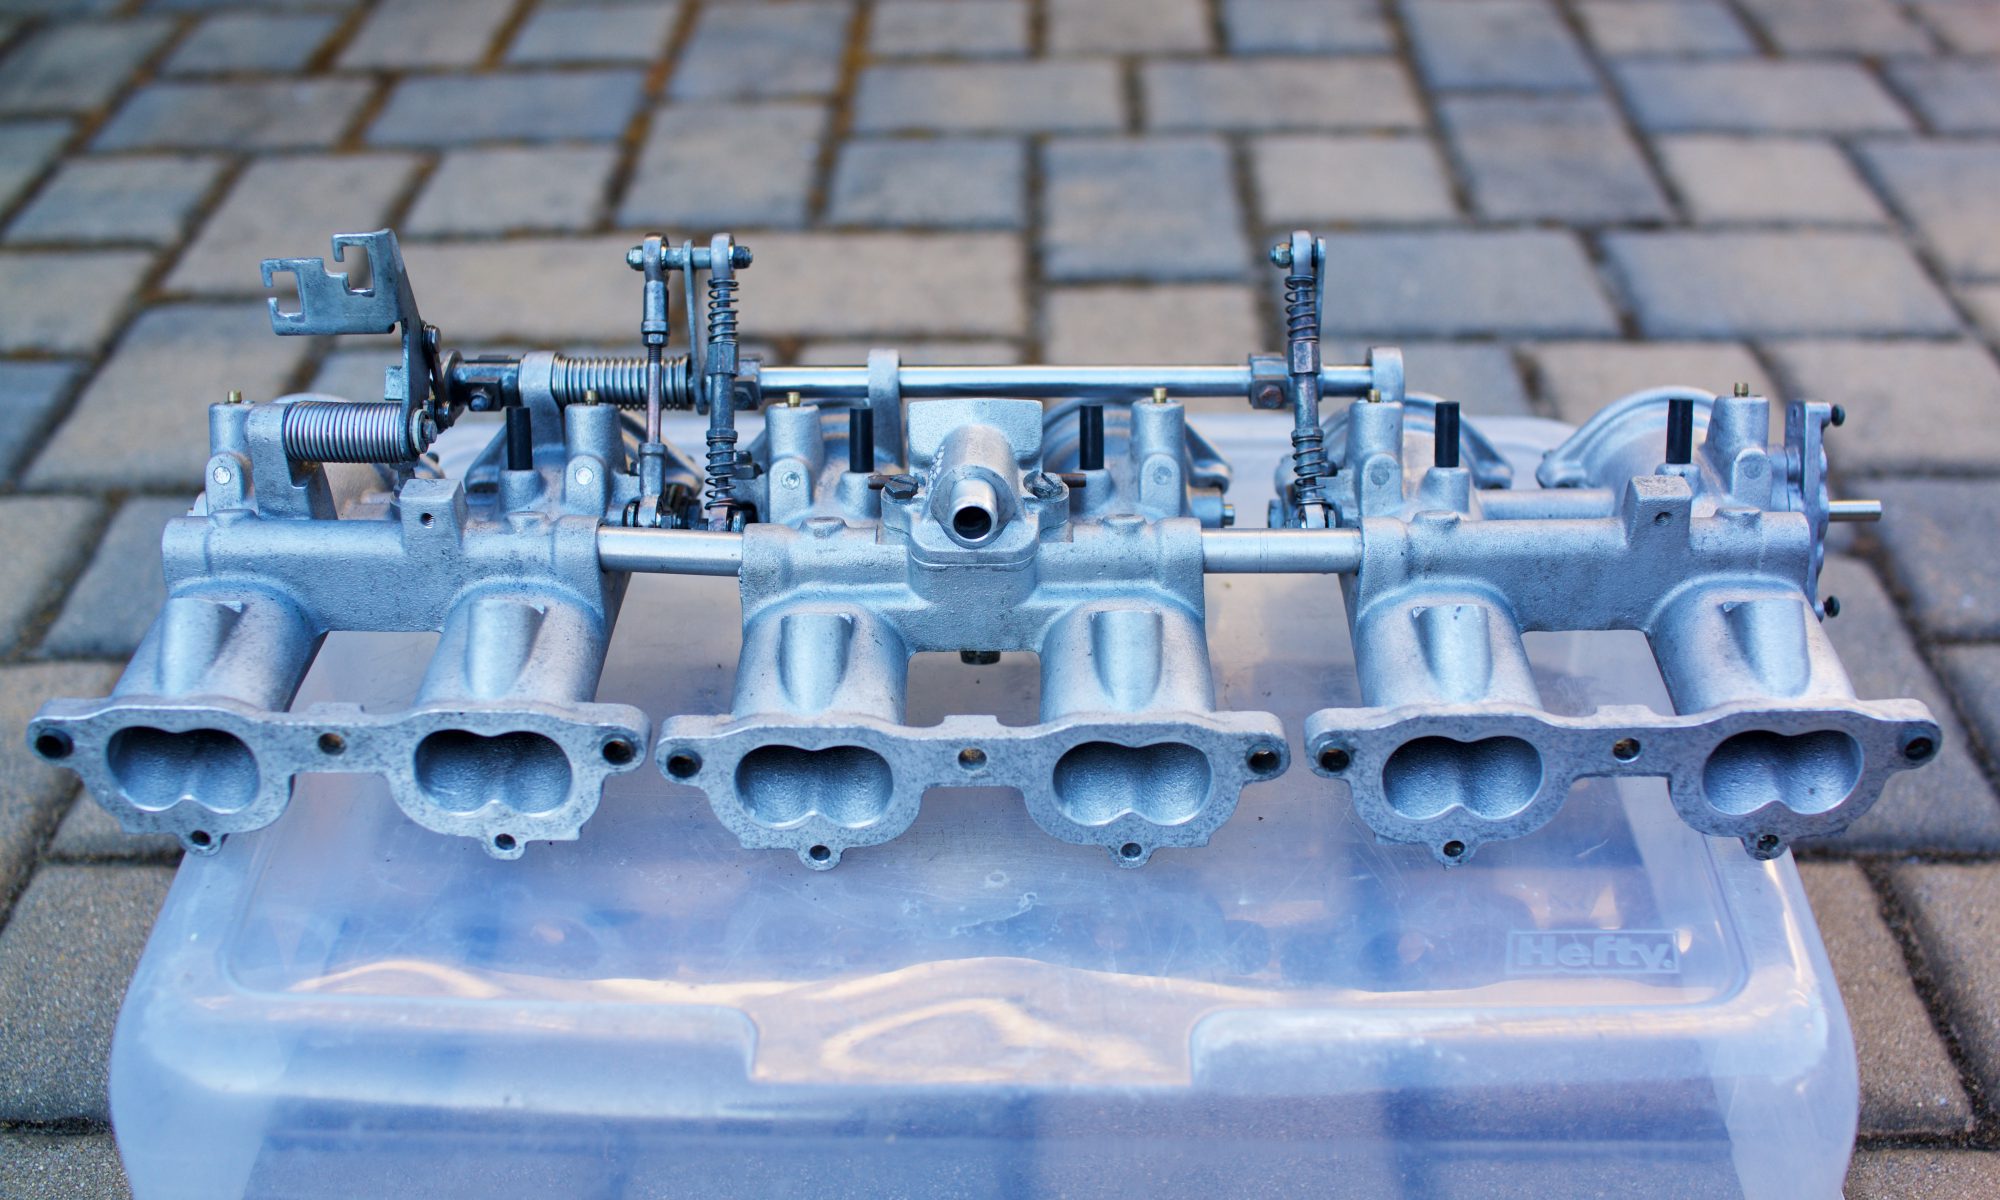
Some of the intake hoses were replaced when the starter was replaced the first time. One of the vacuum hoses from the evaporative purge canister completely disintegrated when removing the 3/4 throttle body. I replaced this hose with fuel hose and replaced all the other vacuum hoses with new silicone line.
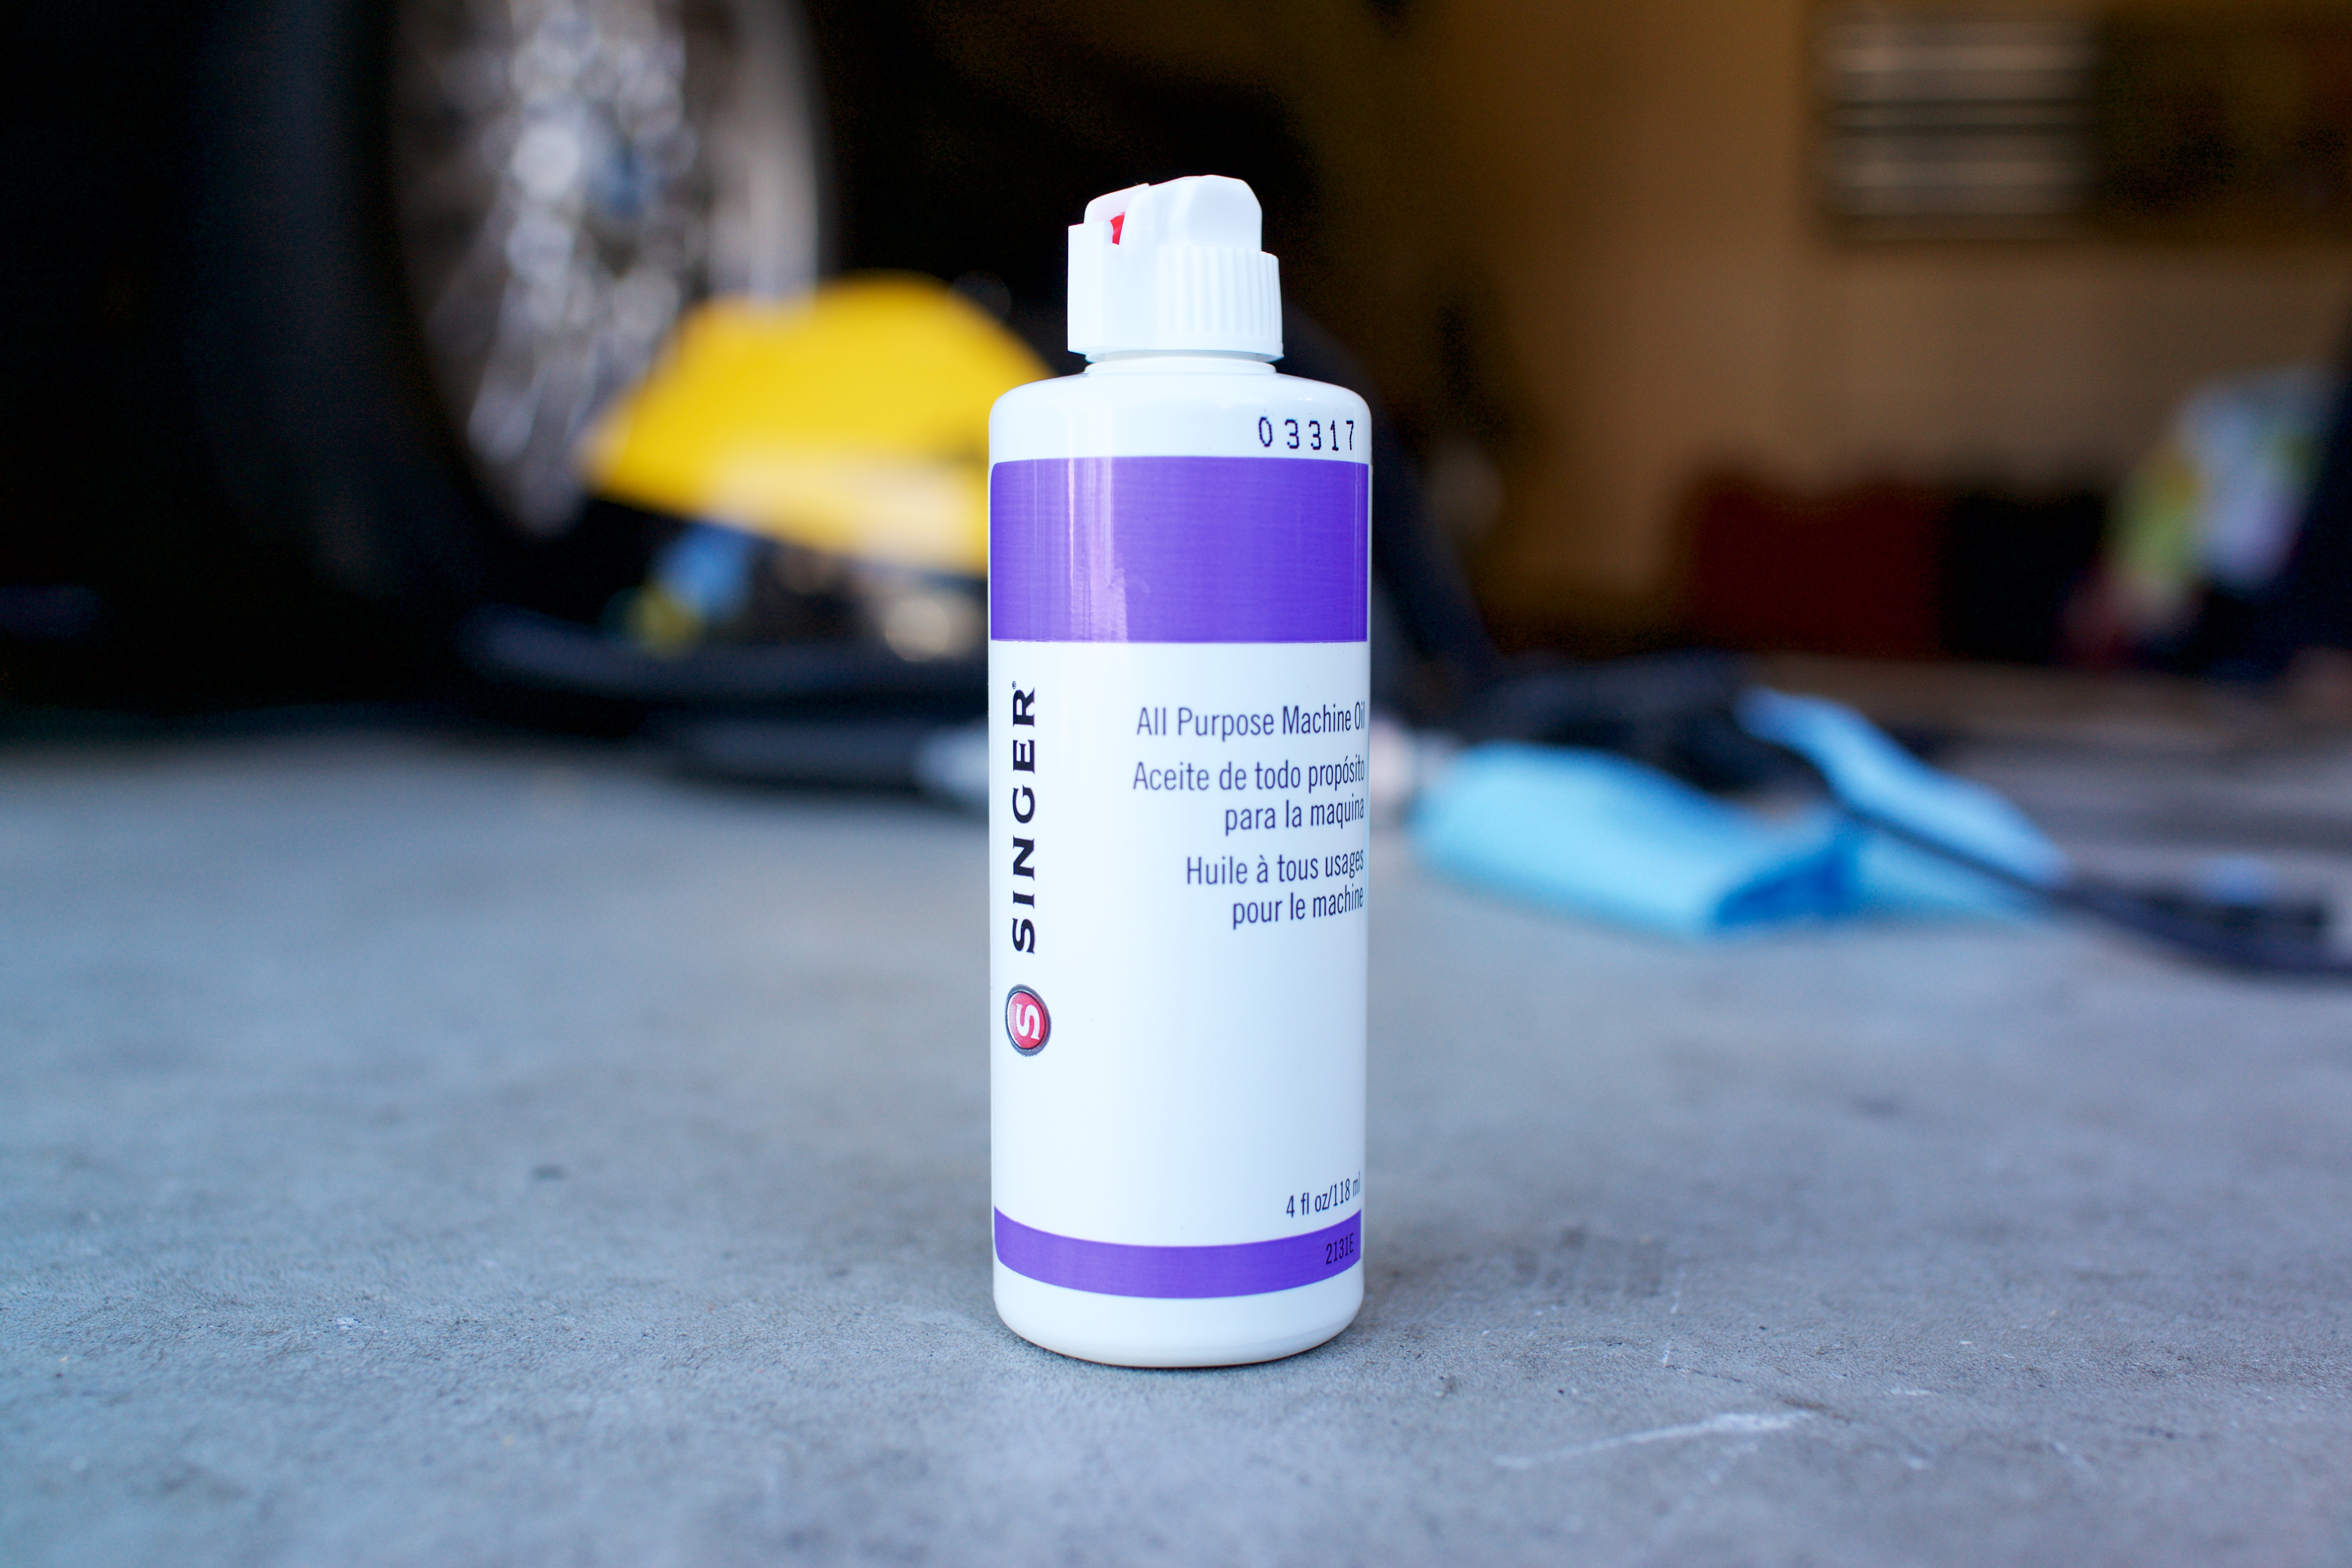
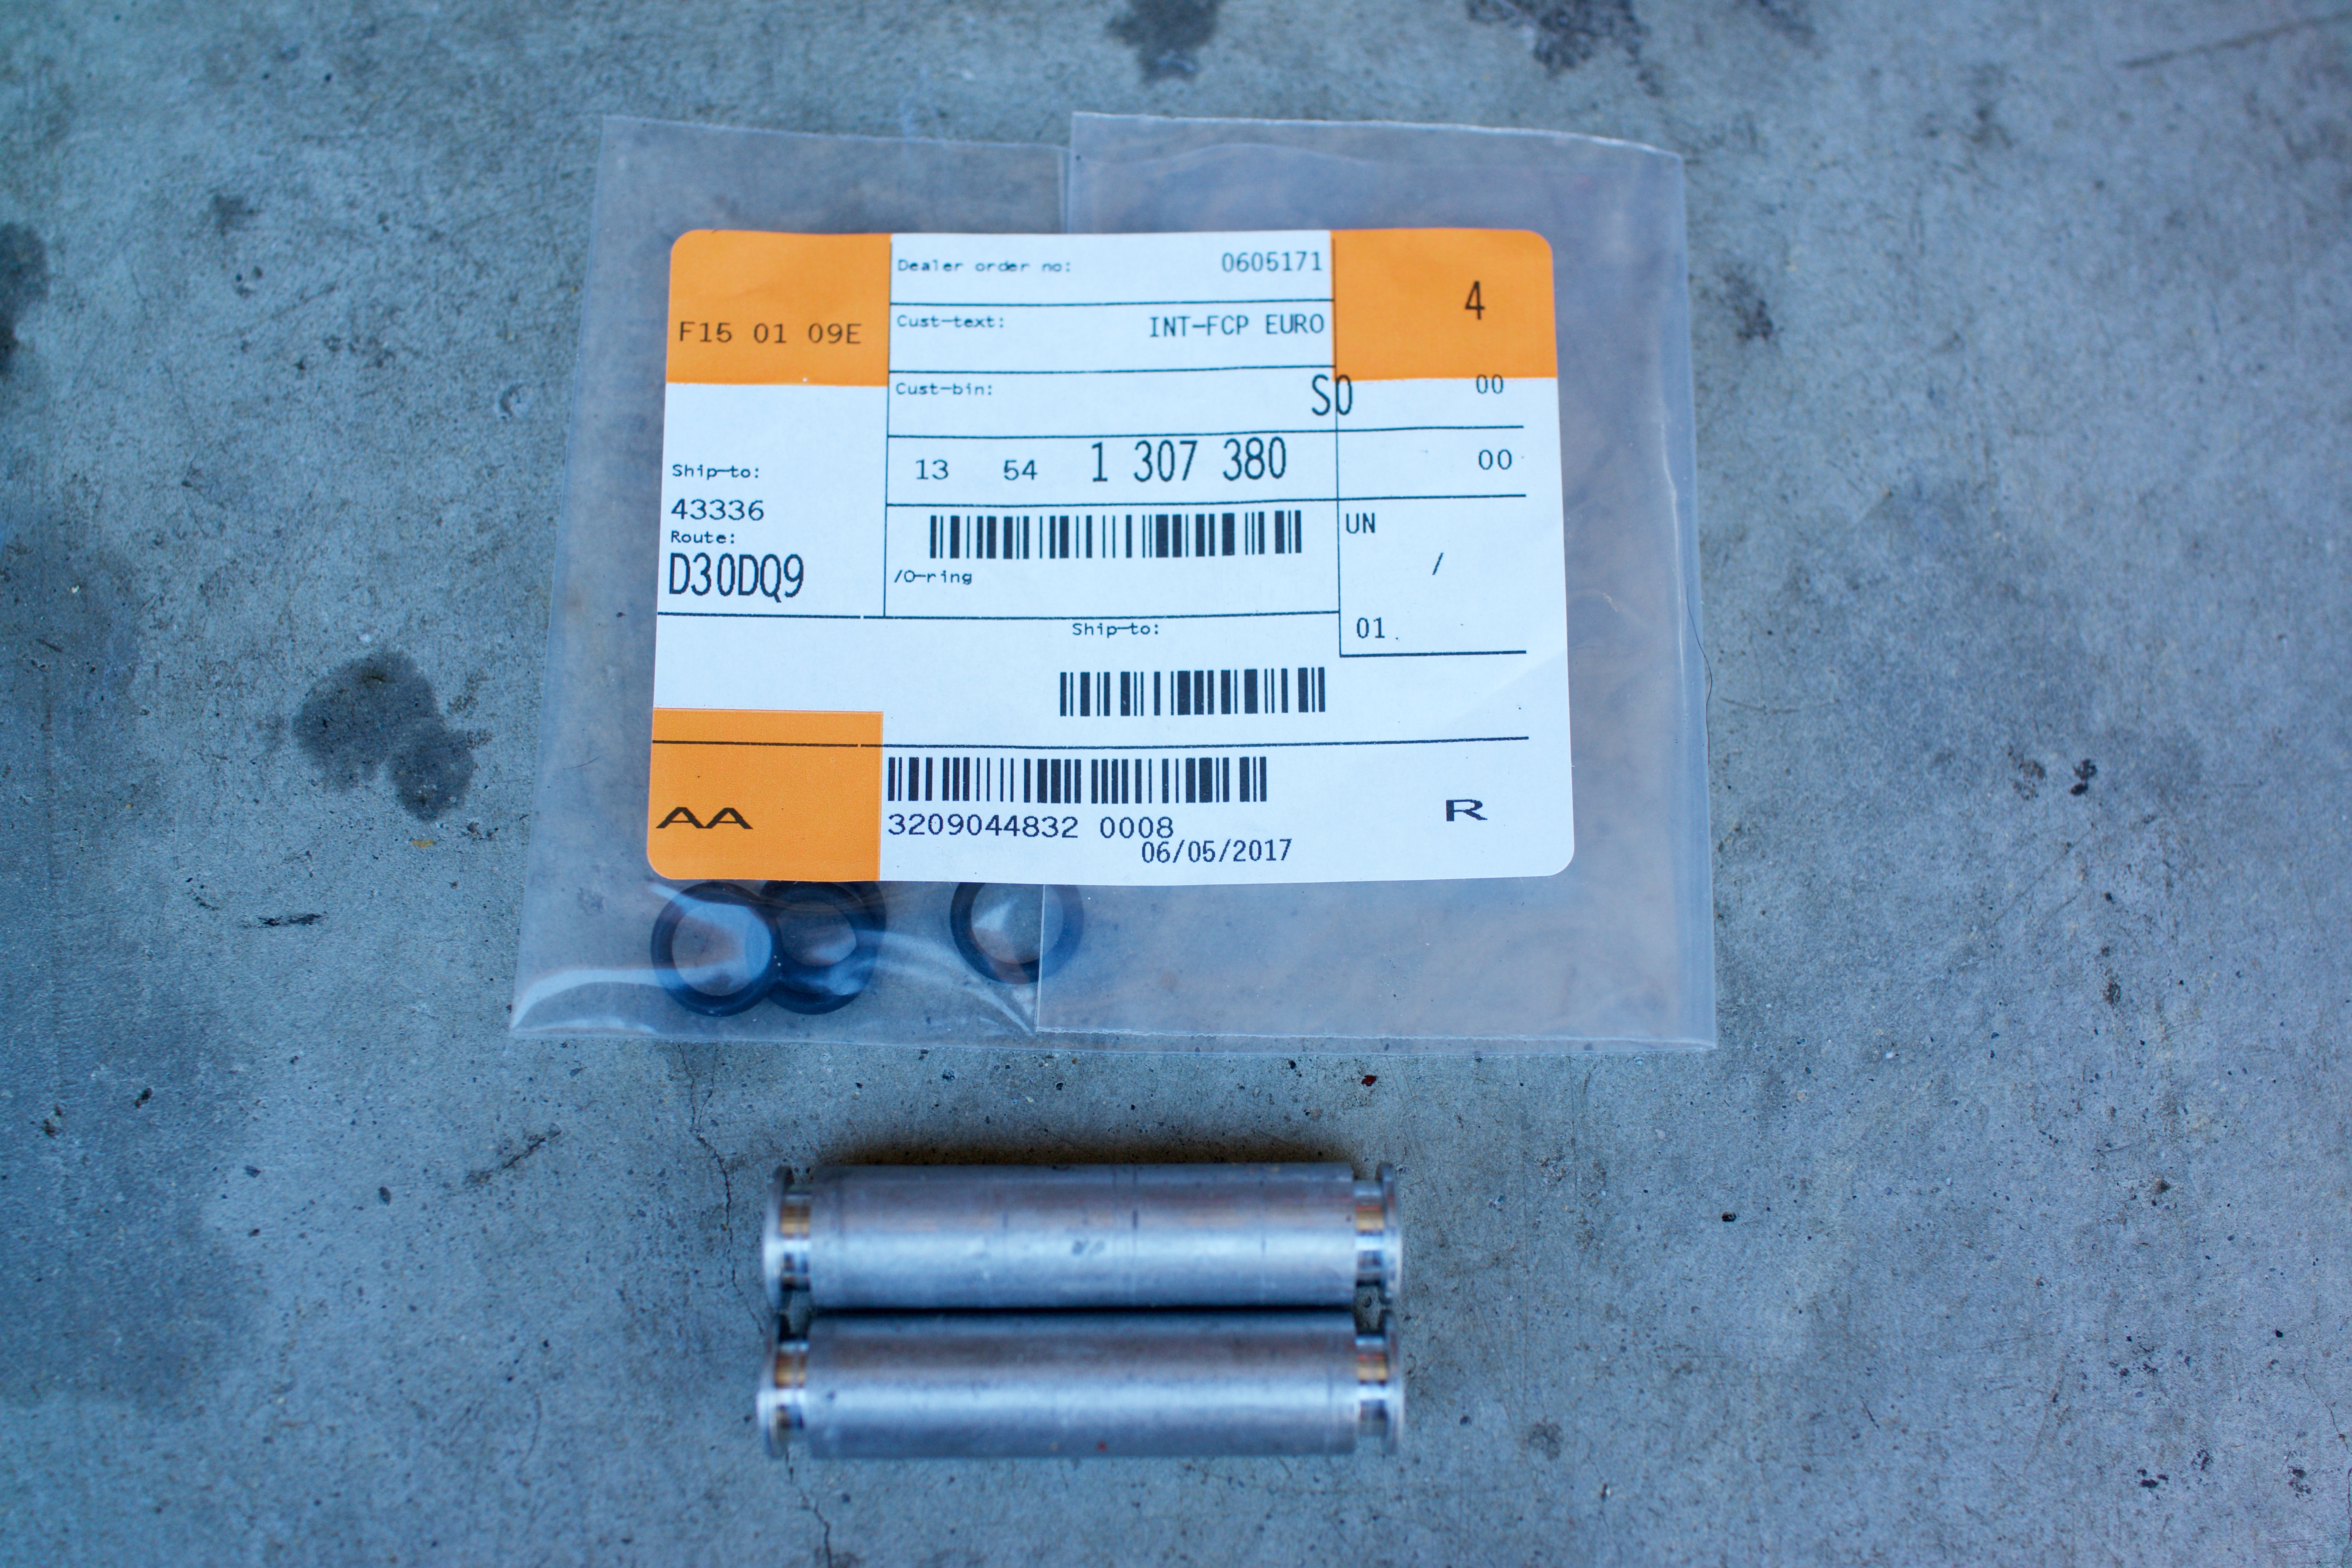
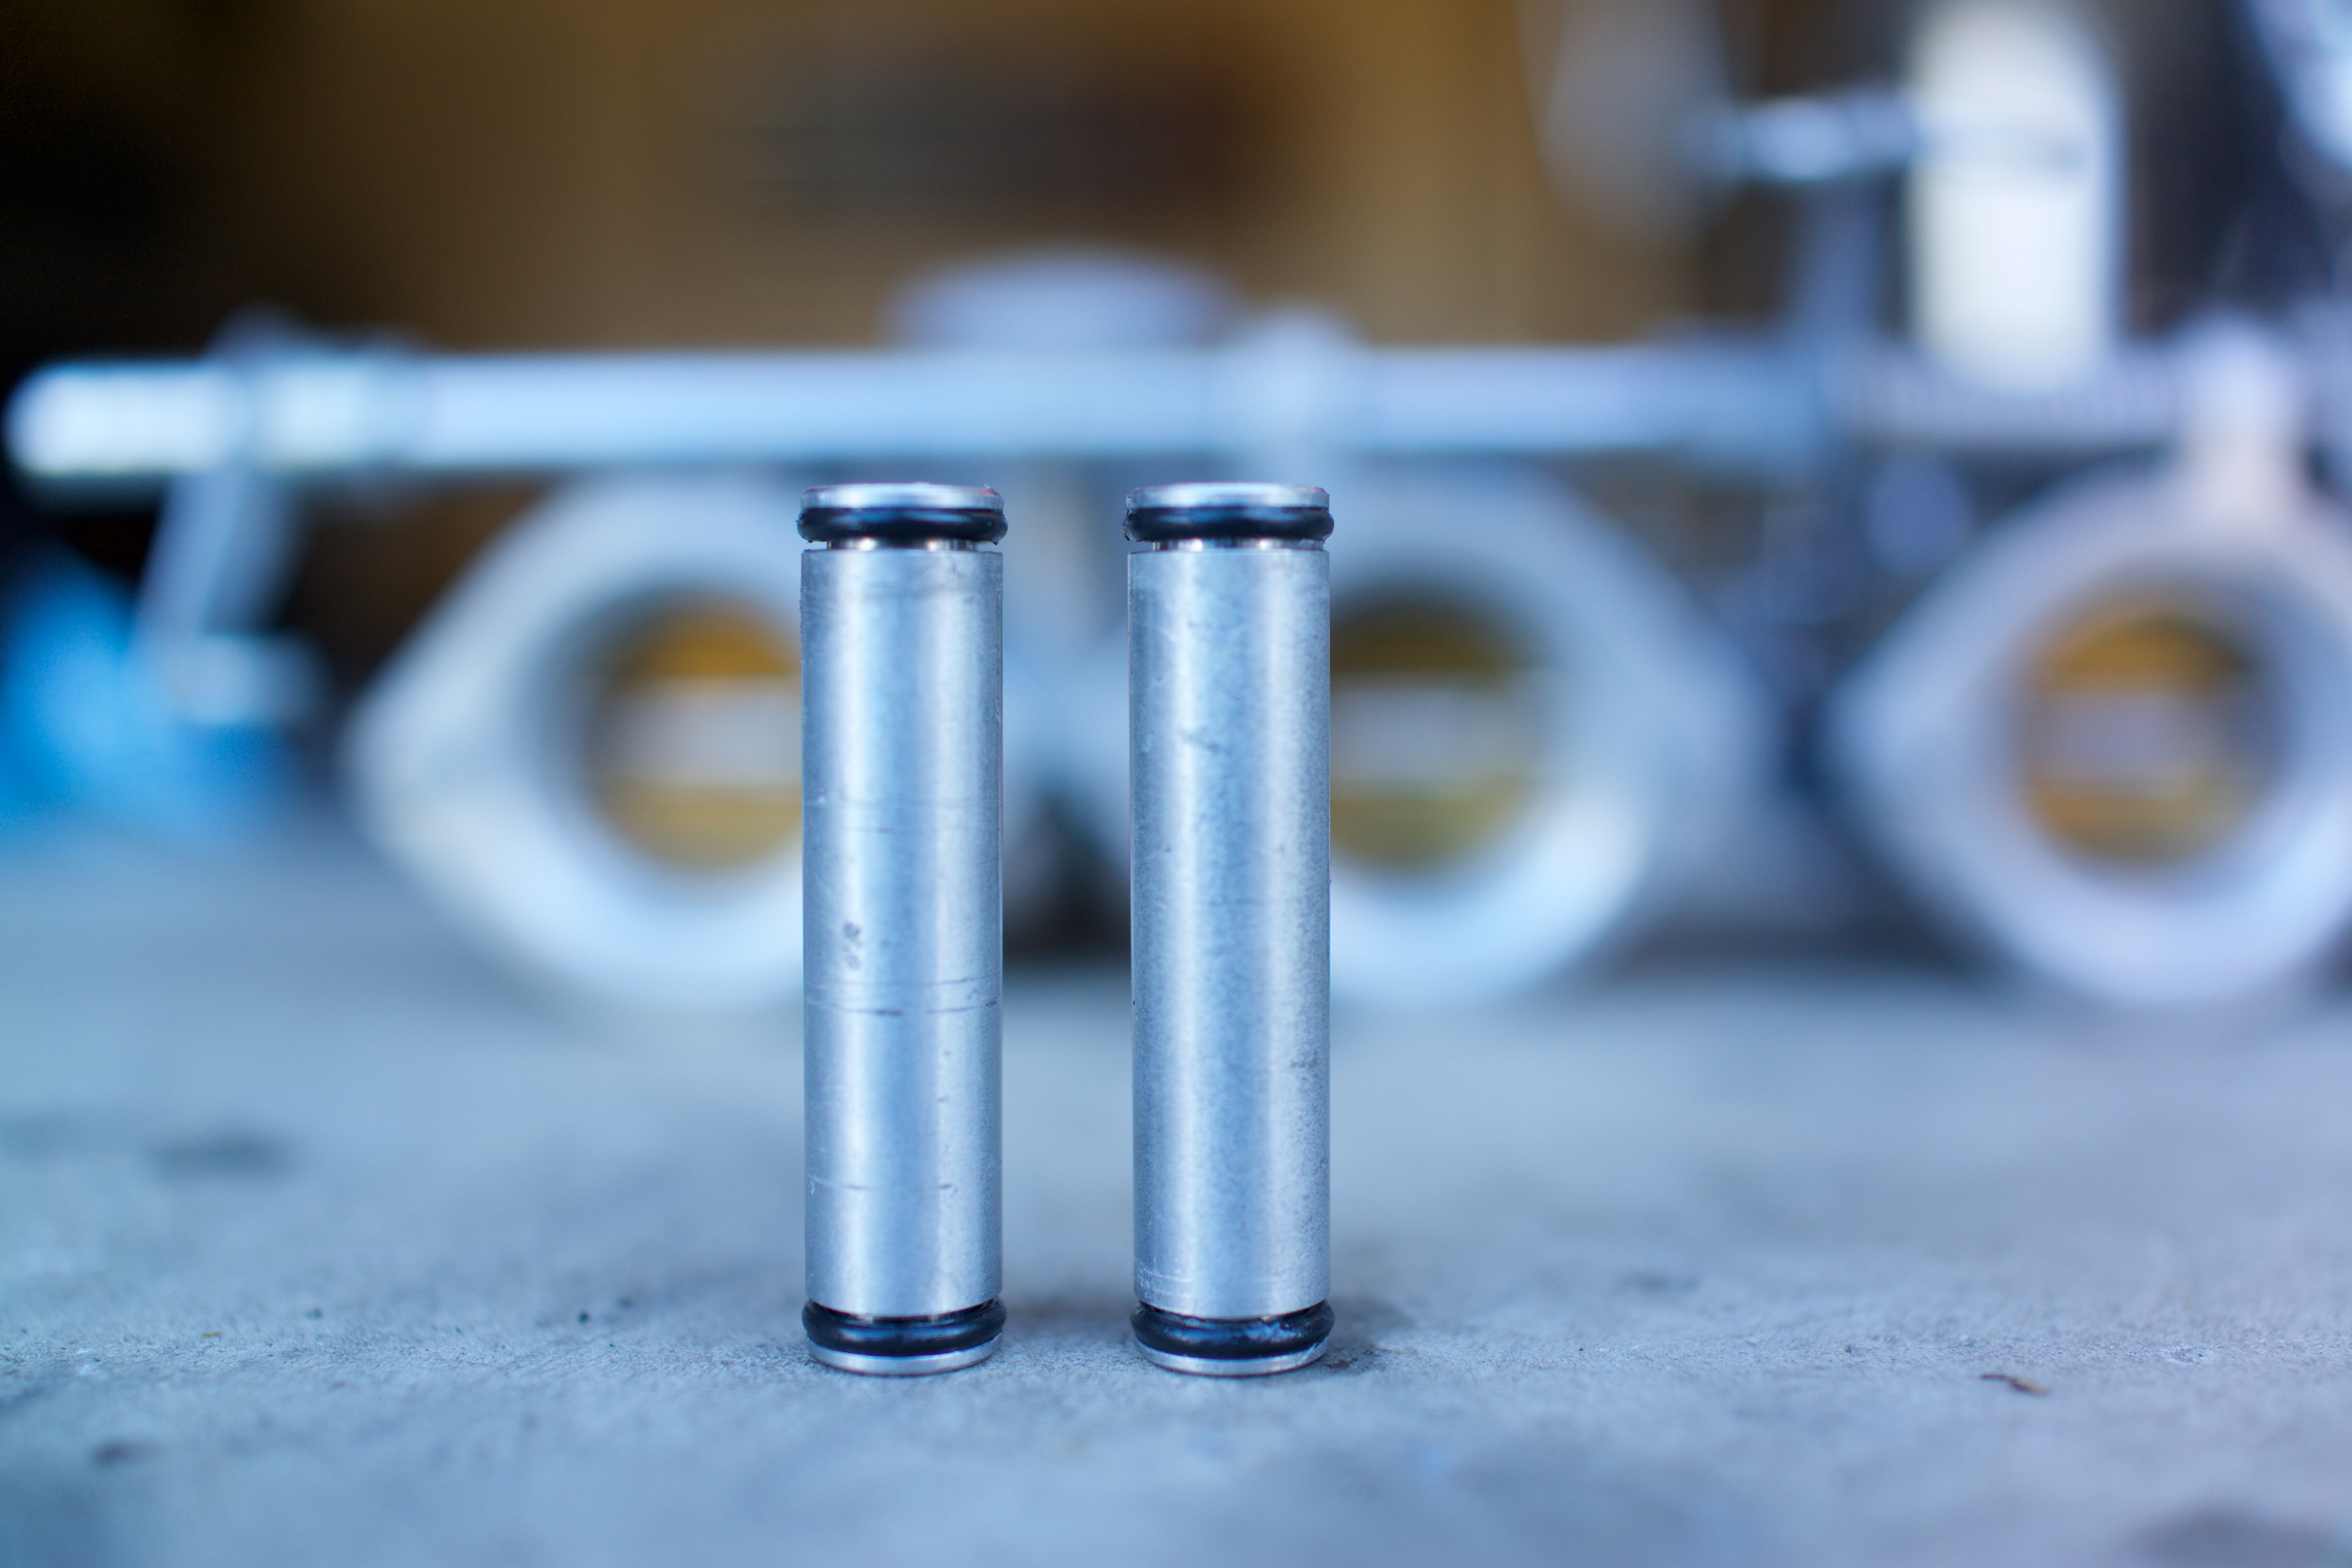
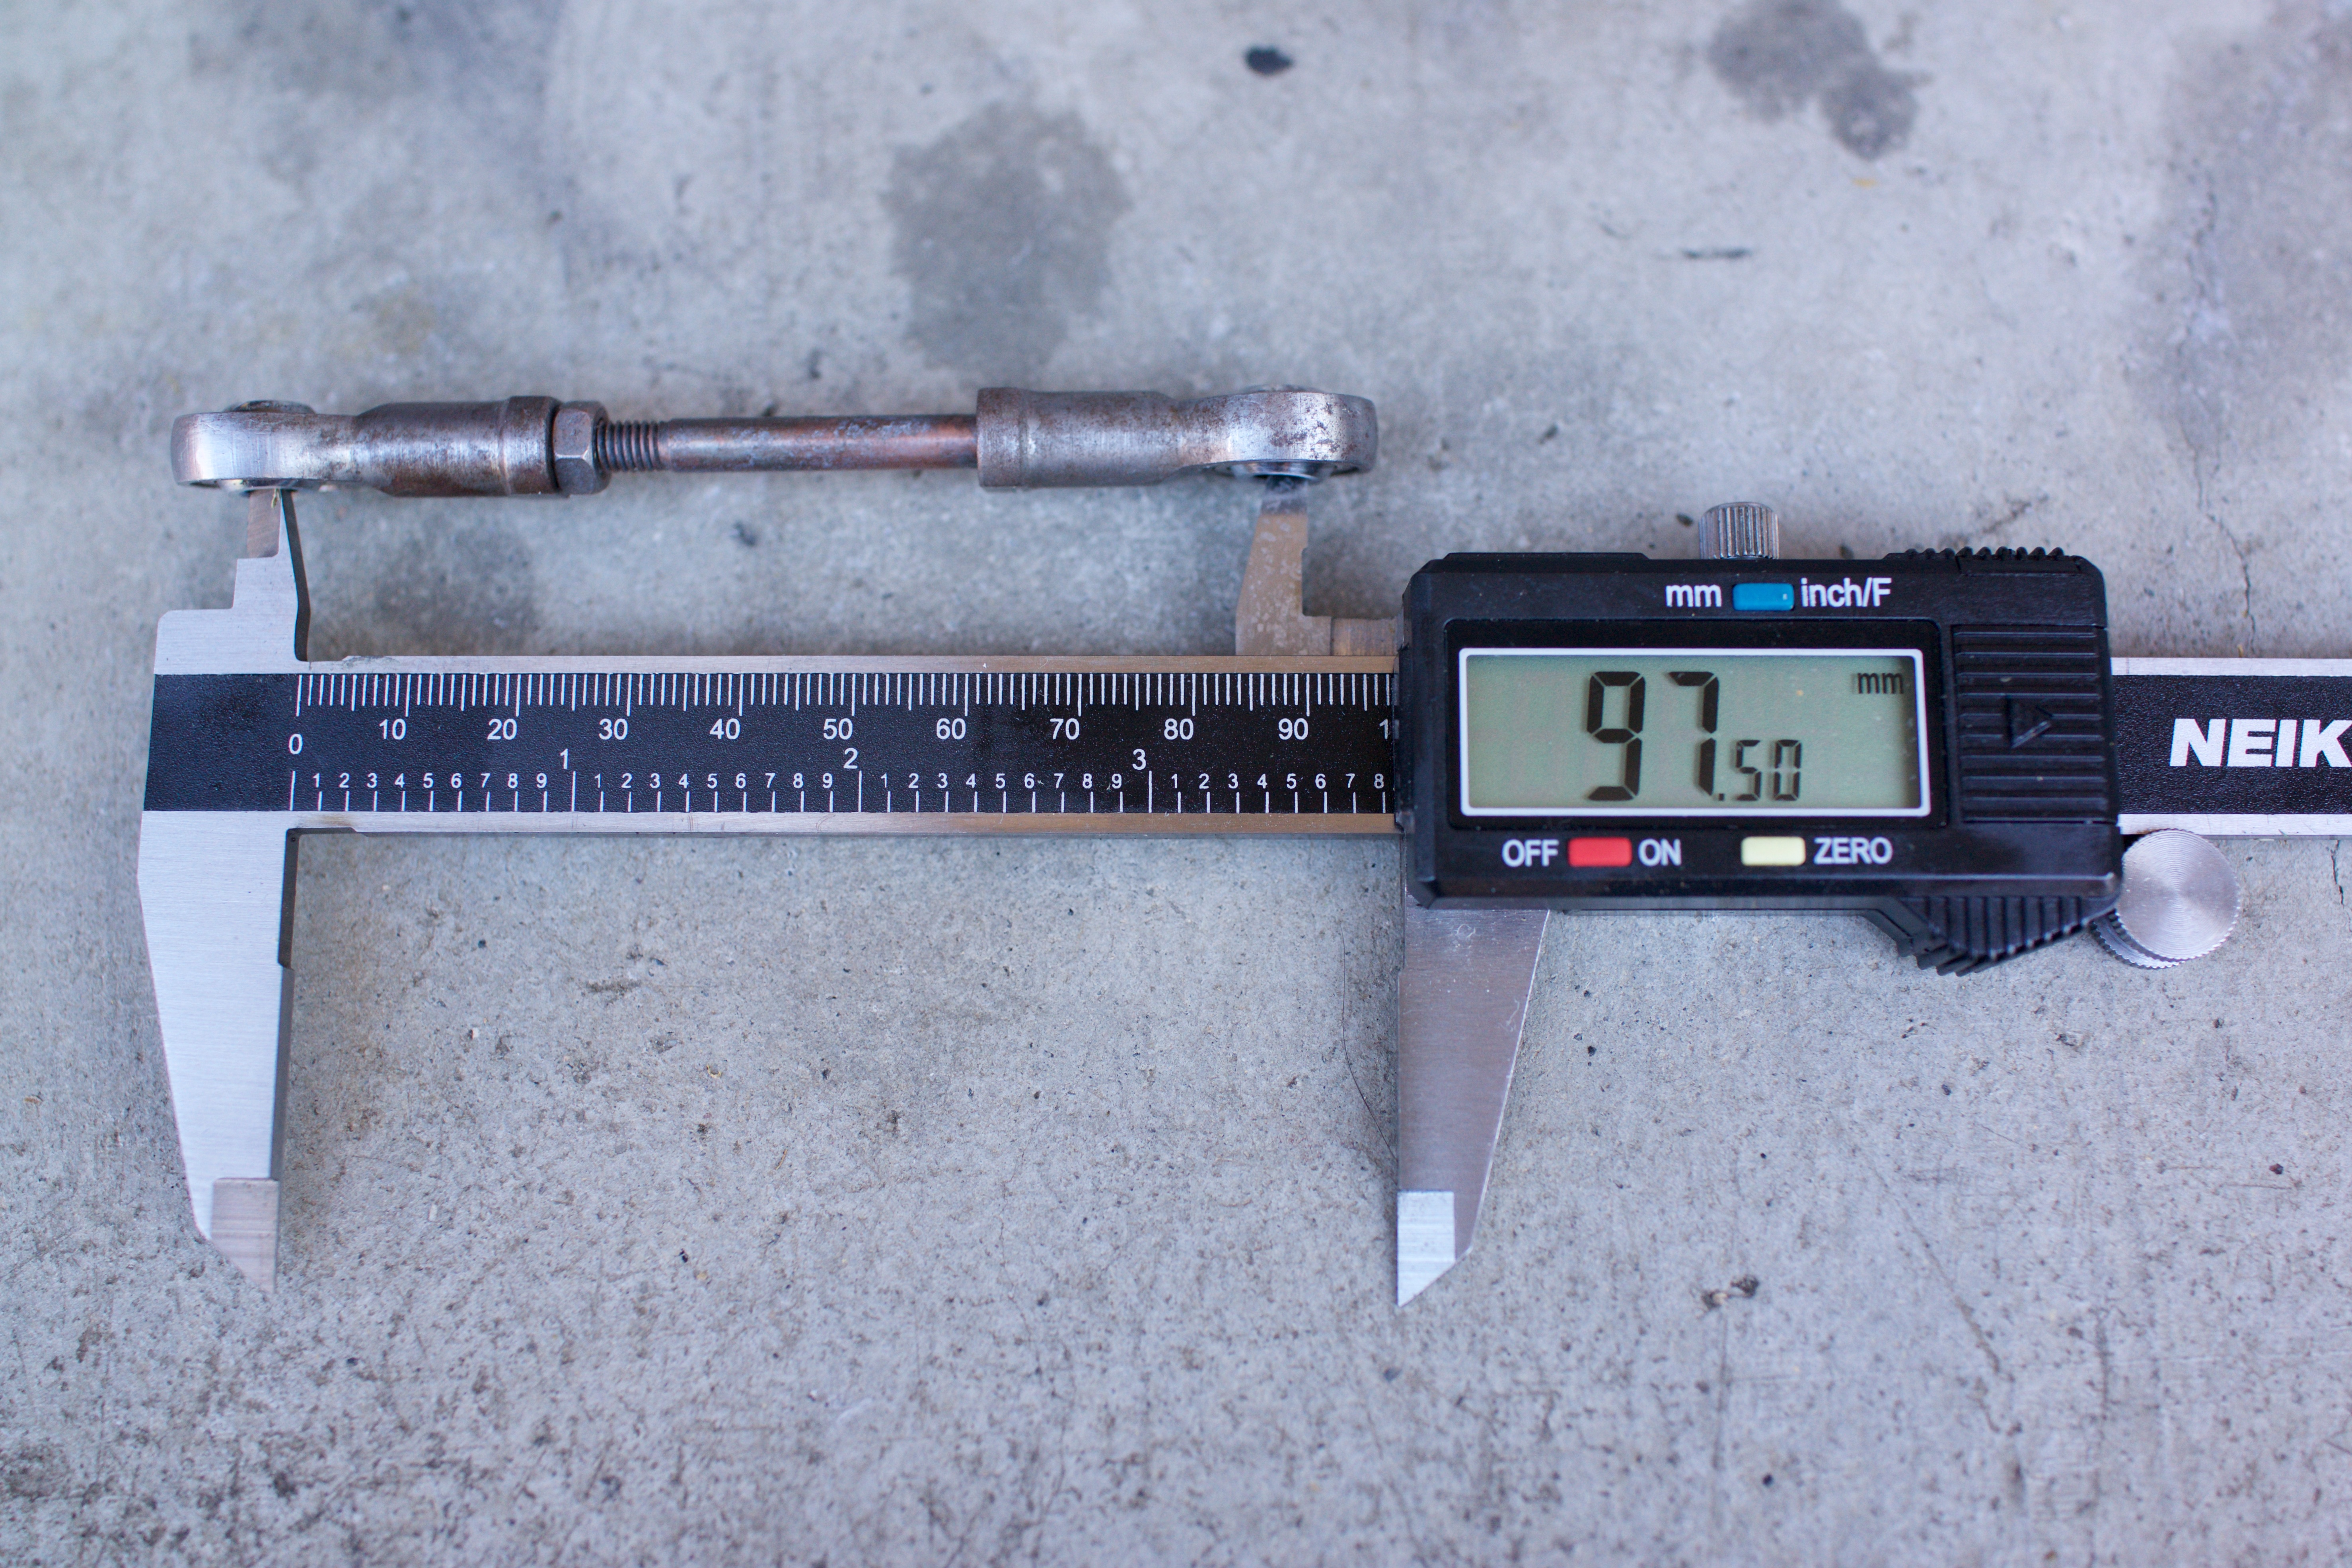
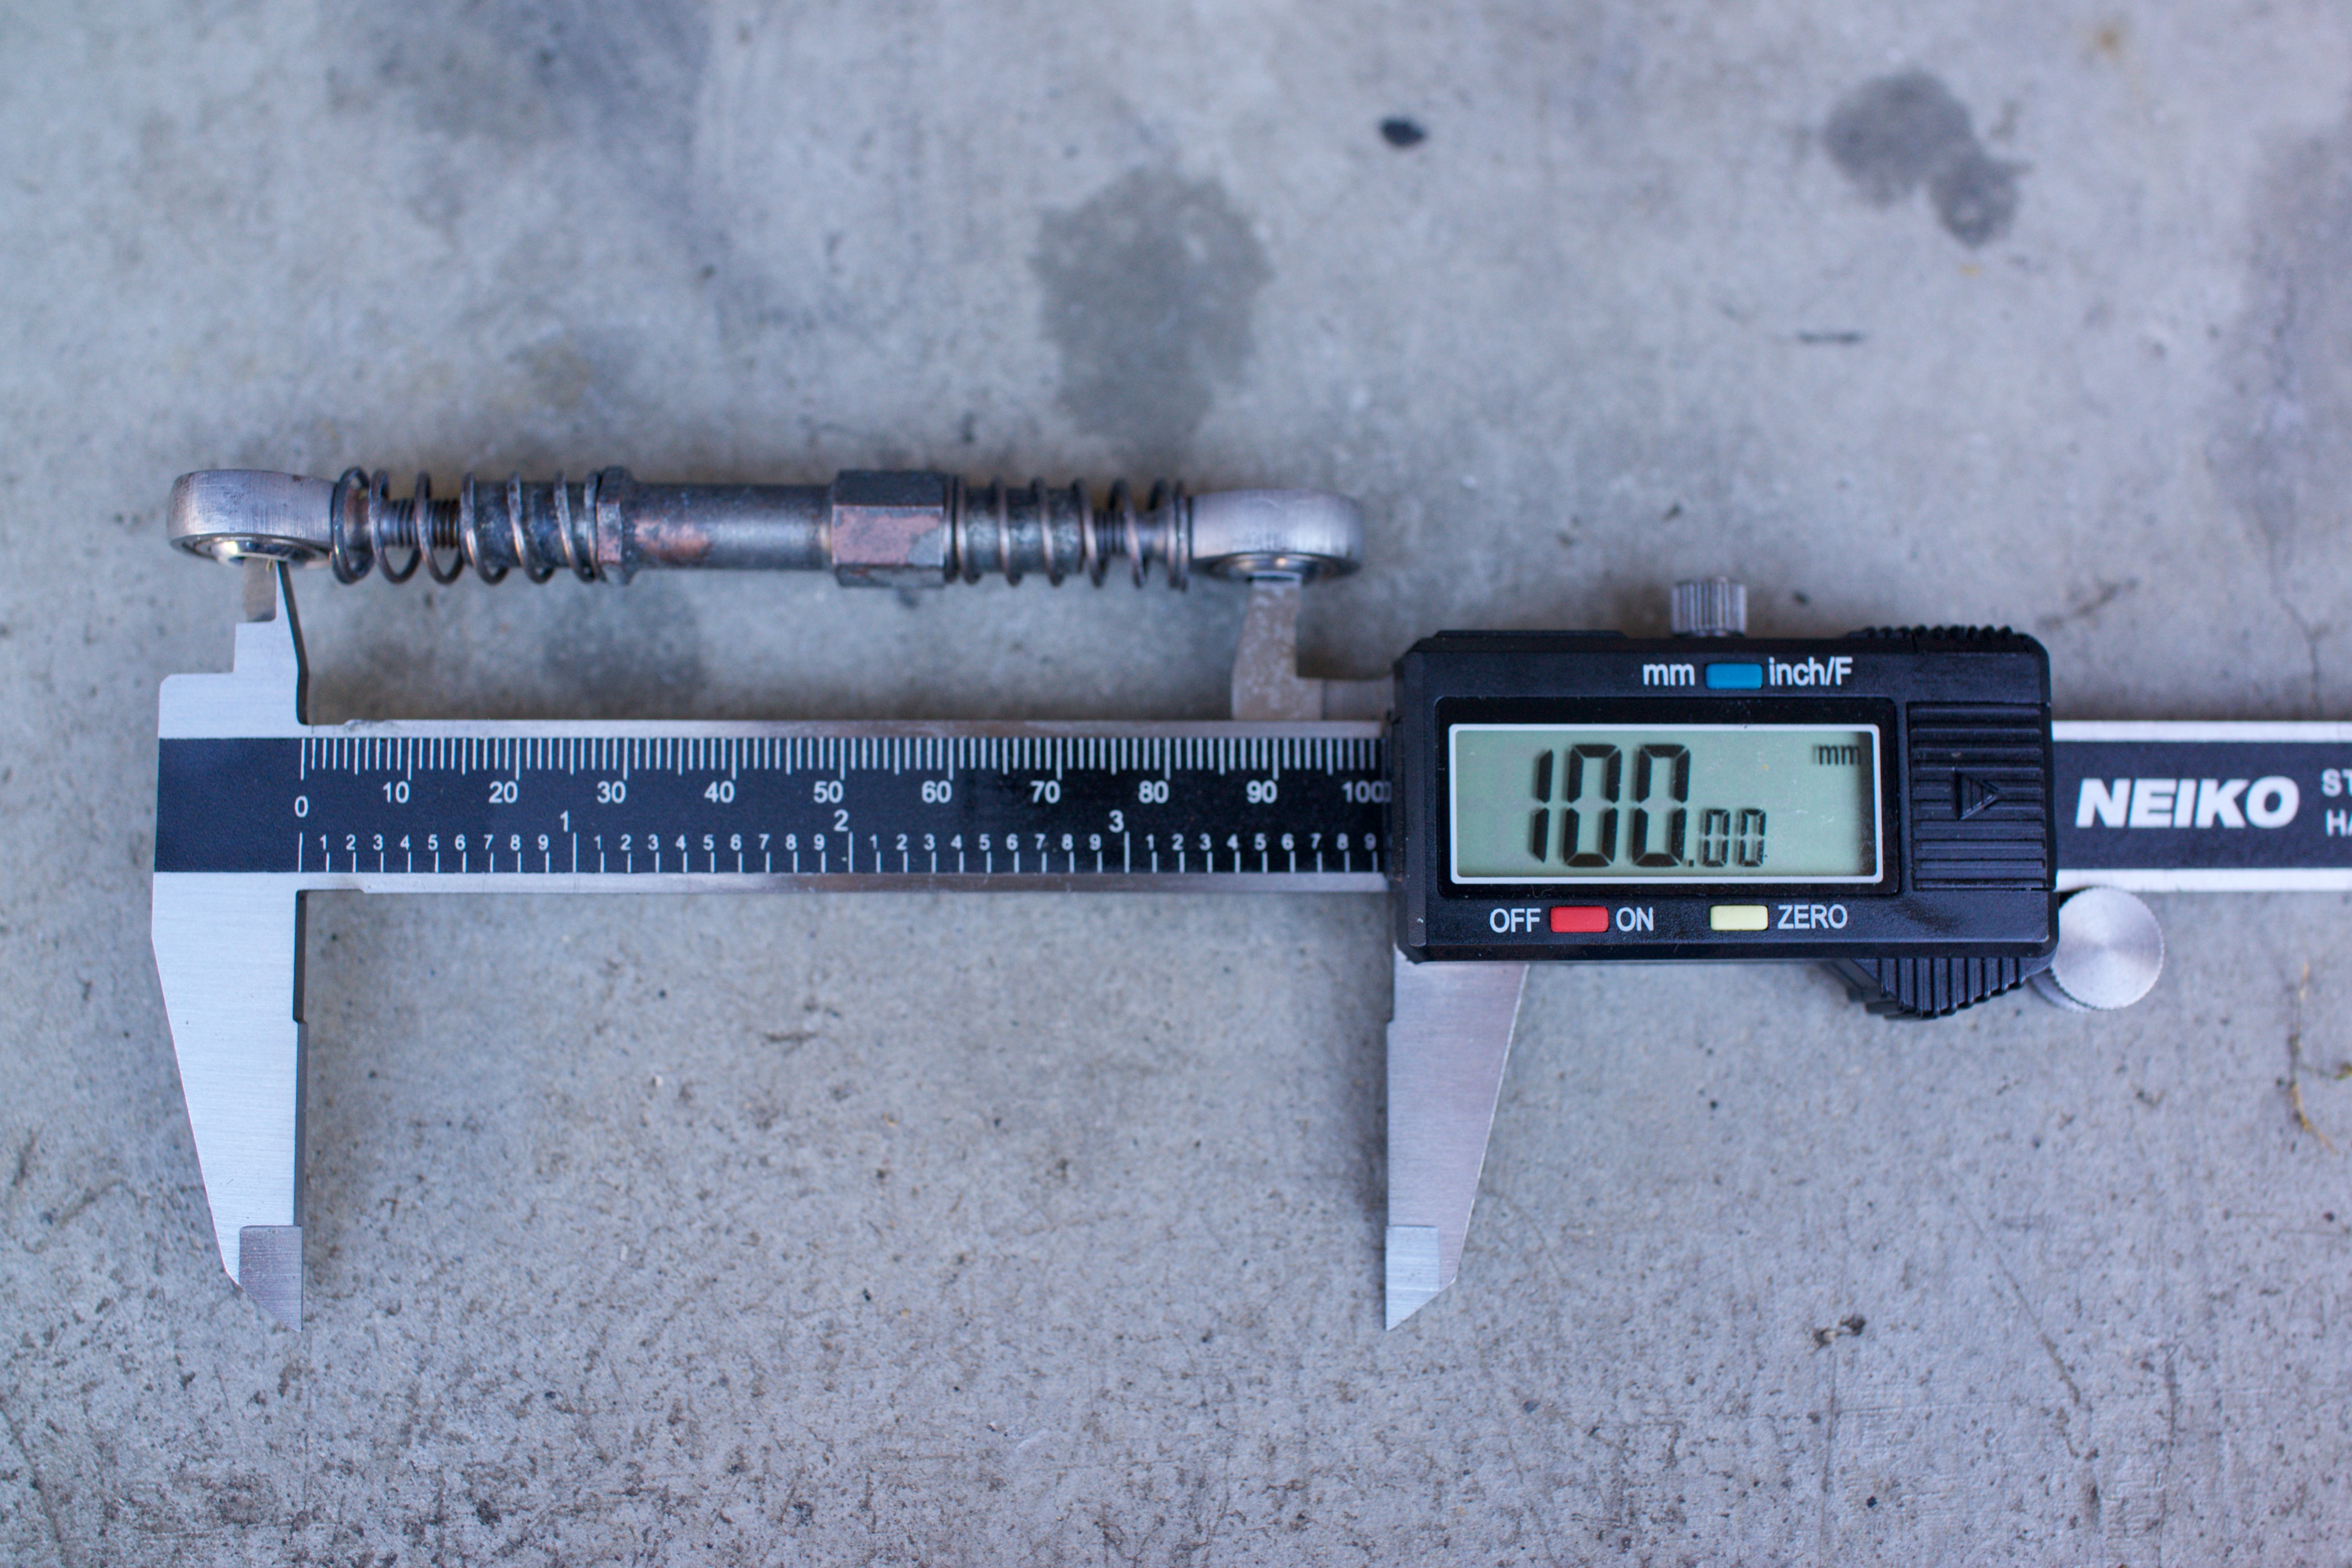
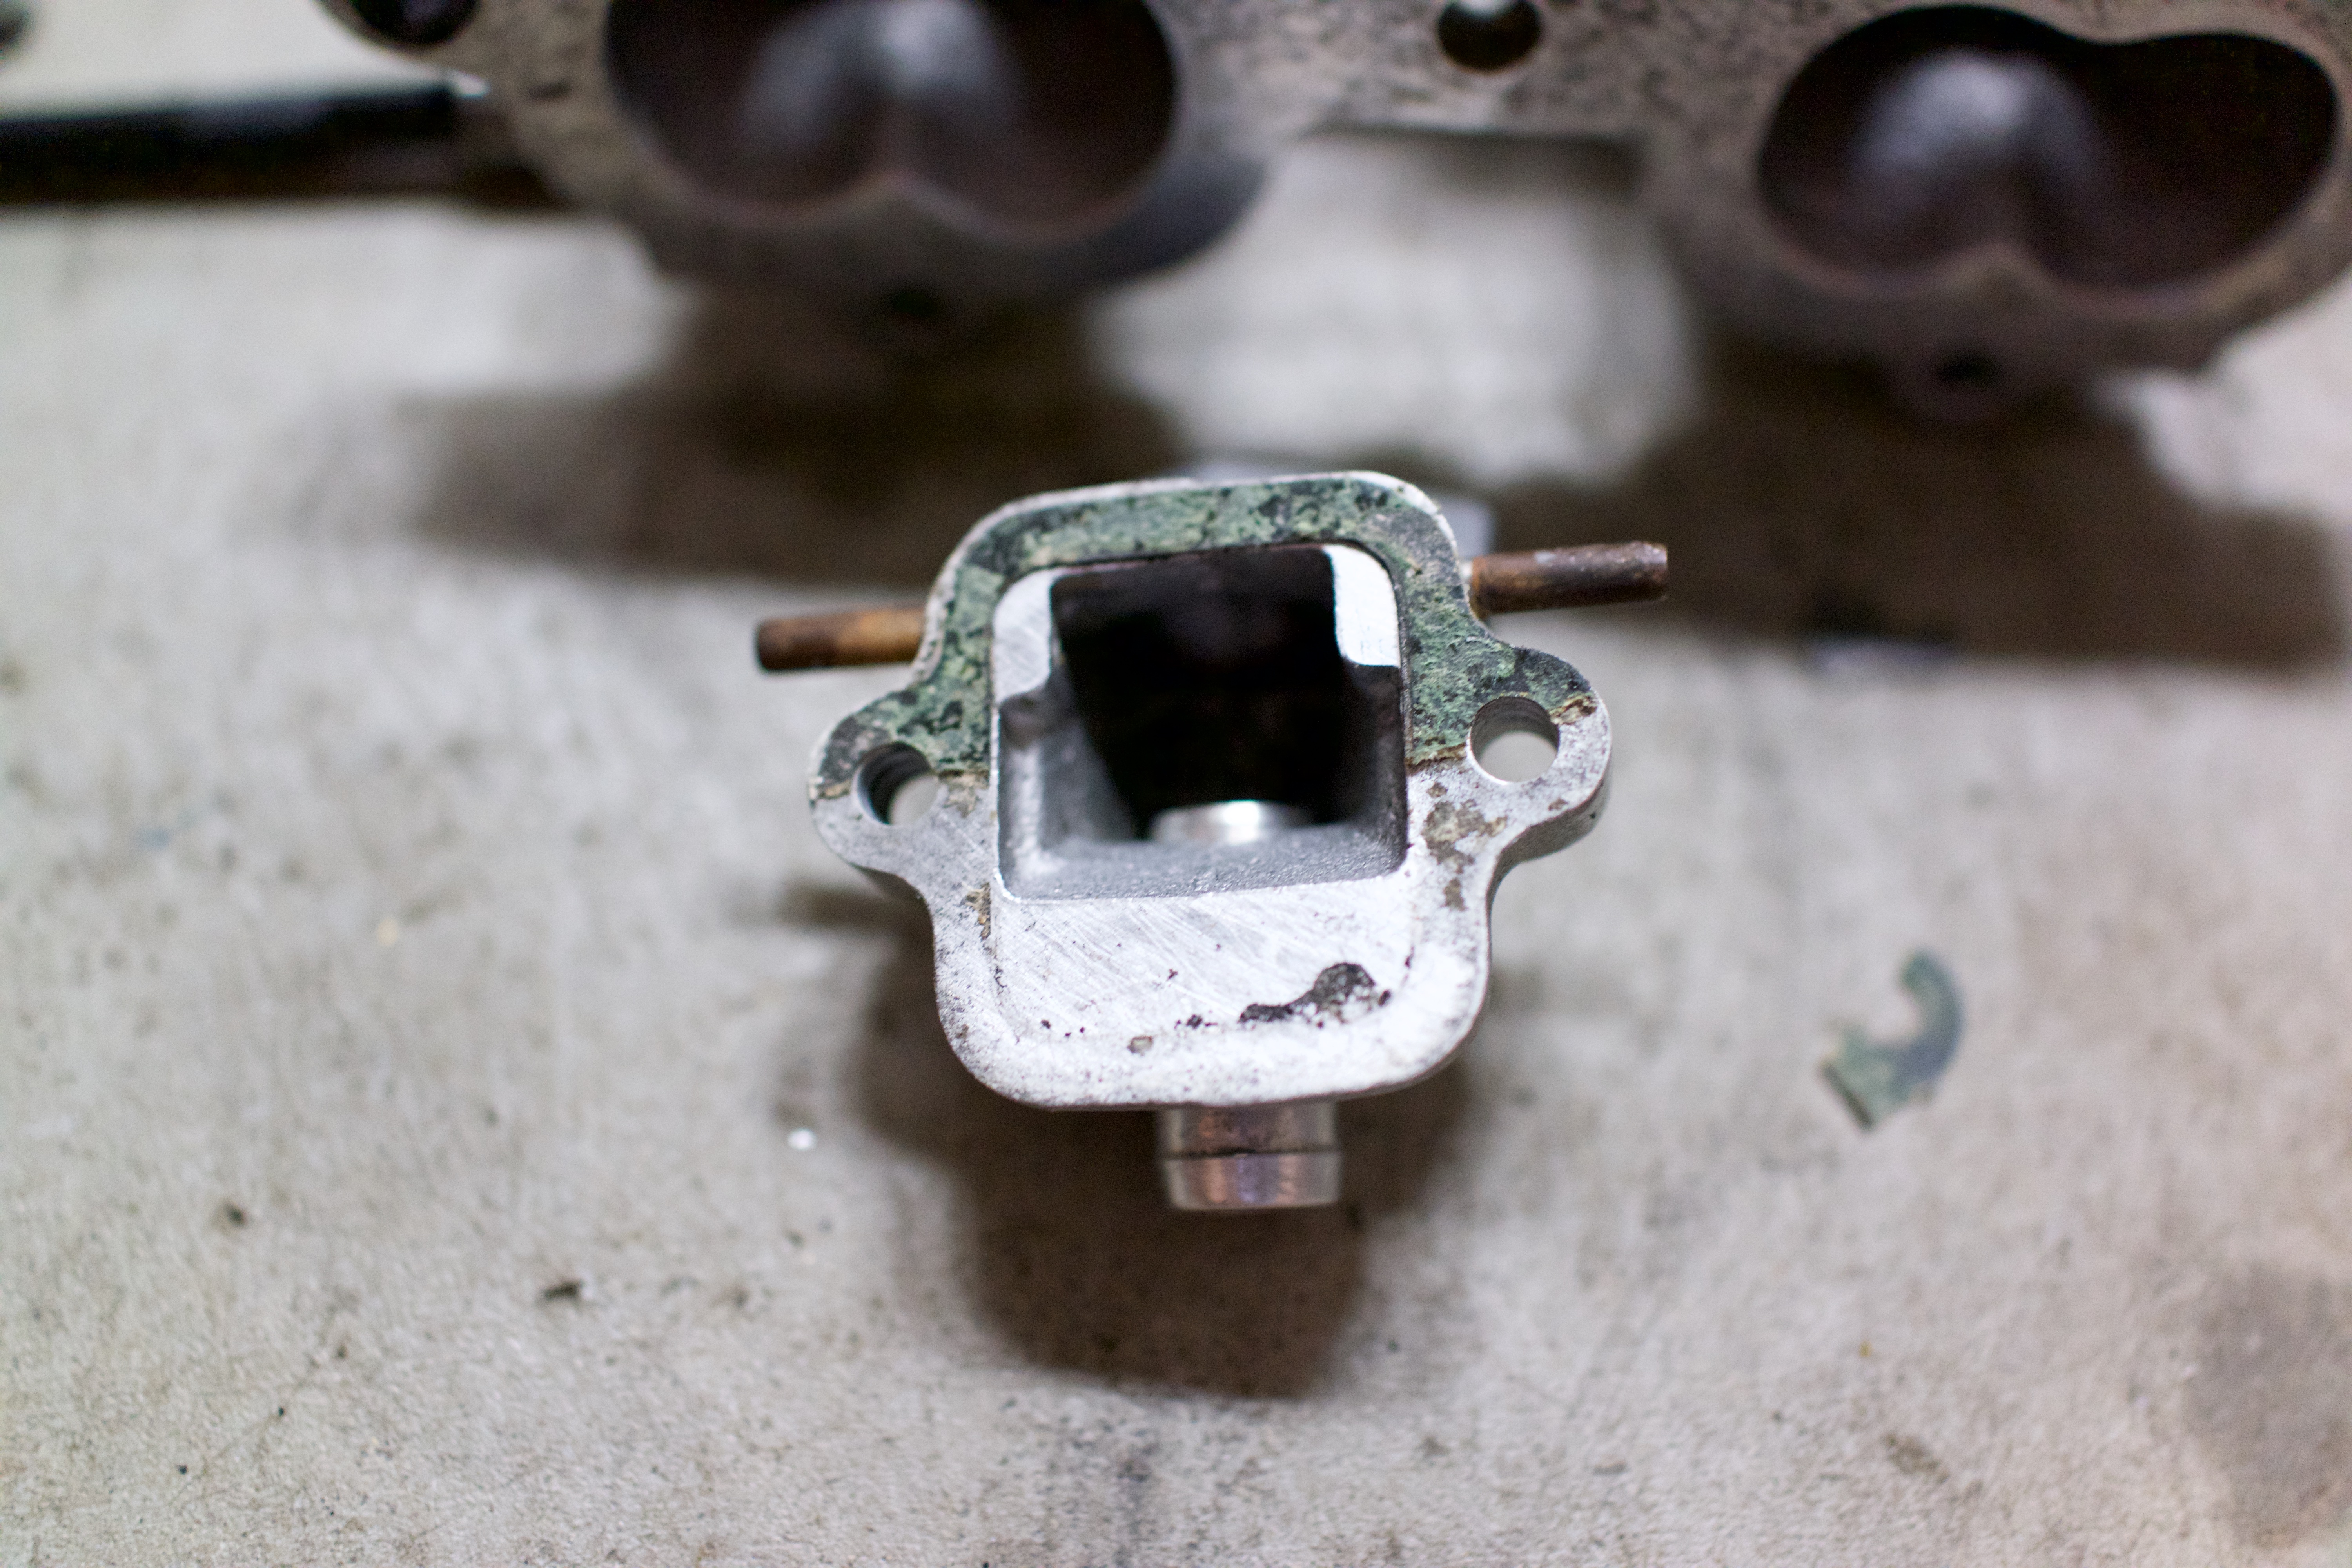
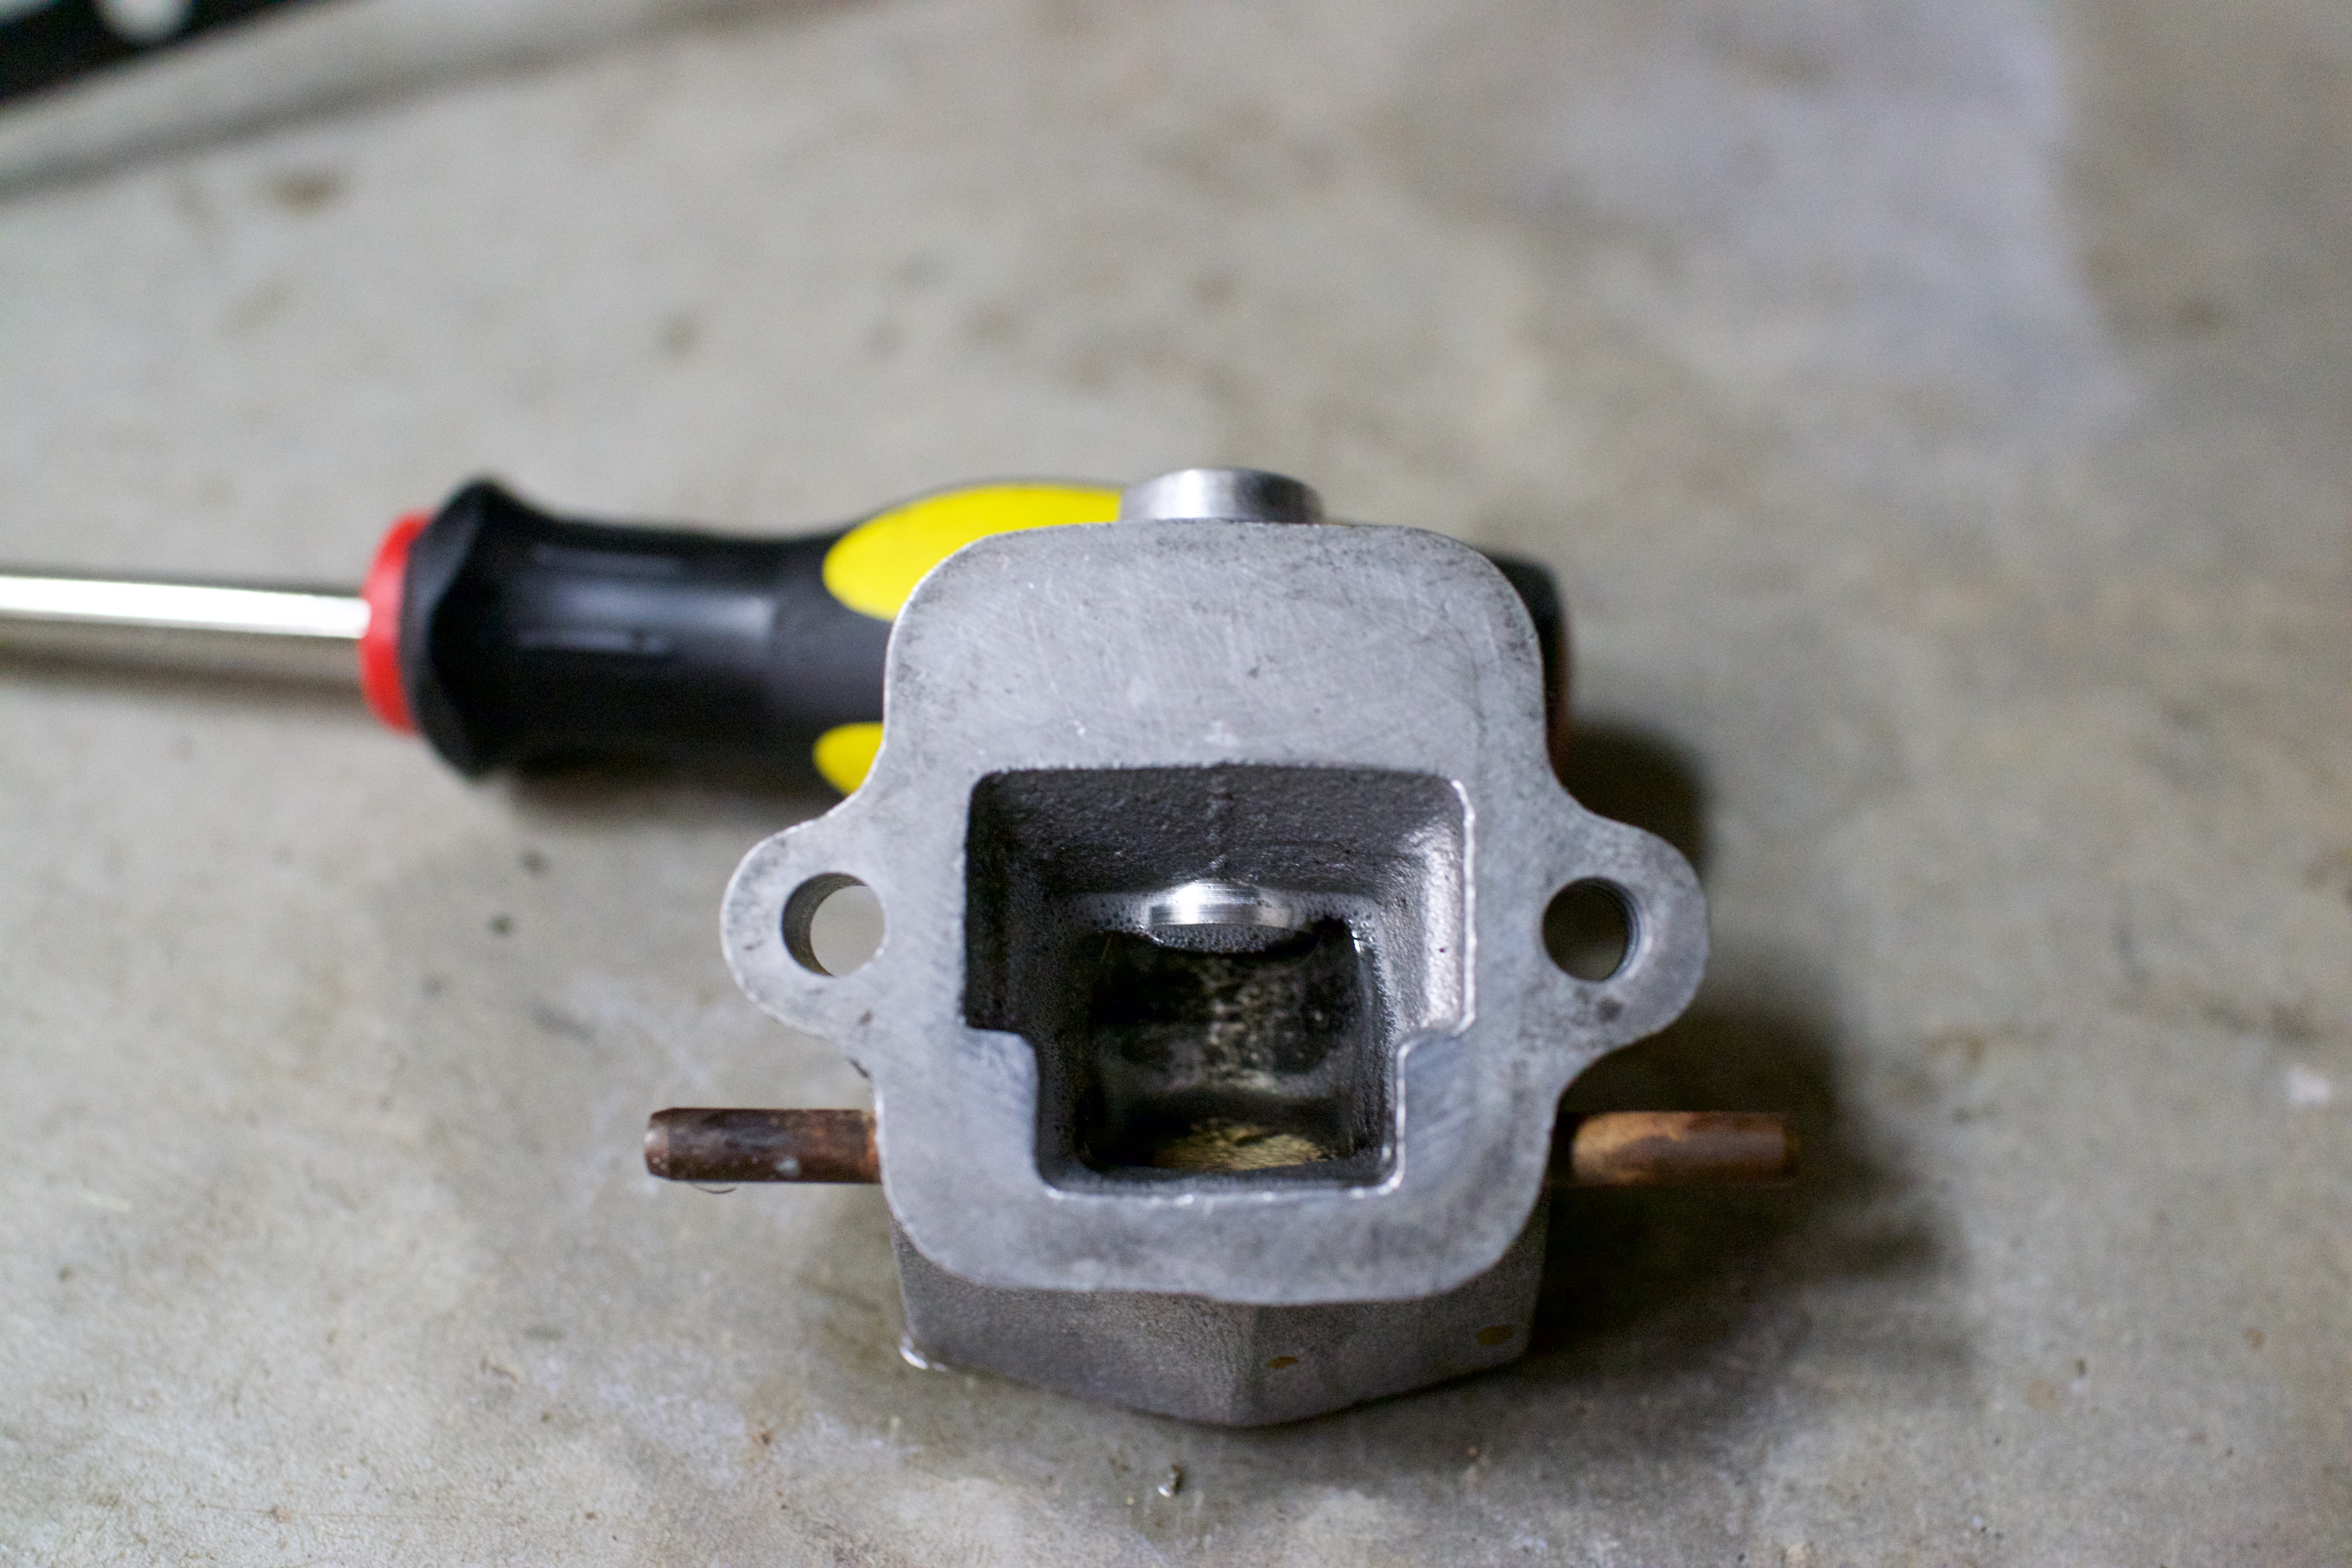
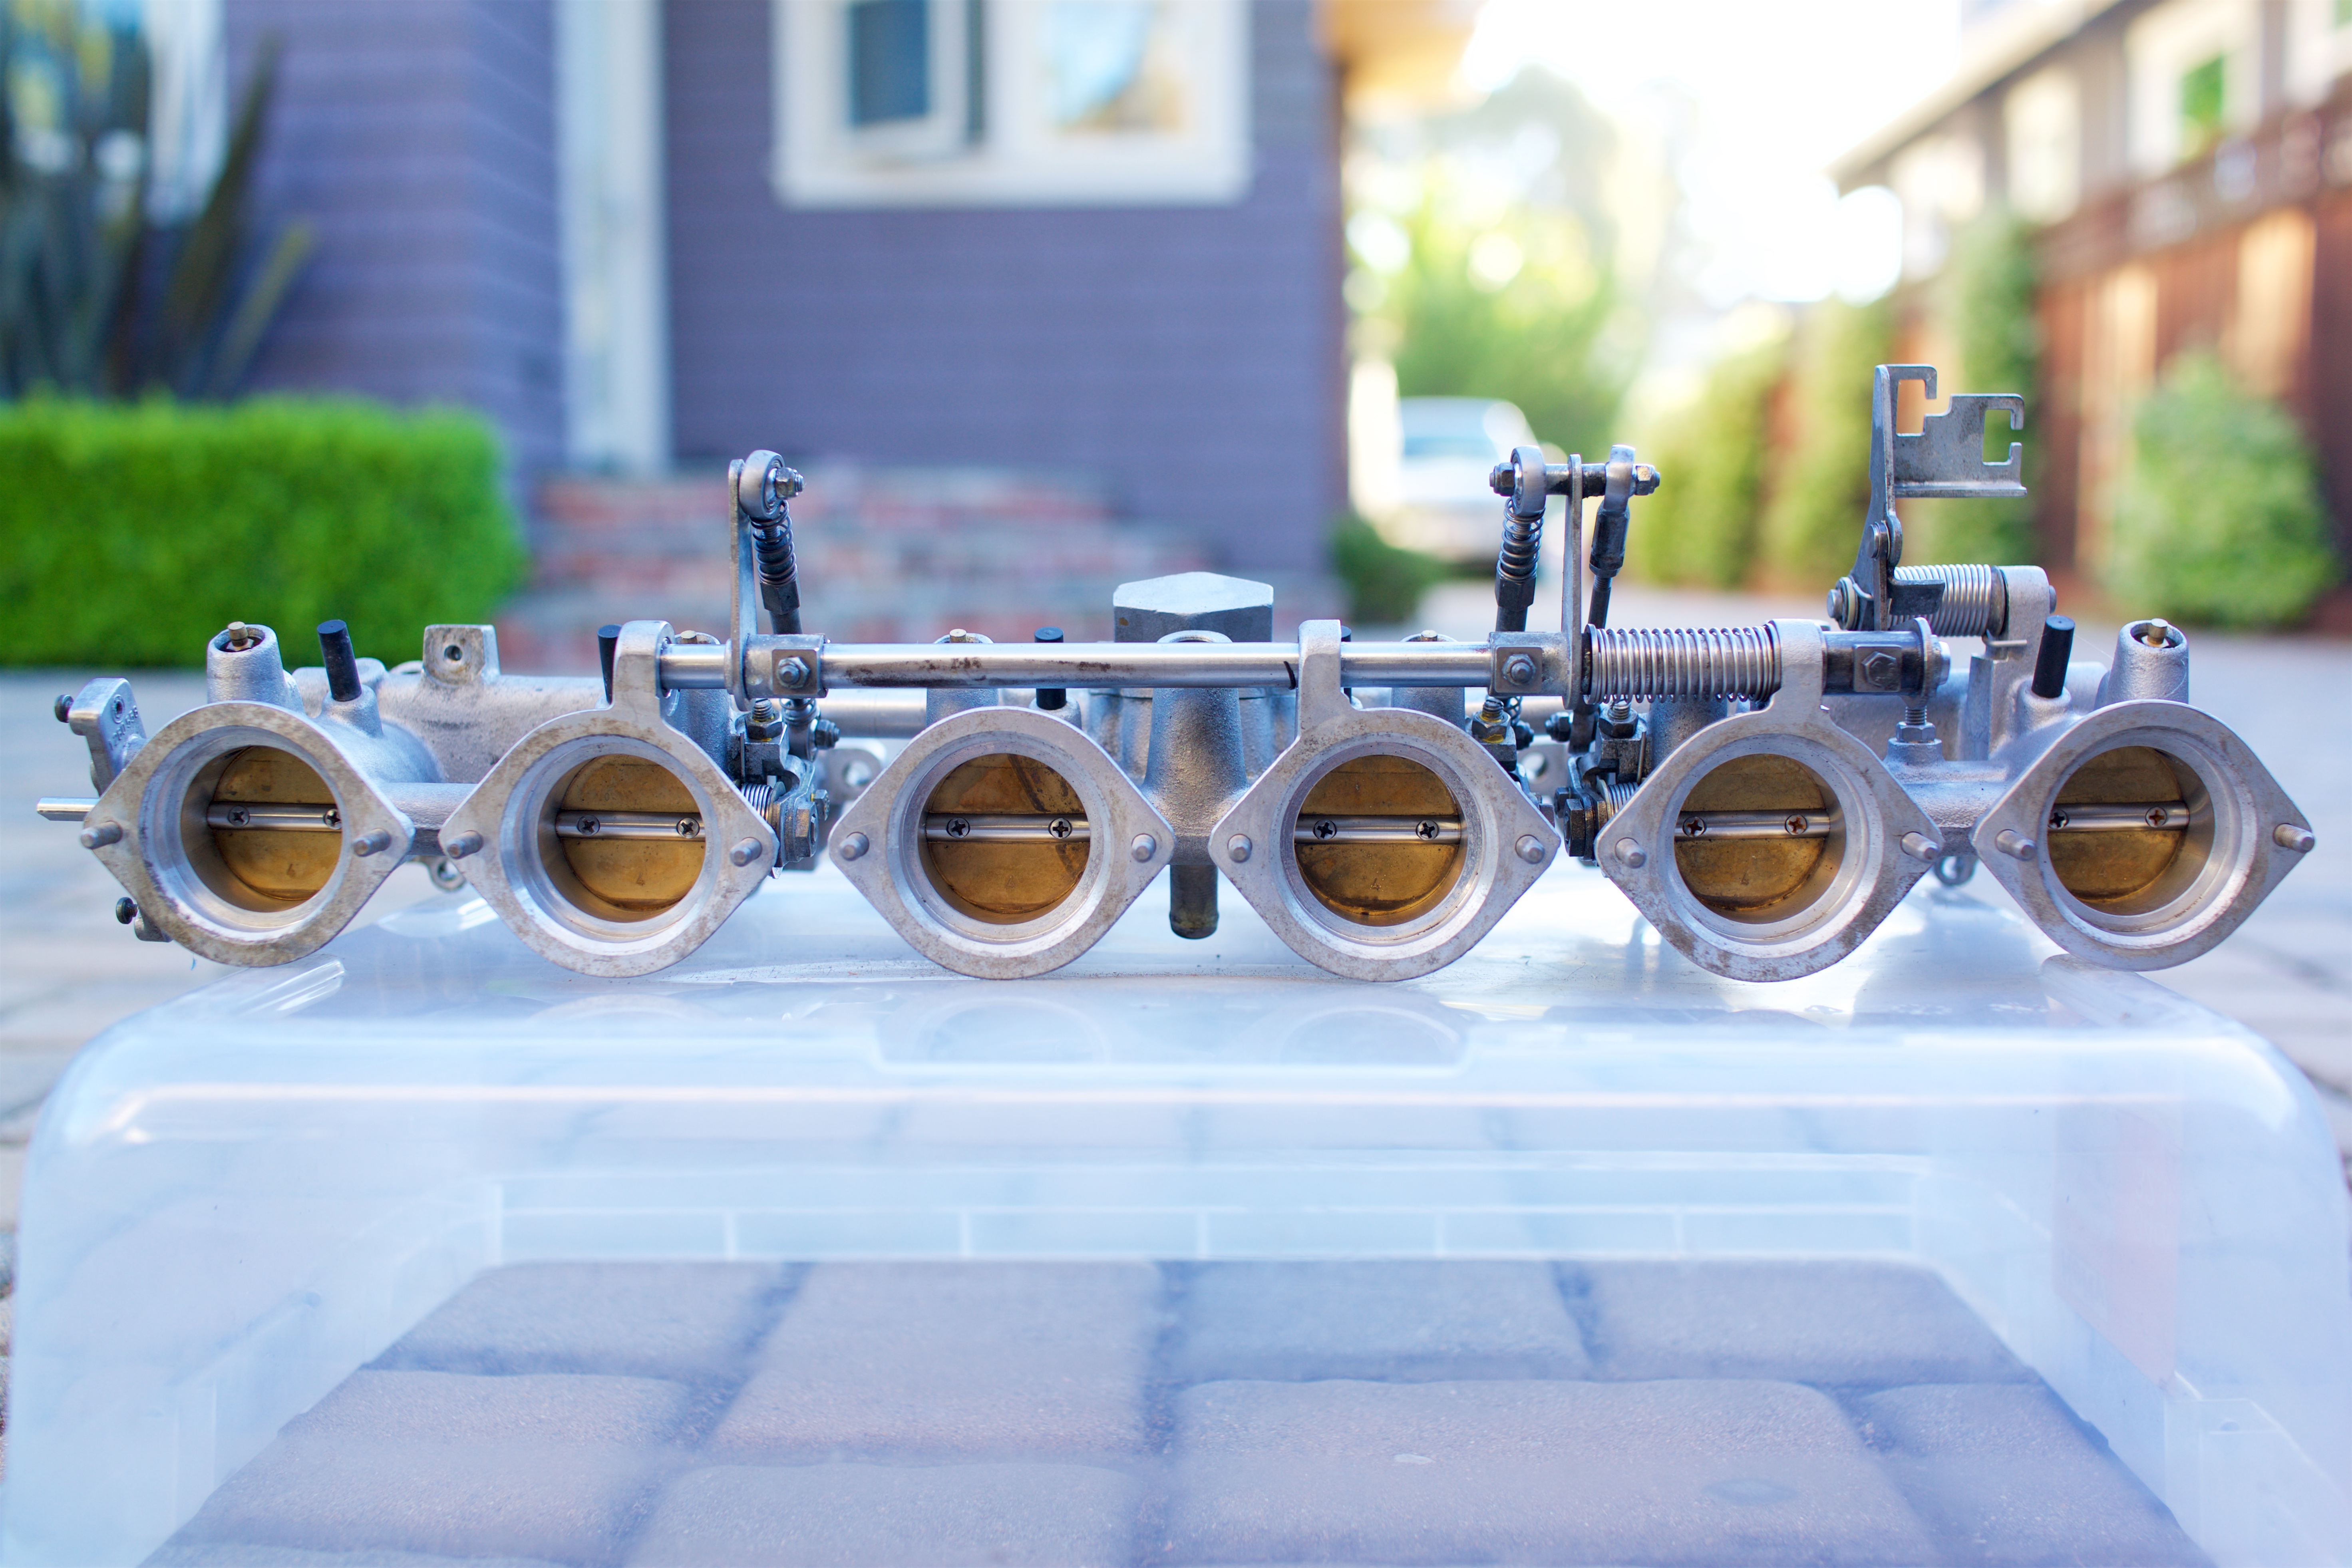
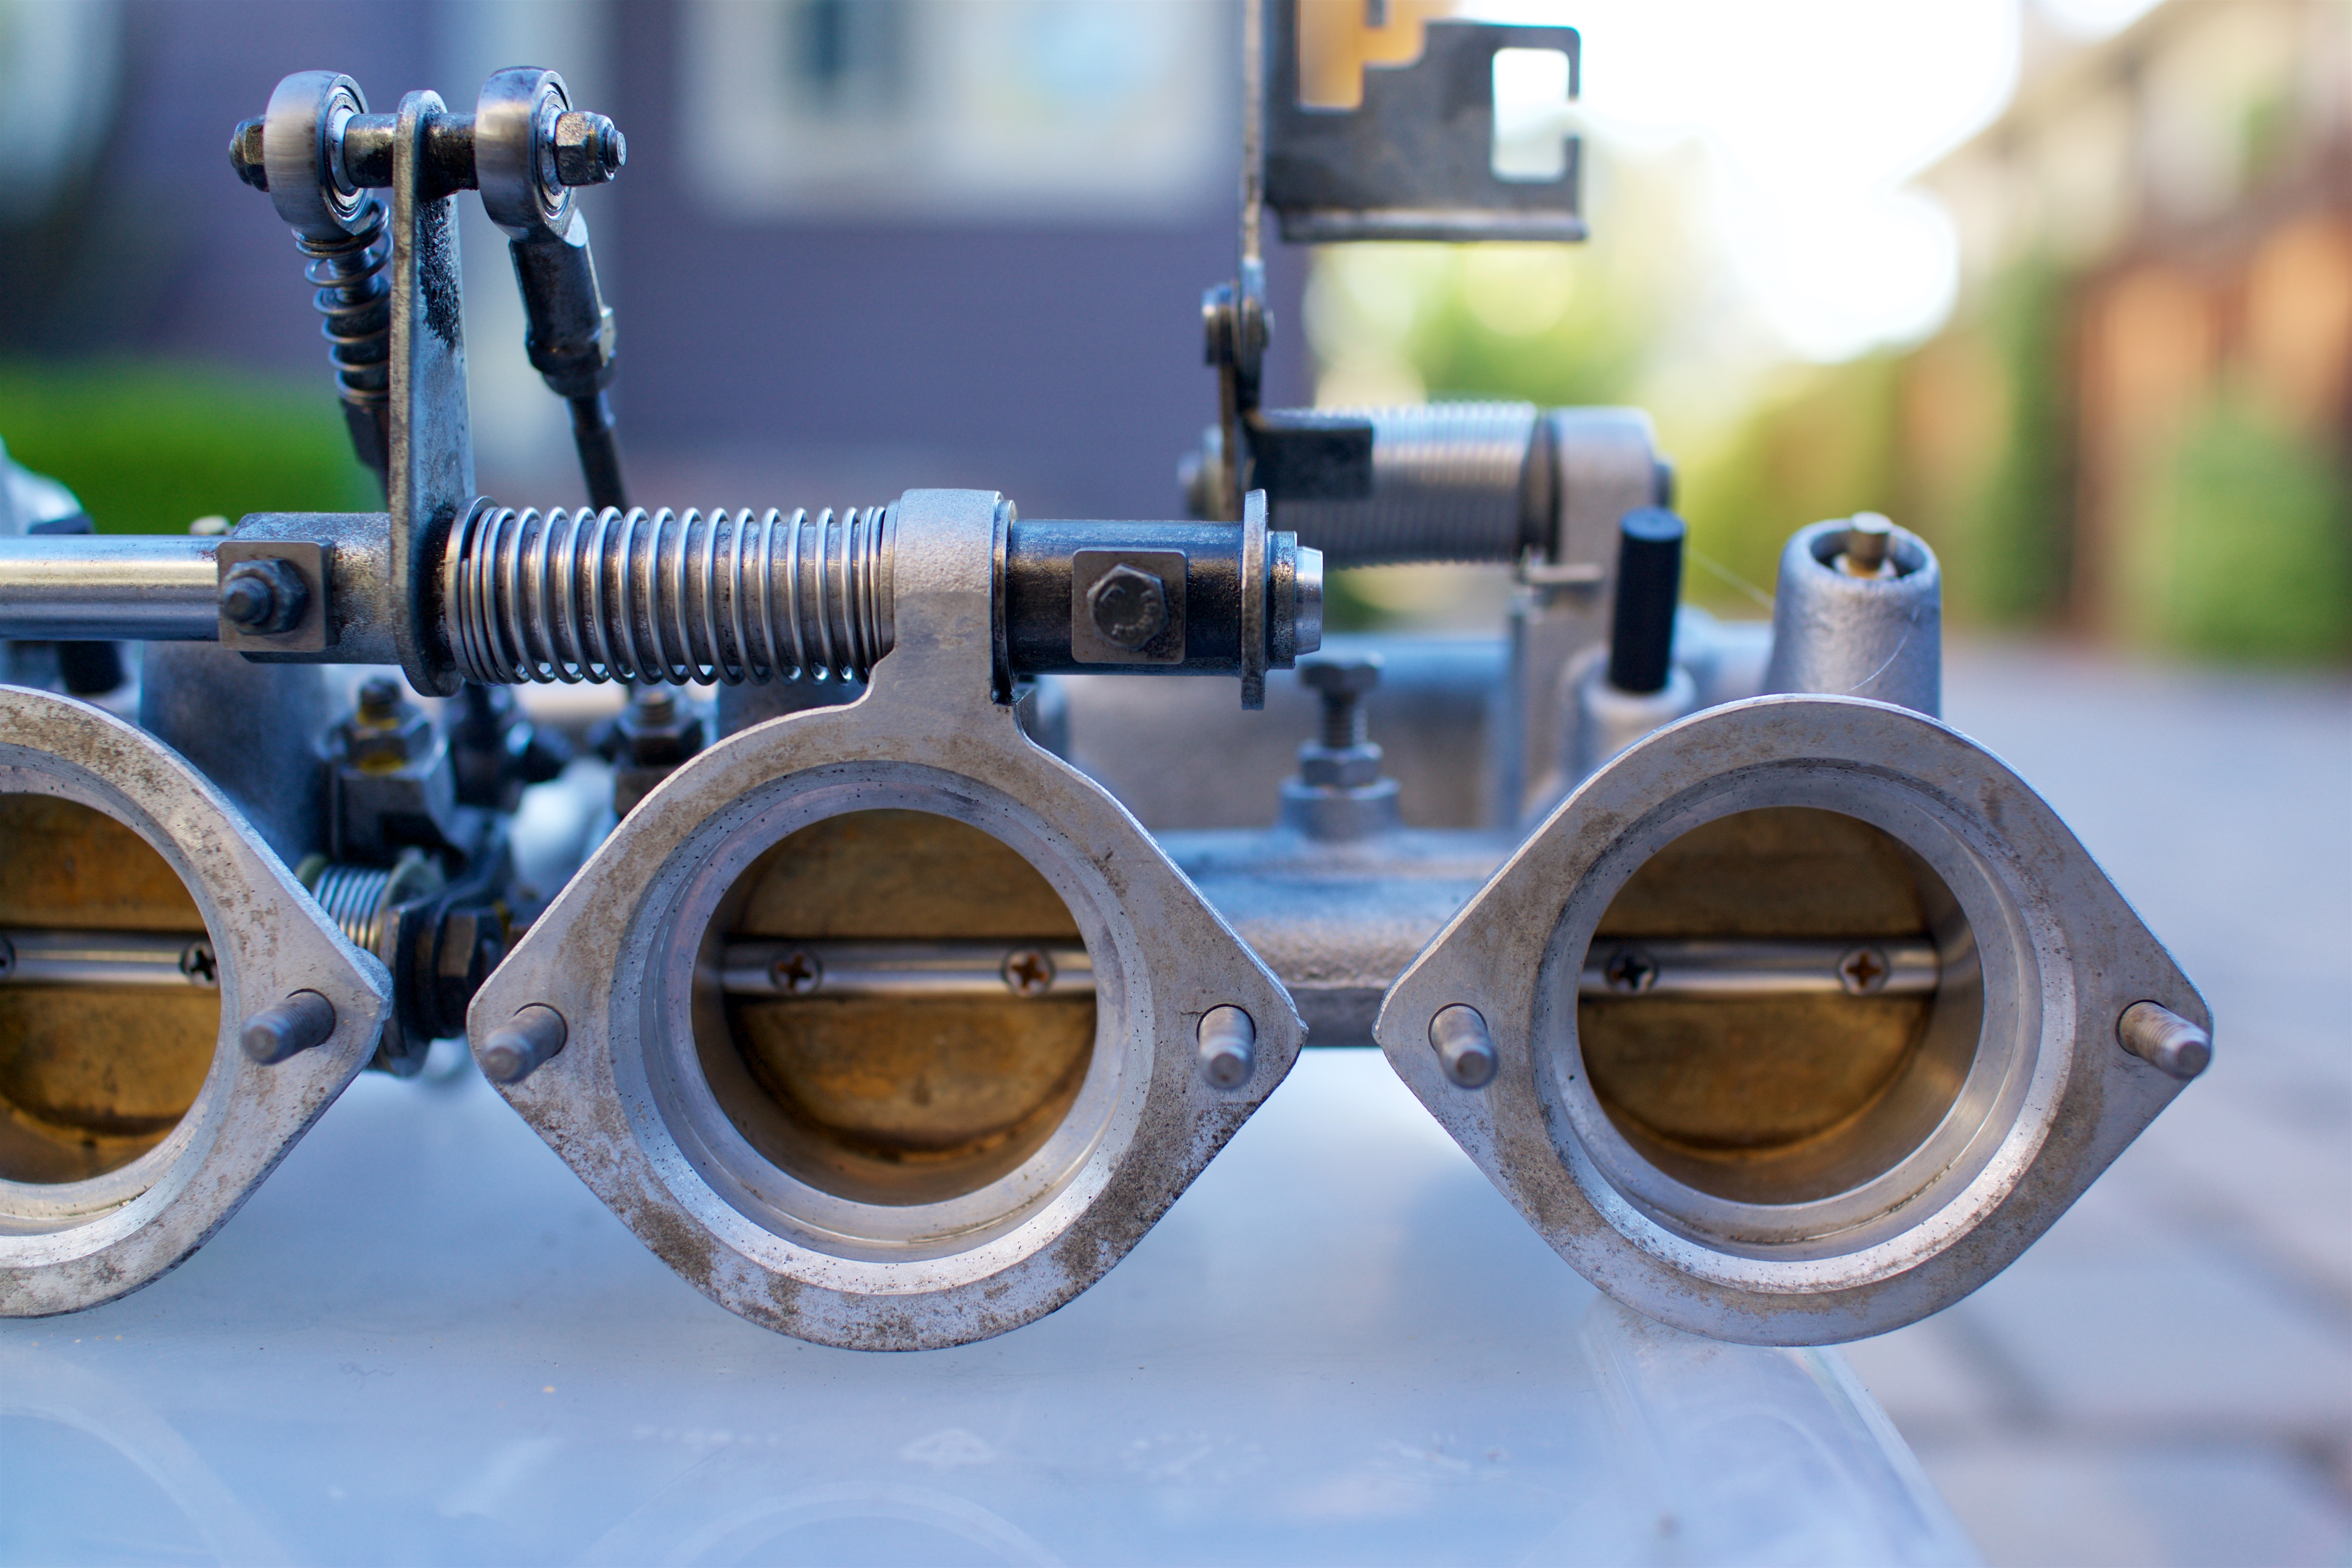
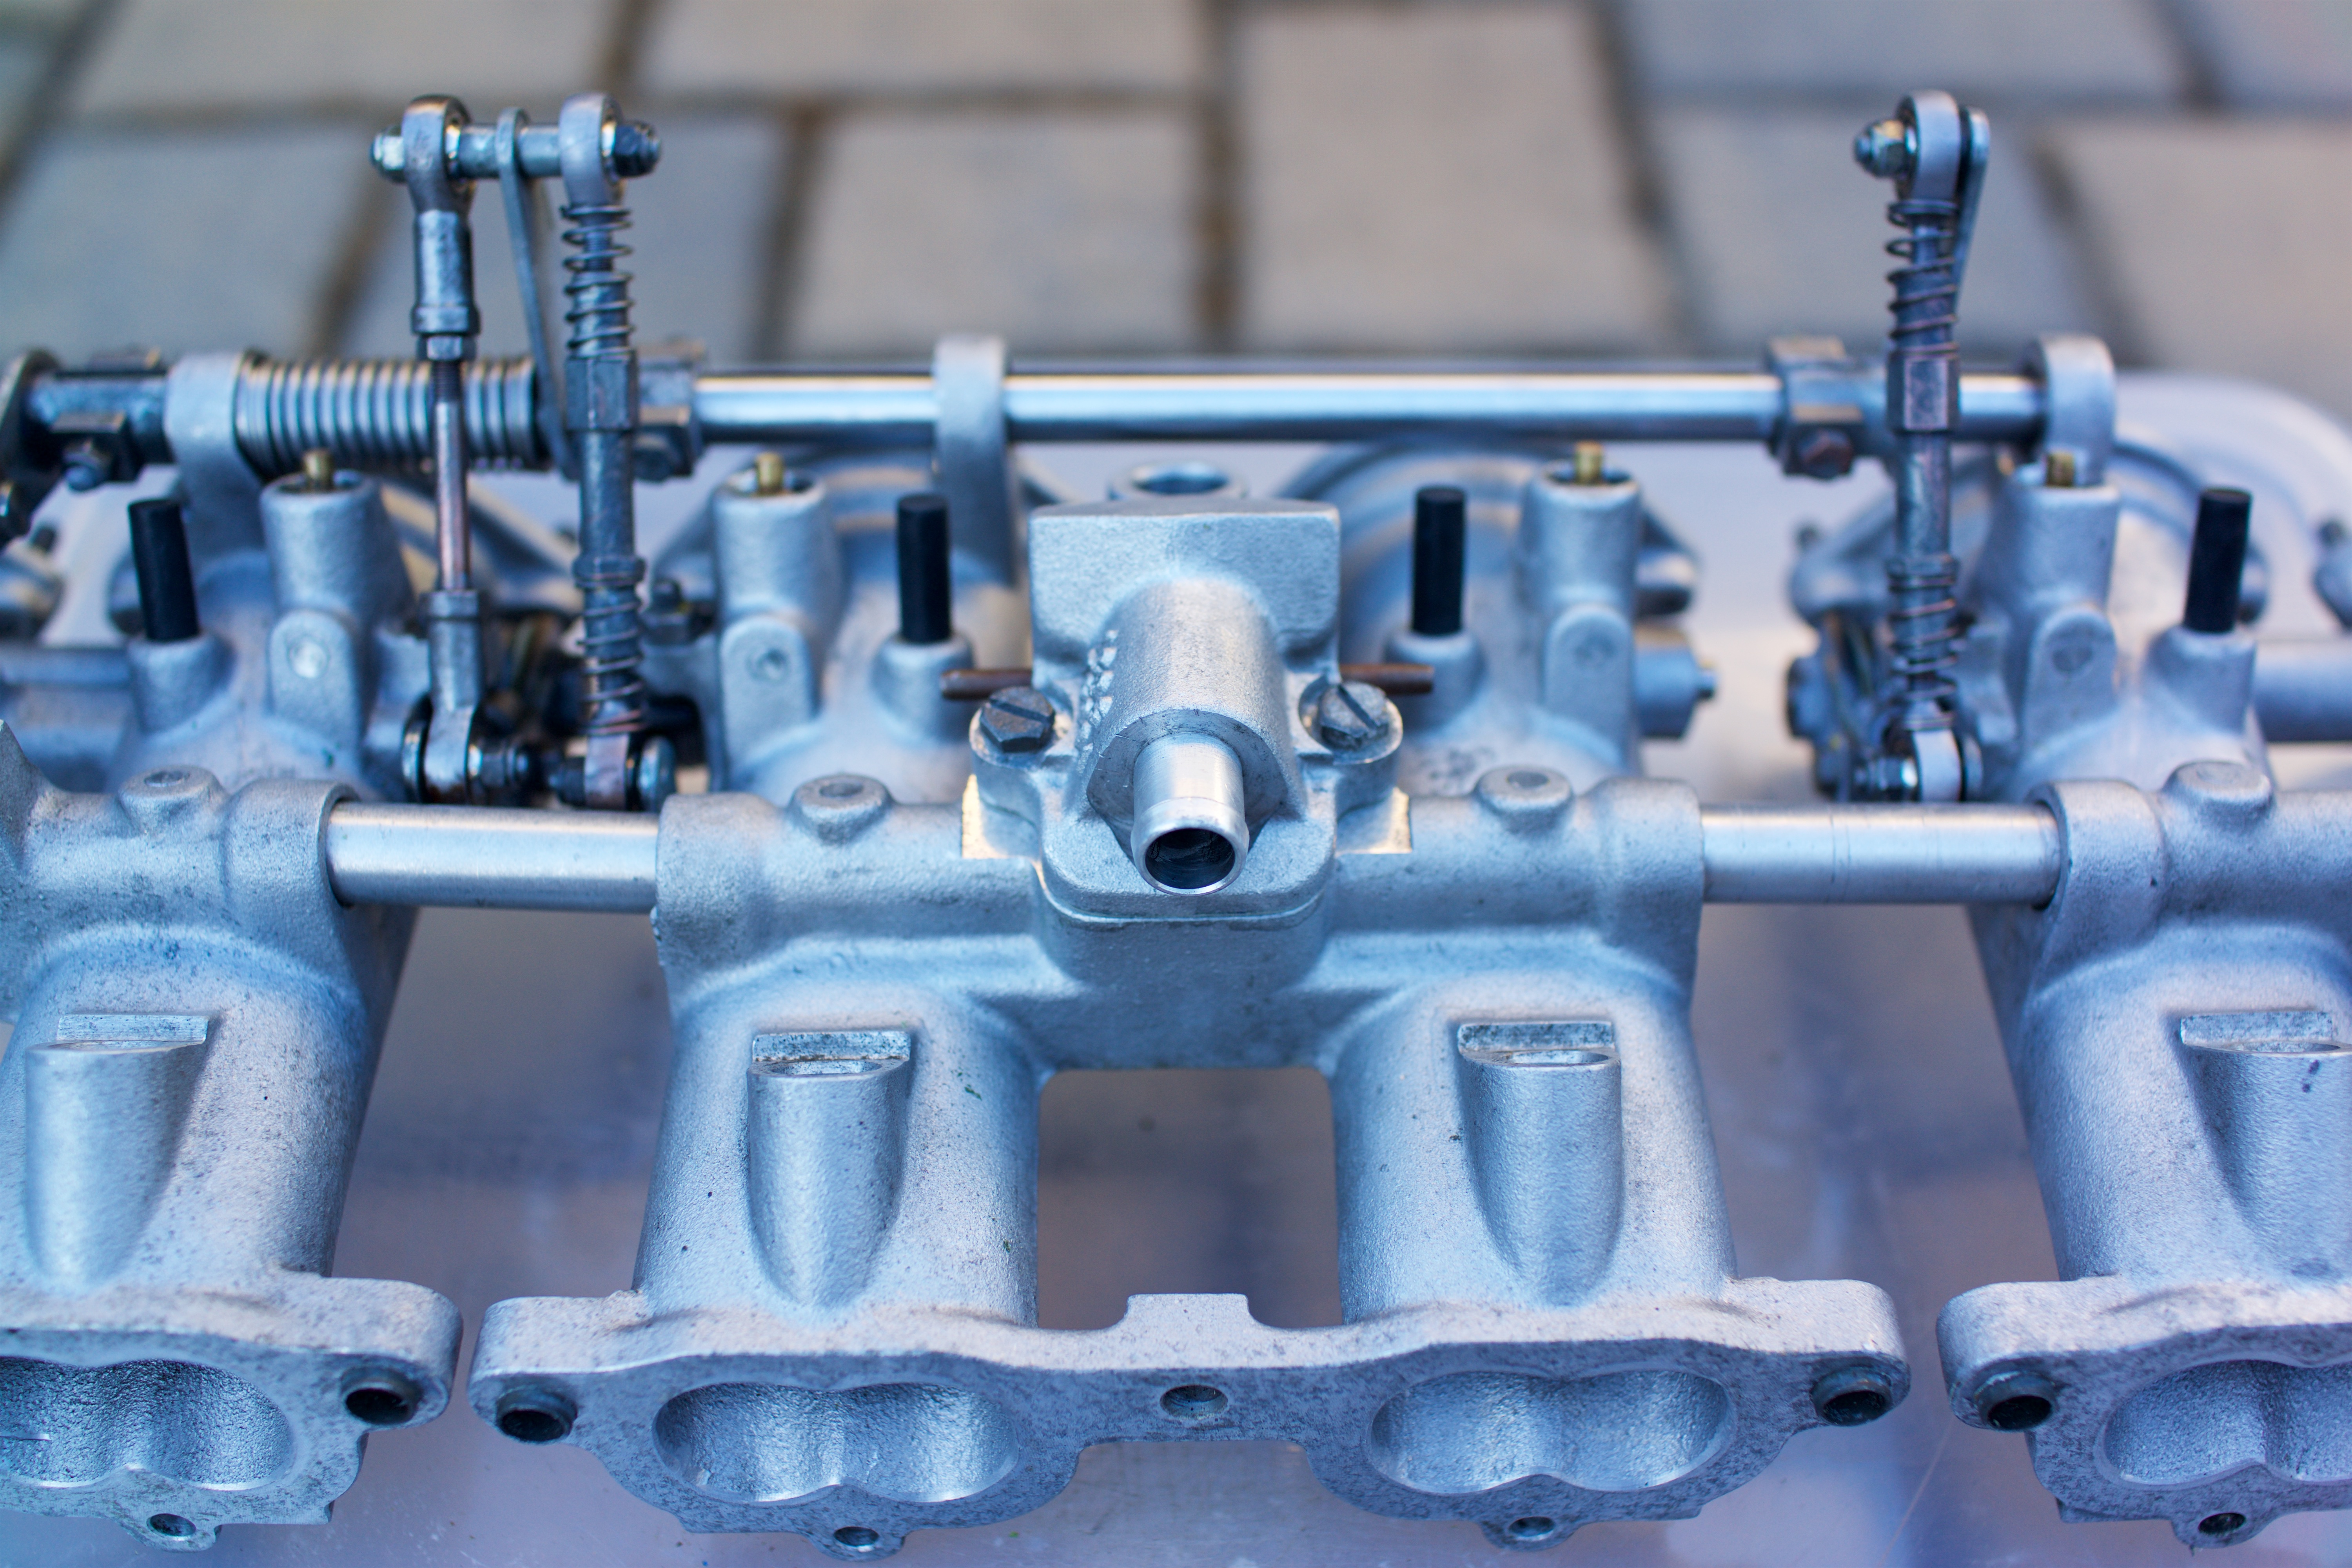
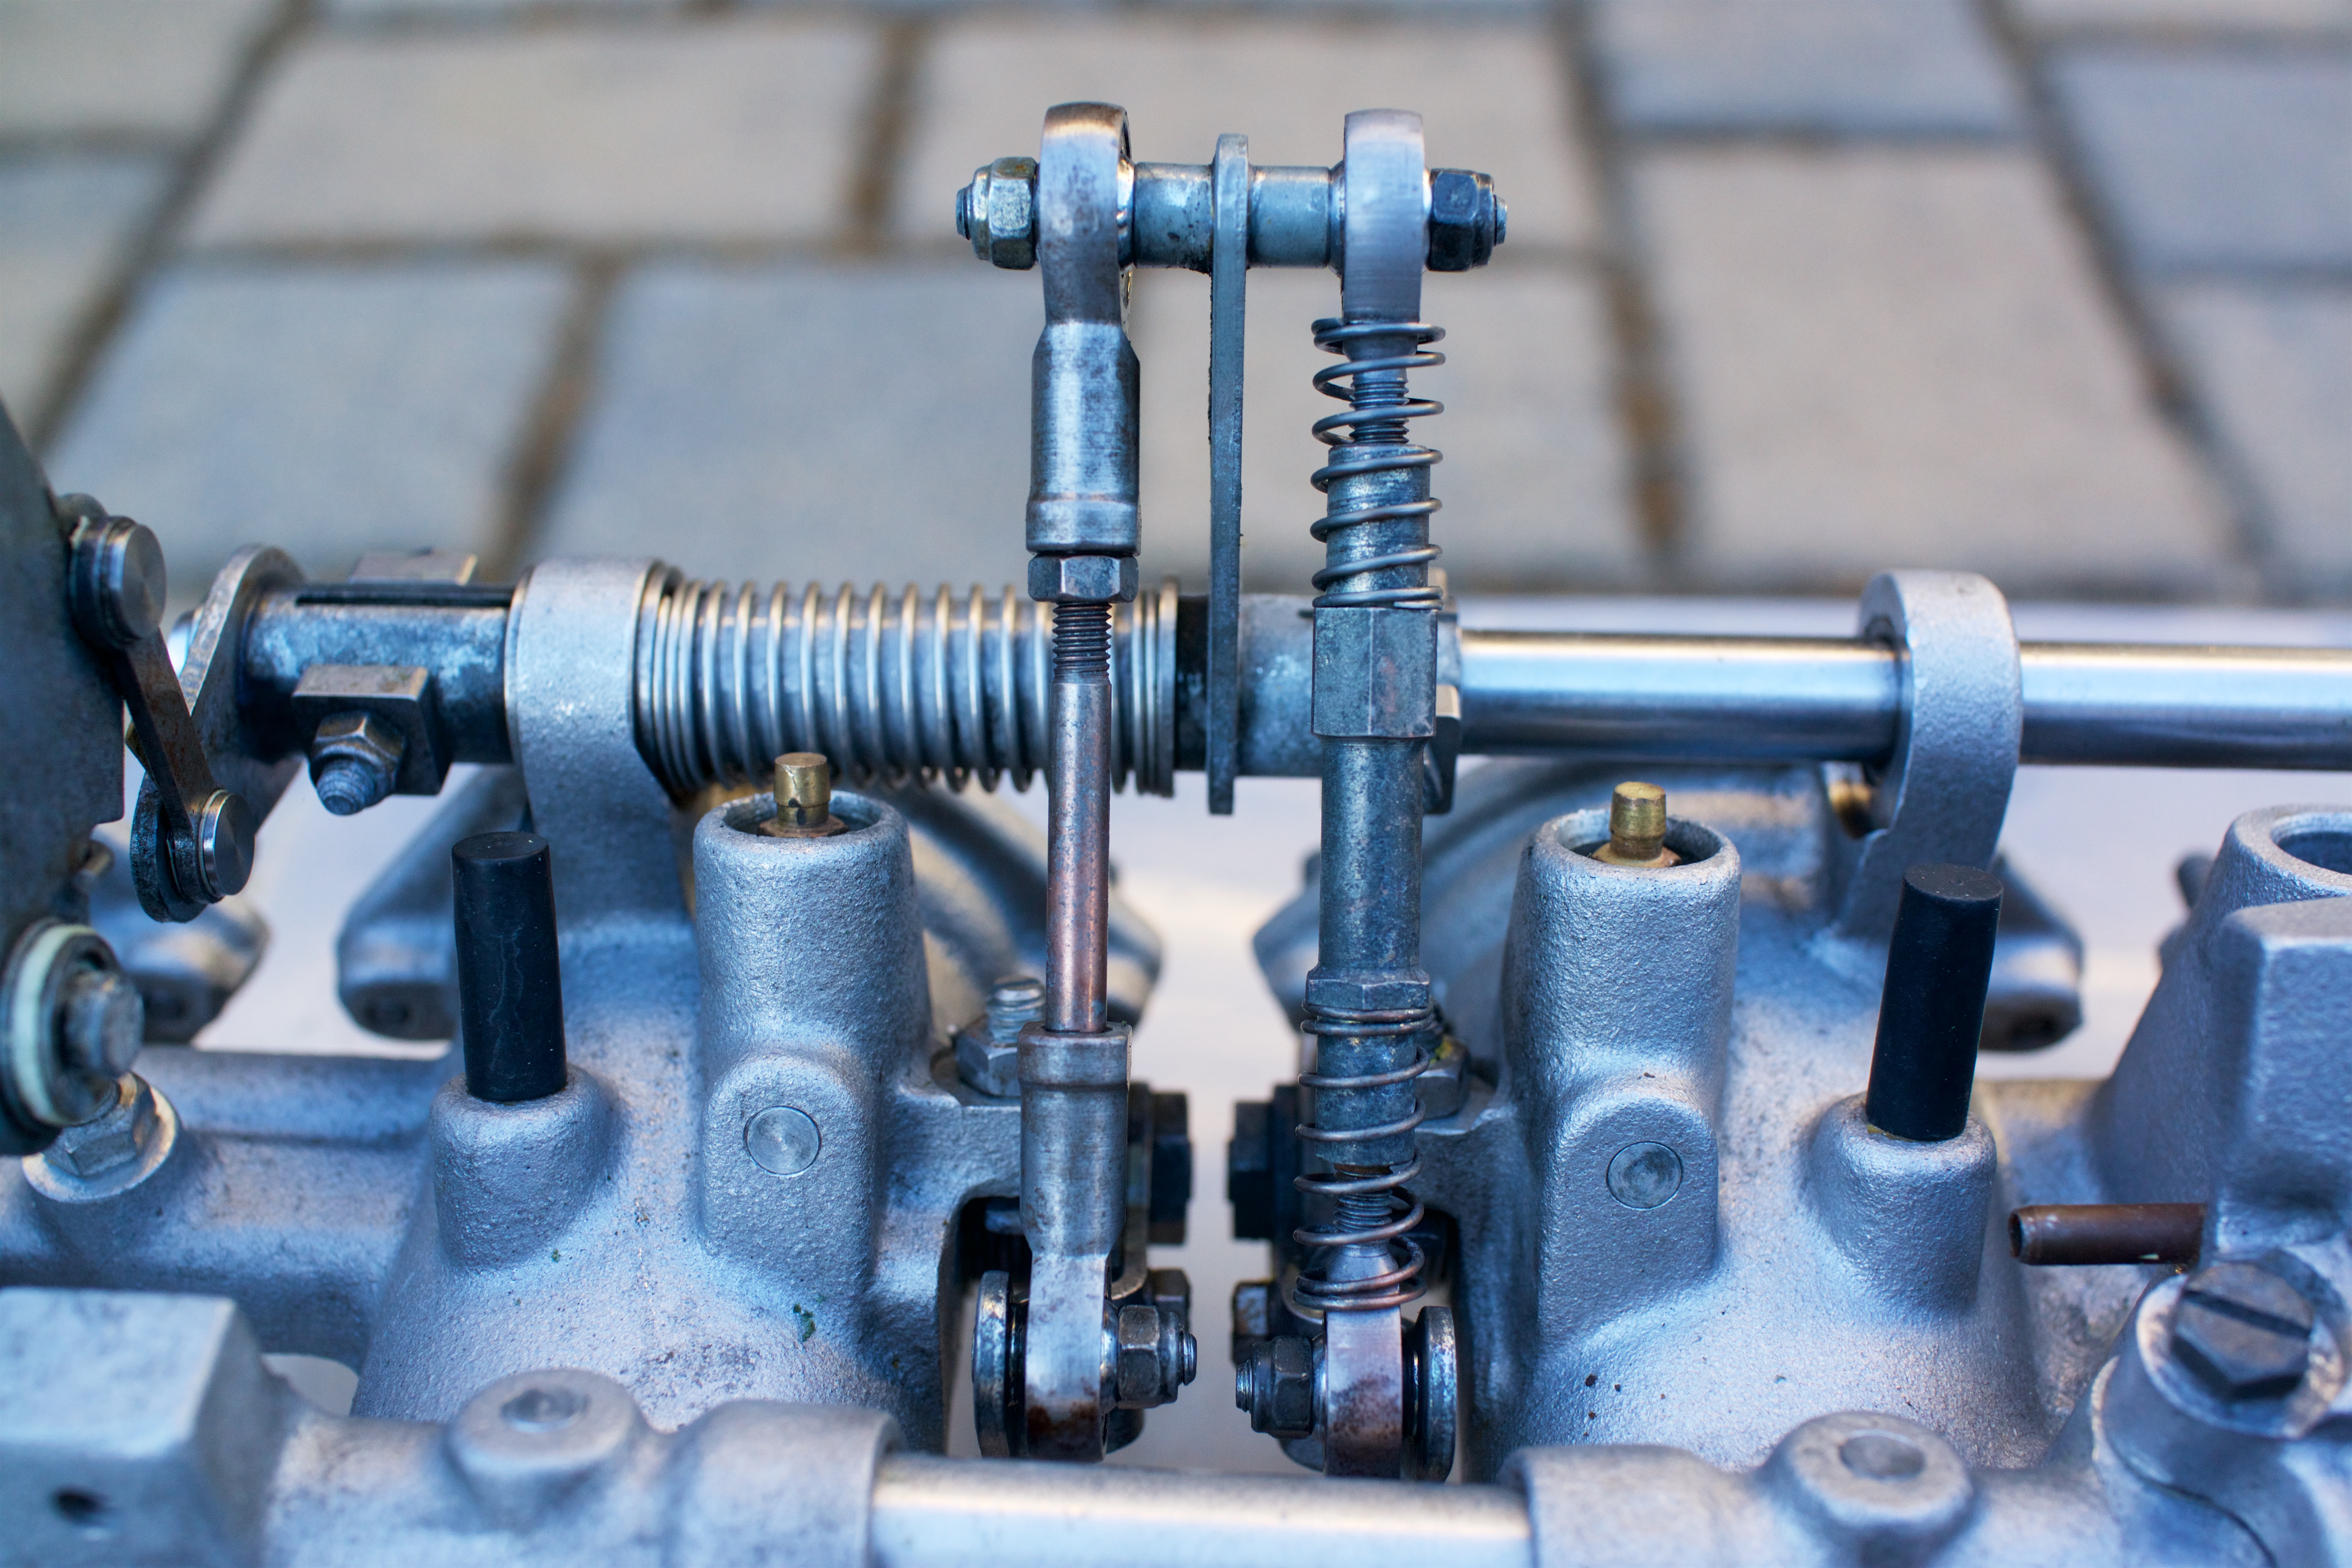
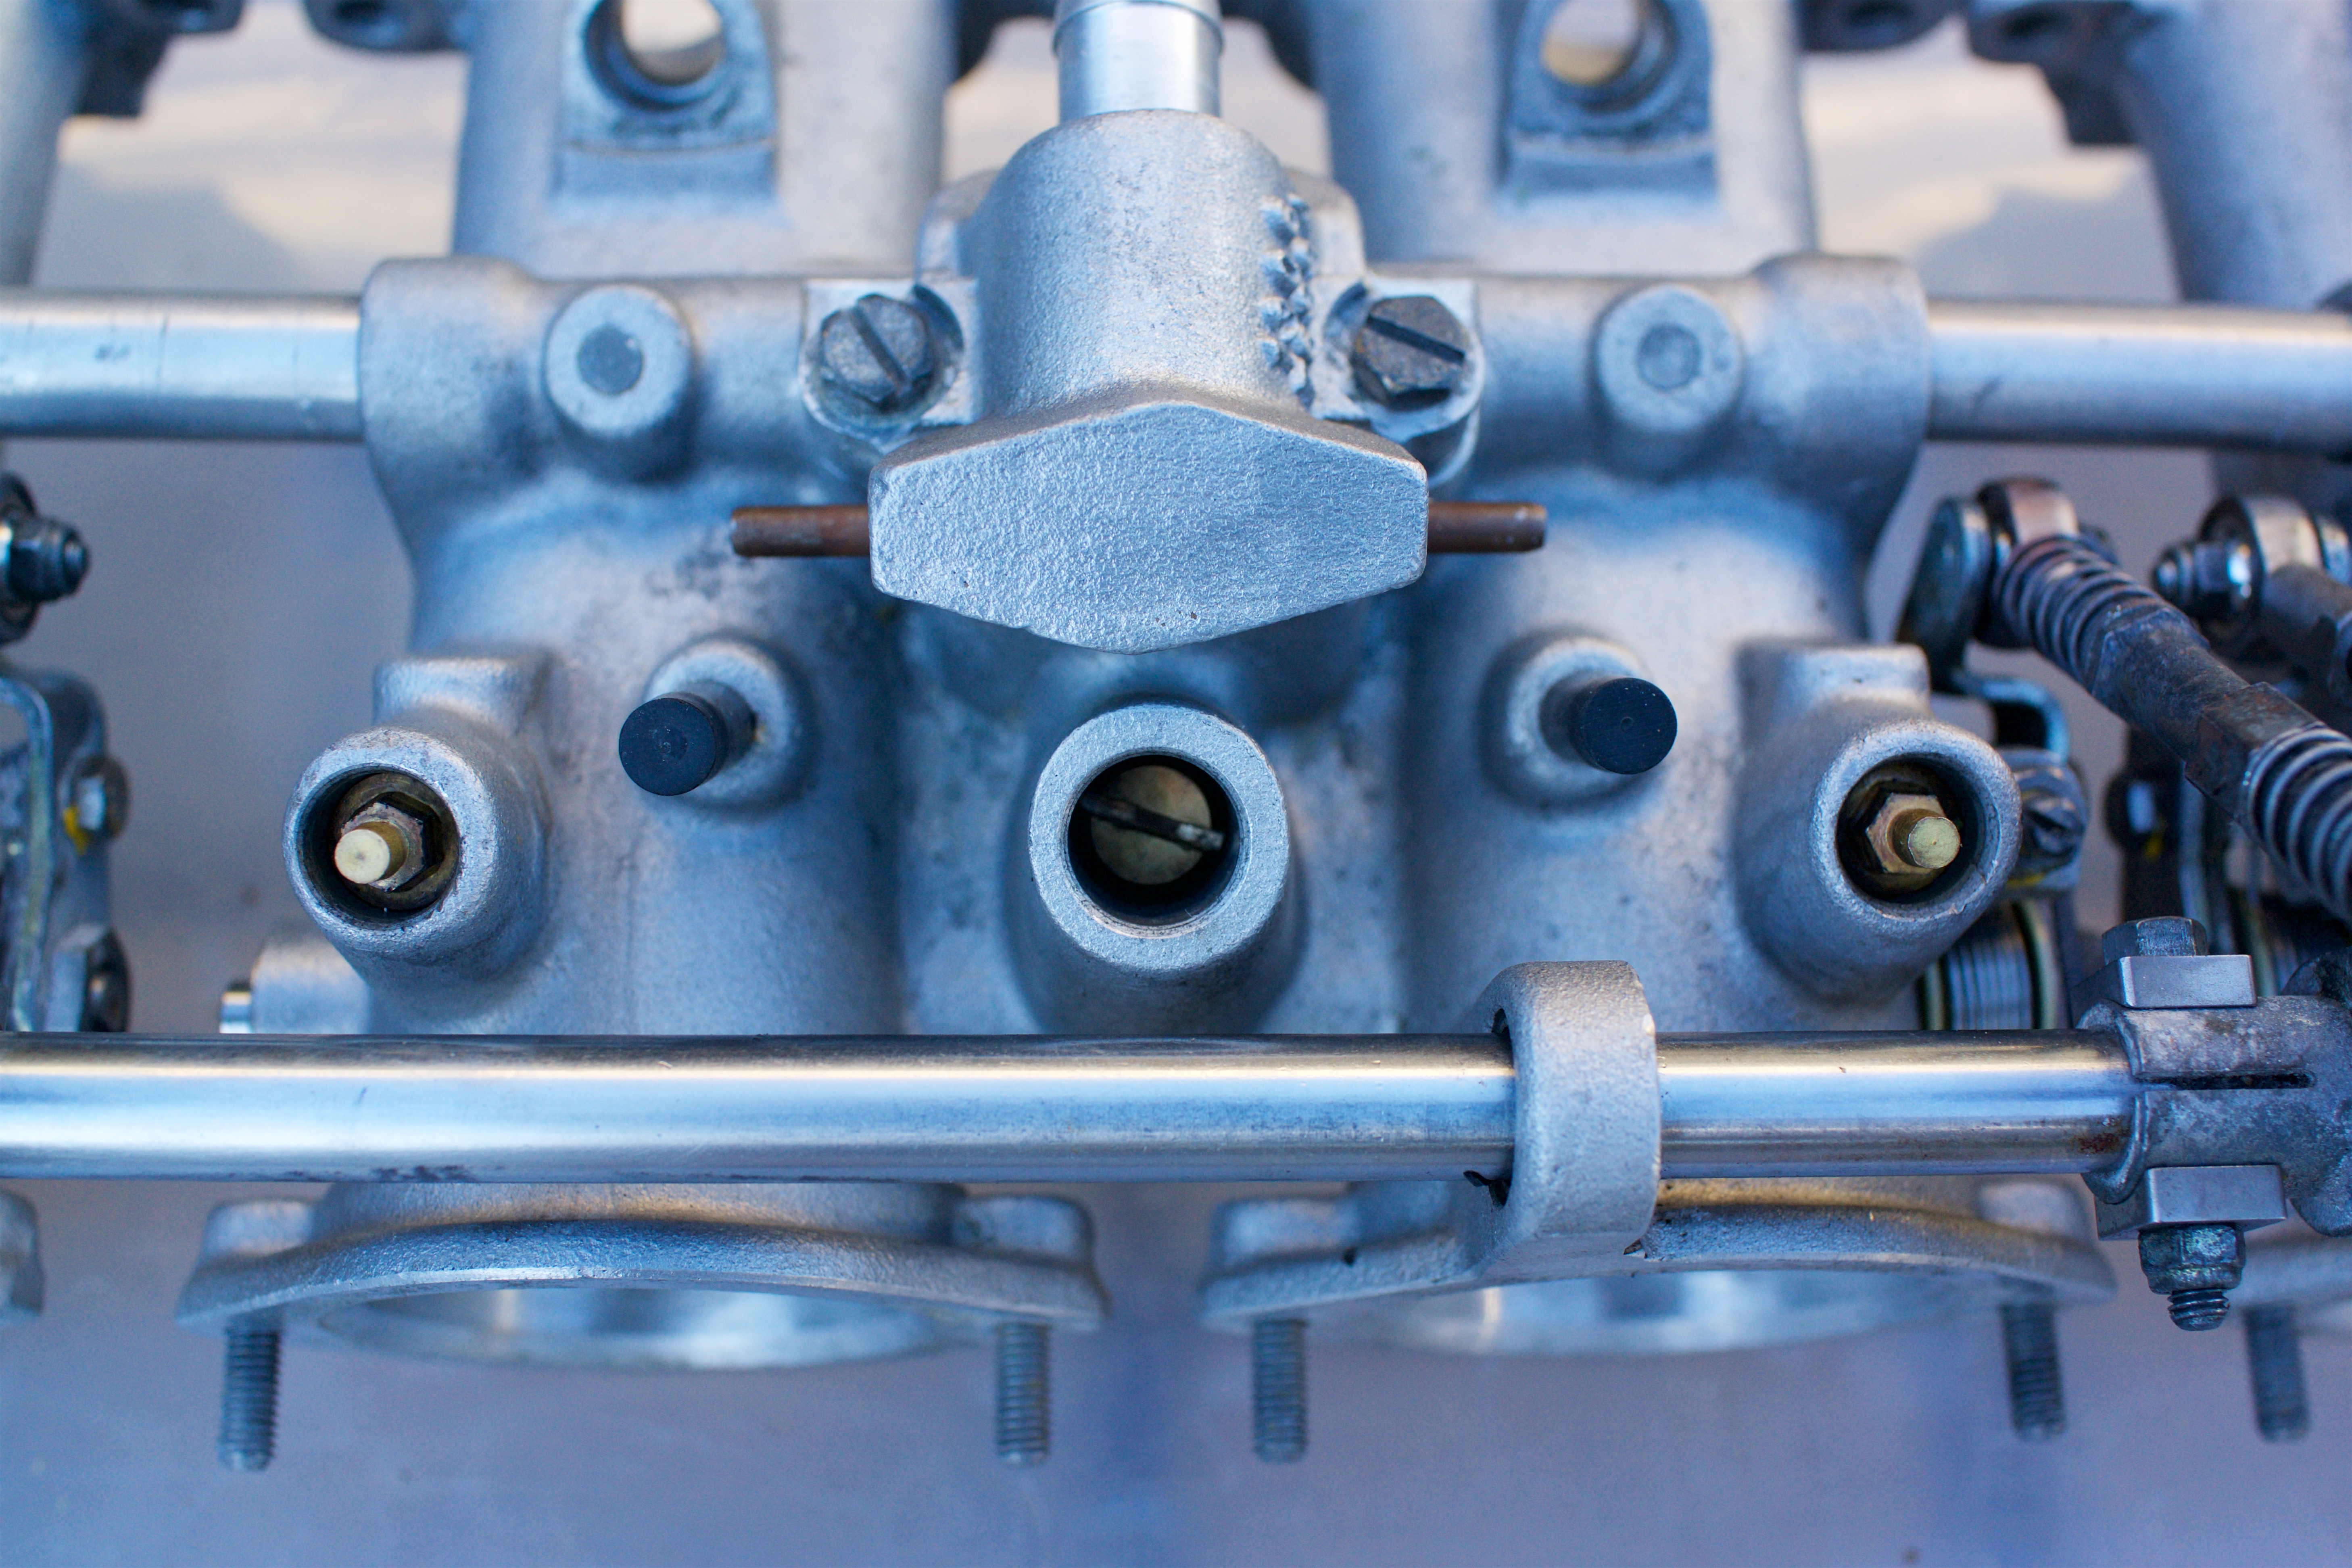
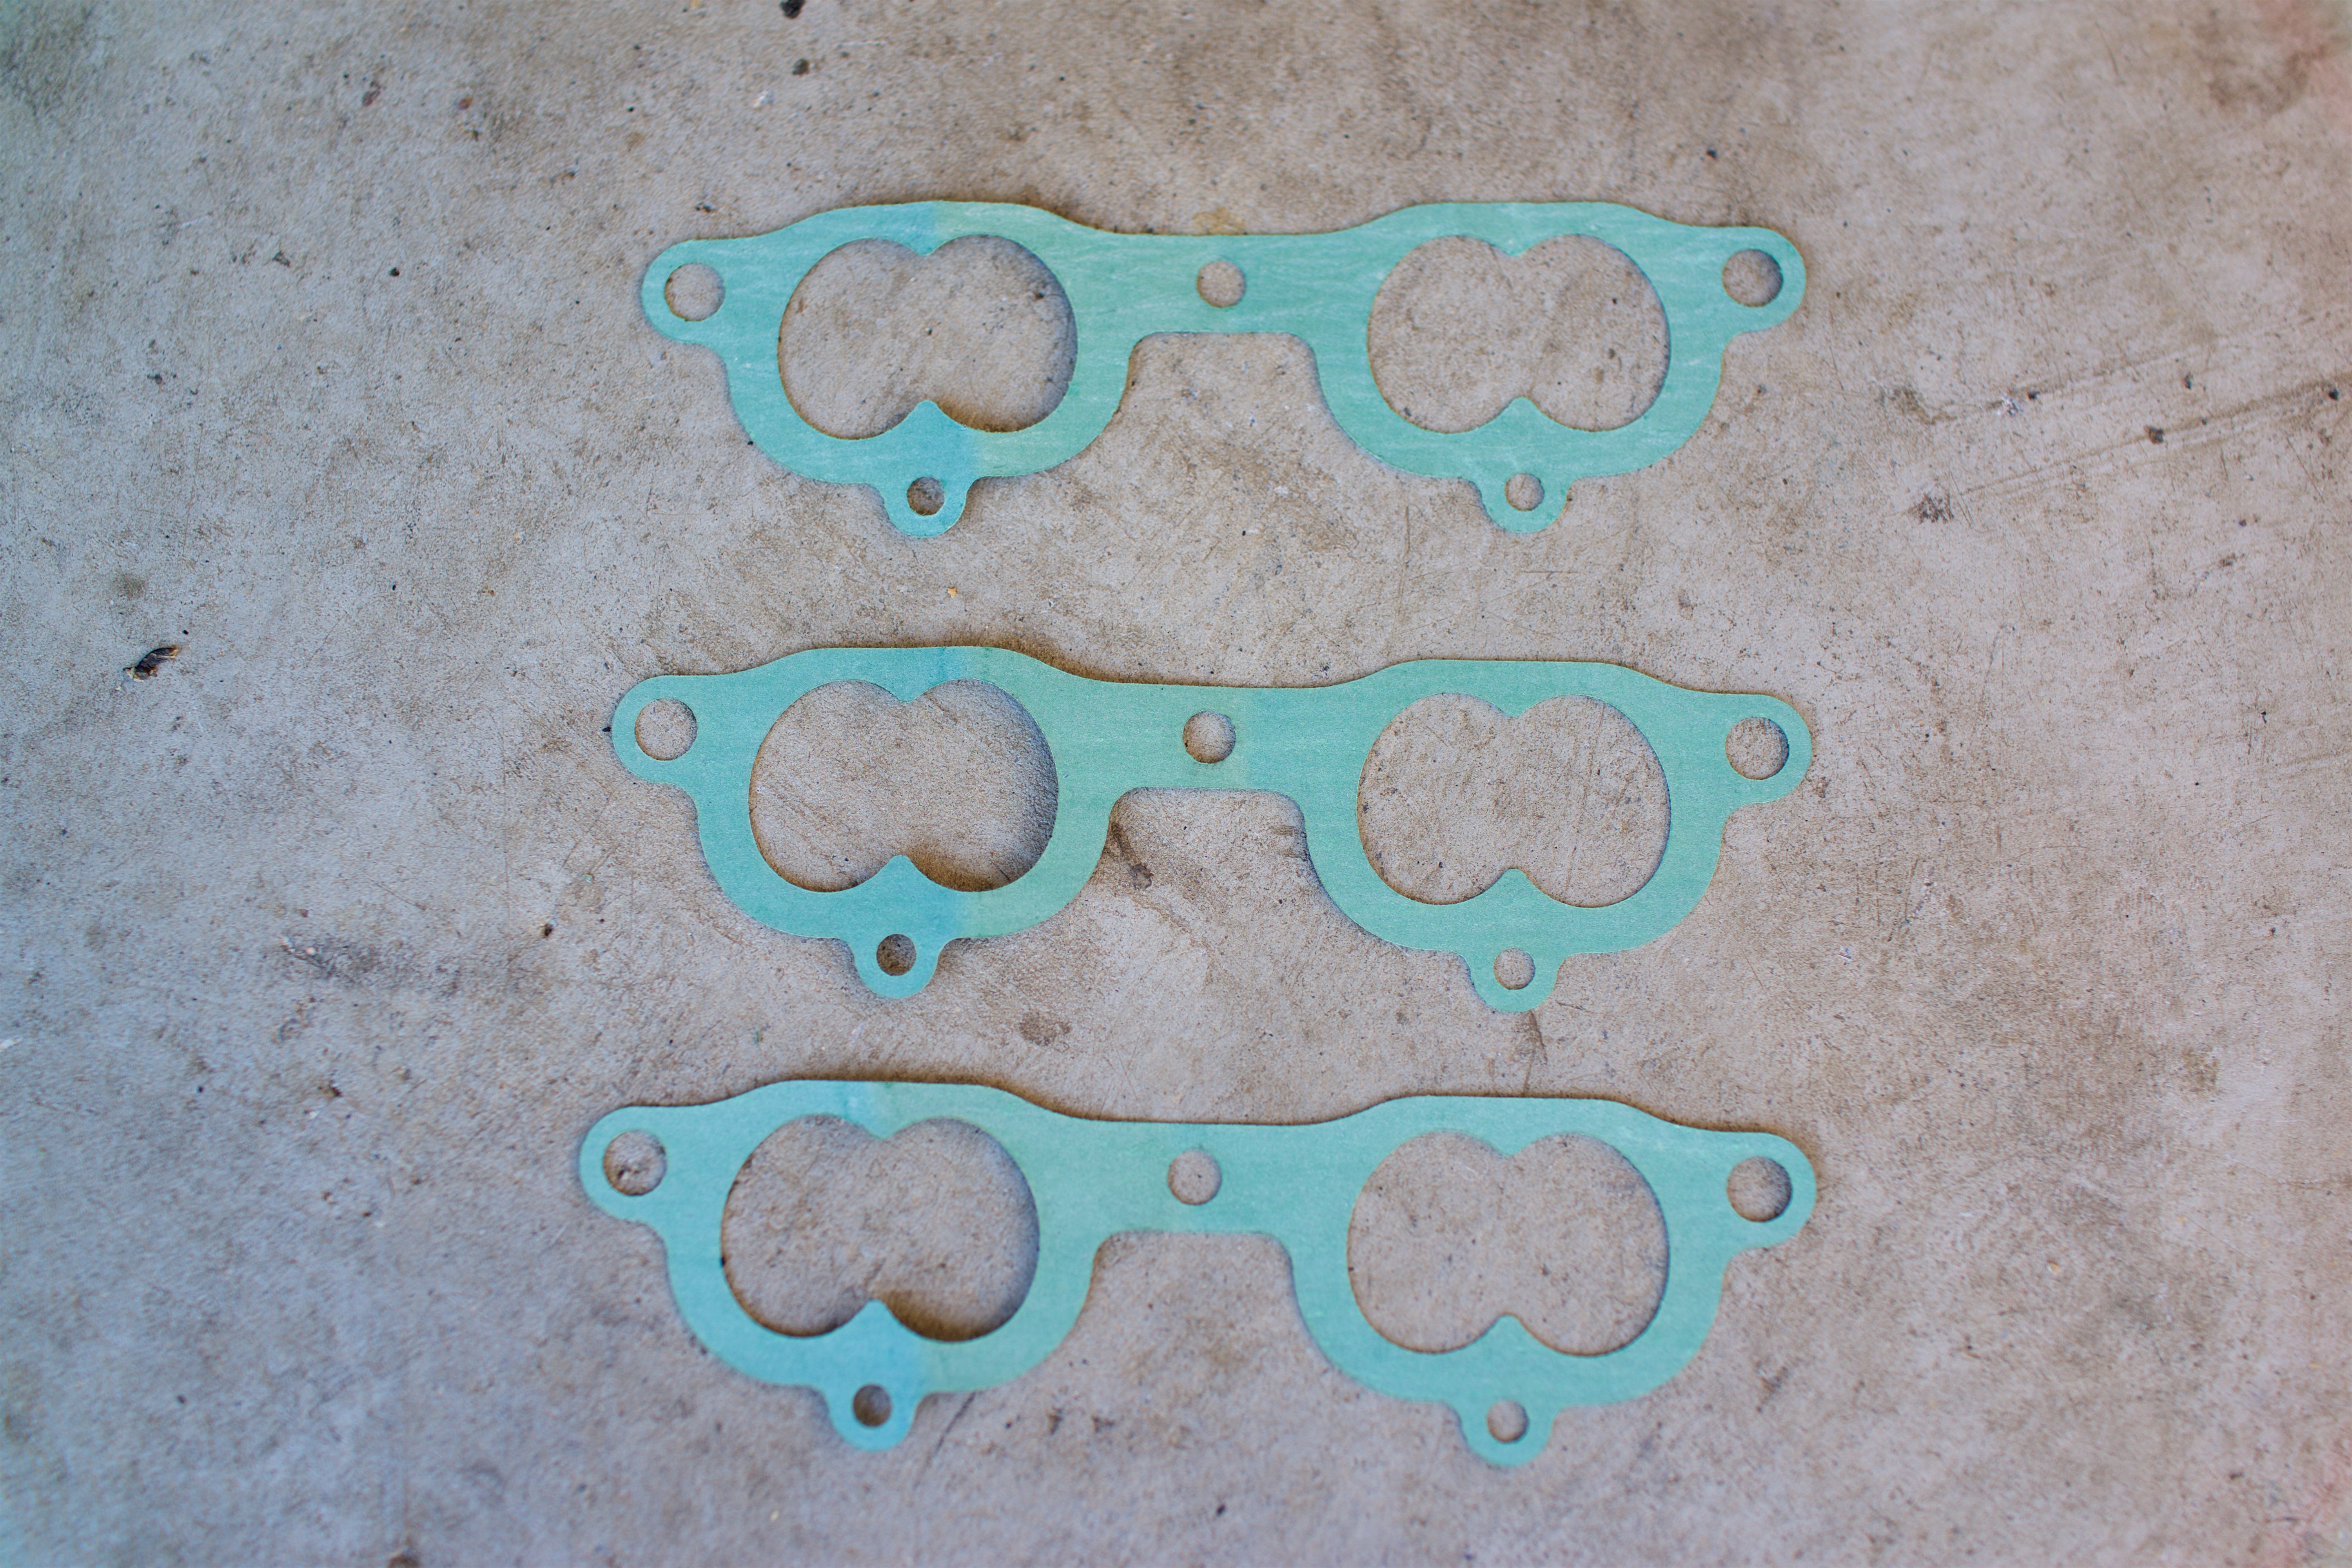
When reassembling the throttle bodies, I covered each new o-ring with Dow Corning Molykote 111. I also used Singer Machine Oil to lubricate all of the moving parts, including the newly cleaned butterflies, throttle linkage bearings, and needle bearings on the throttle rods. I followed the factory procedure pre-set the adjustable push rods.
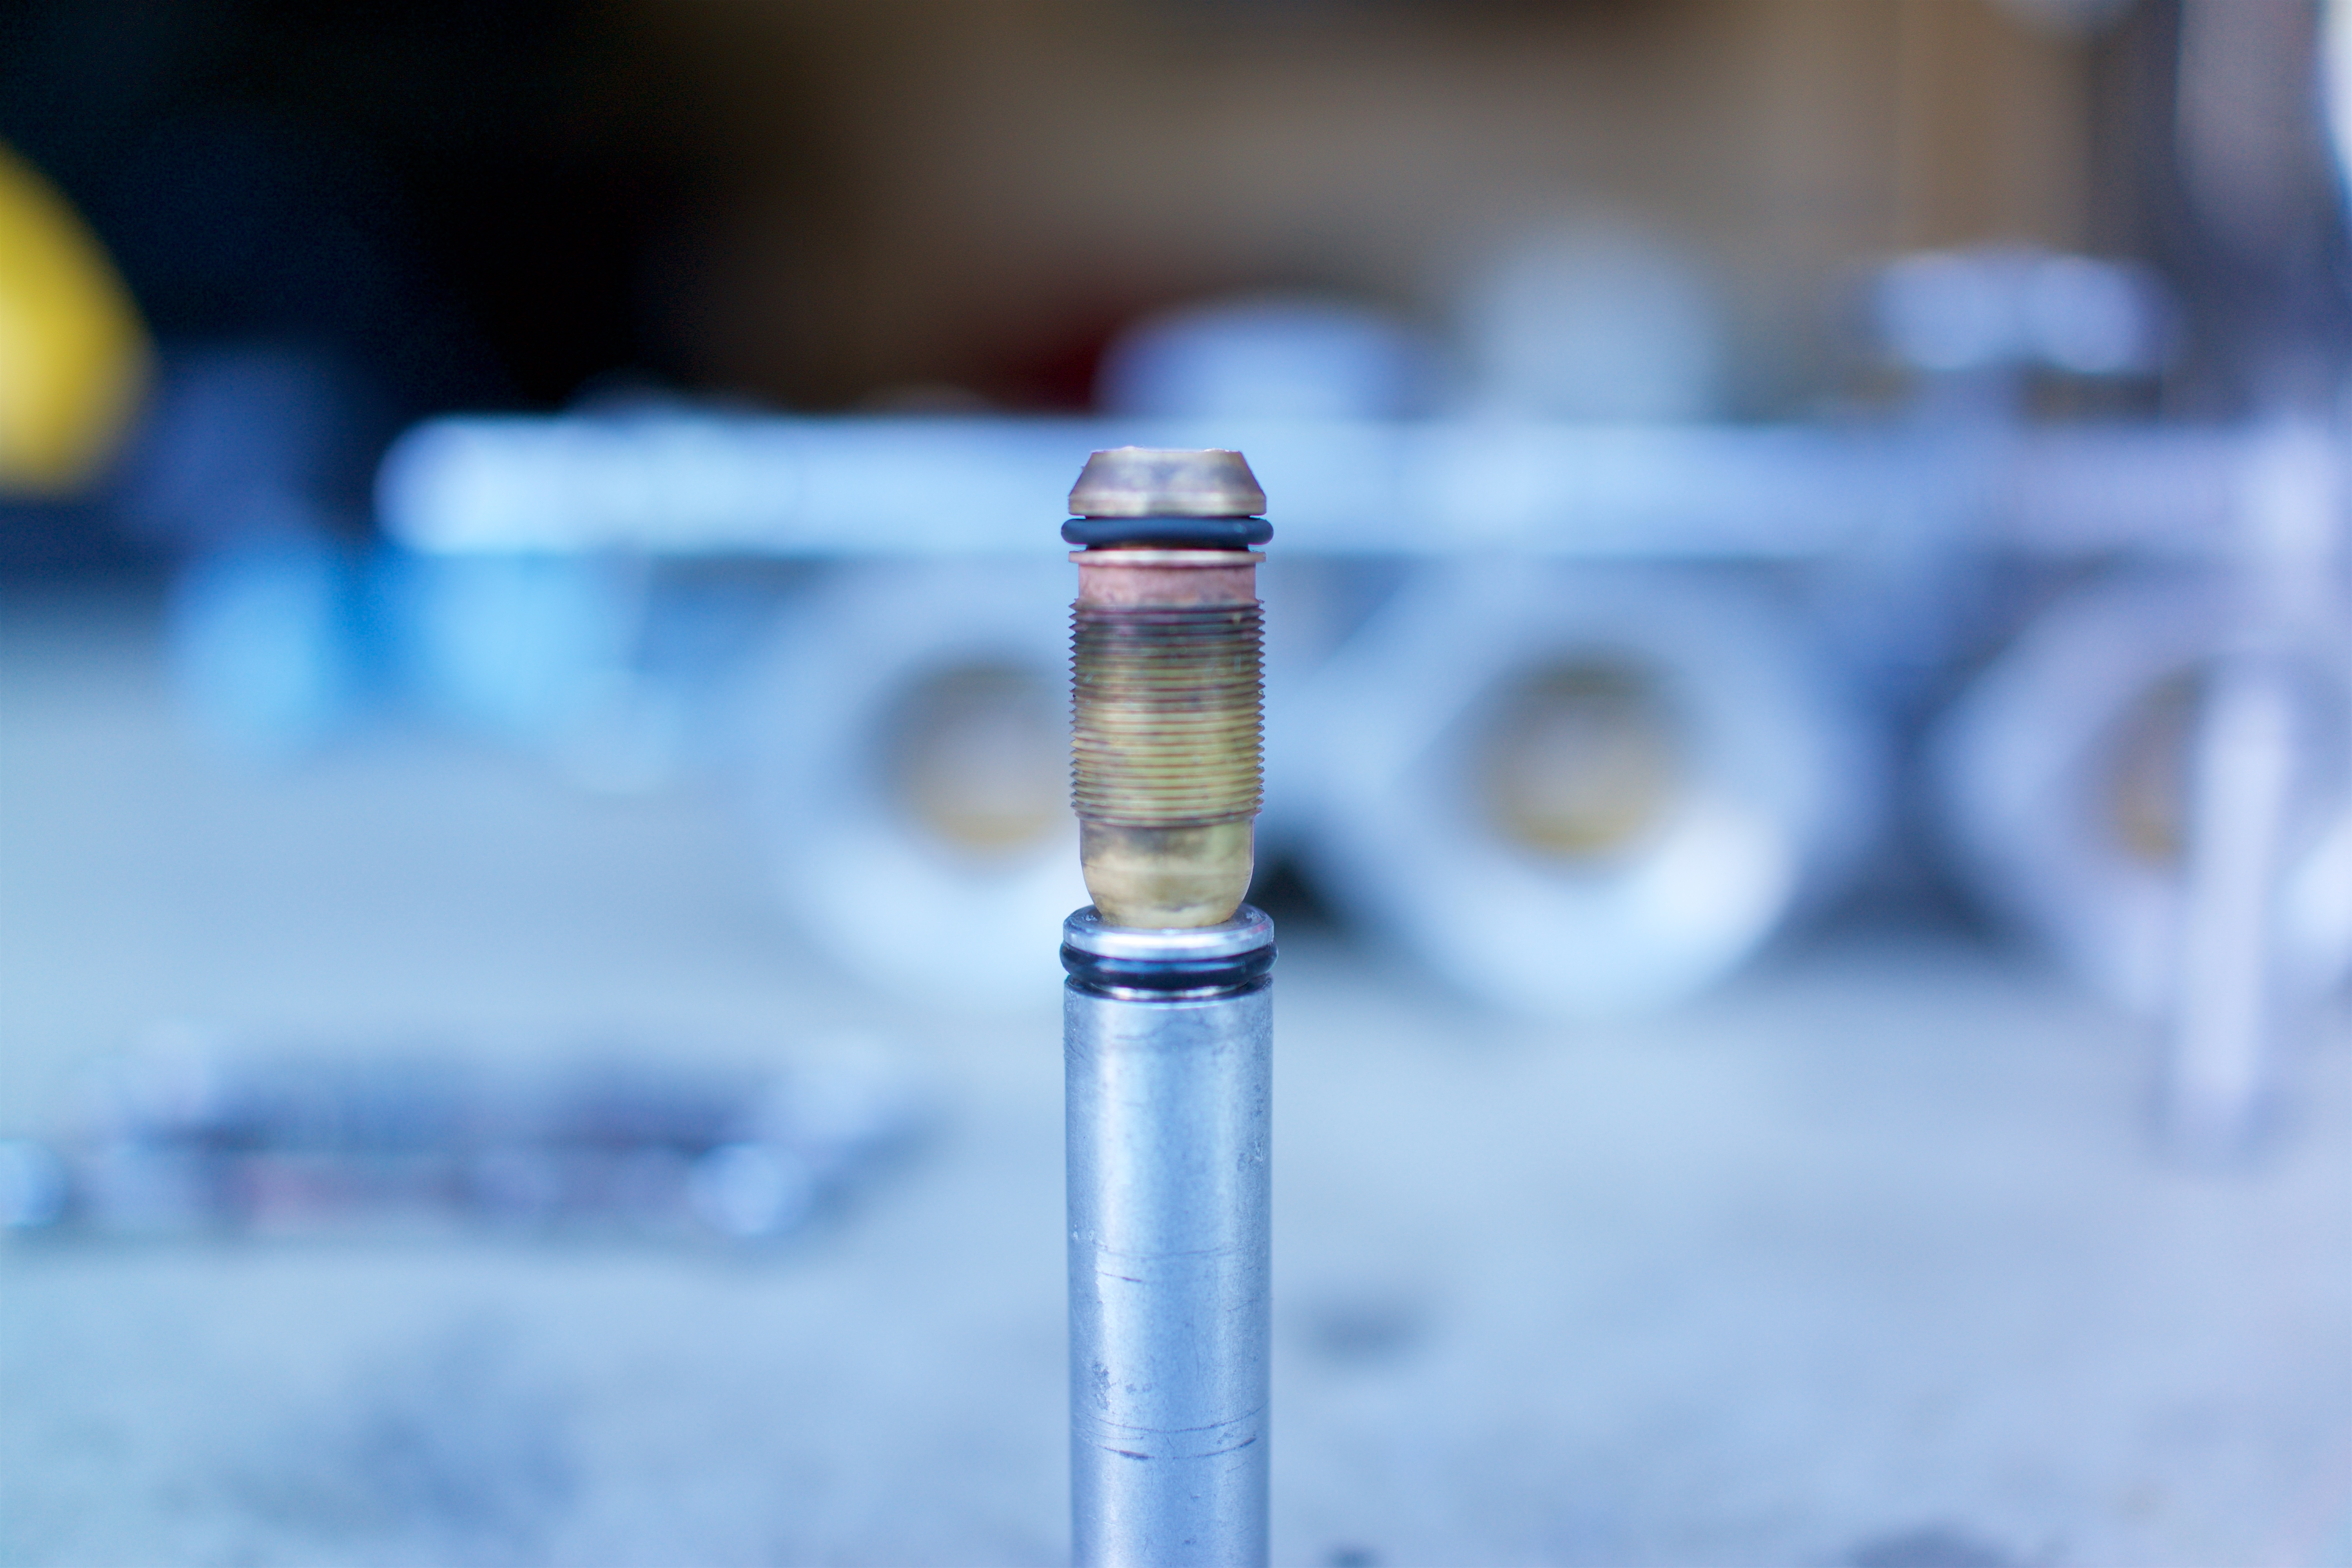
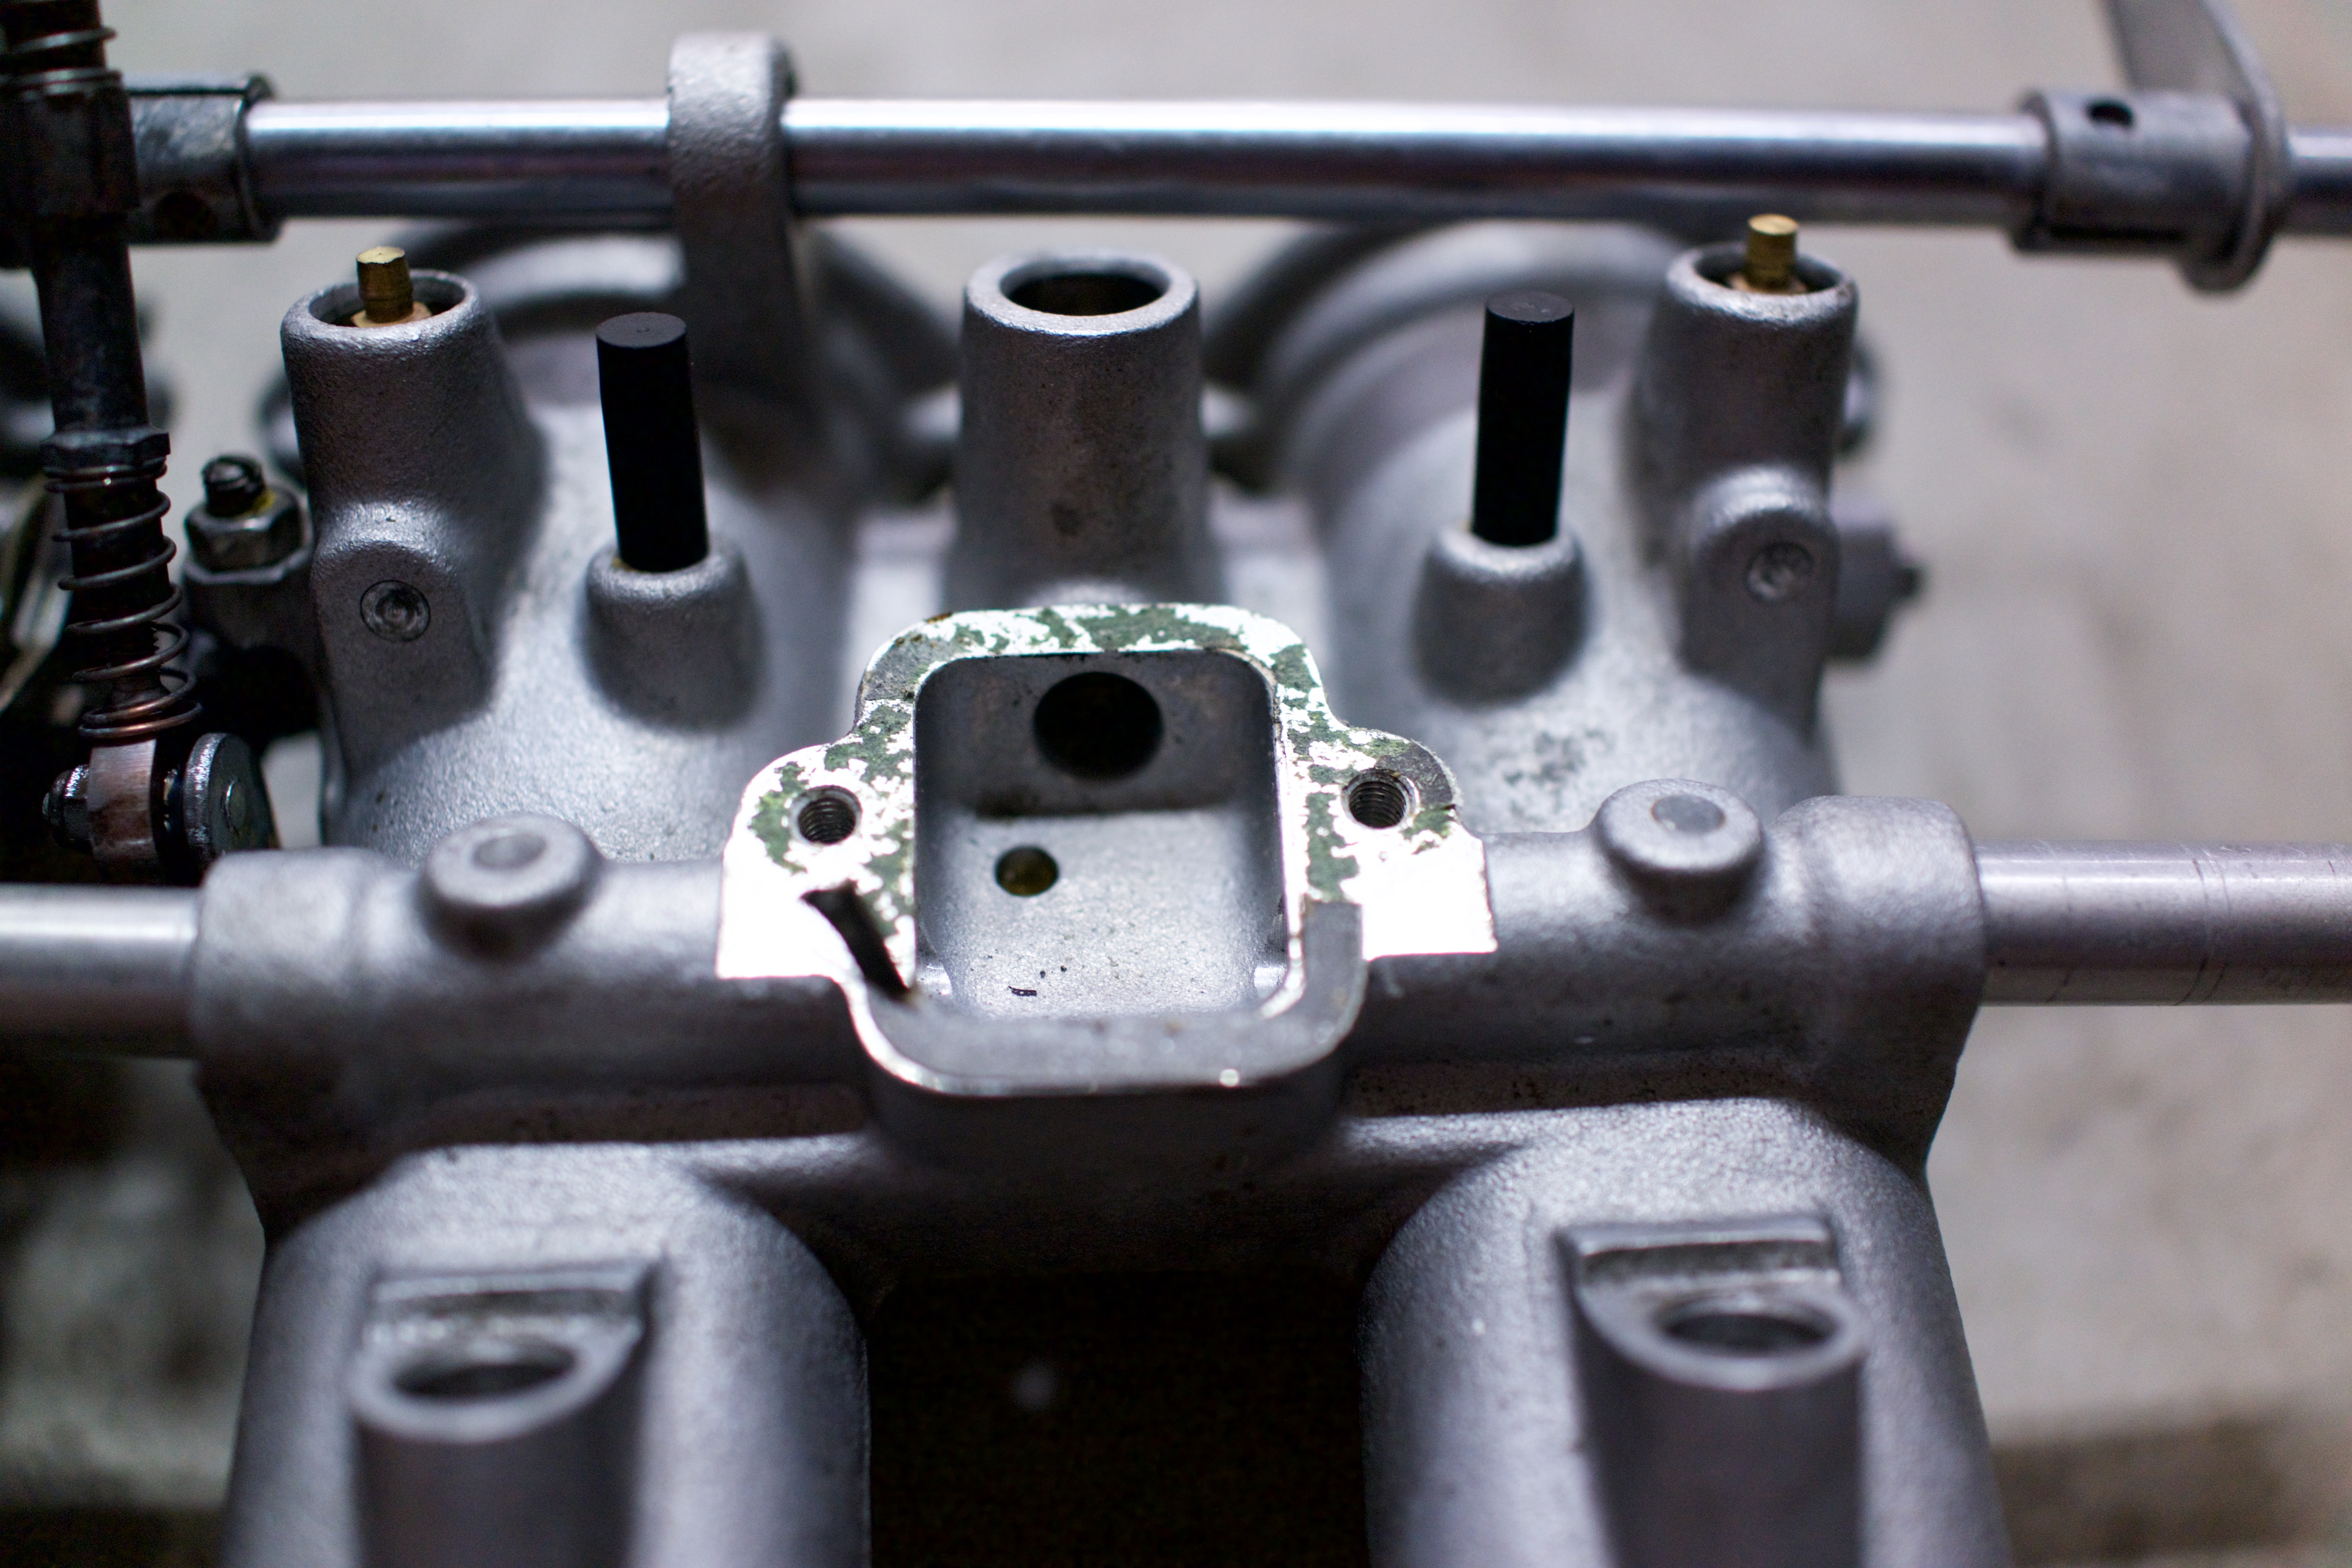
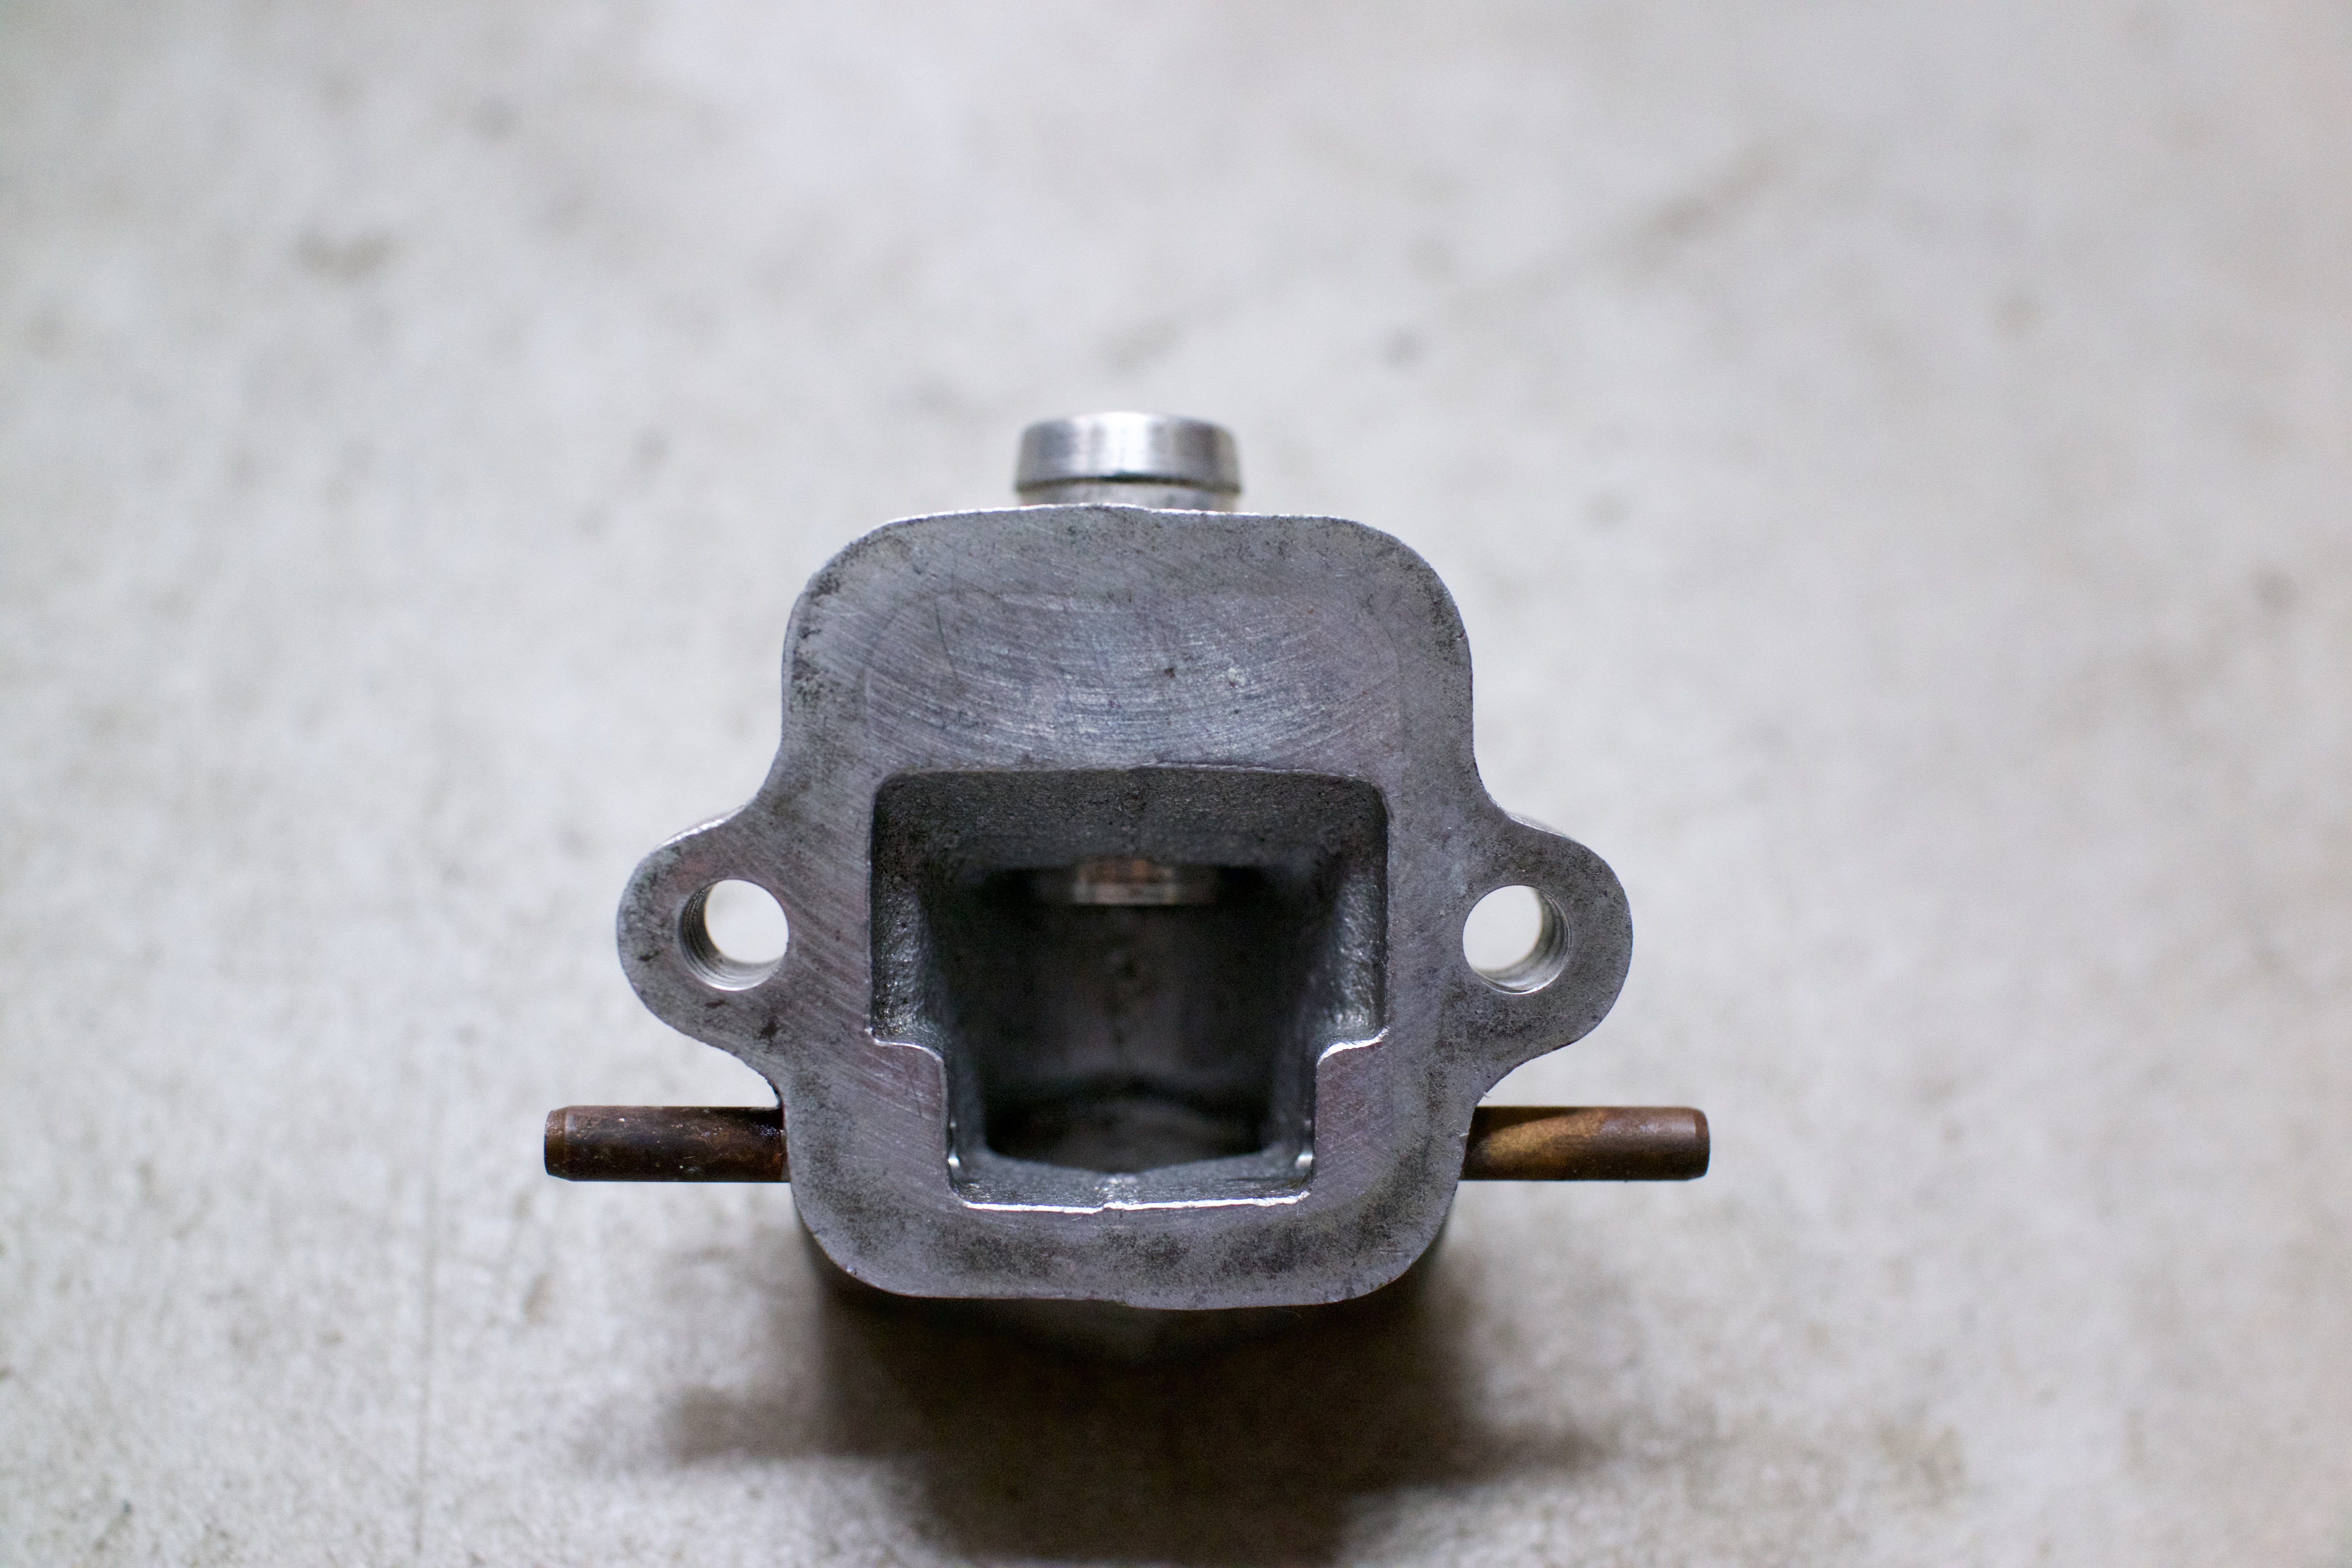
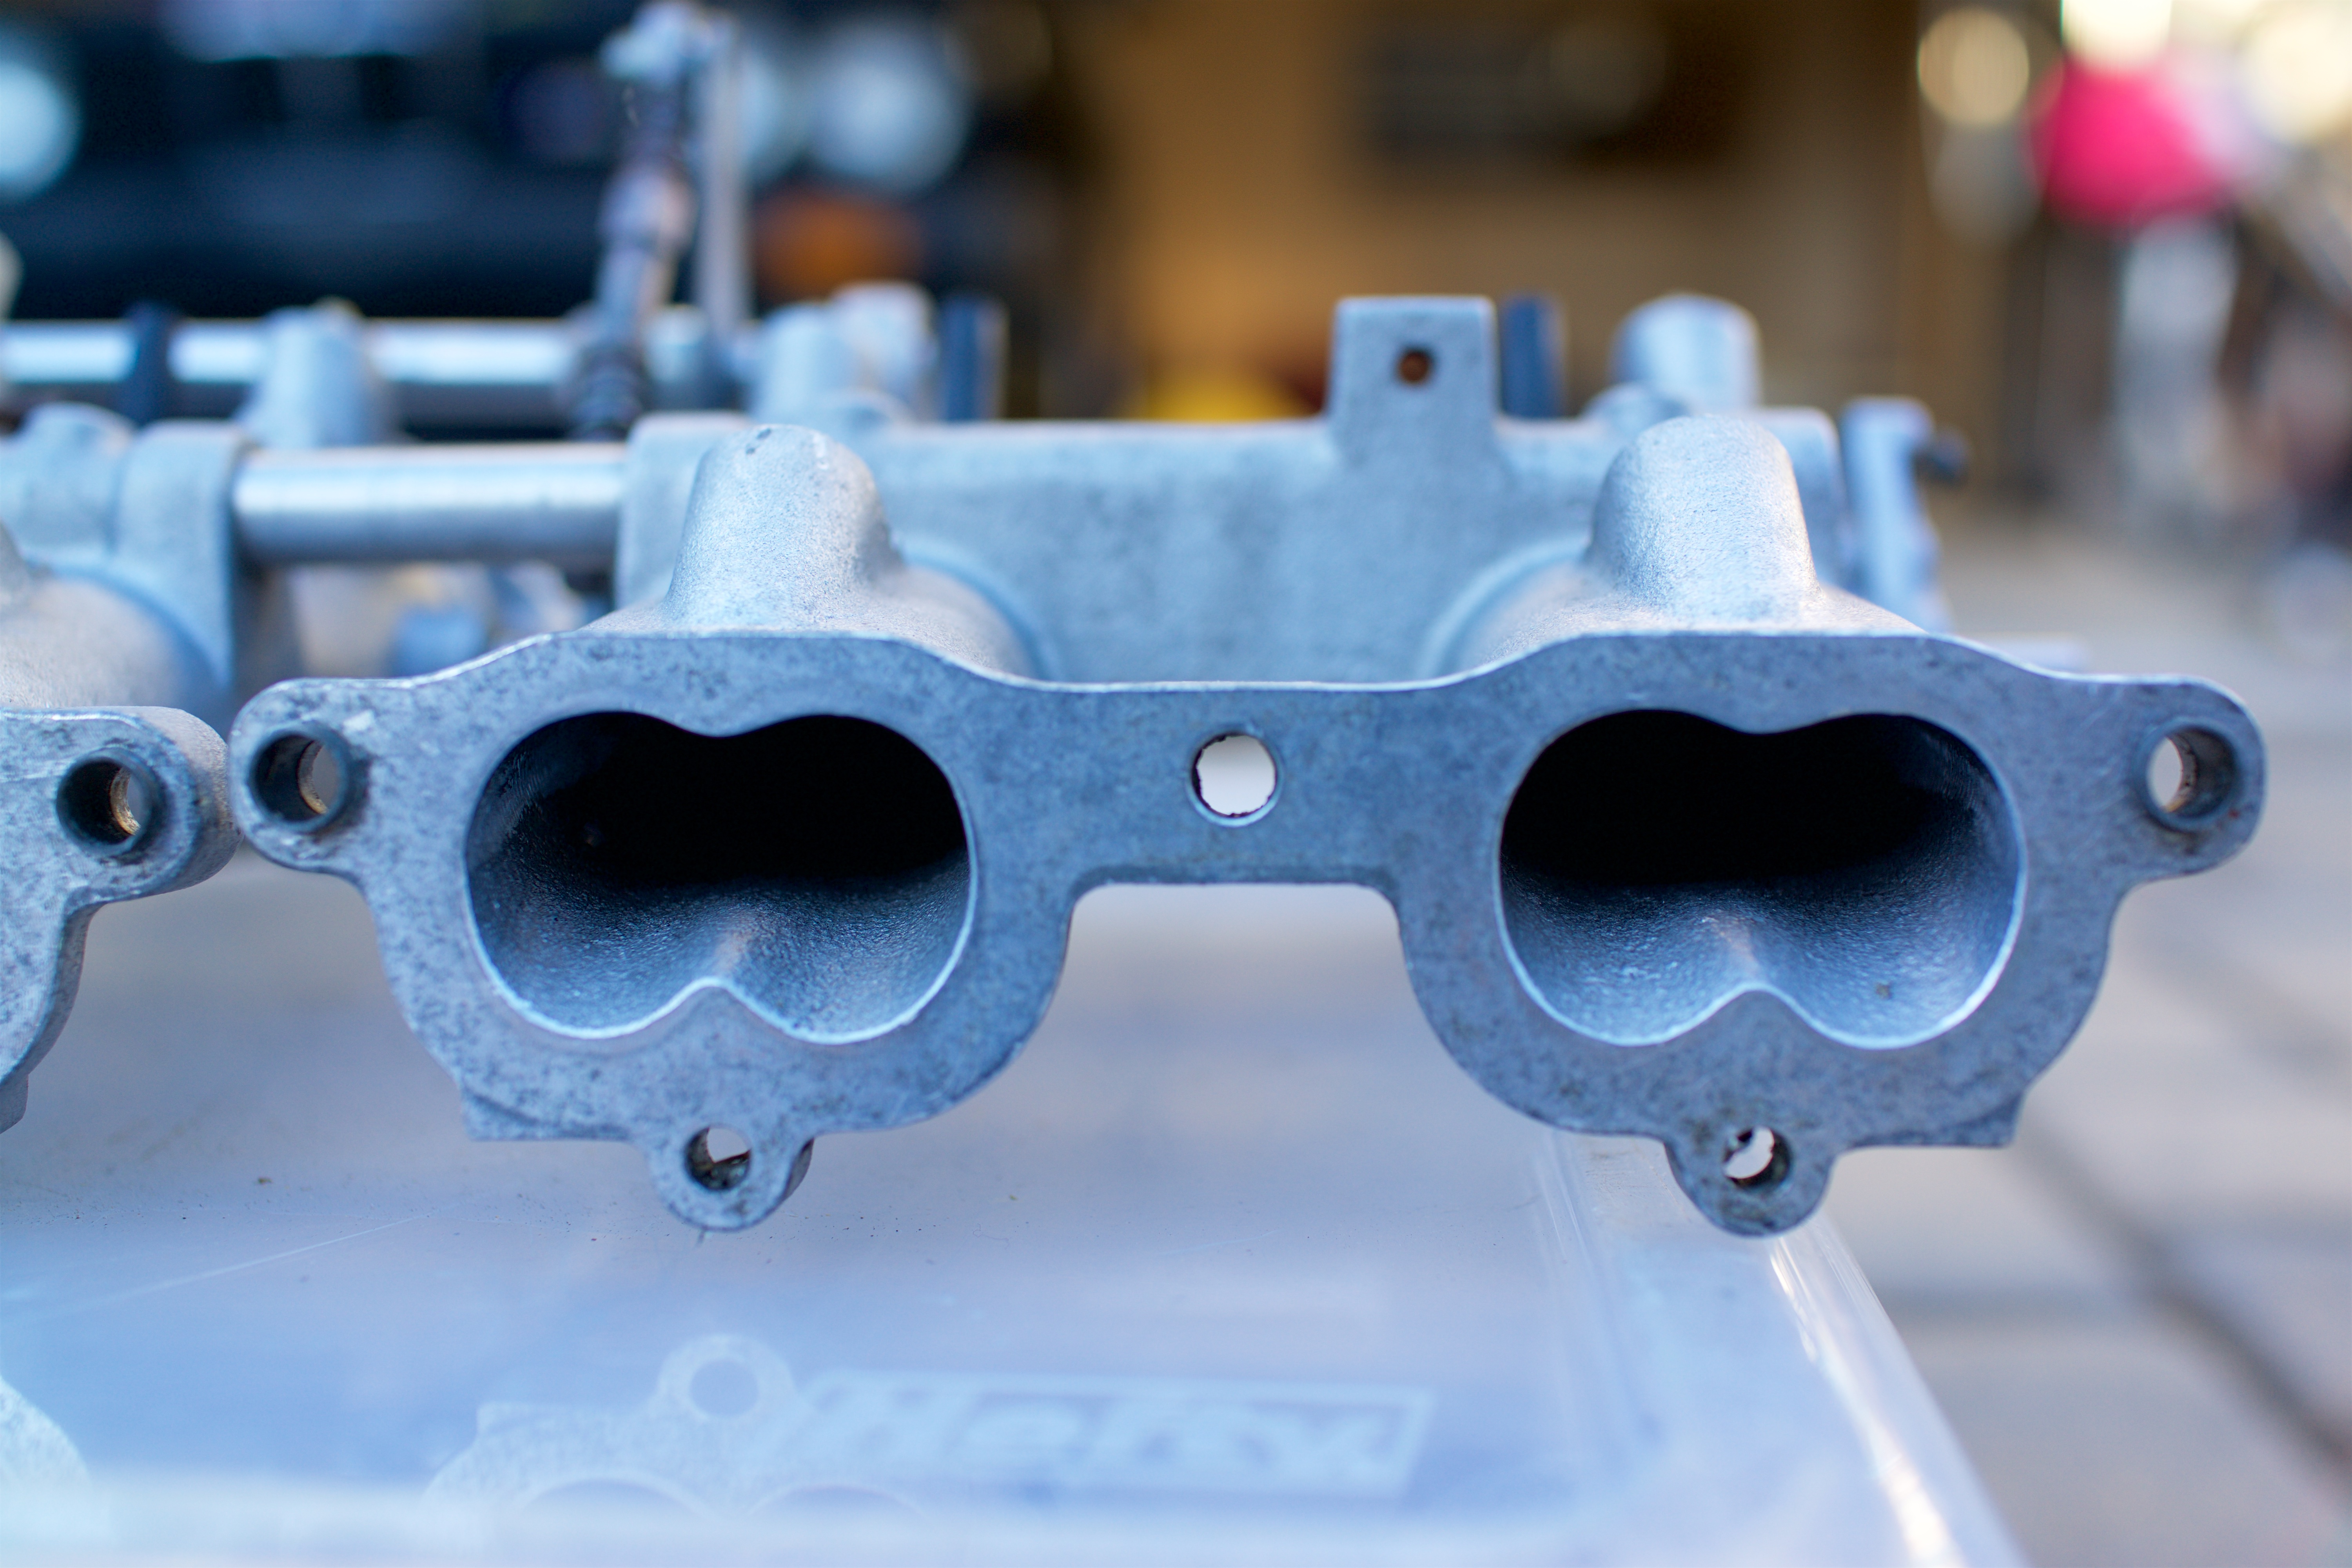
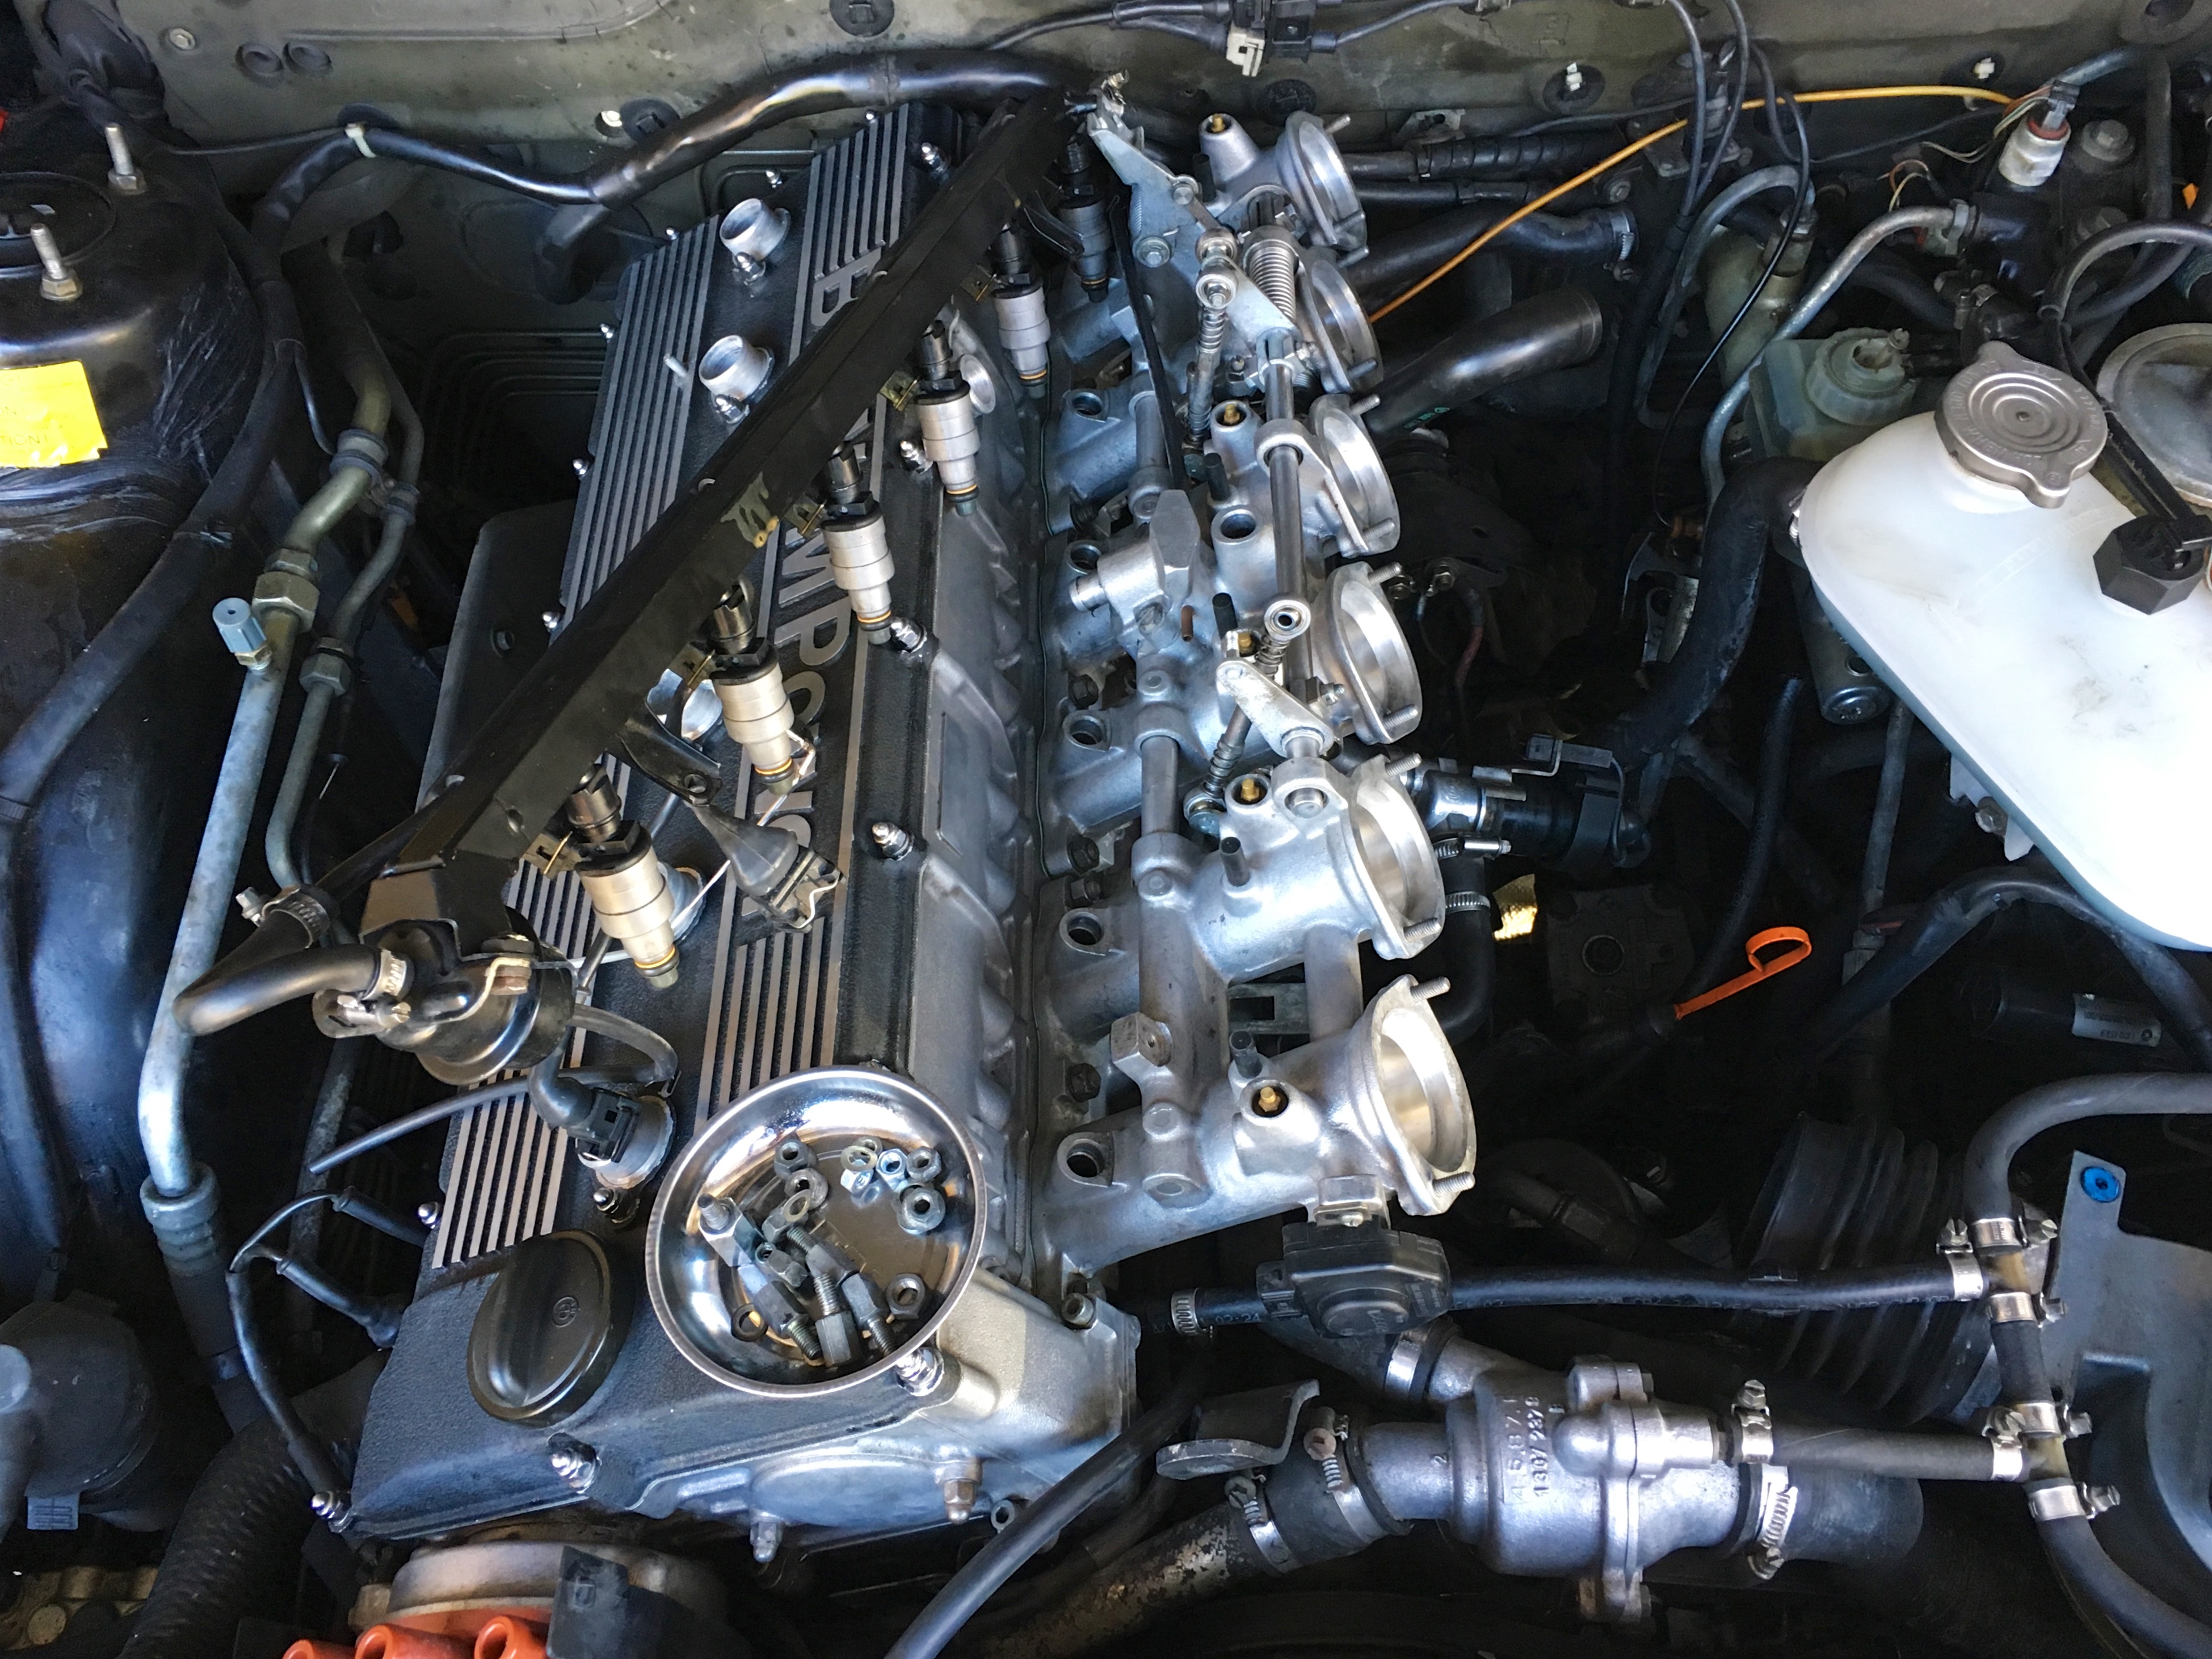
I had a bit of scare when reattaching the throttle bodies to the head. One of the nuts just would not finish tightening as the torque wrench wouldn’t click. I inspected it more closely and found that the head stud was moving back and forth with the nut. I had never really worked with head studs before and my worst fear was that I stripped the stud in the head, which would have been an unfathomable disaster. I consulted some friends at work the next day and then decided to take it all back apart. I was relieved to find that the nut had been stripped on the end of the stud and then caused the stud to move.
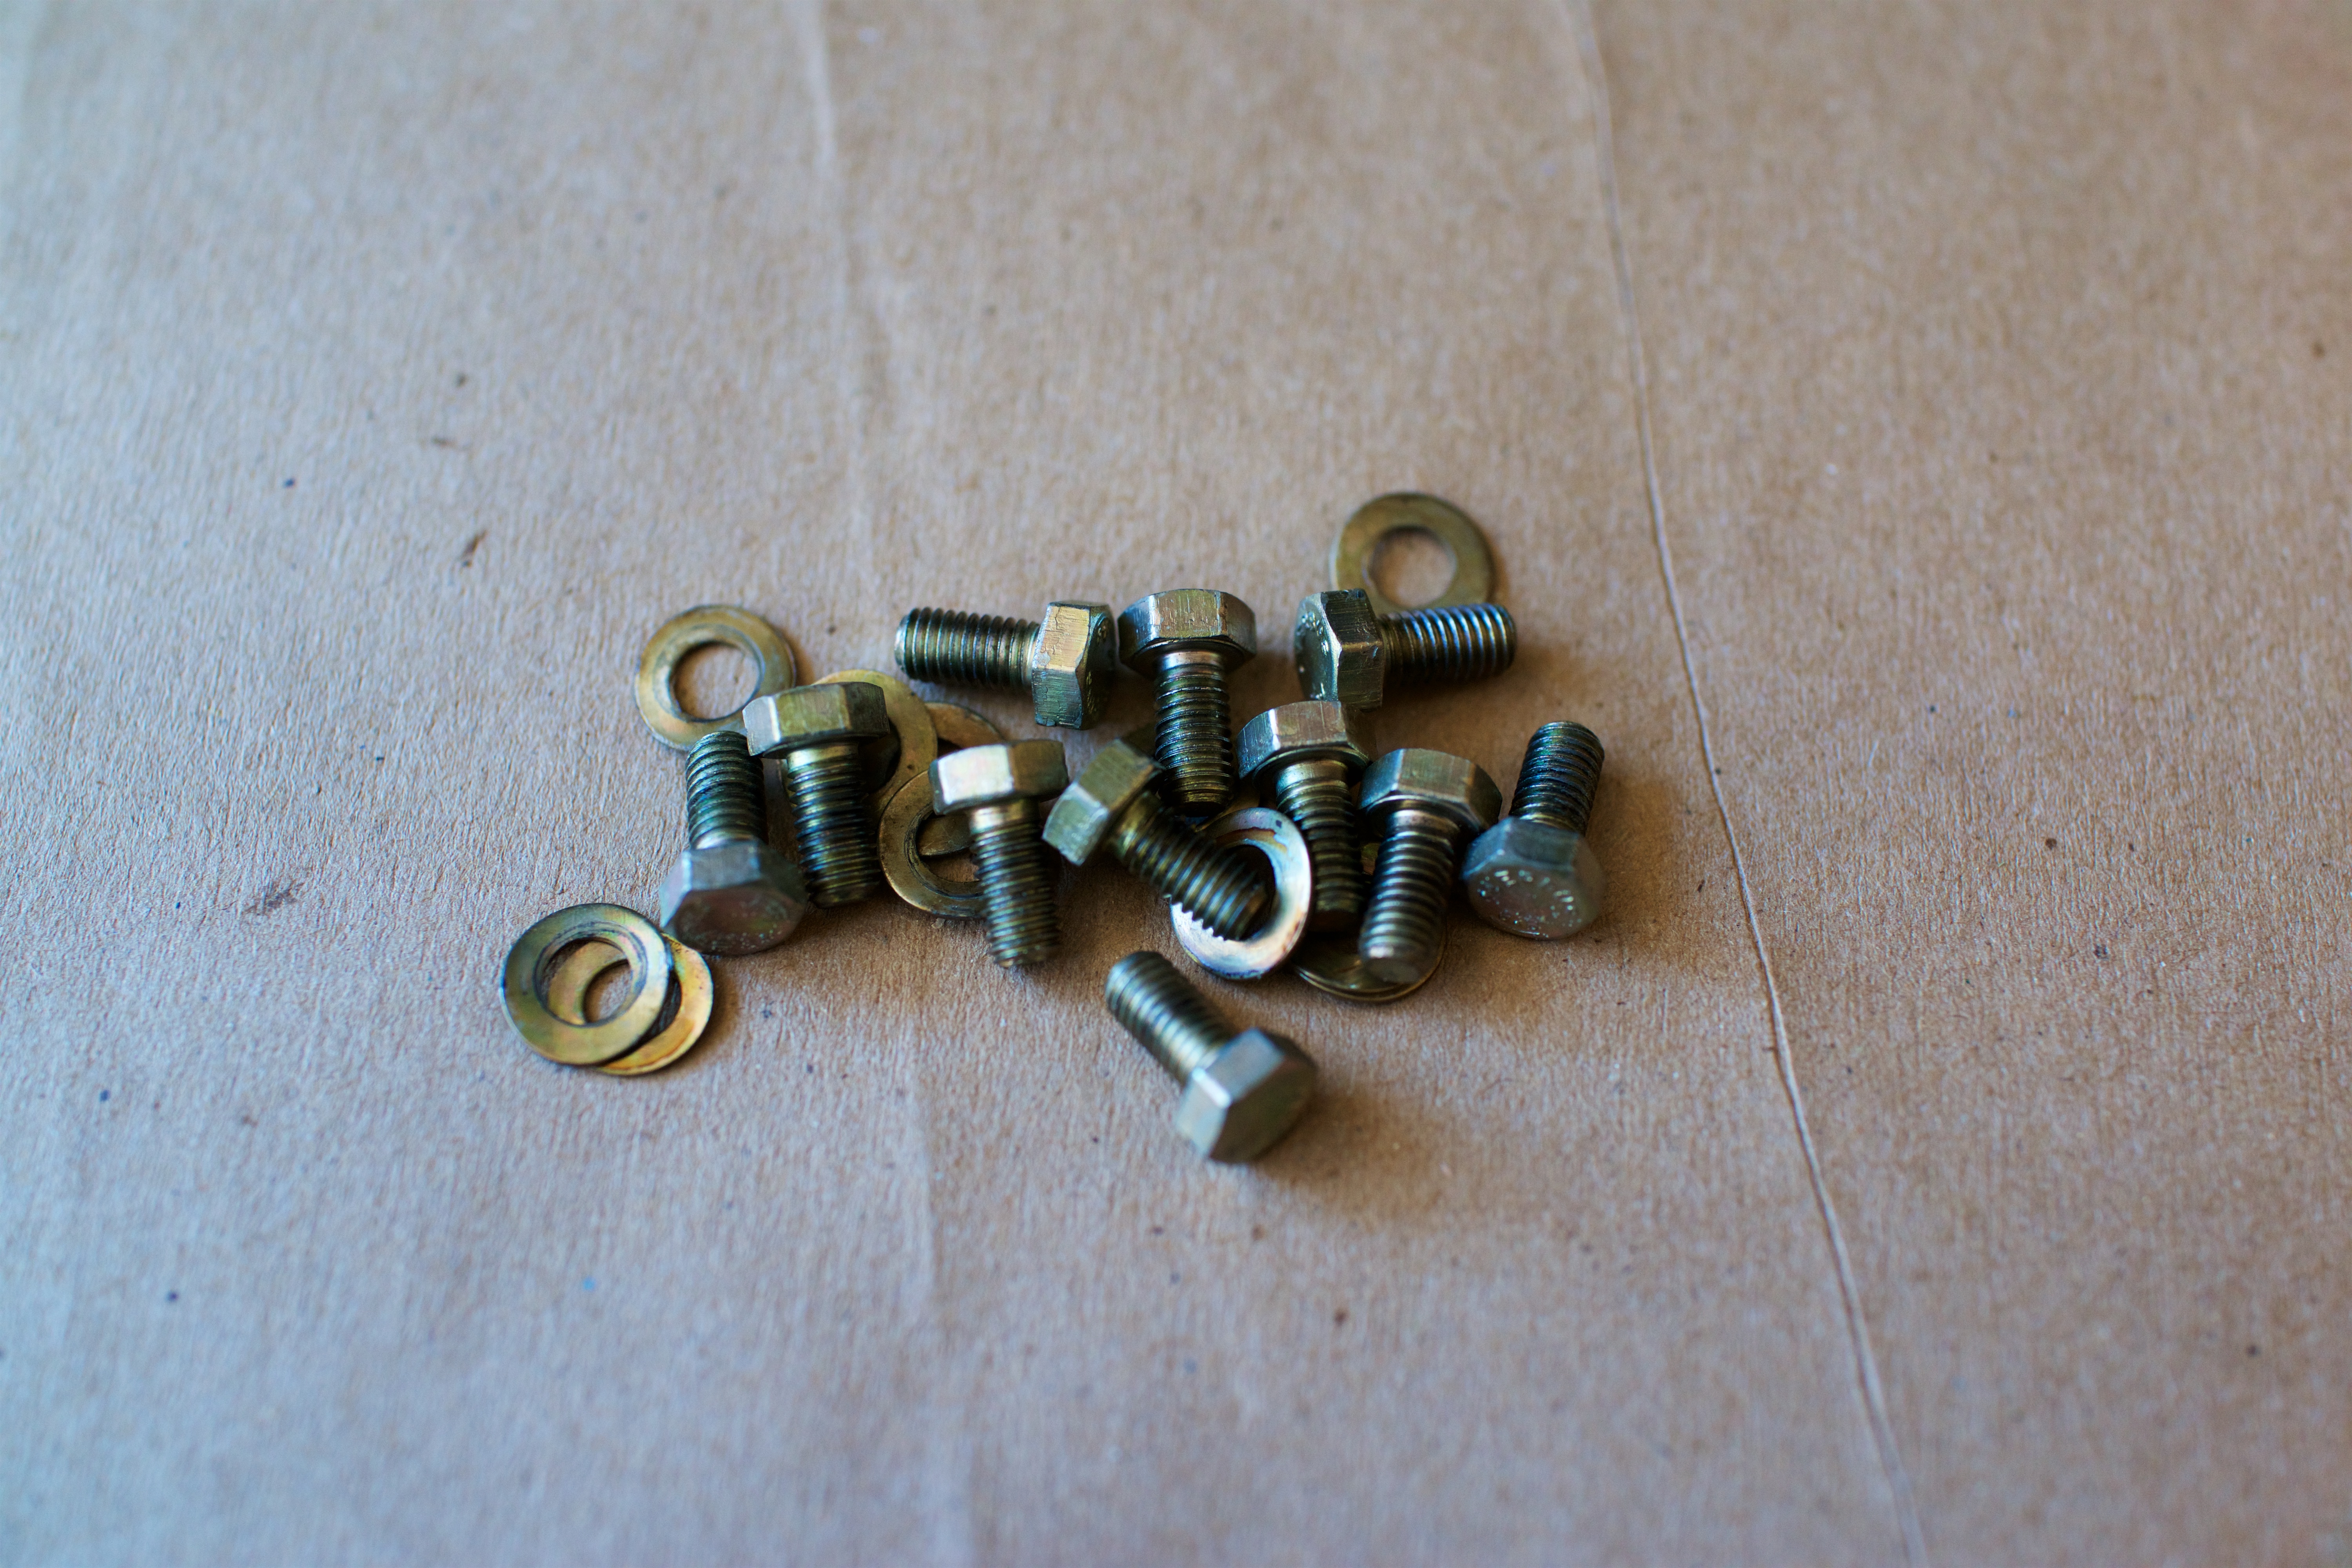
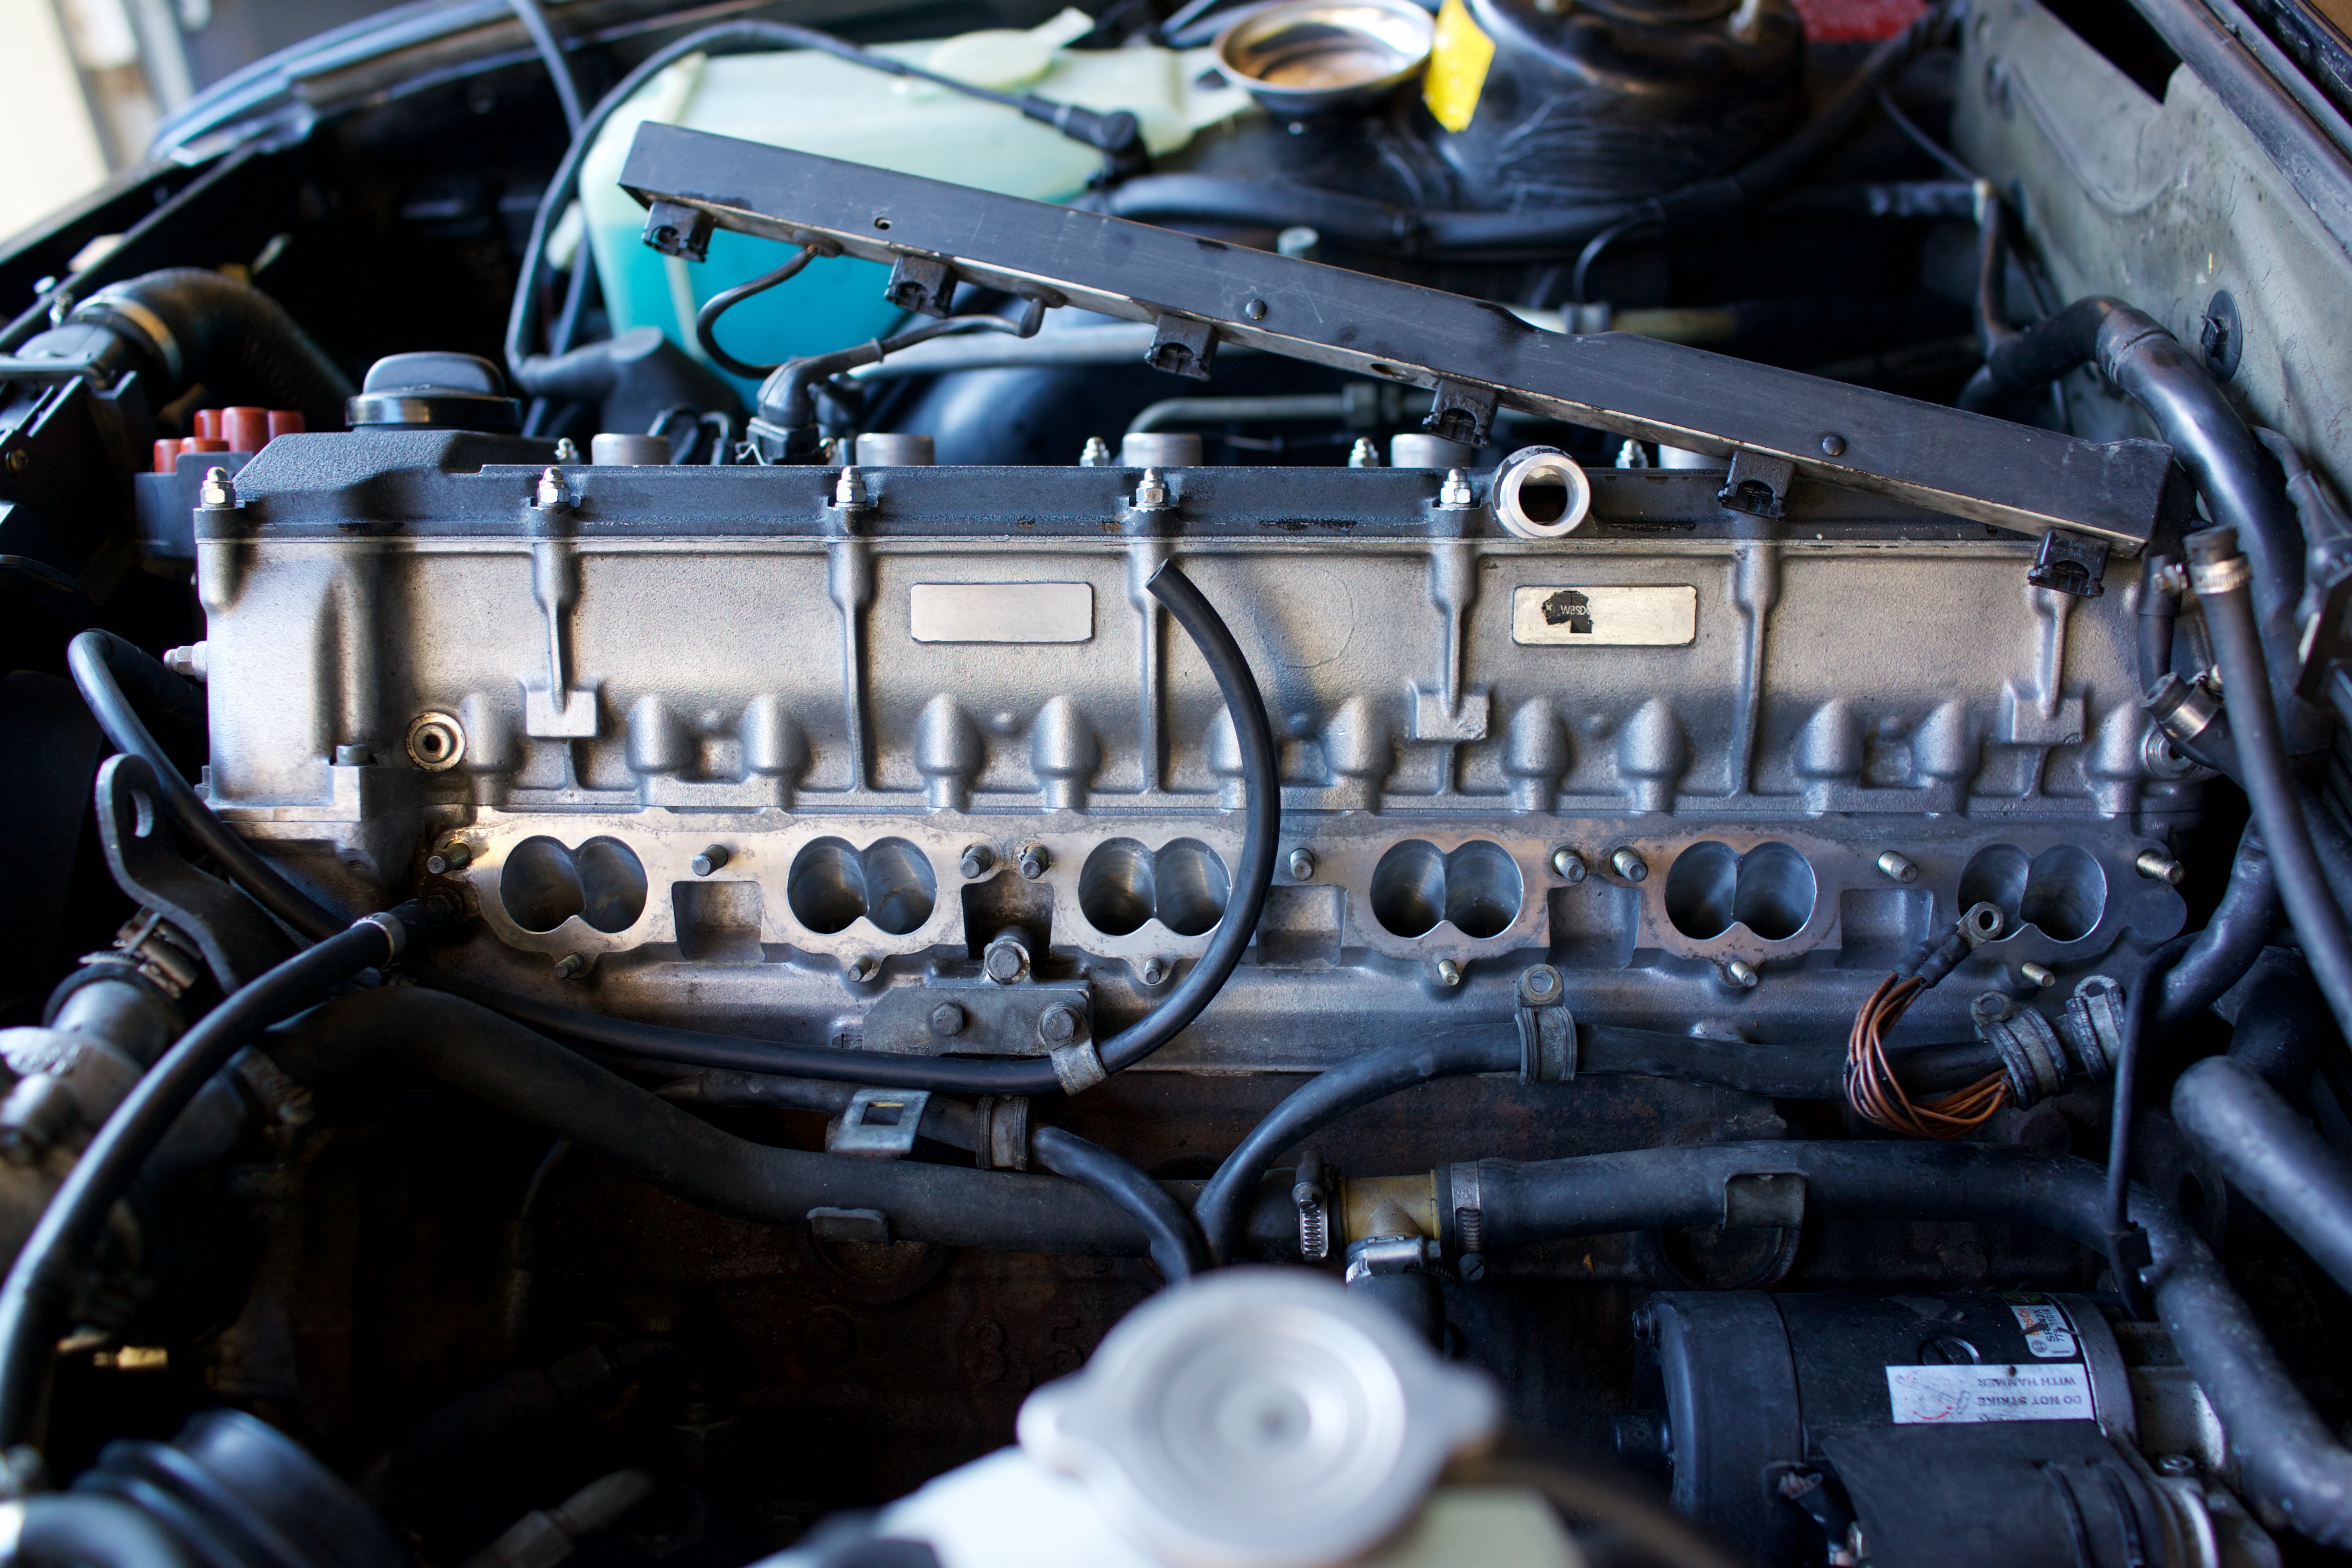
I didn’t have time to order the parts online, so I went to the local dealership and paid insane prices for a stud and a couple hex nuts. I felt a lot better with the new parts in. All of the nuts were carefully tightened and torqued.
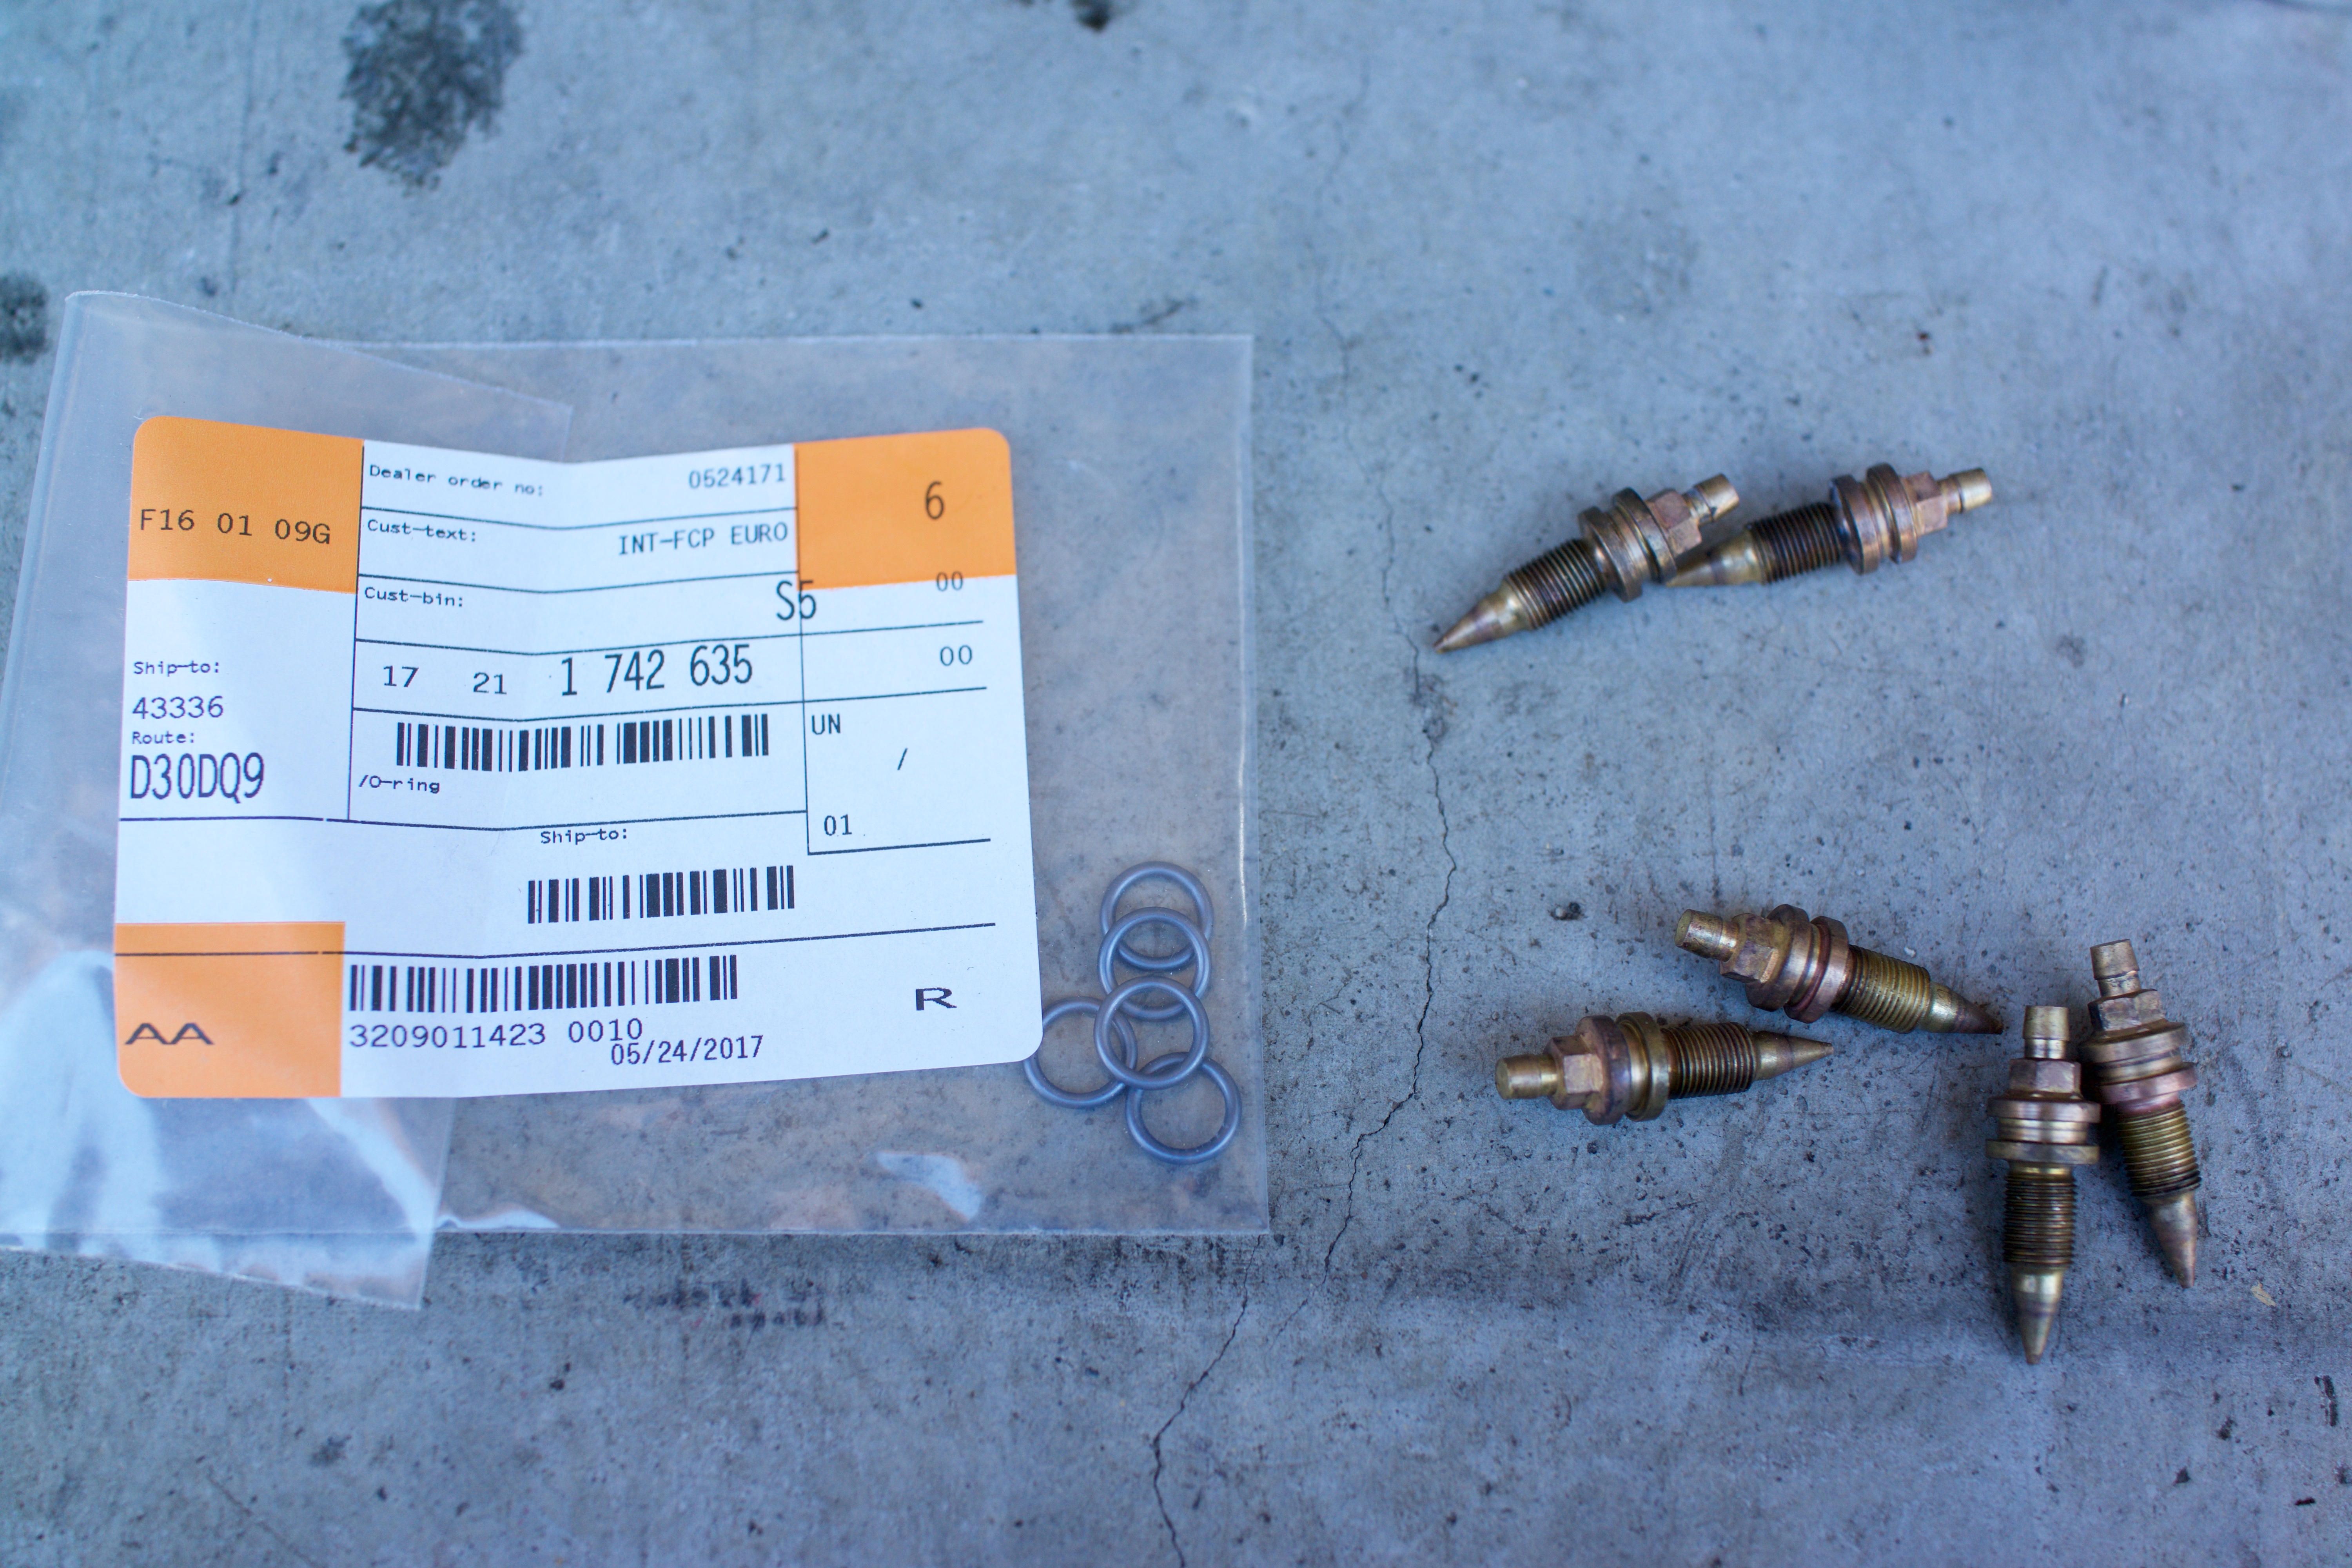
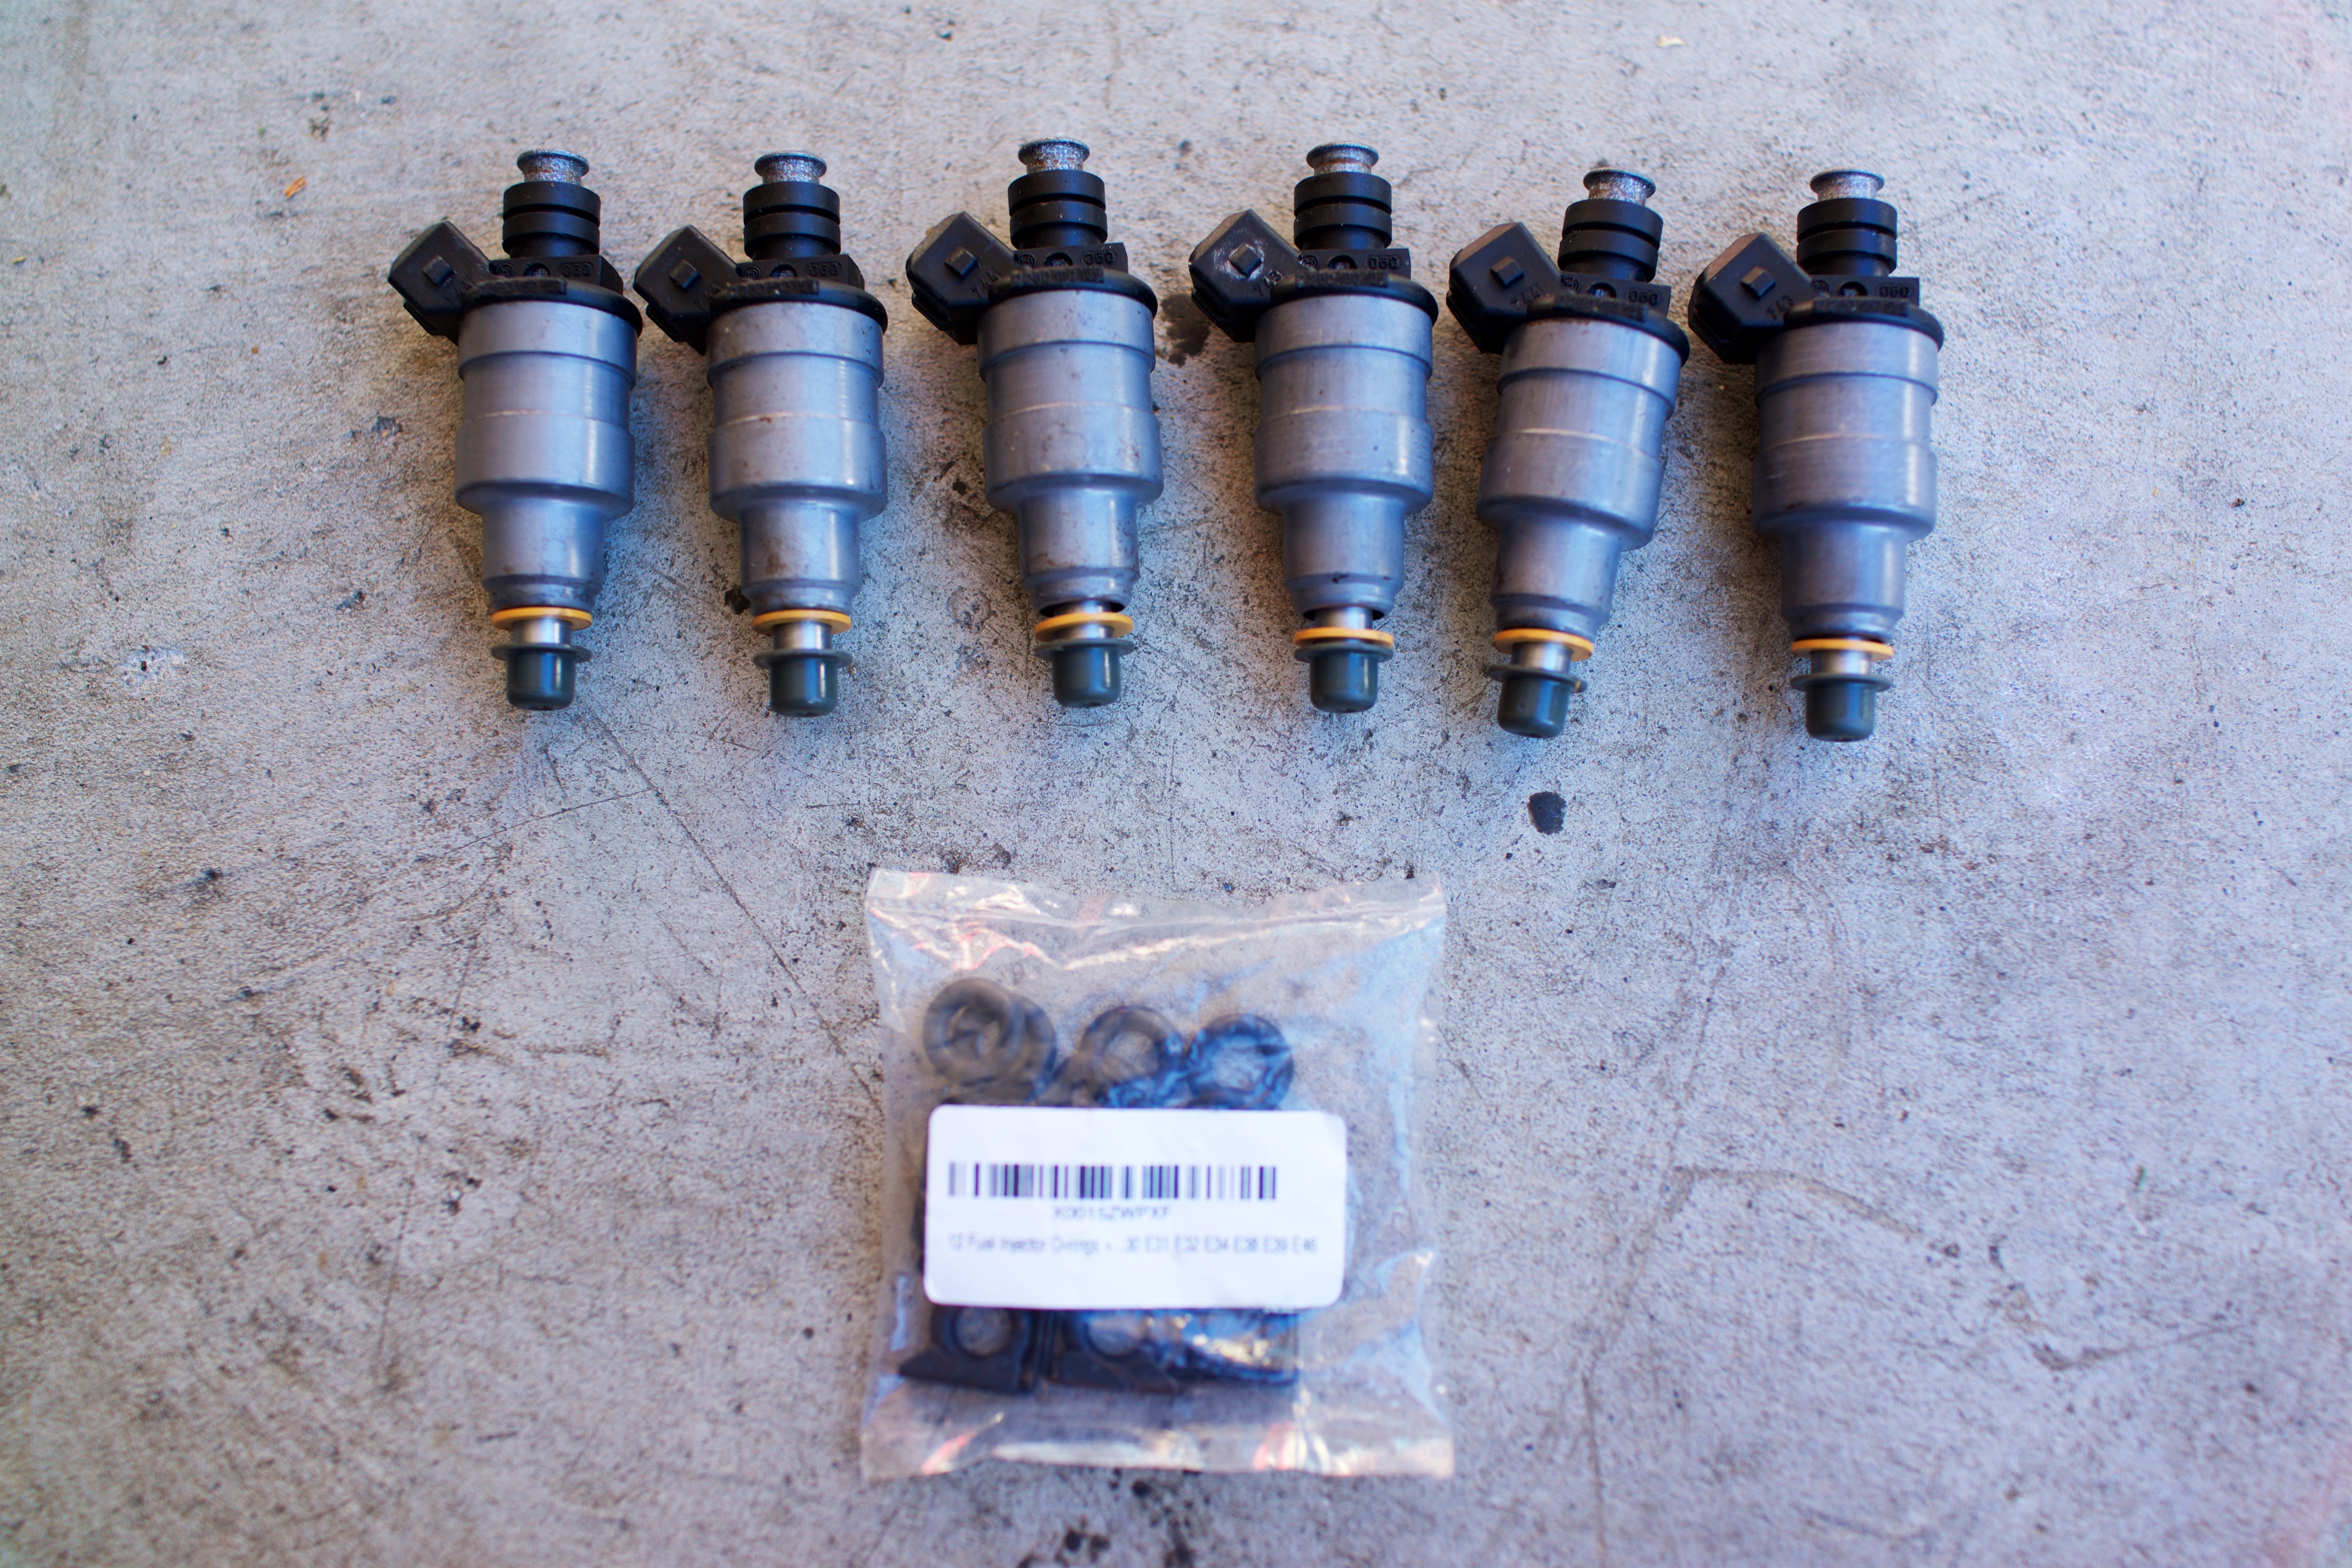
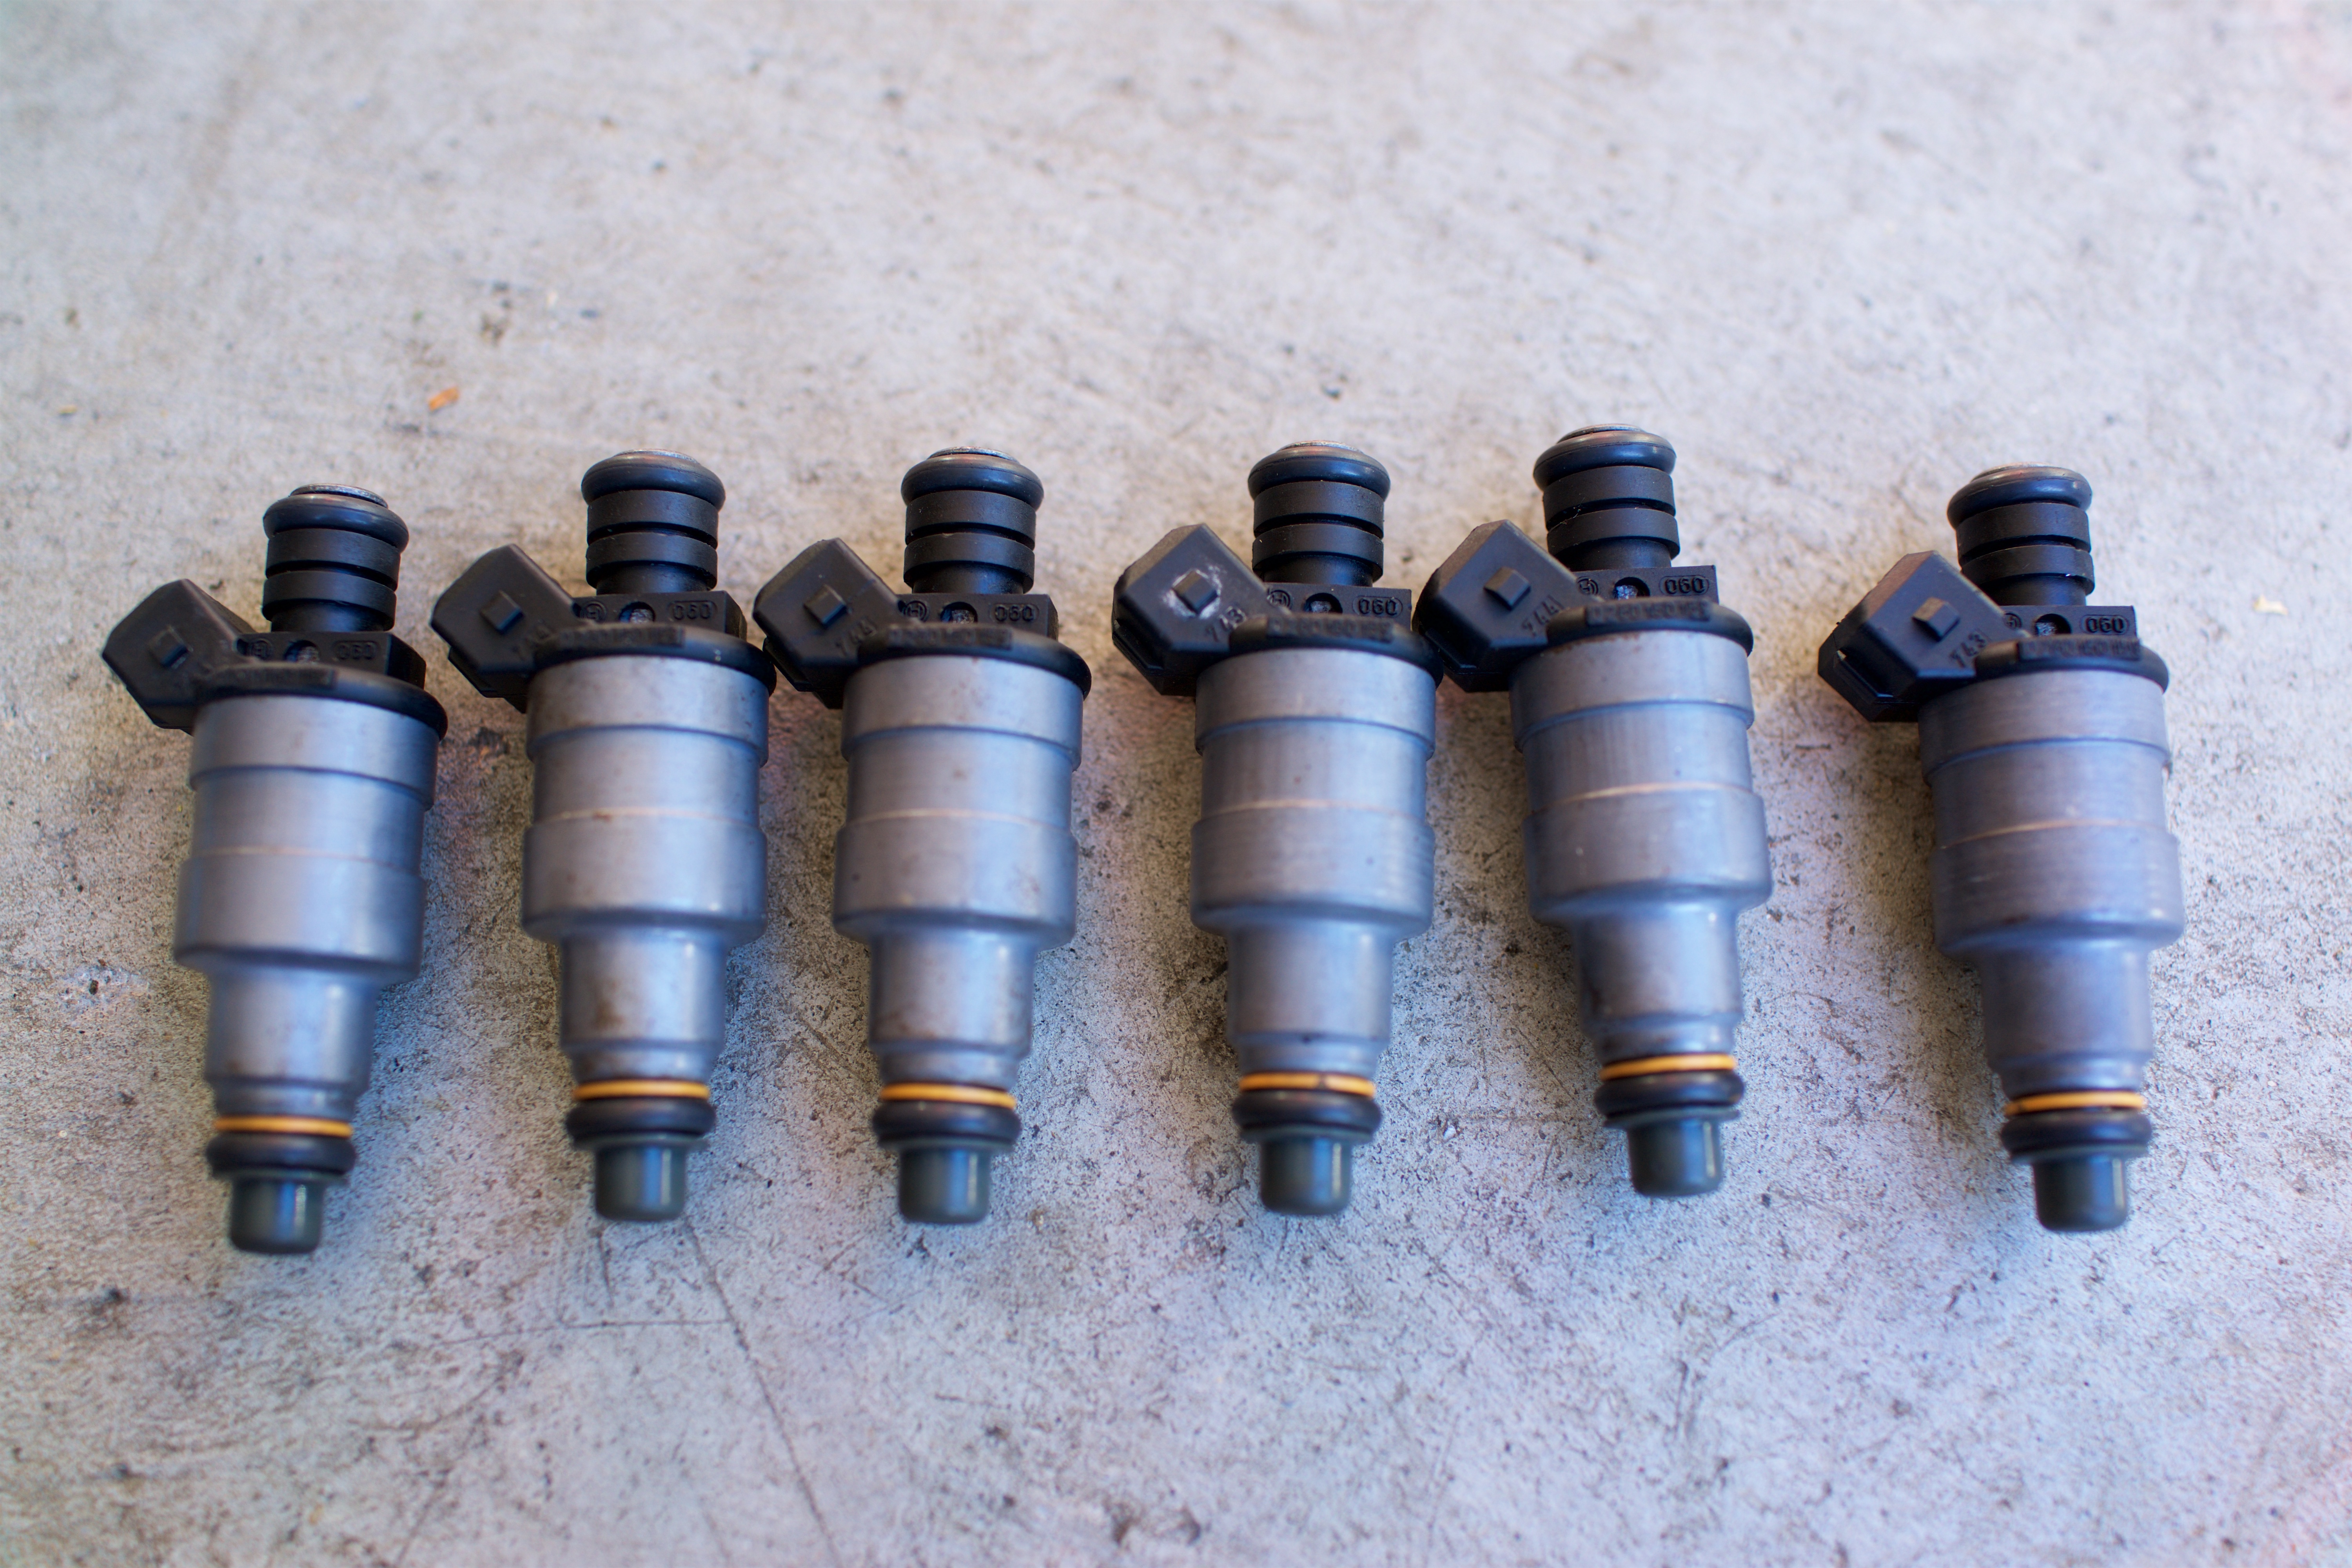
With the throttle bodies in, I was able to finally secure the cleaned fuel injectors to the fuel rail and injectors into the throttle bodies. Each injector received two new o-rings and a new securing clip. With the fuel rail secured, the throttle bodies were now ready to be mechanically adjusted.