Click on any image to enter full-screen slideshow mode.
Interior Photos
Click on any image to enter full-screen slideshow mode.
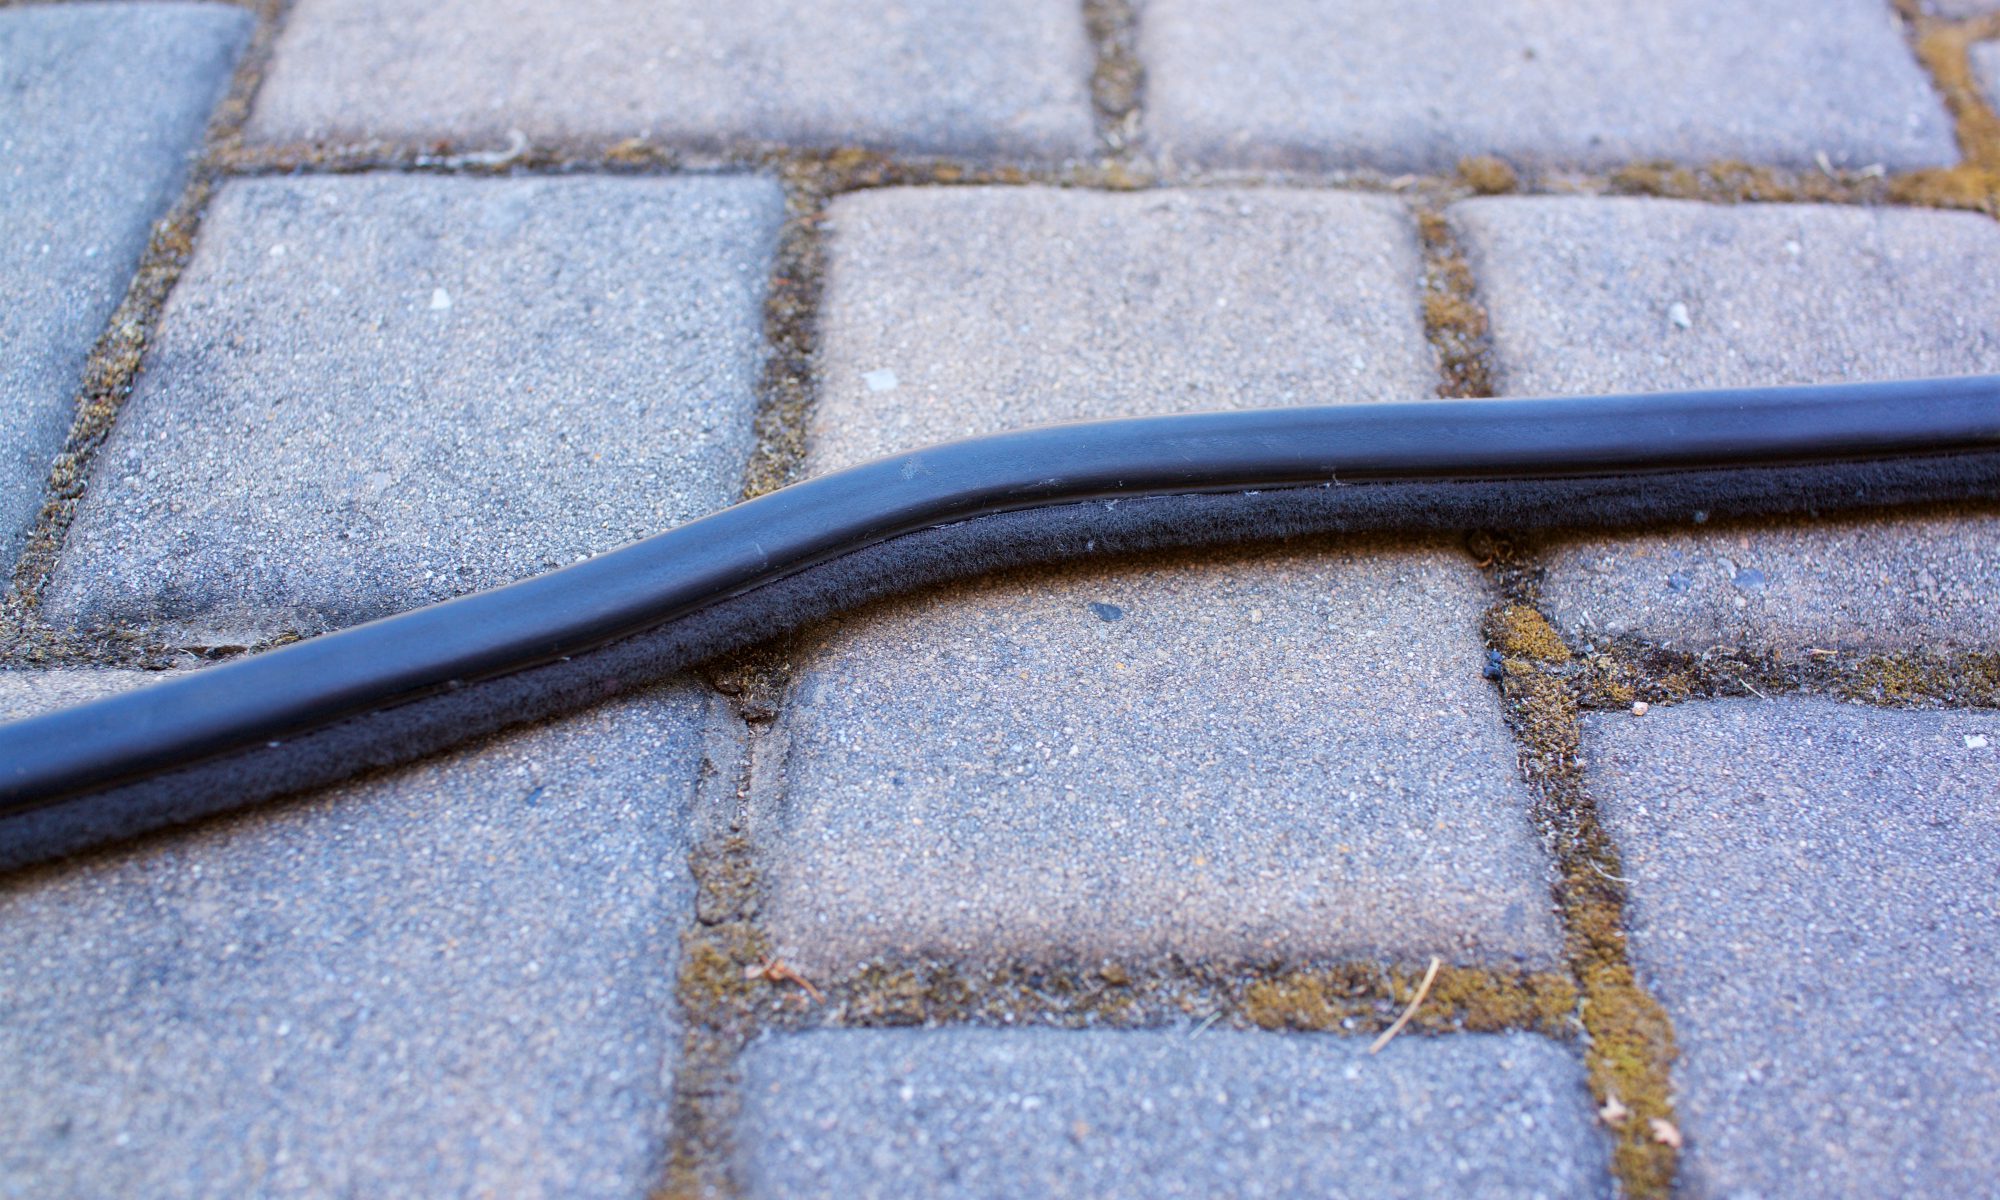
When I first got the M5, I was very naive indeed. I noticed that the fuzzy part of the “edge protection” seals was hanging ever so slightly from the rubber on the driver’s rear door. I tried to adjust it and accidentally ripped it off further. I asked myself, what is this stuff and is it even important? So, I started to rip it all away. This was idiotic.
Now, I felt i had improved the look as the nice rubber underneath matched the Schwarz interior even better than the charcoal gray fabric. Being a little OCD, I was now bothered that the other one’s didn’t match, so I pulled off the perfectly good fuzzy “mouse fur” as it’s sometimes called from both front seals. This was lunacy!
For some reason, I started to worry that this wasn’t the brightest idea, so I left the passenger rear side alone, leaving it different from the other three, perhaps almost in penance for what I had just done. My naiveté was that I thought I could just get replacements. Unfortunately, like many E28 M5 parts, I found they were no longer available (“NLA”). Those are my three least favorite letters when it comes to owning and attempting to restore this car.
I searched, asked around, searched some more. Eventually, it appears the supplier made another run, as they eventually appeared to be available among my regular suppliers and on eBay, where I had an alert set up. However, the price at FCP, where I’ve bought most of my parts is $427 .. each! This made me feel worse than when they were simply NLA.
One day, on mye28.com, a set appeared. The only issue per the seller was that the rear passenger seal was a little torn. Coincidentally, this was the exact one I had left intact. It was serendipity – almost too good to be true. The seals were a relatively good price and even included shipping from Bulgaria. After a slight delay clearing customs, they arrived.
These sat around for a while waiting to be installed. During that time, other projects were tackled and they were almost forgotten. When I was finally ready to check this off my list, they were no where to be found! I asked my wife. I asked my kids. I feared they had been discarded like the trash they resembled, only they were virtually irreplaceable and worth their weight in gold. This setback almost required therapy.
I lamented my saga to friends who didn’t care and couldn’t understand. I was now contemplating trips to the pick ‘n pull. I even had a picker tell me that he had them, but when I asked for photos and a price, he ghosted me. The other day, I was looking in the “golf” closet of our garage storage and lo and behold, they were in there! What a relief!
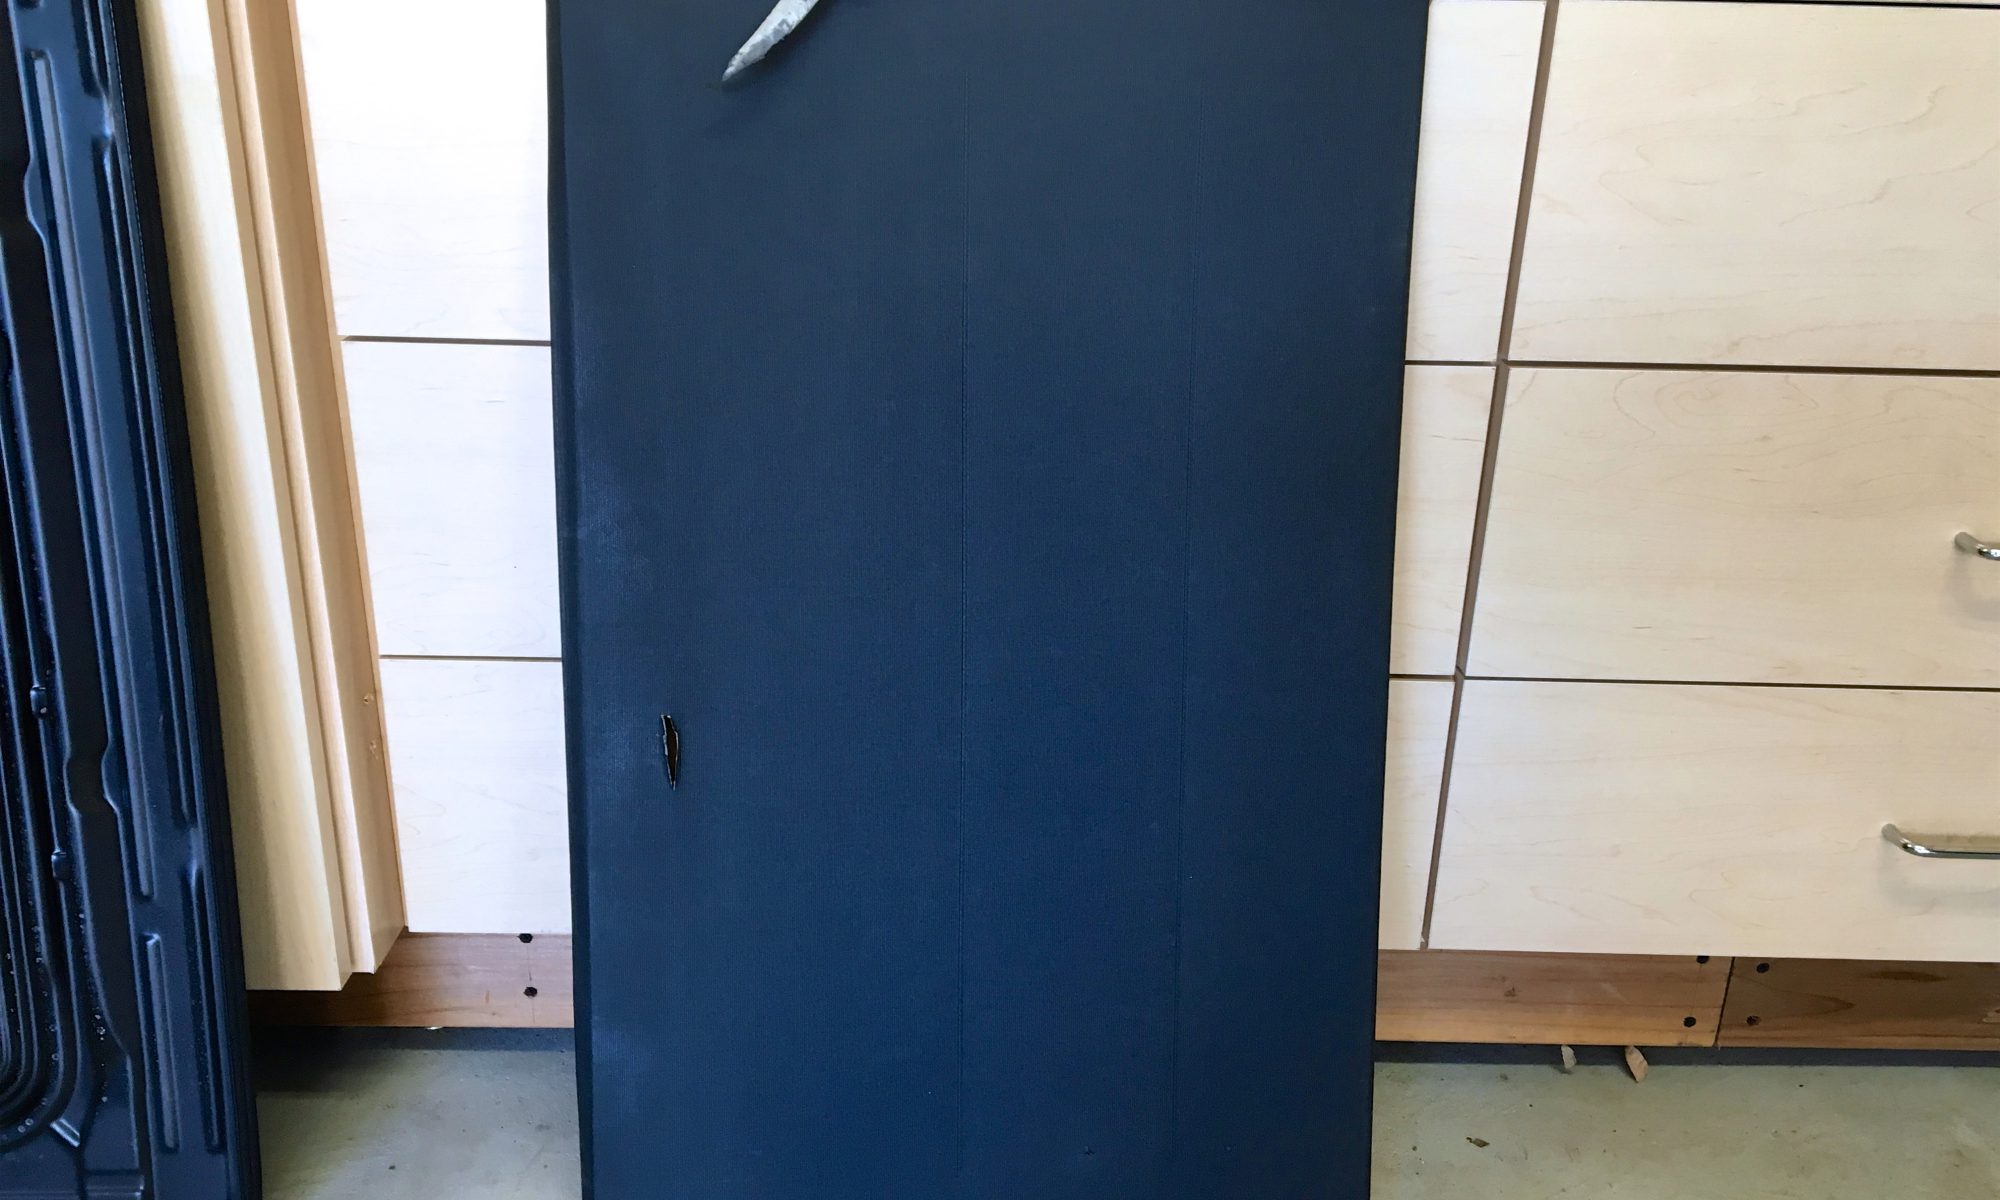
Today, I finally got around to getting them cleaned up and installed. I set them in the sun a bit to get them soft. The fabric holding the fuzzy part was separating from rubber in a couple places. I used the 3M Headliner & Fabric adhesive to carefully apply it with an art brush and it worked perfectly to repair it. It wasn’t hard to install them, but took a little care to get the headliner stretched correctly, as the seals are integral to the installation of the headliner.
This was a very gratifying project, which finally redeemed my idiocy.
This post is really about attempting to repair the sunroof ceiling panel. The day I received the car, I was driving down the highway and opened the sunroof. What should have been a glorious event resulted in a terrible sounding “pop” as the roof retracted. This car was brand new to me, but I found that one of the retaining clips had become dislodged and was just resting on the sunroof headliner fabric. Once it slid back into the roof, it had no where to go and popped a hole into the cover.
“Damn, that sucks,” I thought. It turned out to be a lot worse than I imagined. Those first few openings also tore at the sides of the cover. I believe that the entire headliner has been replaced and when the sunroof ceiling panel was replaced, it clearly wasn’t attached or aligned properly. Normally, I would just say, “oh, well,” and find a replacement, but on this car, it has proven so far impossible.
The North American M5 is the only E28 with a black (Schwarz) headliner, which makes this part very rare. The part is 54121962776, in case anyone has a lead on one. Some sites show it as available, but it’s too expensive to even inquire about. I know for sure the entire headliner is “NLA” (no longer available). I’ve scoured the internet. searched every relevant thread on mye28.com, private messaged random users based on 5 year-old posts, etc., but nothing has turned up.
I first attempted to tape the holes from the backside of the fabric. I also re-glued the corners and torn sides to the frame as much as best as I could. In addition to replacing the missing front clips on the panel, I had to reattach the panel it to the sliding mechanism using rivets. I also replaced all of the torx screws, which attach the sunroof to the frame.
It was the best fix I could attempt at the moment and I wasn’t very happy with the results.
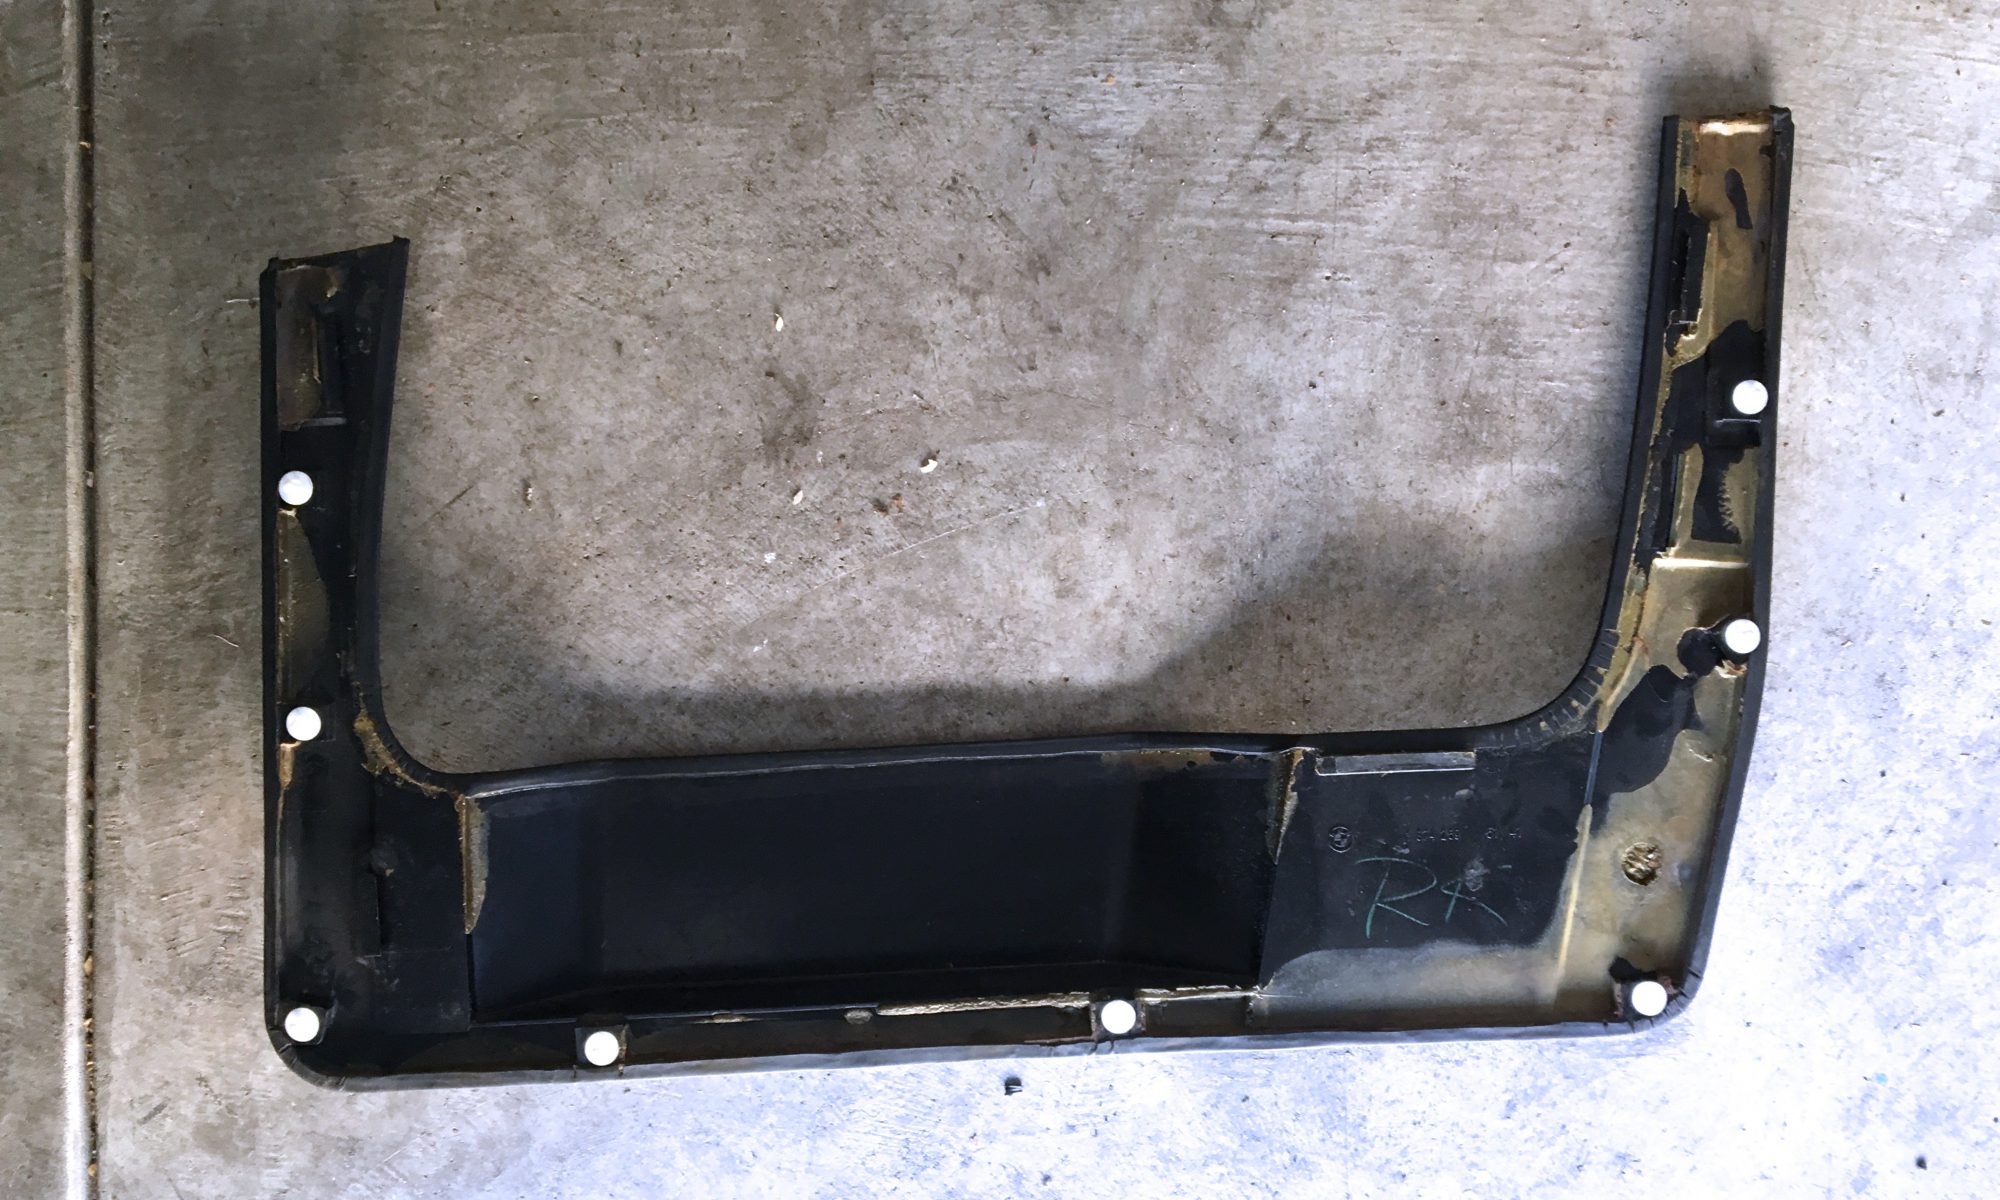
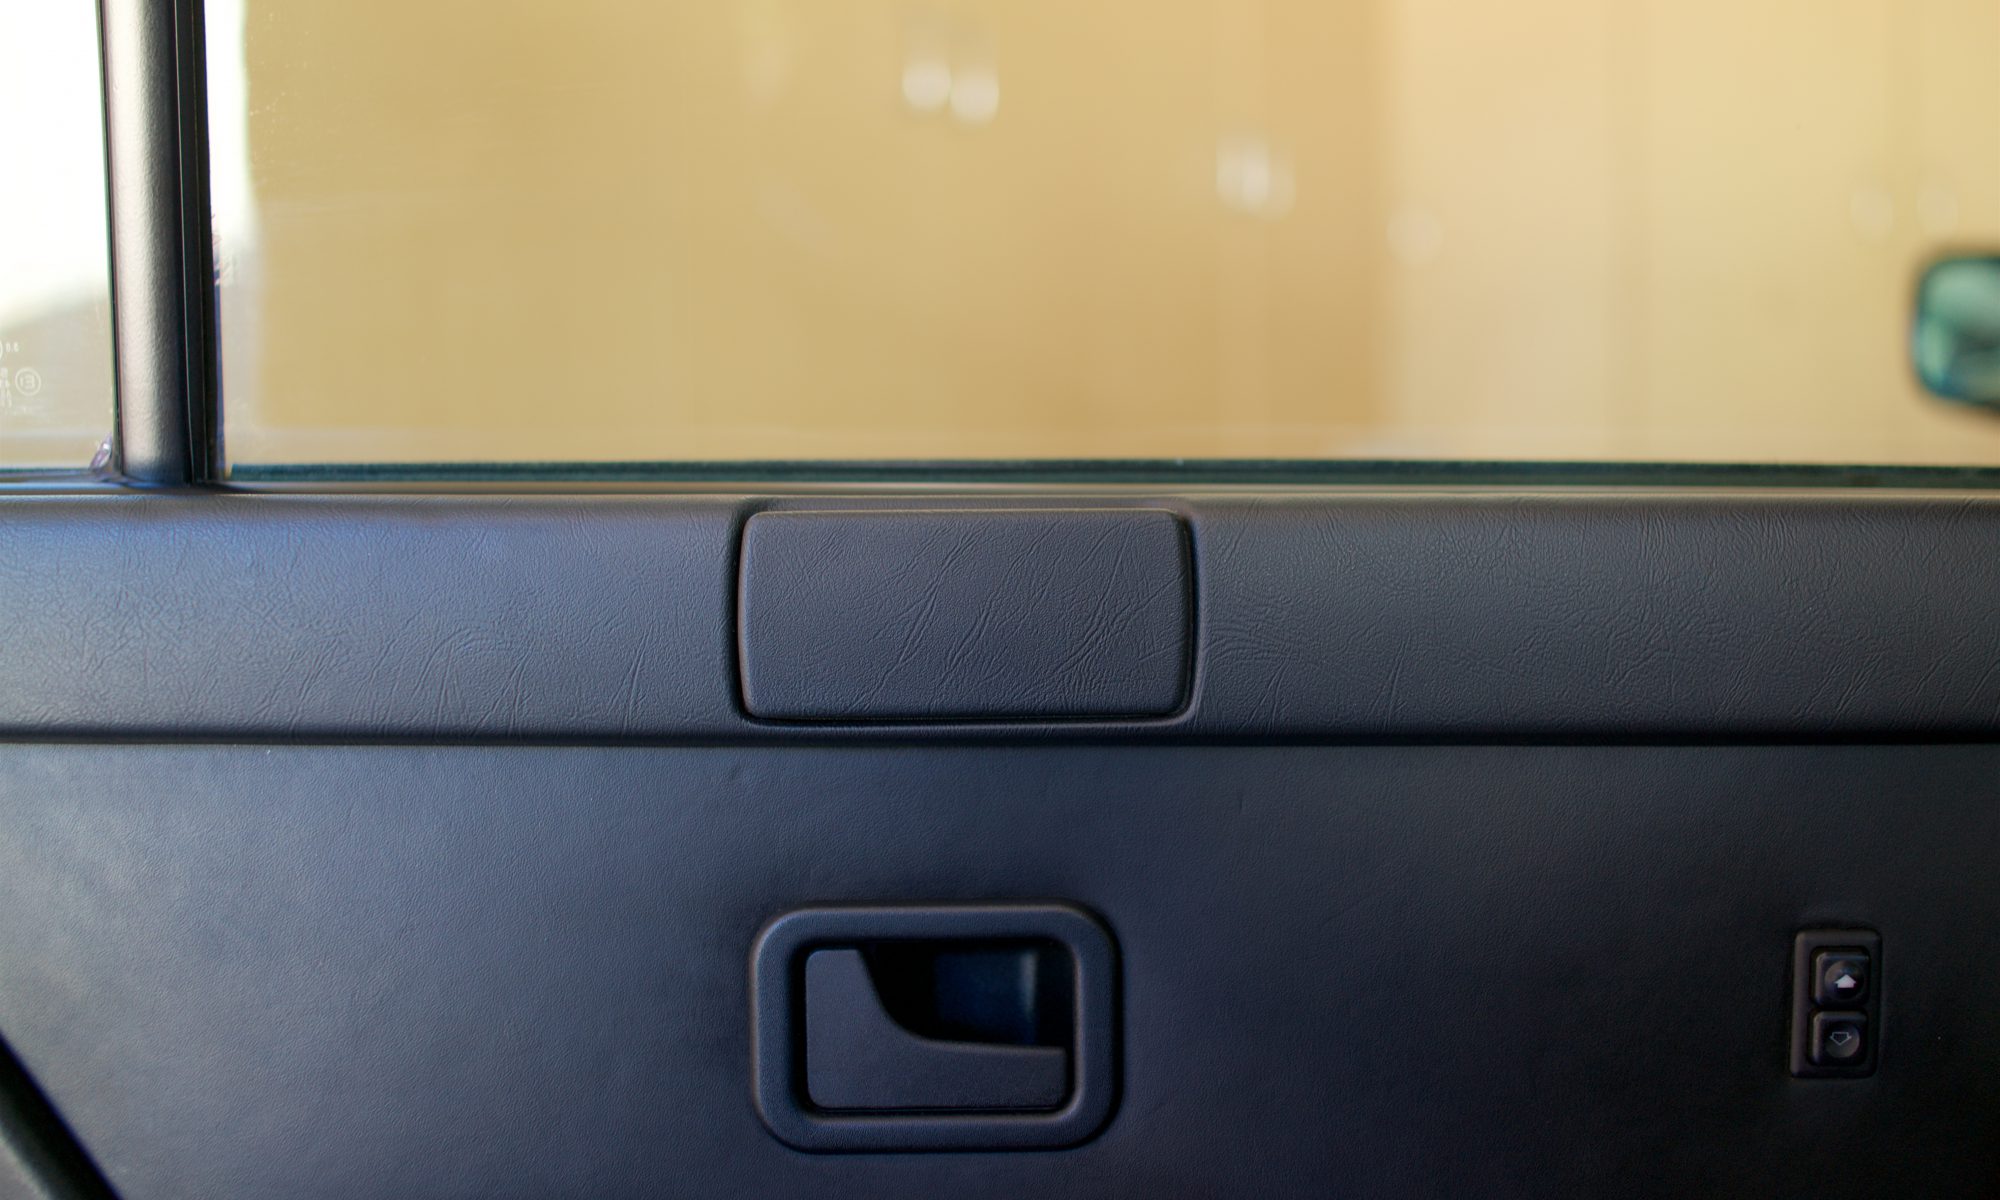
I ordered a full set of genuine BMW door panel clips. I noticed that they were brittle when I fixed the front passenger window regulator. My front-driver’s panel was flapping around from shutting the door, so I replaced those. All secure now.
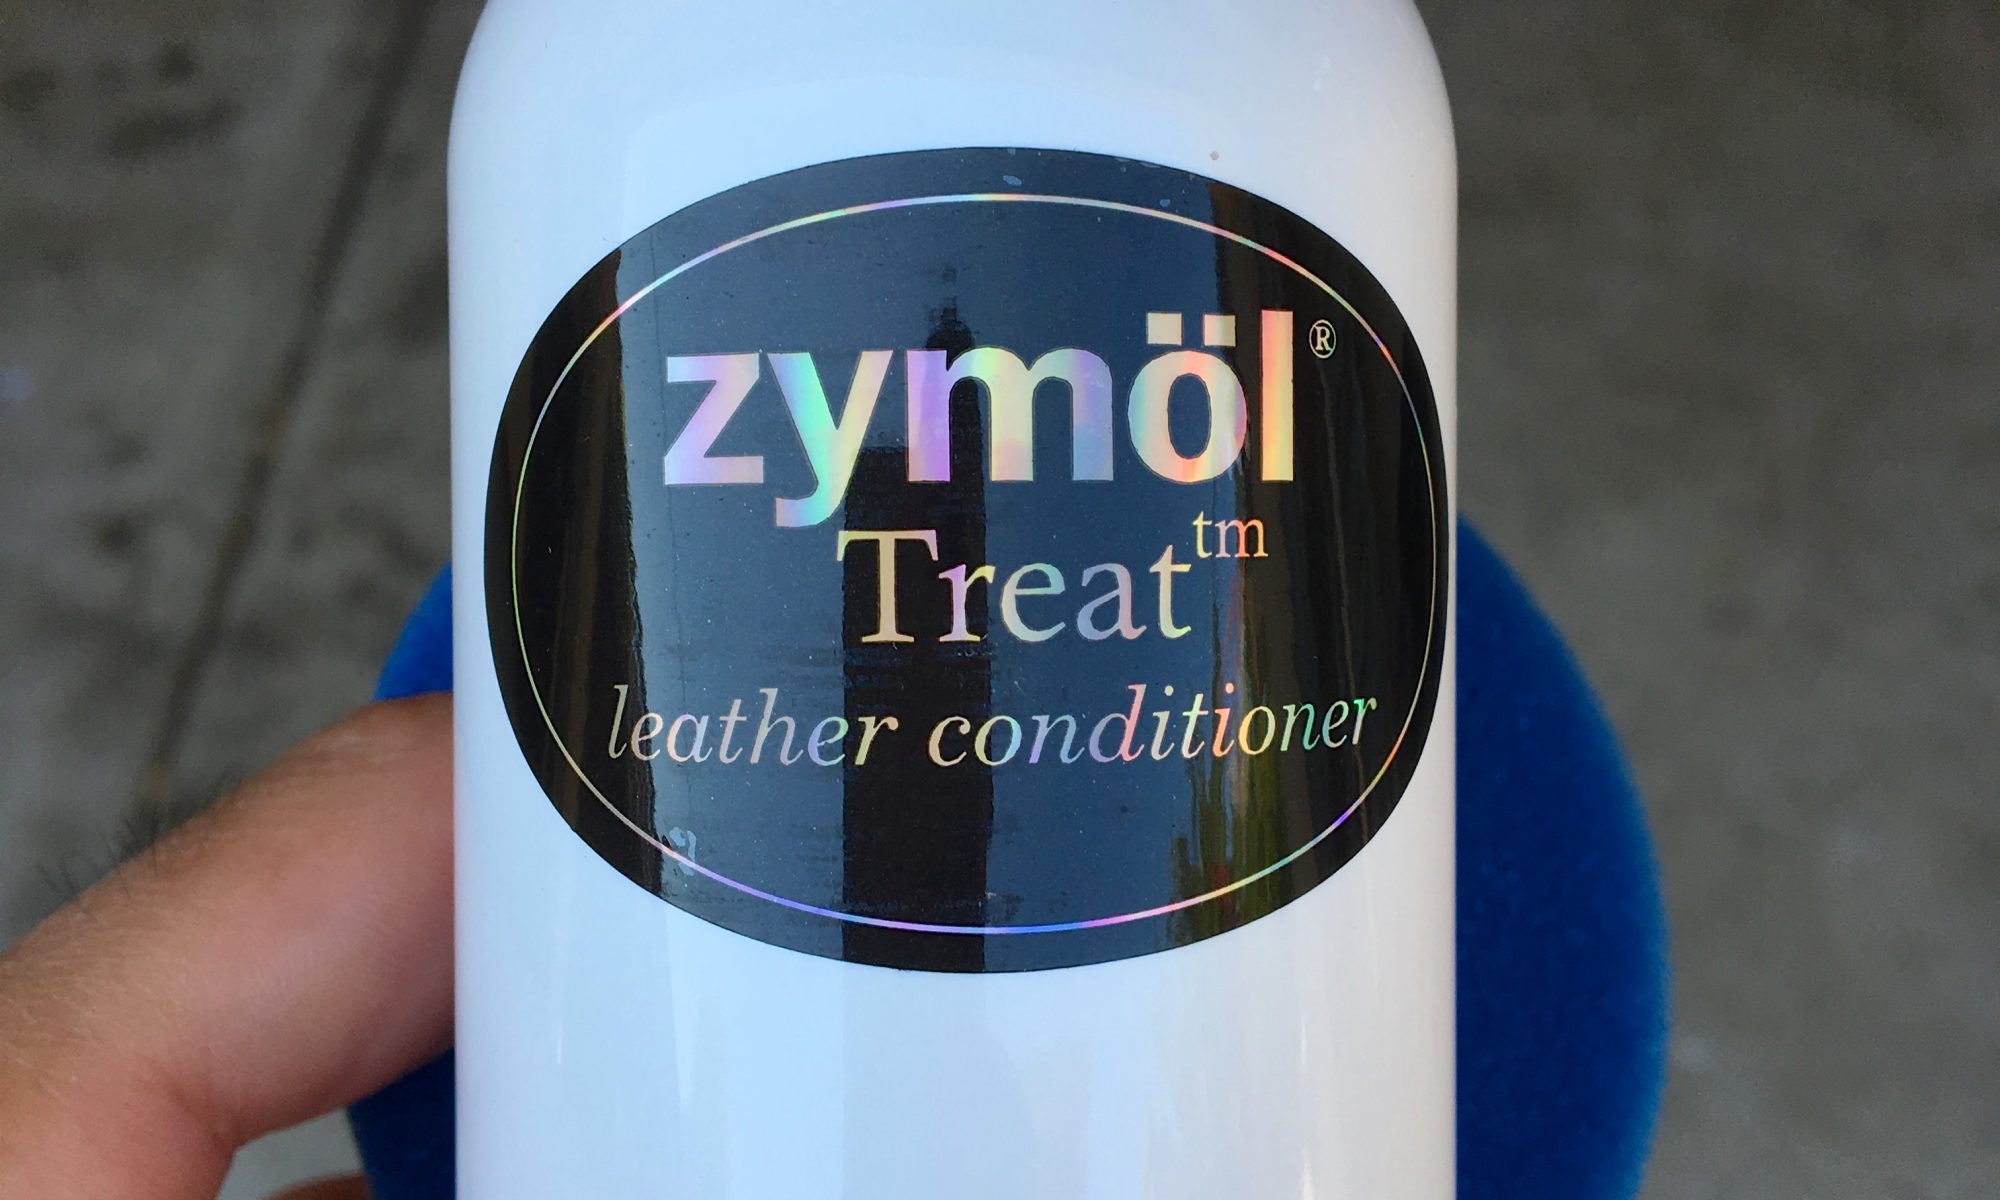
Over the holiday weekend, I picked a warm day to condition the leather. I’ve used zymöl products in the past (their amazing smelling carnauba wax). In other cars, I’ve tried Lexol and Griot’s, but started reading bad things on the internet (image that) about the former. I applied the zymöl leather conditioner and let the M5 warm up in the sun before buffing it out. Worked beautifully. Sorry no photos of the before and after.
The rear passenger ashtray in the door did not have the right texture or had the texture peeled off. I sourced a proper black one from mye28.com to make it right.
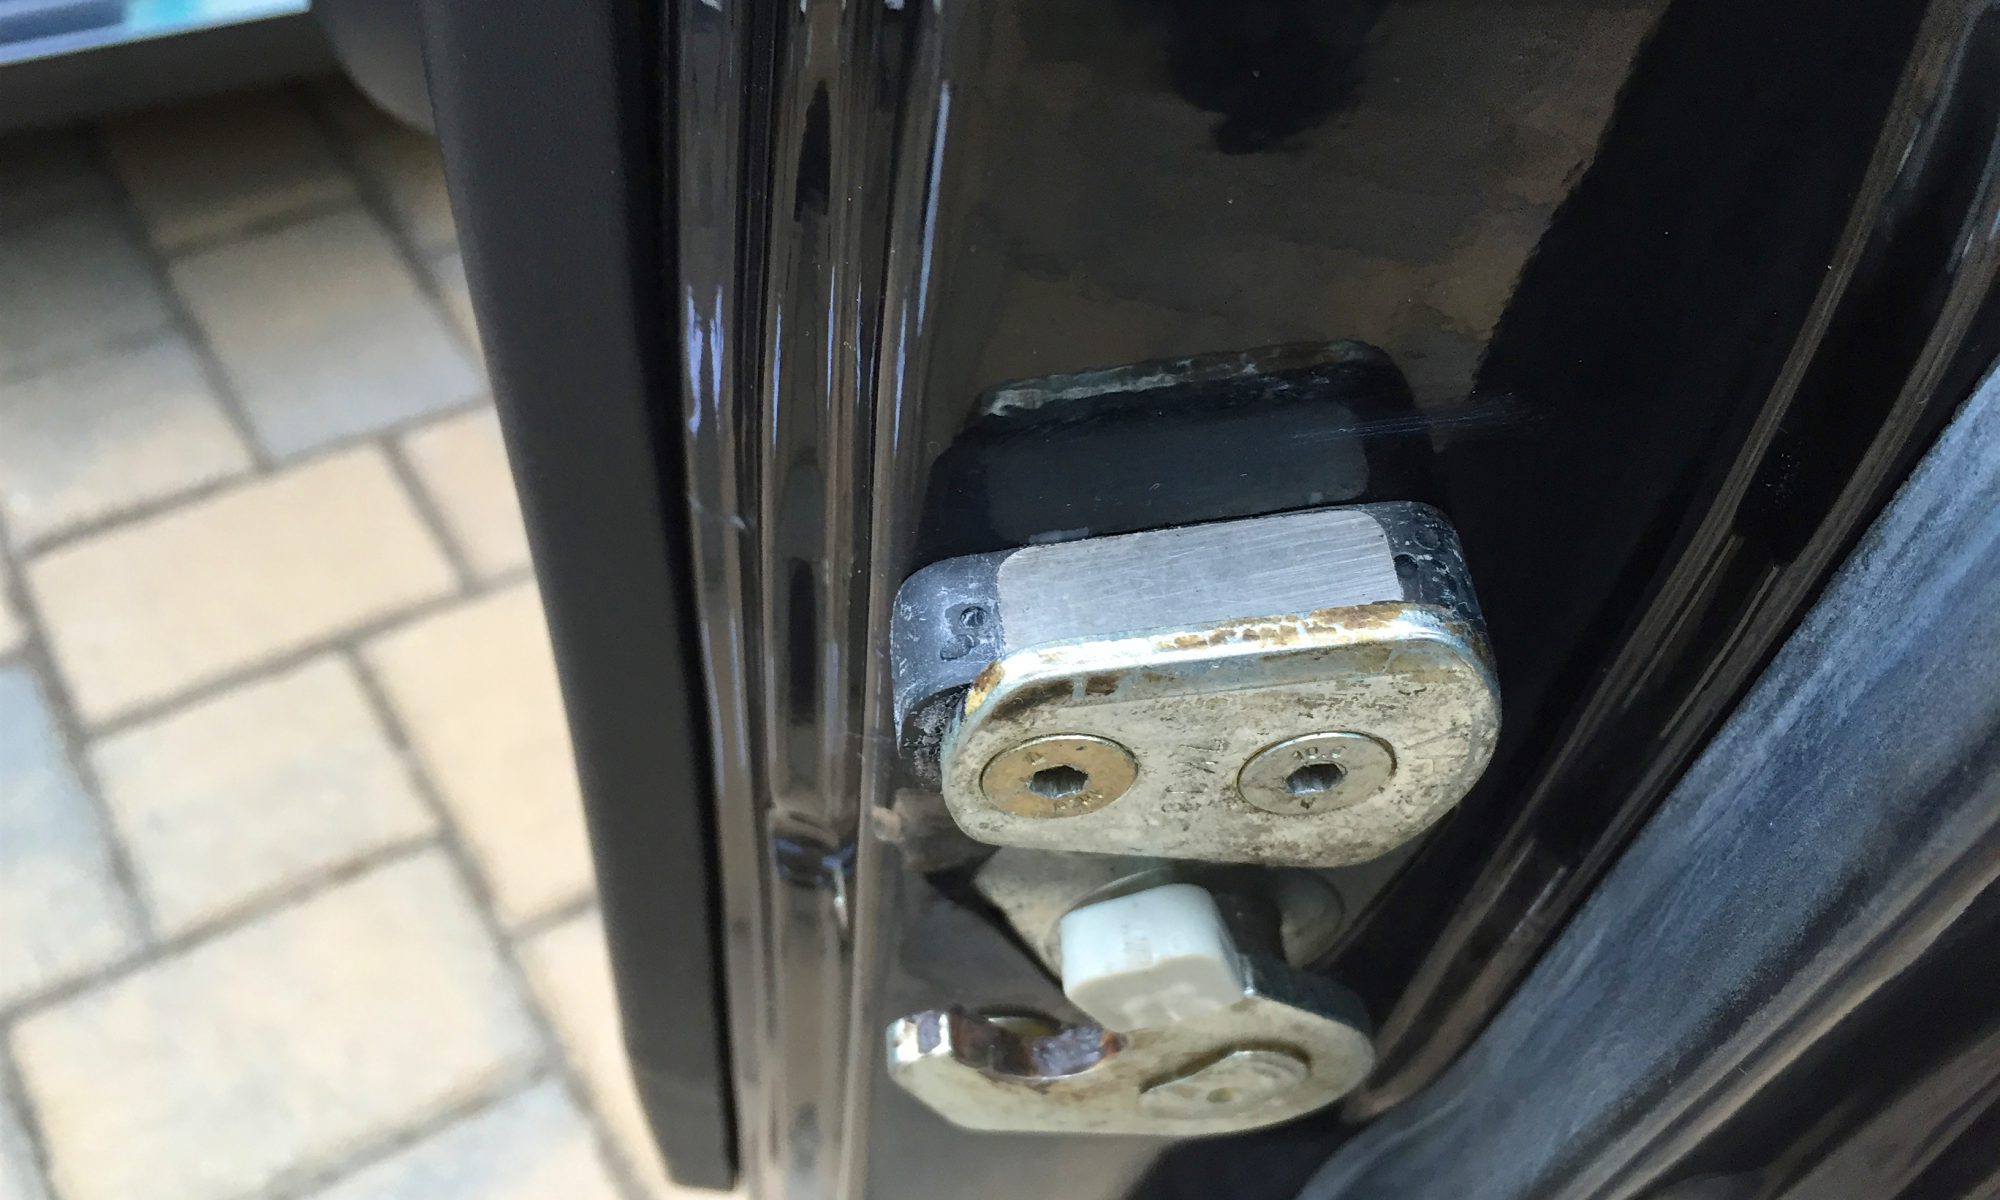
Nothing drives me crazier than little squeaks and rattles while driving a car. I’ve had to chase them down in almost every car I’ve owned at one time or another. The M5 was not immune, though some research guided me to the rubber buffers on the door latches and guides. I bought new sets of each from Bavarian AutoSport and replaced them. Those were very effective in eliminating the squeaking.

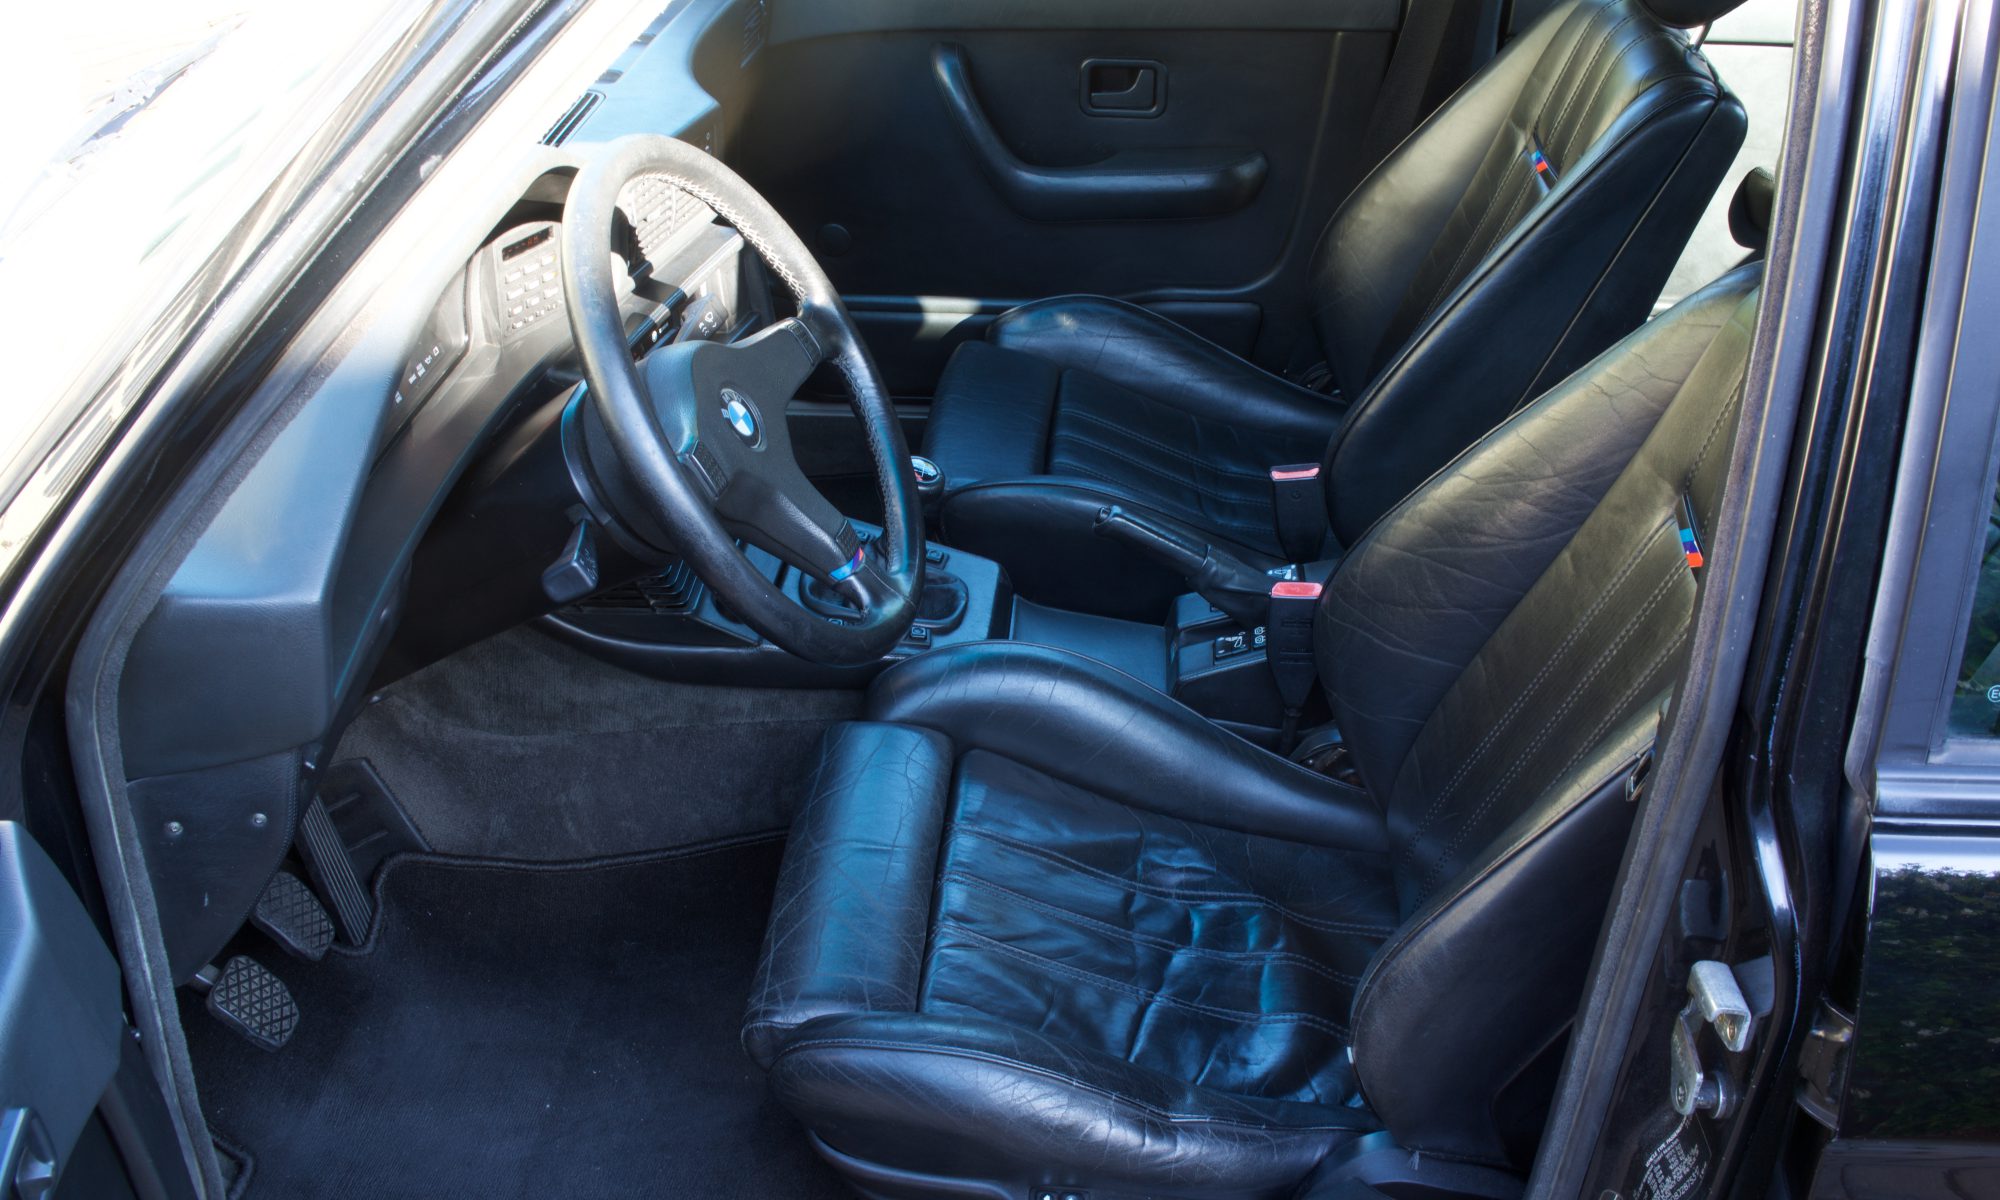
One common failure I’ve seen on a lot of E28 M5s and E28s with sport seats is that the driver’s side bolster sags. This is usually caused when the bottom side bolster seat frame becomes separate from the base at the front of the seat. This car had the same problem when it was delivered (first photo), so when the seats were out after I detailed the interior, I took the driver’s seat to a local upholstery shop for repair. The shop welded the seat frame and also re-stuffed the seats. I wanted to address the broken piping, but it wasn’t clear that they could make it exactly original and it also sounded very involved to undo it.
Each seat had missing or broken parts on the inside hinge covers, so I ordered parts to replace the sliders and screws.
After I got the driver’s seat back, I went about addressing the faded leather. I used a product called Doc Bailey’s Leather Black, which is a conditioner with a black dye in it. It worked really well to bring back the color, shine and luster to the seats. I was very pleased with the results and was happy to put everything finally back into the car.
One of my hobbies in my younger years was car audio. In most of my older cars, I’ve typically installed head units with Aux-In capabilities to play or stream music from an iPod or iPhone. My go-to head unit is a Harmon Kardon Traffic Pro. The navigation is useless now that we have Waze and Google Maps, but I like the DIN size, simple look and matching BMW red lighting. I also usually use a/d/s amplifiers and speakers, which are not necessarily period-correct, even if the brand definitely is.
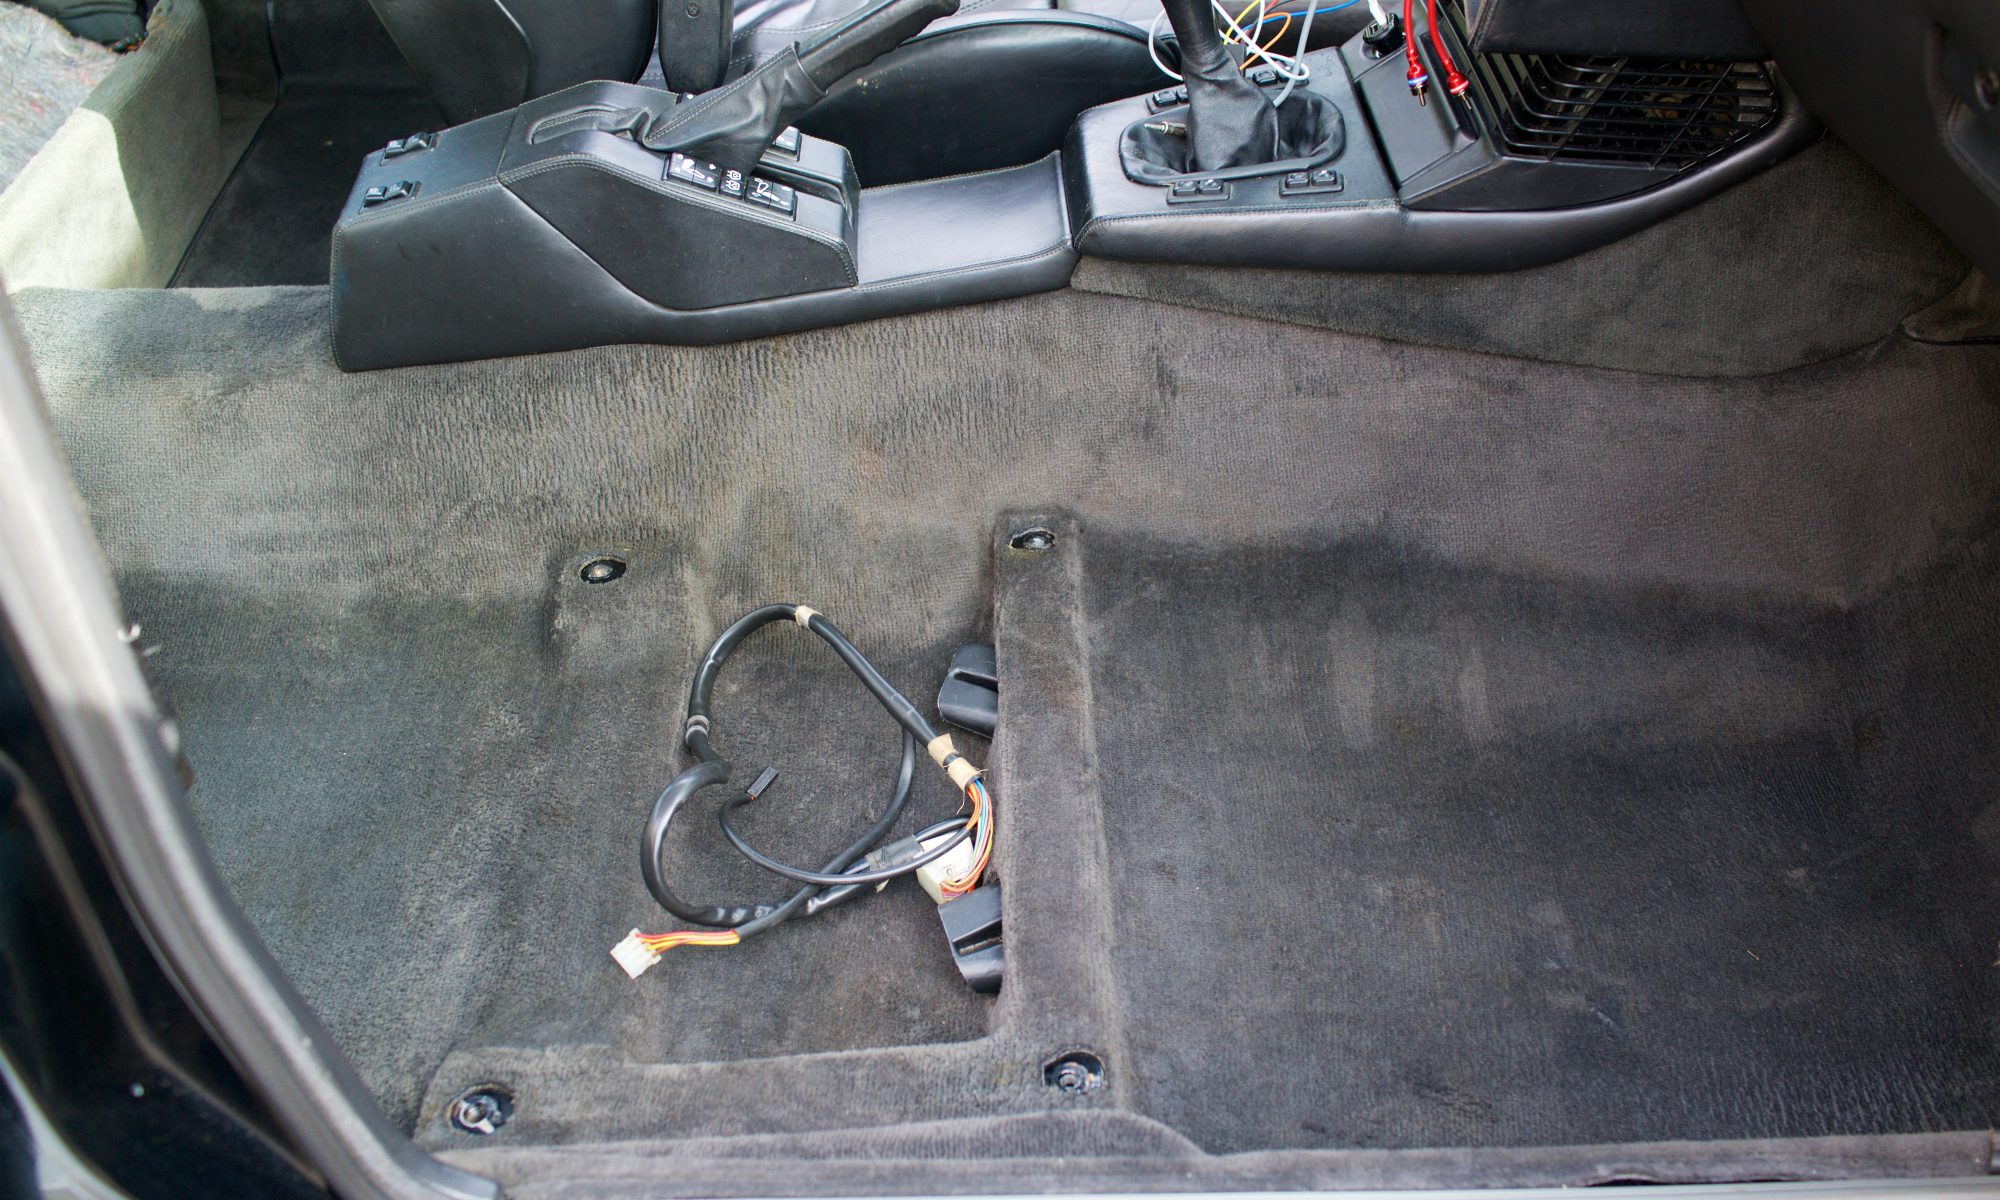
Over the course of months I assembled pieces of the system until it was time to finally install everything. This required removing a lot of the interior, except ironically the dashboard, which had already been through enough. Once all the seats were removed, it uncovered a secondary project, which was to detail the interior carpets. They had accumulated over a quarter-century of mostly coffee stains (pre-cupholder era), chocolate(?), and dog hair. Although the loose change found was not enough to compensate me for my effort, the payoff was a much cleaner car.
I couldn’t get out every stain with the steam cleaner I had. I’ve since acquired a new steamer that might be able to get even more, but perhaps it should be left to a professional with the right chemicals to get everything out (if possible). I also took the opportunity to clean up the front seat bases. Finally, people often comment that the rear deck is somehow blue, but really it’s just sun-faded after all these years. I used some SEM spray paint to bring it back to its Anthracite glory.
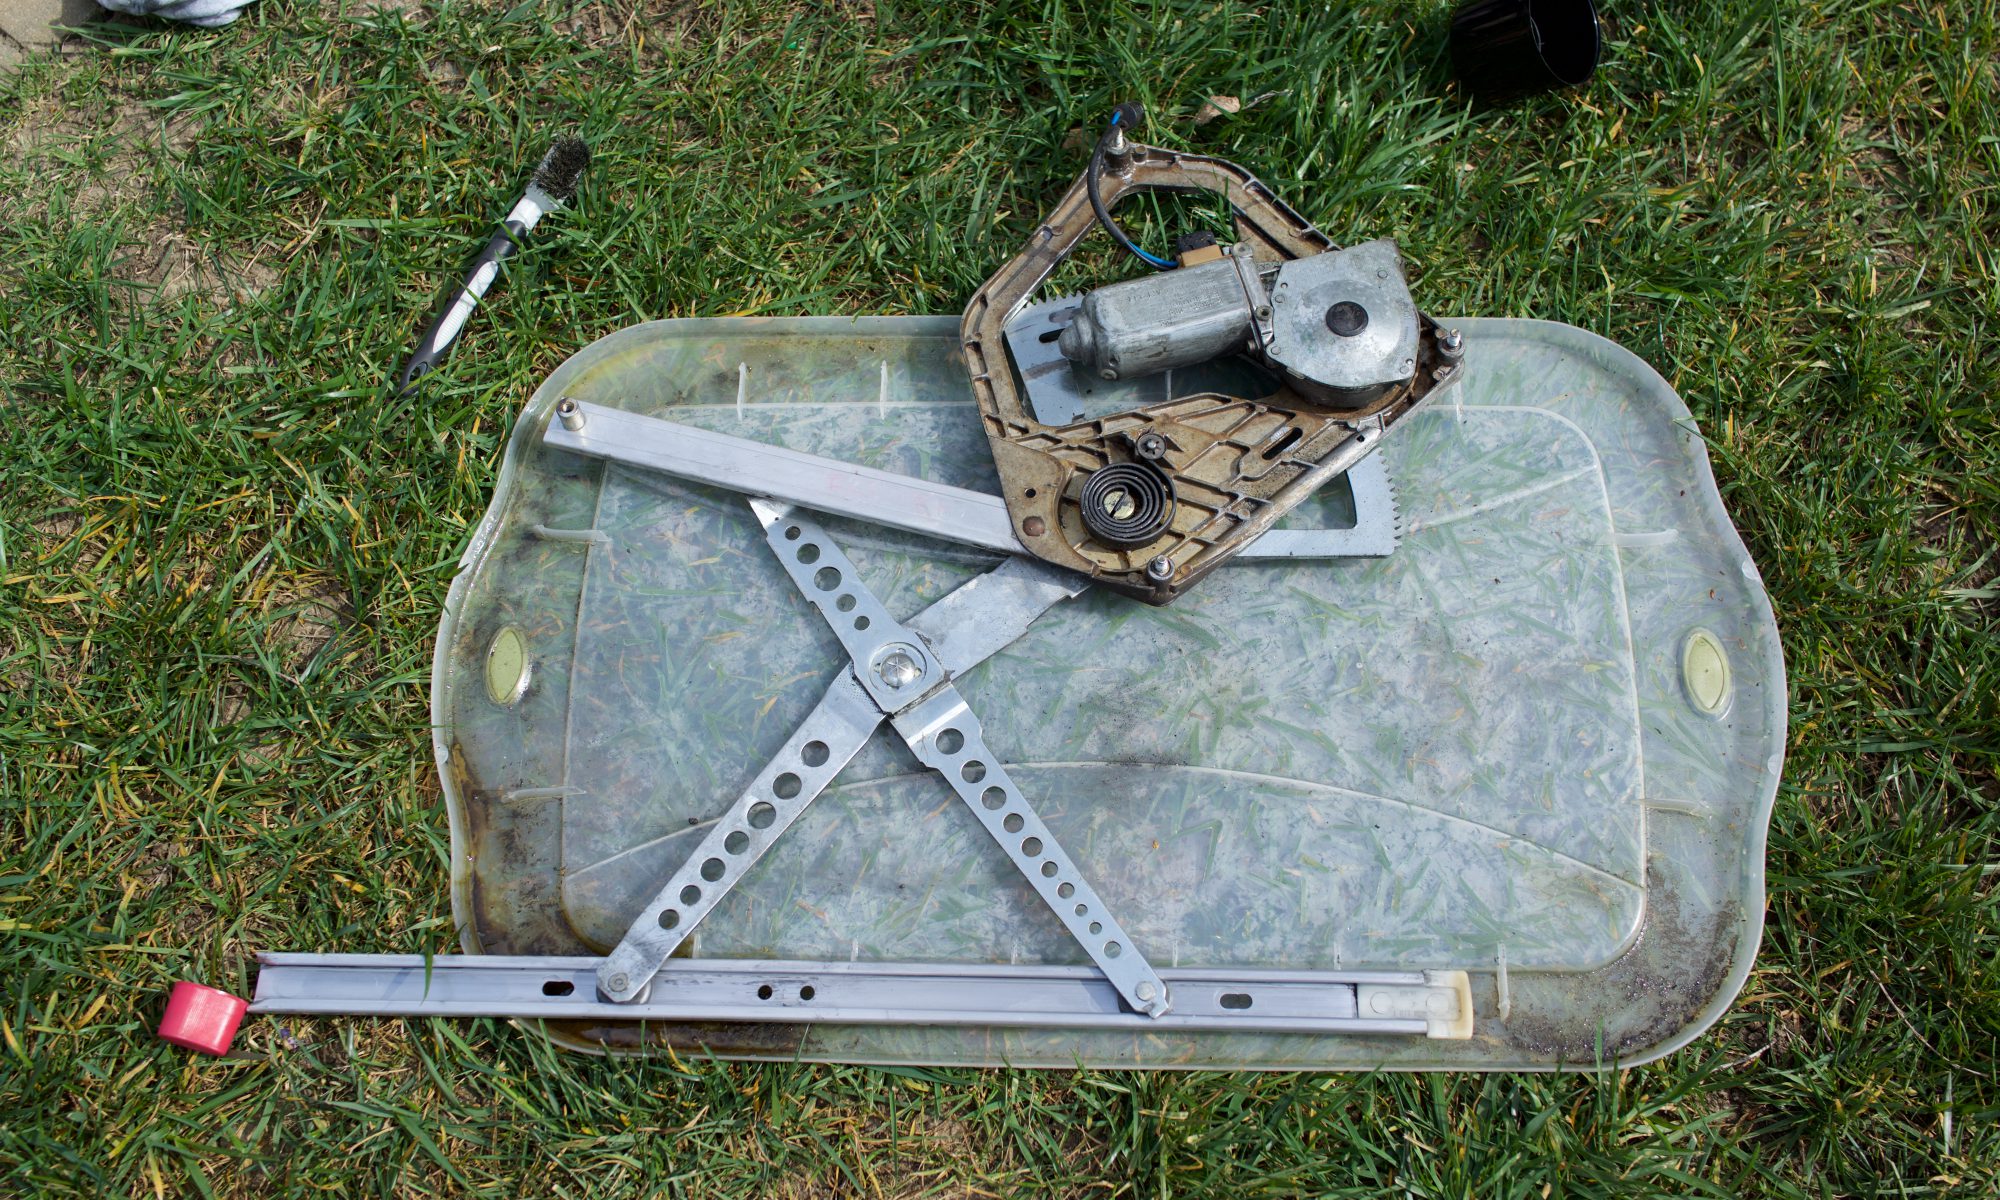
I knew the front passenger window wasn’t working before the car even arrived, so I very early on sourced a replacement window regulator from eBay. After it arrived, I realized that the main failure were the contacts on the window switch, which once cleaned up, demonstrated that the regulator was indeed working.
What wasn’t working well was the fact that the window went up and down very slowly compared to the driver’s side window. During the interior project, I removed the door card and the vapor barrier to remove the window regulator. I degreased all of the old, dried grease in the tracks and lubed it up again using white lithium grease. It goes up and down beautifully now.