I had mentioned before that my pitted windshield was not only a nuisance, but also a safety hazard. I had wanted to replace my windshield for a while, but for some time they were NLA. Apparently the OEM manufacturer (Saint-Gobain Sekurit) had a production run and these were now available from Europe. A helpful mye28.com board member, Ivo, periodically ships a container full of Euro and specialty BMW parts for distribution within the US.
Way back in February, I had ordered a new “Green with Green Stripe” windshield from Ivo as part of the 2016 “St. Patty’s Day” shipment. However, disaster struck, when the shipping crate was damaged and 8 of 13 windshield were trashed. My windshield actually survived this debacle, but just as it was about to be delivered to my door, my understanding was that a tool fell on it and it broke. It only had two lives, apparently. A replacement windshield finally made it to the Bay Area in September and I picked it up in early October from a nice guy who brought a few up from Los Angeles. It was stored safely in our living room (thanks, understanding wife) until i was ready to install it.
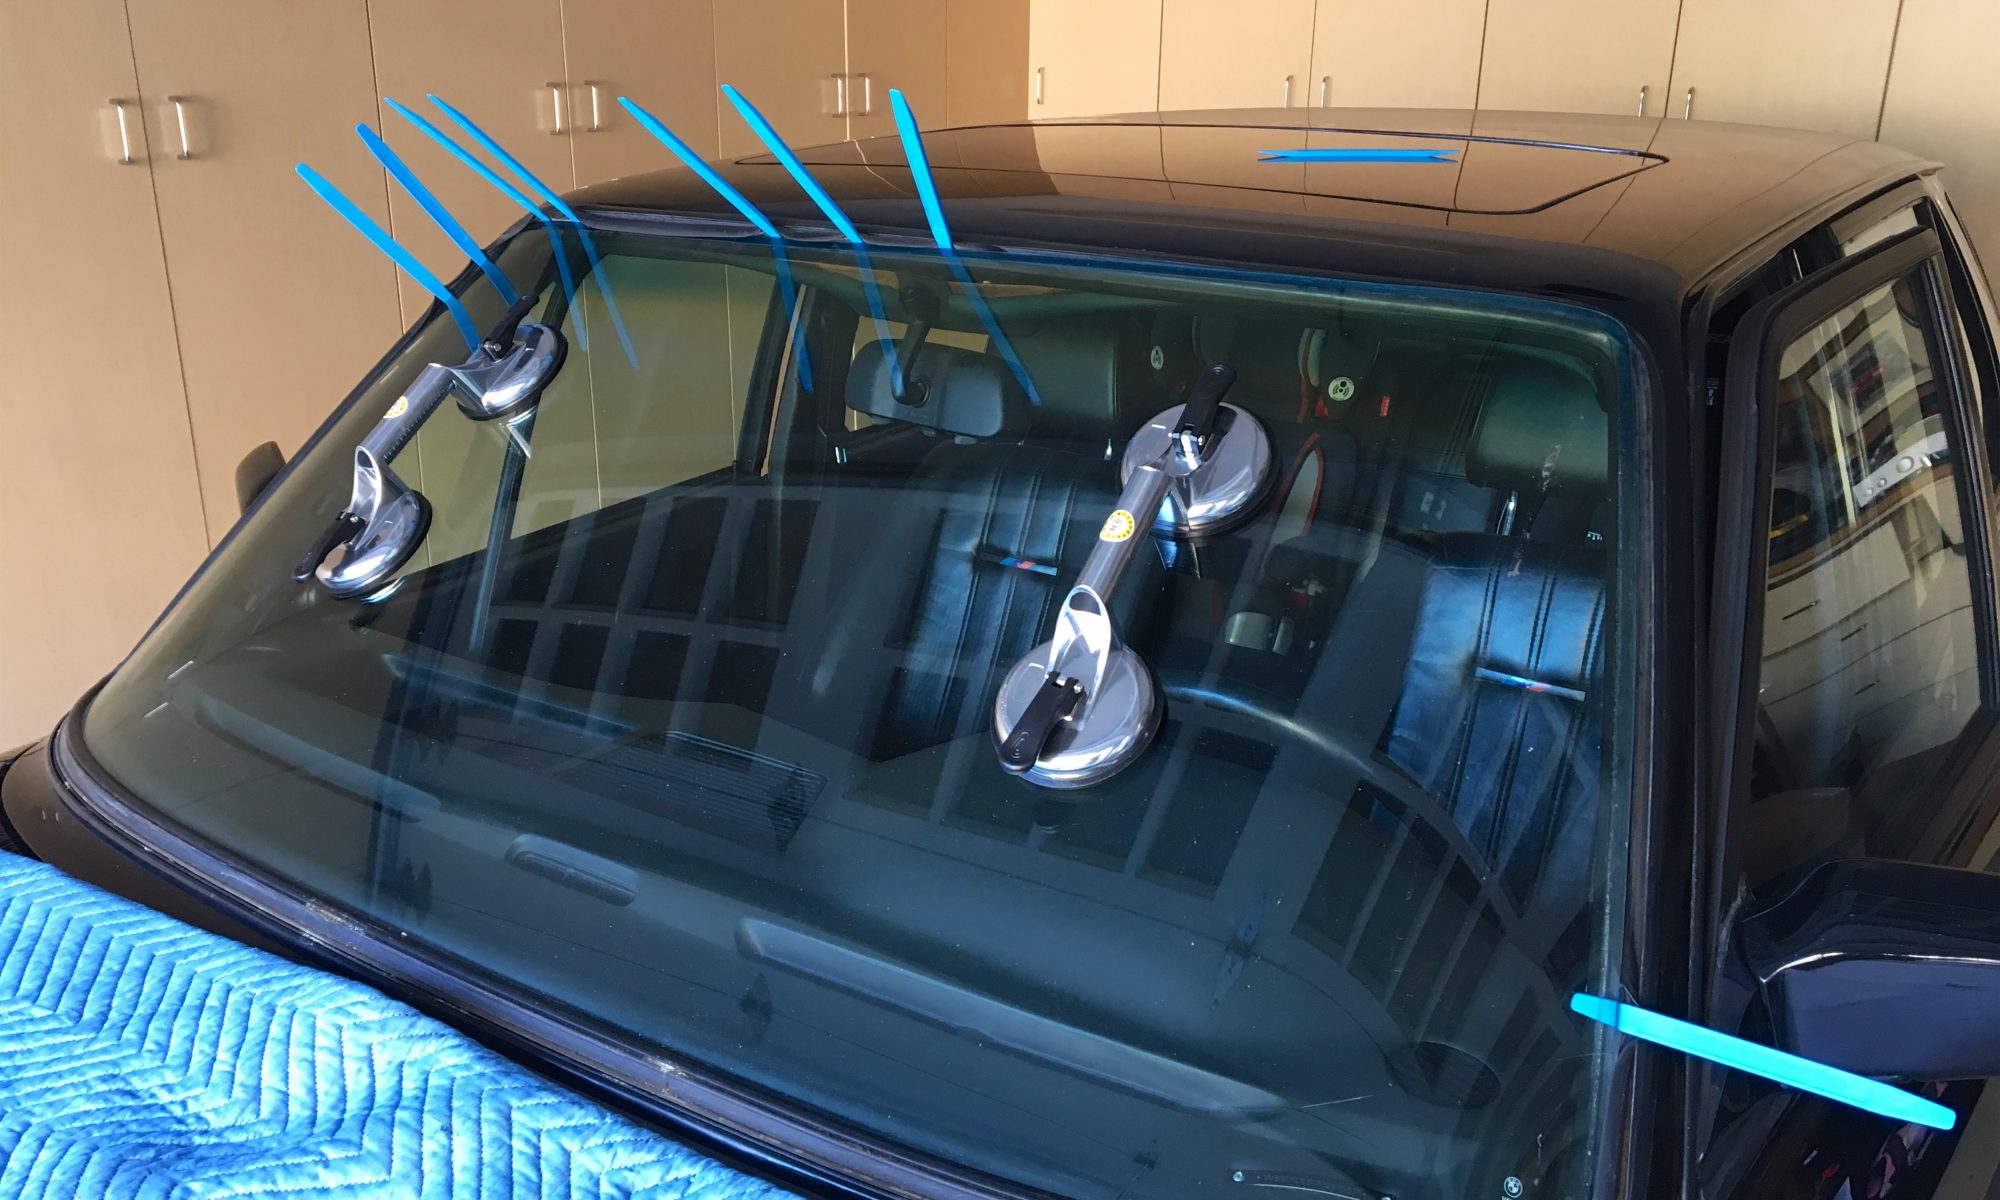
Many holidays have been spent tackling big projects on the M5. For the windshield, it was Thanksgiving. I assembled what I believe to be the necessary tools, including plastic “dogbones,” gasket tool, glass suction handles, various picks and Gojo waterless hand sanitizer. I had also procured enough new lockstrip for both the front and rear windshields.
Getting the old windshield out wasn’t too bad, though I did end up cracking it, which made me very nervous about handling and installing the new one. I read up on many various methods for installation, but I decide to just pick one that made sense to me. The gasket was in good shape, so I decided to reuse it. I chose to leave it attached to the body and also left the bottom aluminum lock strip in place. I slid the windshield into the bottom of the gasket. I attempted to use a sharp “hook” tool, but nearly impaled myself a couple times. Then, I very carefully used one of the blue plastic dogbones to work the rubber gasket over the windshield, using the Gojo as lubricant. I was careful to make sure the top corners were stretched into the corners of the body for a tight seal. I also made sure to finish the installation in one of the top corners vs. in the middle of one of the sides.
I was very pleased to be able to successfully complete a project like this. After all it took to get a new windshield, the last thing I wanted to do was break it. The new windshield is crystal clear and provides a whole new perspective from inside the E28 greenhouse. I finished the project off with a new set of wiper blades to keep the windshield pristine.