There were a couple of cargo net fasteners and trunk lining fasteners missing from the trunk. I sourced the missing items from ECS.
Replace Trunk Fasteners
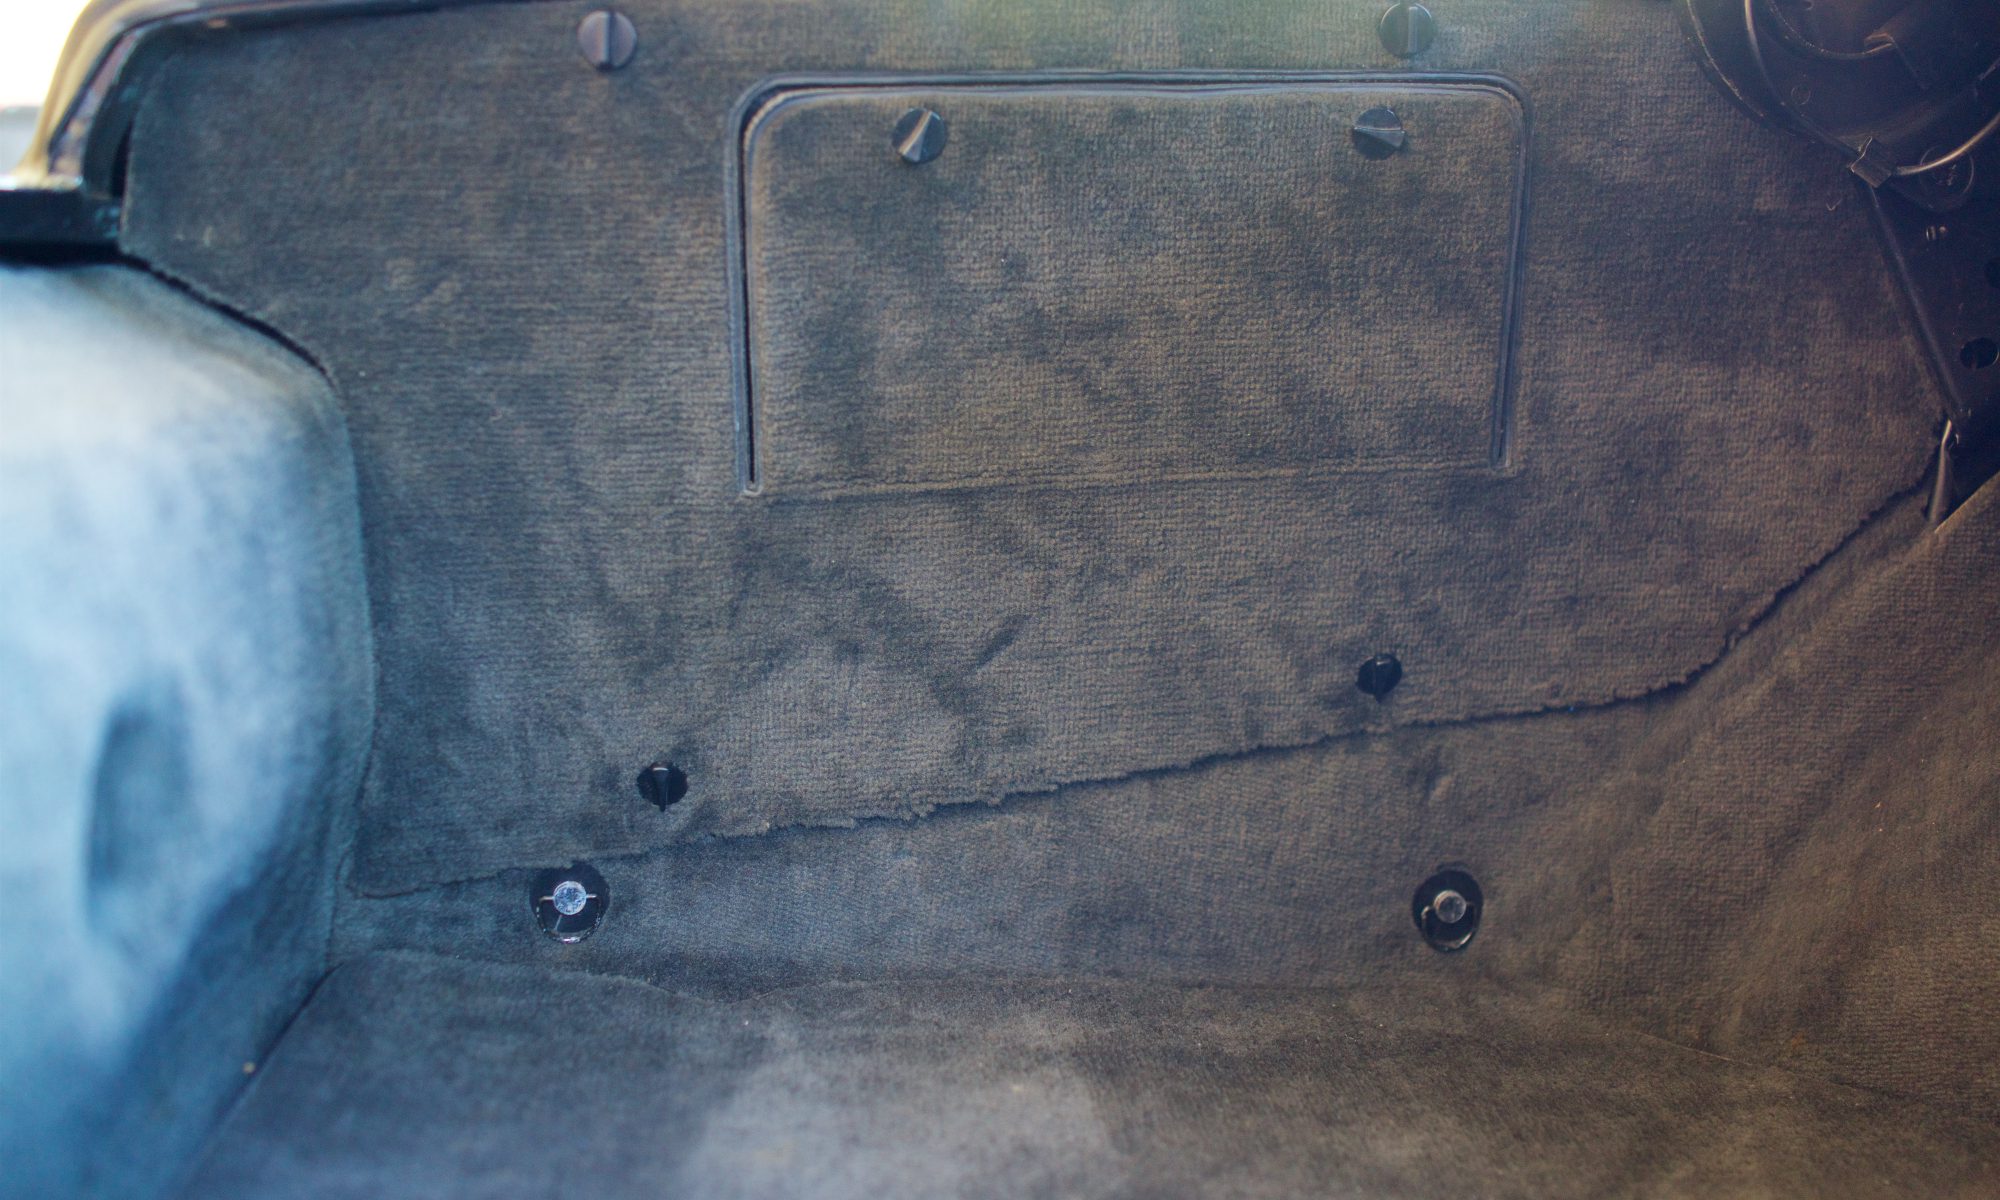
There were a couple of cargo net fasteners and trunk lining fasteners missing from the trunk. I sourced the missing items from ECS.
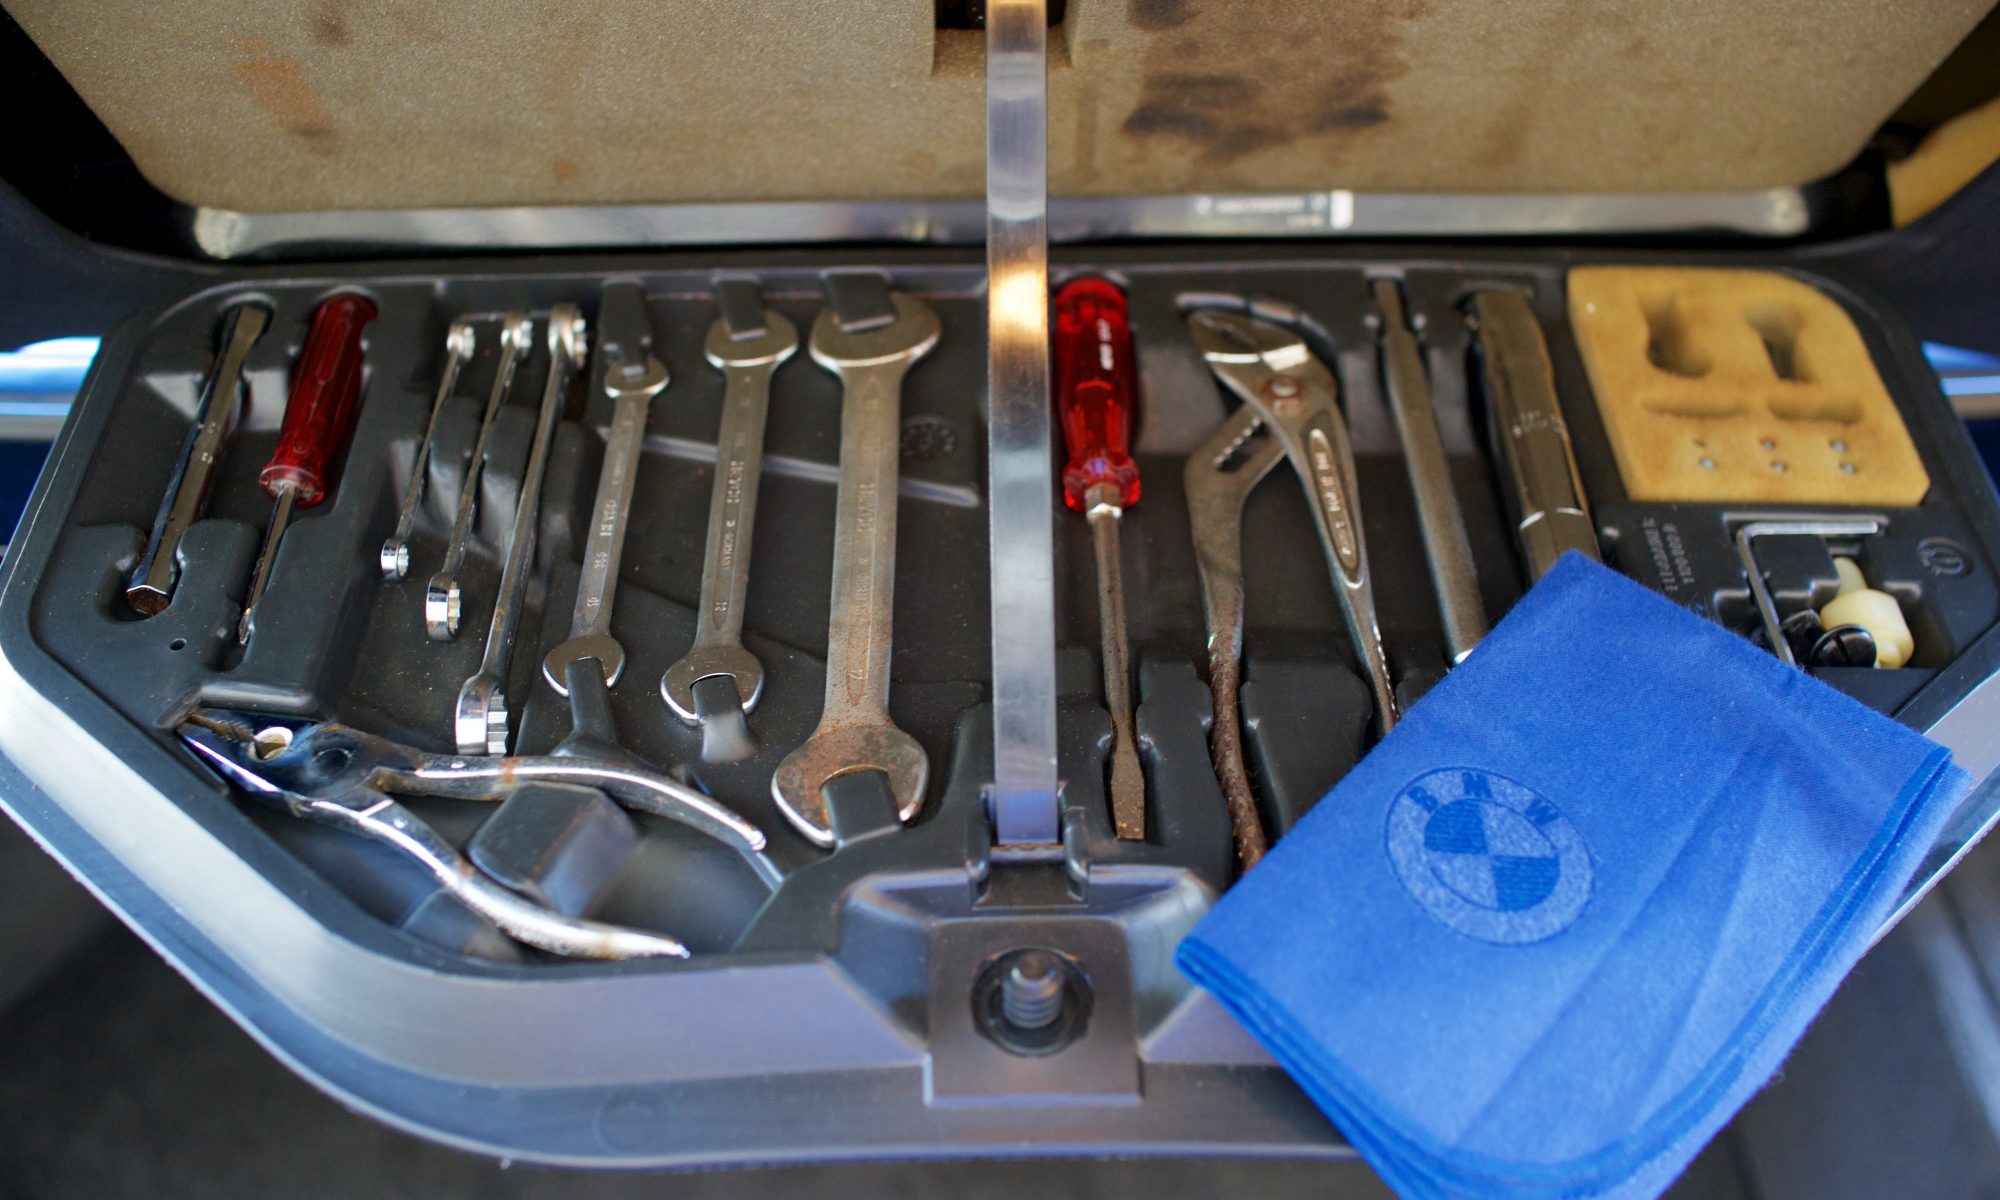
My tool kit was missing some items. I had already replaced the spark plug wrench. I was missing a small red Heyco screwdriver, which I was able to source from a mye28.com member. Ivo was also selling reproduction blue polishing cloths, which I was able to purchase on eBay.
When I first got the M5, I was very naive indeed. I noticed that the fuzzy part of the “edge protection” seals was hanging ever so slightly from the rubber on the driver’s rear door. I tried to adjust it and accidentally ripped it off further. I asked myself, what is this stuff and is it even important? So, I started to rip it all away. This was idiotic.
Now, I felt i had improved the look as the nice rubber underneath matched the Schwarz interior even better than the charcoal gray fabric. Being a little OCD, I was now bothered that the other one’s didn’t match, so I pulled off the perfectly good fuzzy “mouse fur” as it’s sometimes called from both front seals. This was lunacy!
For some reason, I started to worry that this wasn’t the brightest idea, so I left the passenger rear side alone, leaving it different from the other three, perhaps almost in penance for what I had just done. My naiveté was that I thought I could just get replacements. Unfortunately, like many E28 M5 parts, I found they were no longer available (“NLA”). Those are my three least favorite letters when it comes to owning and attempting to restore this car.
I searched, asked around, searched some more. Eventually, it appears the supplier made another run, as they eventually appeared to be available among my regular suppliers and on eBay, where I had an alert set up. However, the price at FCP, where I’ve bought most of my parts is $427 .. each! This made me feel worse than when they were simply NLA.
One day, on mye28.com, a set appeared. The only issue per the seller was that the rear passenger seal was a little torn. Coincidentally, this was the exact one I had left intact. It was serendipity – almost too good to be true. The seals were a relatively good price and even included shipping from Bulgaria. After a slight delay clearing customs, they arrived.
These sat around for a while waiting to be installed. During that time, other projects were tackled and they were almost forgotten. When I was finally ready to check this off my list, they were no where to be found! I asked my wife. I asked my kids. I feared they had been discarded like the trash they resembled, only they were virtually irreplaceable and worth their weight in gold. This setback almost required therapy.
I lamented my saga to friends who didn’t care and couldn’t understand. I was now contemplating trips to the pick ‘n pull. I even had a picker tell me that he had them, but when I asked for photos and a price, he ghosted me. The other day, I was looking in the “golf” closet of our garage storage and lo and behold, they were in there! What a relief!
Today, I finally got around to getting them cleaned up and installed. I set them in the sun a bit to get them soft. The fabric holding the fuzzy part was separating from rubber in a couple places. I used the 3M Headliner & Fabric adhesive to carefully apply it with an art brush and it worked perfectly to repair it. It wasn’t hard to install them, but took a little care to get the headliner stretched correctly, as the seals are integral to the installation of the headliner.
This was a very gratifying project, which finally redeemed my idiocy.
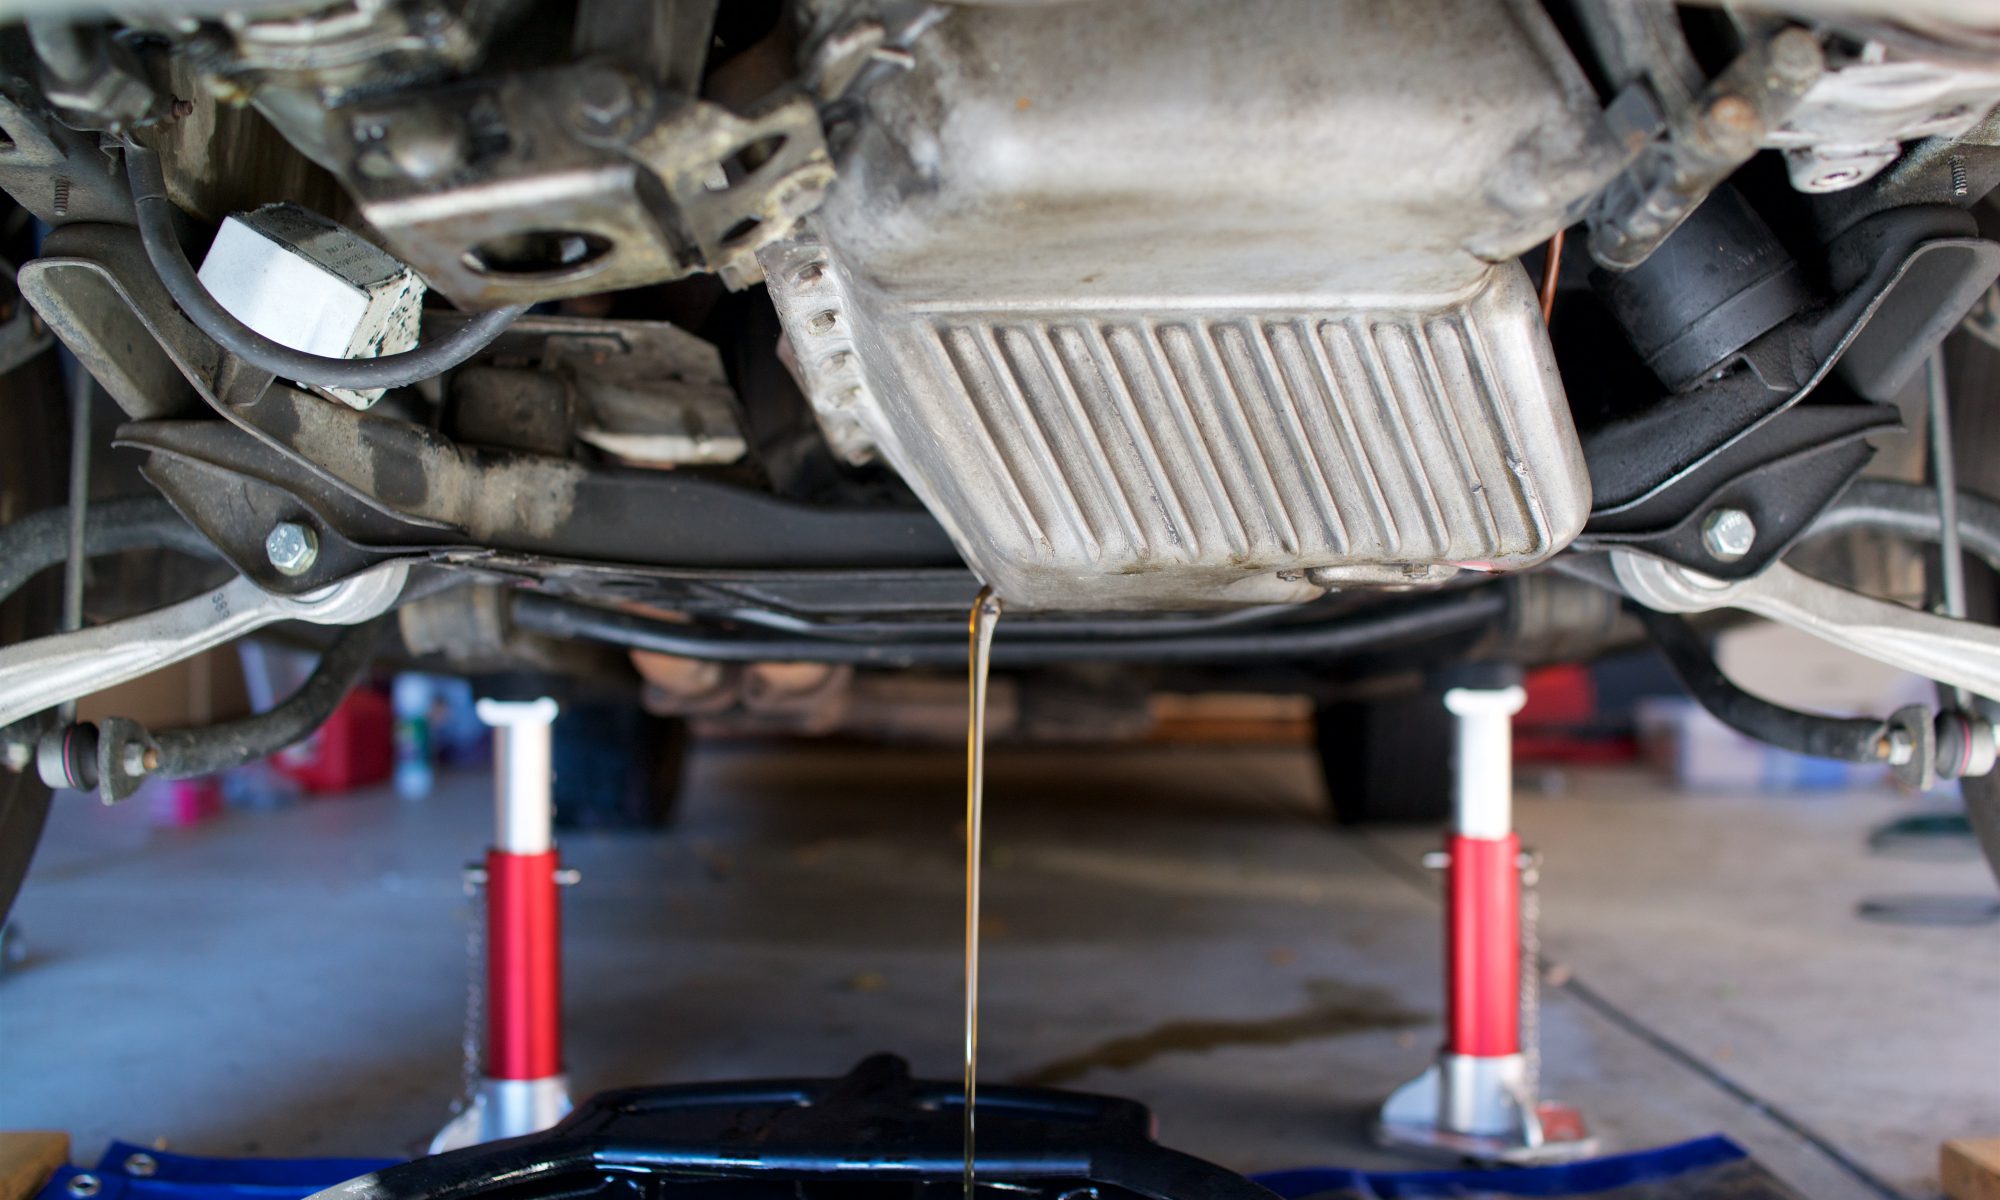
The last step before firing up the freshly tuned and adjusted S38 was to change the oil. I had poured some fresh oil over the cams and valves before I secured the valve cover. After draining the used oil, I decided to fill and drain the engine one more time in an abundance of caution because the valve cover and intake had been off the car for so long. I didn’t actually start the car, but cranked it over for a while with the ignition unplugged just to get the oil pressure up. I then drained the clean oil and then filled it again.
The oil filter housing had always been half-covered in cosmoline. I now used my ultrasonic cleaner to get it all cleaned up before inserting a new oil filter and installing it on the car.
One of the things that always bothered me about my M5 engine bay (as well as other German cars I’ve owned) was that it was covered in cosmoline, which after almost 30 years had become dark yellow and baked to a very hardened finish. I’ve tried various methods of cleaners, steam and elbow grease to remove it from components in situ. I didn’t make nearly as much progress as I would have liked.
I also thought I had ruined the valve cover when I previously tried to scrub it clean, thinking I had worn through the original paint. When I took the valve cover off for the valve adjustment, my first thought was to get it powder coated professionally. The intake plenum was in similar shape, so I removed that, too, which required me to unbolt the intake runners from the throttle bodies and then remove the boots from the plenum.
I took both pieces to a couple of shops, which described to me all the work required to media blast, thoroughly clean, powder coat and finally bake the two pieces. The quotes are a lot more than I wanted to spend. I then considered a DIY approach and bought some black VHT wrinkle paint and aircraft paint stripper in anticipation of the attempt.
When I removed the intake plenum, I had the aluminum intake runners in hand, which were pretty dirty and oily. I first attempted to soak them in gasoline (premium, of course), which did a remarkably good job of loosening the cosmoline on the exposed portions (most of the part is covered by the flexible boot). However, I felt the gasoline was pretty hazardous with which to work as evidenced by the warping it did to the plastic containers I was using.
I researched some more, and in an interest of using something more green and less hazardous to my health, I came back to Simple Green, which I already had on hand. However, it appears that regular Simple Green isn’t suggested for use with aluminum, as it reacts with the metal and can darken it. I then came across Simple Green Aircraft & Precision Cleaner, which was designed to be safe for aluminum (on aircraft, presumably?). It was worth the premium and I ordered a gallon to start.
I intended to use it as full strength as recommended, which was a 1:3 dilution with water. Cleaning the valve cover was on the critical path to whatever I was planning to do with it, so I removed the oil breather vent cover from the back side and placed the valve cover, vent cover, and intake runners it in a plastic container with the cleaning solution. I was amazed at how well it removed all the grease and amazingly much of the cosmoline from the paint by just letting it soak with no agitation at all. I was especially pleased to find out that I didn’t actually ruin the valve cover paint, but it was just the baked cosmoline that had become hazy from prior scrubbing. The paint was beautifully pristine under the melting cosmoline.
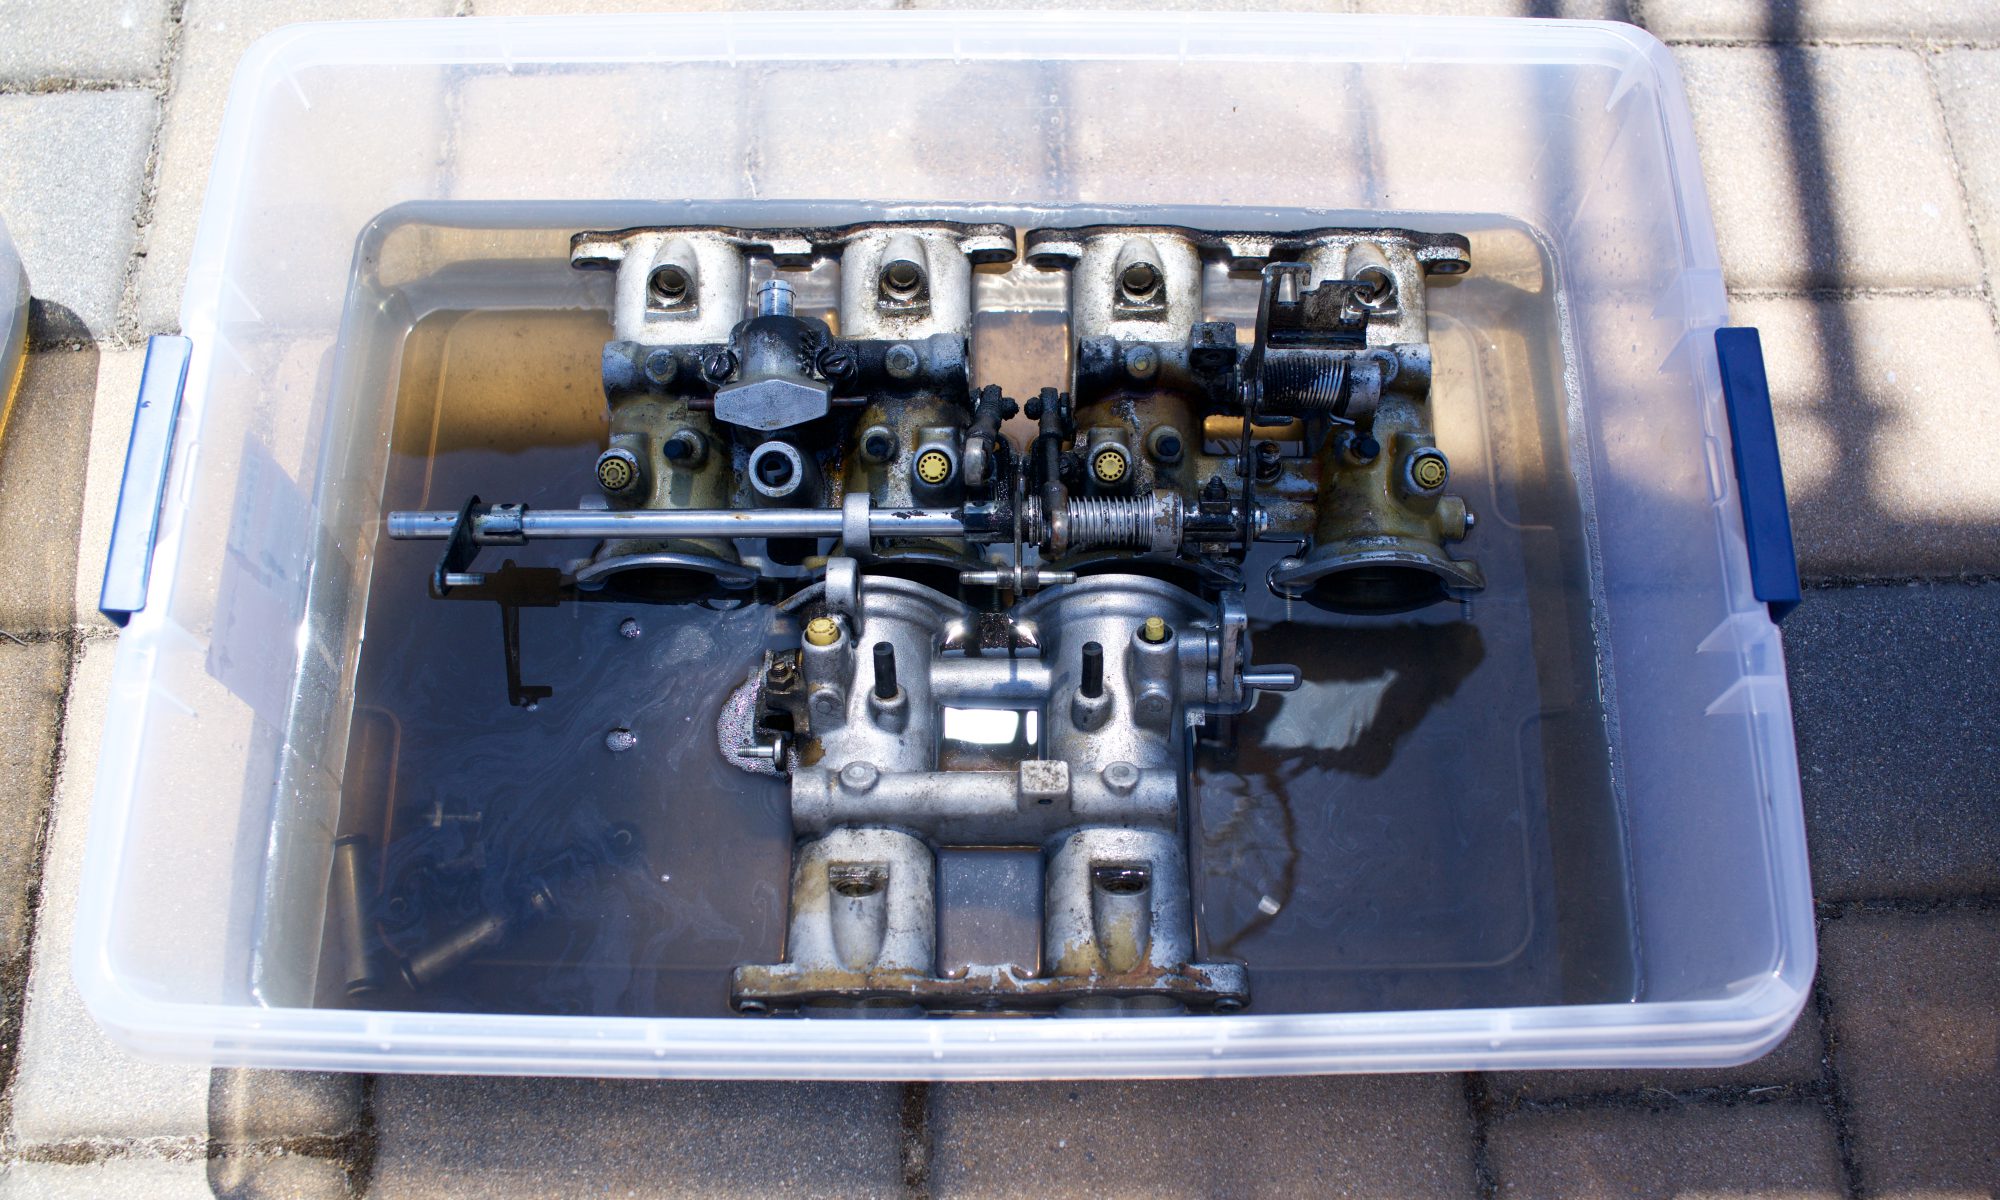
With this revelation on the wonders of my Simple Green Aircraft cleaner, I decided that the only way to really clean up the throttle bodies was to remove them and soak them in the solution. I anticipated that this would likely be required, so I had already ordered new gaskets and o-rings for the intake runners, balance tubes, bleeder screws, and throttle screw; basically everything required to fully restore the entire intake assembly. I soaked the throttle bodies for days, which melted away 95% of the cosmoline. I used steam, various scrapers and elbow grease to remove the other 95%, which didn’t take long. Finally, I also soaked the intake plenum, which not only had some cosmoline on the exterior, but was covered in oil on the inside.
Once the throttle bodies were removed from the cylinder head, that helped expose all the cosmoline that was baked on there. Not wanting anything to get into the intake valves, I bought some rubber stoppers (size 5), which worked perfectly to keep out liquid and debris during the cleaning process and while the throttle bodies were removed. Sprayed on Simple Green Aircraft and a lot of scrubbing with nylon and brass brushes removed most of the grease and a lot of the cosmoline. I finished the job with a lot of steam and more scrubbing.
I went a little crazy with cleaning all of the little throttle assembly bits, like the brass bypass screws, throttle linkage adjusters and all of the acorn nuts, washers, hex nuts, etc. I ended up buying a heated ultrasonic cleaner, which did a great job cleaning up the fuel injectors. I placed all of the little parts in tea strainer balls, which worked perfectly. I used the Simple Green Aircraft for this, too, and when heated, it worked its cleaning magic even better.
By far, the worst part of this job was removing the old gaskets from the throttle bodies. They were beyond baked on and after 30 years were basically petrified. I read up a lot about the horrors of 3M Roloc discs, bristle discs, scotch bright, aluminum oxide, etc. on aluminum parts and around any open engine. I also read about the dangers of using steel razor blades. So, out of an abundance of caution, I started with CRC Gasket Remover and plastic razor blades. Even with leaving the Gasket Remover to penetrate for hours or even overnight, it did very little to soften the gaskets. Some of the gasket pieces came off in big chunks, leaving mostly the adhesive residue. Other parts seemed impenetrable. I did my best with the plastic blades, which dulled very quickly. In short, I was getting nowhere.
After a day or so of futility, I decided to throw caution to the wind and ordered 100 steel razor blades. With extreme caution, I honed a technique to remove the gasket little by little. The process was the safest and most effective when the blades were sharp, so I retired them quickly. In the end, I probably ended up using close to 50 blades with repeated application of the gasket remover. This was the most tedious and least gratifying project ever, on any car. I was just happy it was done so I could move forward with the reassembly.
I previously lamented the sad state of my sunroof ceiling headliner. Like I said, I believe the headliner was replaced at some point, but not well. The biggest indication of this was that the headliner on the c-pillars, particularly on the passenger side, was all gathered up. My guess was that they didn’t remove the rear window to do it properly. I can’t say for sure because the driver’s side looks pretty good, so it’s possible that the headliner just came out over time and then gathered up.
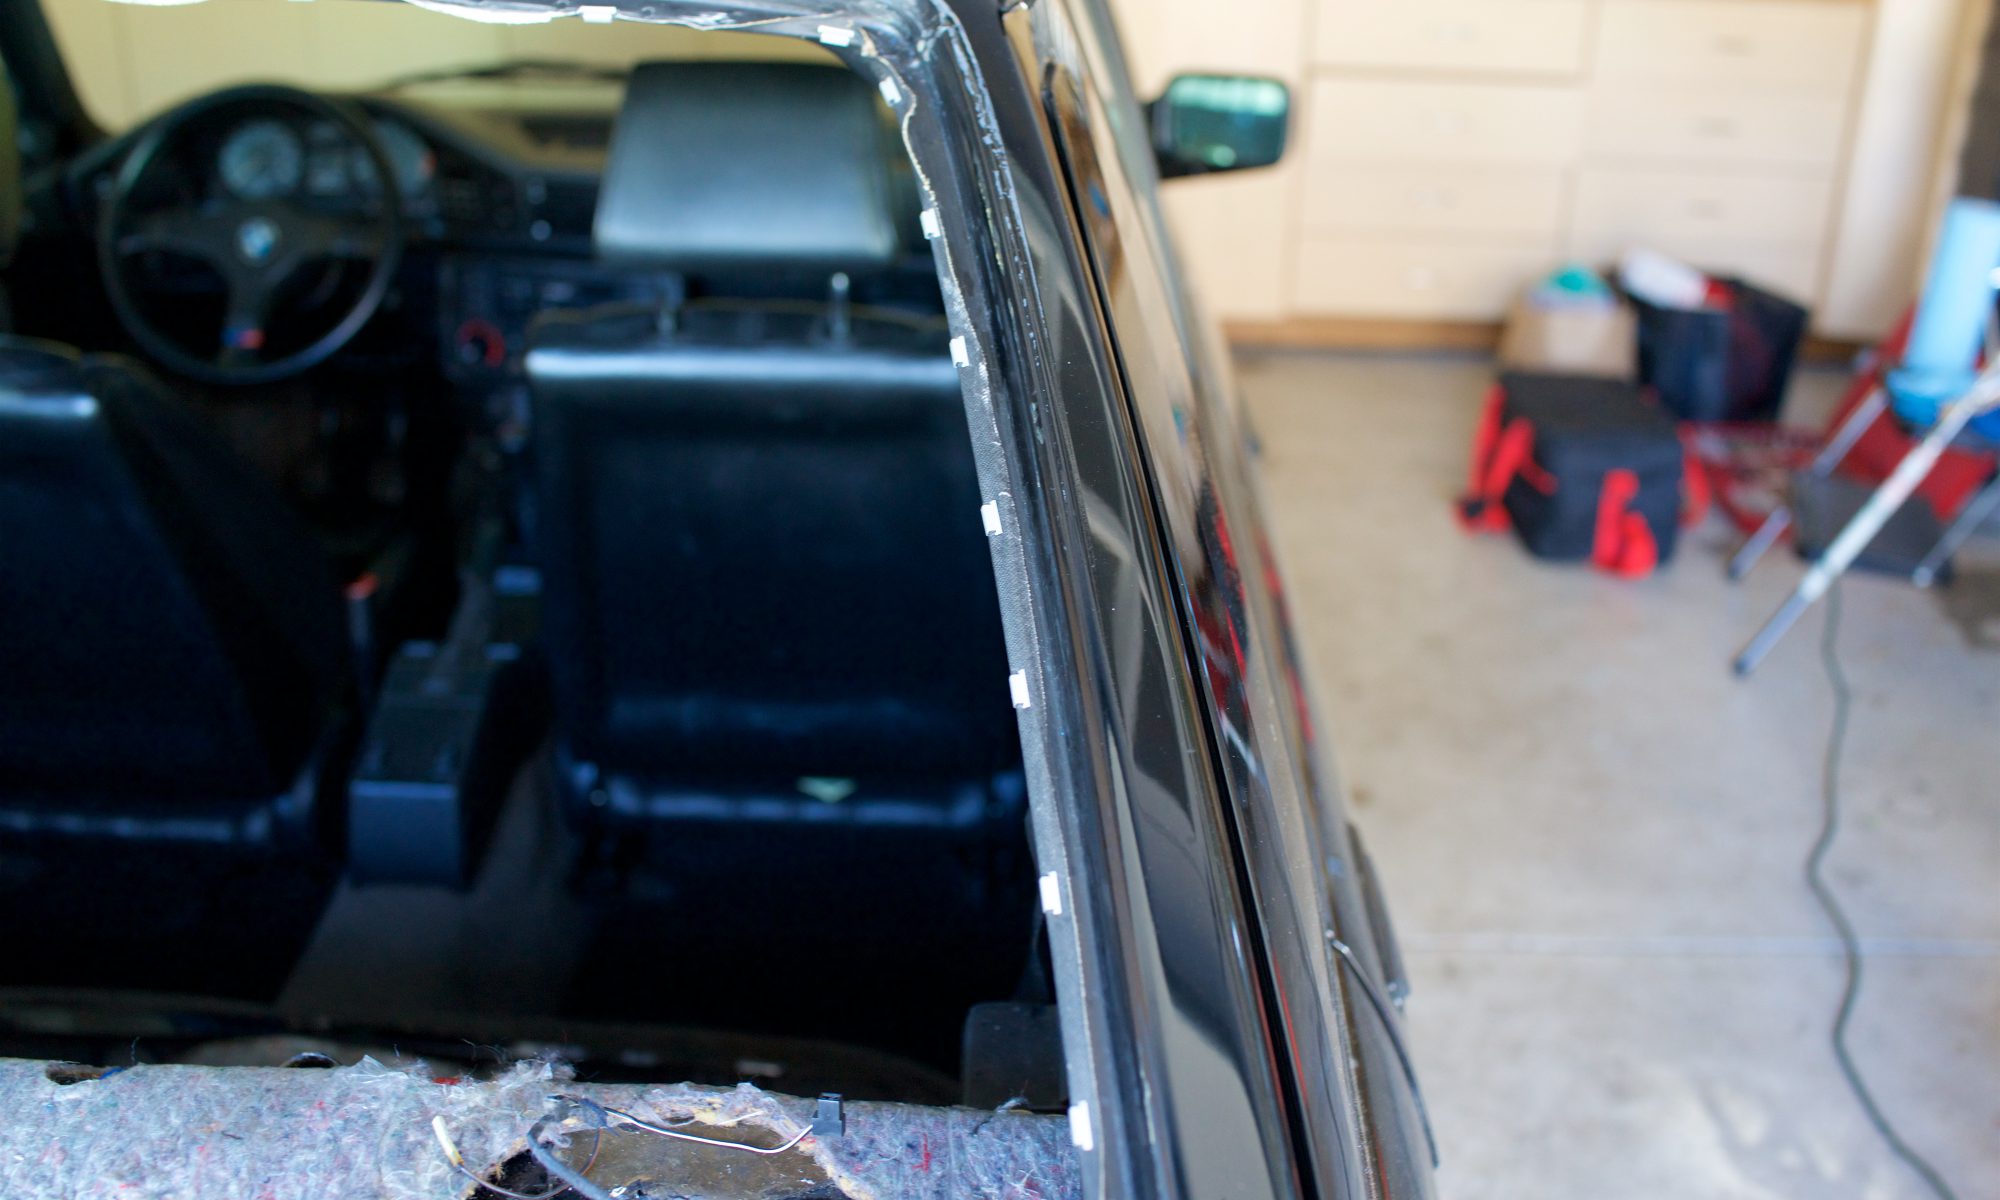
In any case, it was very bothersome to me and not something I wanted to just leave as is. After replacing my front windshield, I had some confidence that I could remove and reinstall the rear as well. When I removed the rear glass, I found the headliner was held in place by a little metal clip in only one place, the upper left side, which coincidentally was the side that held up the best. I decided that these little clips were key to getting the headliner to stay in place while reinstalling the glass. I couldn’t find a BMW part number for the clips, so I ordered some on eBay that I thought would do the trick. Even though they were shipped from the UK, they arrived pretty quickly.
After reading some horror stories about the rear window body seams being prone to rust, I admit I was a little worried about opening a can of worms. I did find some rust in the corner and along the bottom seam. I used a rotary tool to grind it off and I was relieved to find that it was merely surface rust and that I got to clean metal just under the paint. As a preventative measure, I covered these spots in POR 15, which is perfect for this type of repair.
Despite reading a lot about being careful with the wiring on the rear windshield defroster, I only unhooked one side before taking it out (I didn’t see the wiring on the other side). Sure enough, the soldered tab broke off. It was easy to solder back on and I was relieved when I tested it and the defroster worked perfectly from both sides.
Unlike the front windshield, the rear windshield did have a clay-like substance as a sealer between the gasket and the body. I cleaned this off from around the body seams and also from within the gasket, which was still in good shape. It looked good as new when I was done.
After the headliner clips arrived, I used them to stretch and secure the headliner to the body. I used some 3M Headliner Adhesive on the very bottom of the c-pillar, as it had previously been glued to the parcel shelf and I believe this is critical to keeping it from getting untucked again. Because it had been gathered for so long, there were wrinkles in the vinyl headliner. I used a heat gun to warm up the headliner so I could stretch it smooth before putting on the clips. There were a few tiny wrinkles still visible, but I believed that reinstalling the gasket with the glass would help to stretch it perfectly smooth.
I used the same exact technique for the rear glass as I had for the front windshield. I installed the gasket first onto the body seams. It didn’t want to stay in place as well because of the angle of the windshield, so I had to use some bungee cords to secure it as I was doing this by myself. I also inserted the aluminum lock strip into the gasket before putting the glass into the bottom. With the Gojo and blue dogbones, I carefully worked the gasket over the glass from the bottom to the top, careful to terminate in the upper right corner. It really wasn’t too bad at all and just as I had hoped, the headliner was now perfectly smooth and taught on both sides and in the corners.
One hack was that I used the E30 Shadowline lockstrip, which is one long piece like the one used on the front windshield. This was a little cheaper than buying the three individual pieces for the left, right and top. The original lockstrip had shrunk beyond the trim pieces in each corner, so I was sure to cut them as long as possible to fit under the corner trim pieces.
I grappled with whether or not to use a sealant, but given the fact that it came with the clay from the factory and the light rust spots I found, I decided it was safer to use it. I used 3M Auto Bedding and Glazing Compound to carefully seal the area between the gasket and the body only (i.e., I did not put it between the gasket and the glass because it’s not needed there).
I was now very happy with the headliner, I abated some very minor rust, and the rear window now looked new with the new lockstrip. I’m gaining confidence in my restoration abilities!
I had mentioned before that my pitted windshield was not only a nuisance, but also a safety hazard. I had wanted to replace my windshield for a while, but for some time they were NLA. Apparently the OEM manufacturer (Saint-Gobain Sekurit) had a production run and these were now available from Europe. A helpful mye28.com board member, Ivo, periodically ships a container full of Euro and specialty BMW parts for distribution within the US.
Way back in February, I had ordered a new “Green with Green Stripe” windshield from Ivo as part of the 2016 “St. Patty’s Day” shipment. However, disaster struck, when the shipping crate was damaged and 8 of 13 windshield were trashed. My windshield actually survived this debacle, but just as it was about to be delivered to my door, my understanding was that a tool fell on it and it broke. It only had two lives, apparently. A replacement windshield finally made it to the Bay Area in September and I picked it up in early October from a nice guy who brought a few up from Los Angeles. It was stored safely in our living room (thanks, understanding wife) until i was ready to install it.
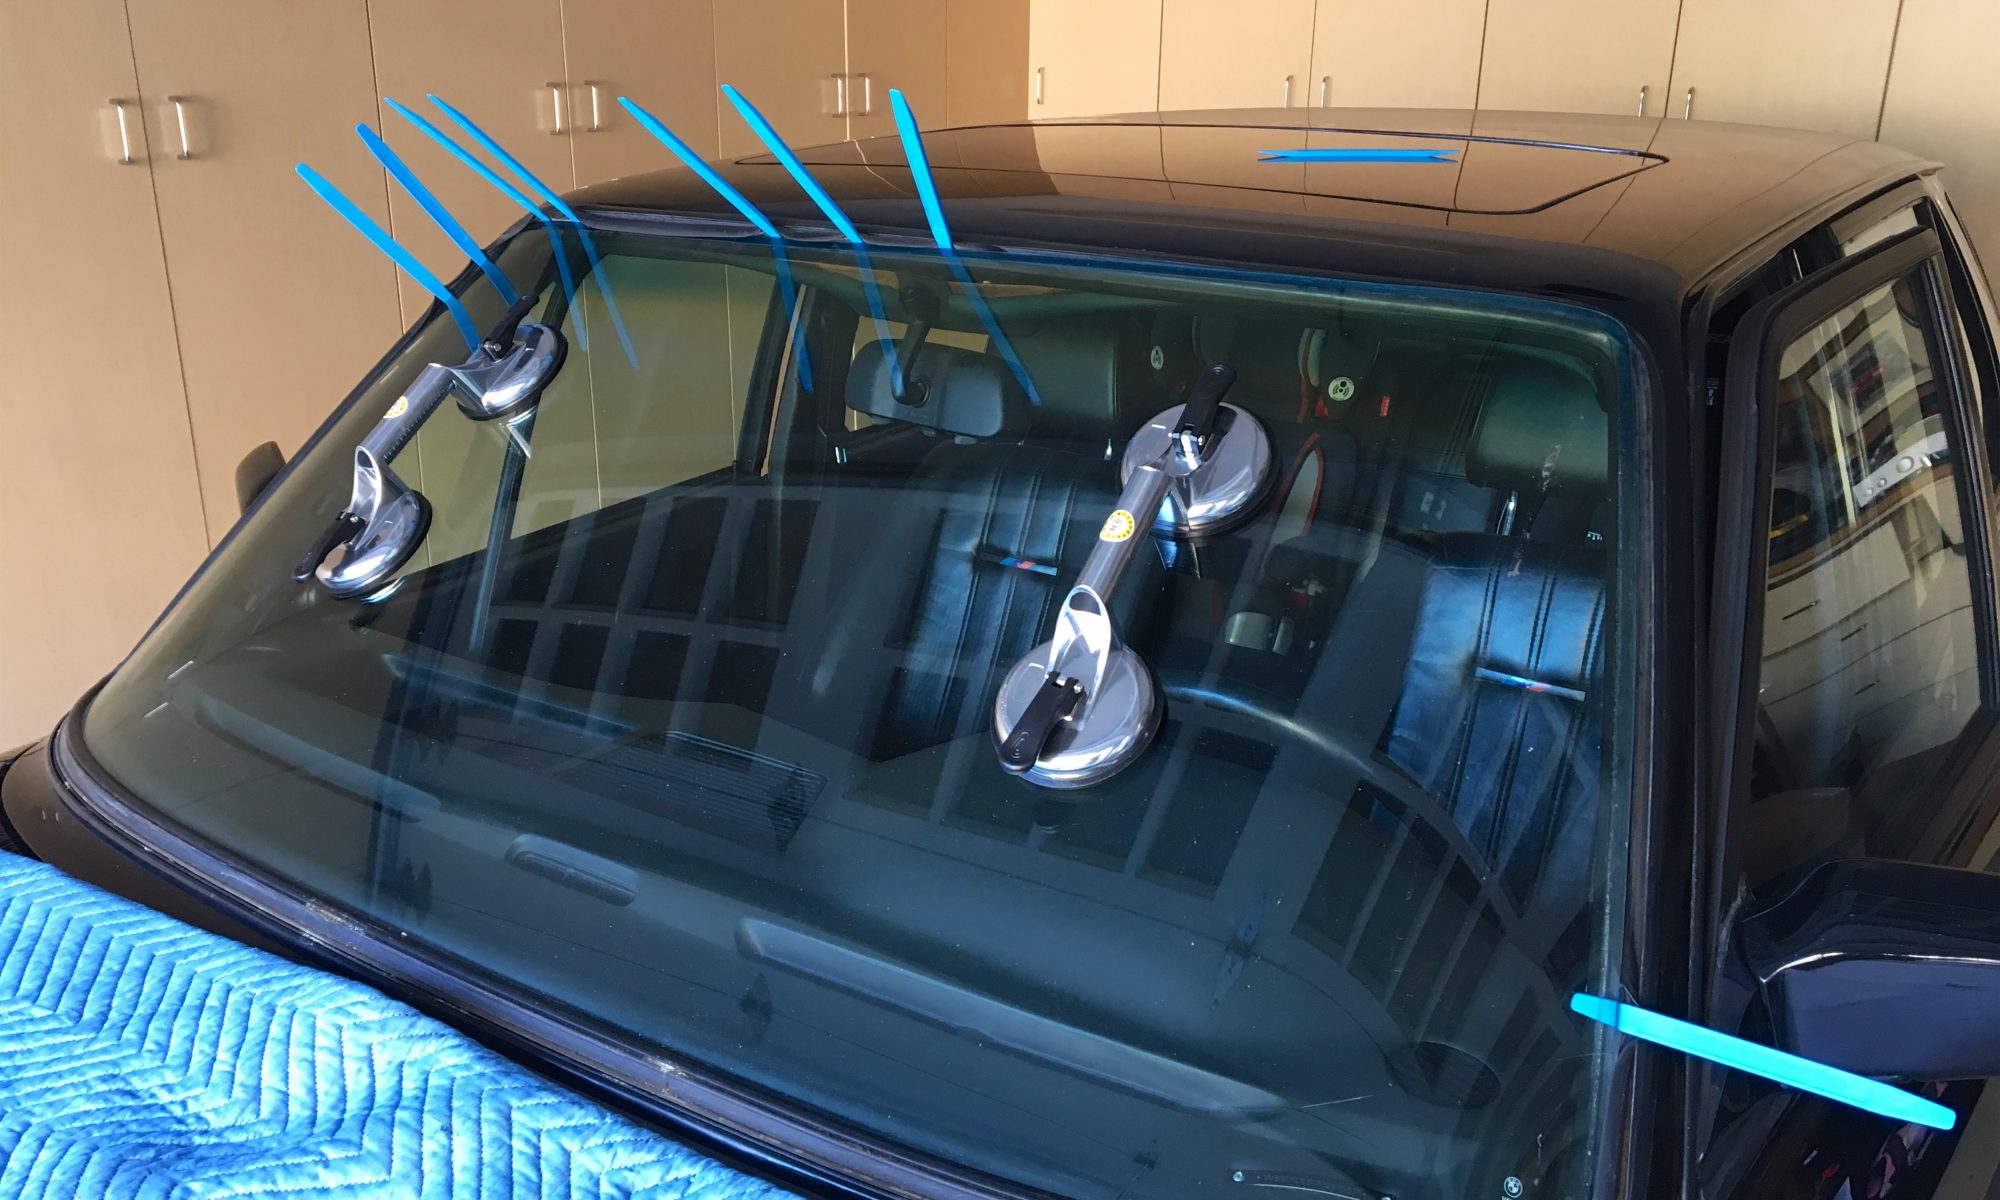
Many holidays have been spent tackling big projects on the M5. For the windshield, it was Thanksgiving. I assembled what I believe to be the necessary tools, including plastic “dogbones,” gasket tool, glass suction handles, various picks and Gojo waterless hand sanitizer. I had also procured enough new lockstrip for both the front and rear windshields.
Getting the old windshield out wasn’t too bad, though I did end up cracking it, which made me very nervous about handling and installing the new one. I read up on many various methods for installation, but I decide to just pick one that made sense to me. The gasket was in good shape, so I decided to reuse it. I chose to leave it attached to the body and also left the bottom aluminum lock strip in place. I slid the windshield into the bottom of the gasket. I attempted to use a sharp “hook” tool, but nearly impaled myself a couple times. Then, I very carefully used one of the blue plastic dogbones to work the rubber gasket over the windshield, using the Gojo as lubricant. I was careful to make sure the top corners were stretched into the corners of the body for a tight seal. I also made sure to finish the installation in one of the top corners vs. in the middle of one of the sides.
I was very pleased to be able to successfully complete a project like this. After all it took to get a new windshield, the last thing I wanted to do was break it. The new windshield is crystal clear and provides a whole new perspective from inside the E28 greenhouse. I finished the project off with a new set of wiper blades to keep the windshield pristine.
This post is really about attempting to repair the sunroof ceiling panel. The day I received the car, I was driving down the highway and opened the sunroof. What should have been a glorious event resulted in a terrible sounding “pop” as the roof retracted. This car was brand new to me, but I found that one of the retaining clips had become dislodged and was just resting on the sunroof headliner fabric. Once it slid back into the roof, it had no where to go and popped a hole into the cover.
“Damn, that sucks,” I thought. It turned out to be a lot worse than I imagined. Those first few openings also tore at the sides of the cover. I believe that the entire headliner has been replaced and when the sunroof ceiling panel was replaced, it clearly wasn’t attached or aligned properly. Normally, I would just say, “oh, well,” and find a replacement, but on this car, it has proven so far impossible.
The North American M5 is the only E28 with a black (Schwarz) headliner, which makes this part very rare. The part is 54121962776, in case anyone has a lead on one. Some sites show it as available, but it’s too expensive to even inquire about. I know for sure the entire headliner is “NLA” (no longer available). I’ve scoured the internet. searched every relevant thread on mye28.com, private messaged random users based on 5 year-old posts, etc., but nothing has turned up.
I first attempted to tape the holes from the backside of the fabric. I also re-glued the corners and torn sides to the frame as much as best as I could. In addition to replacing the missing front clips on the panel, I had to reattach the panel it to the sliding mechanism using rivets. I also replaced all of the torx screws, which attach the sunroof to the frame.
It was the best fix I could attempt at the moment and I wasn’t very happy with the results.
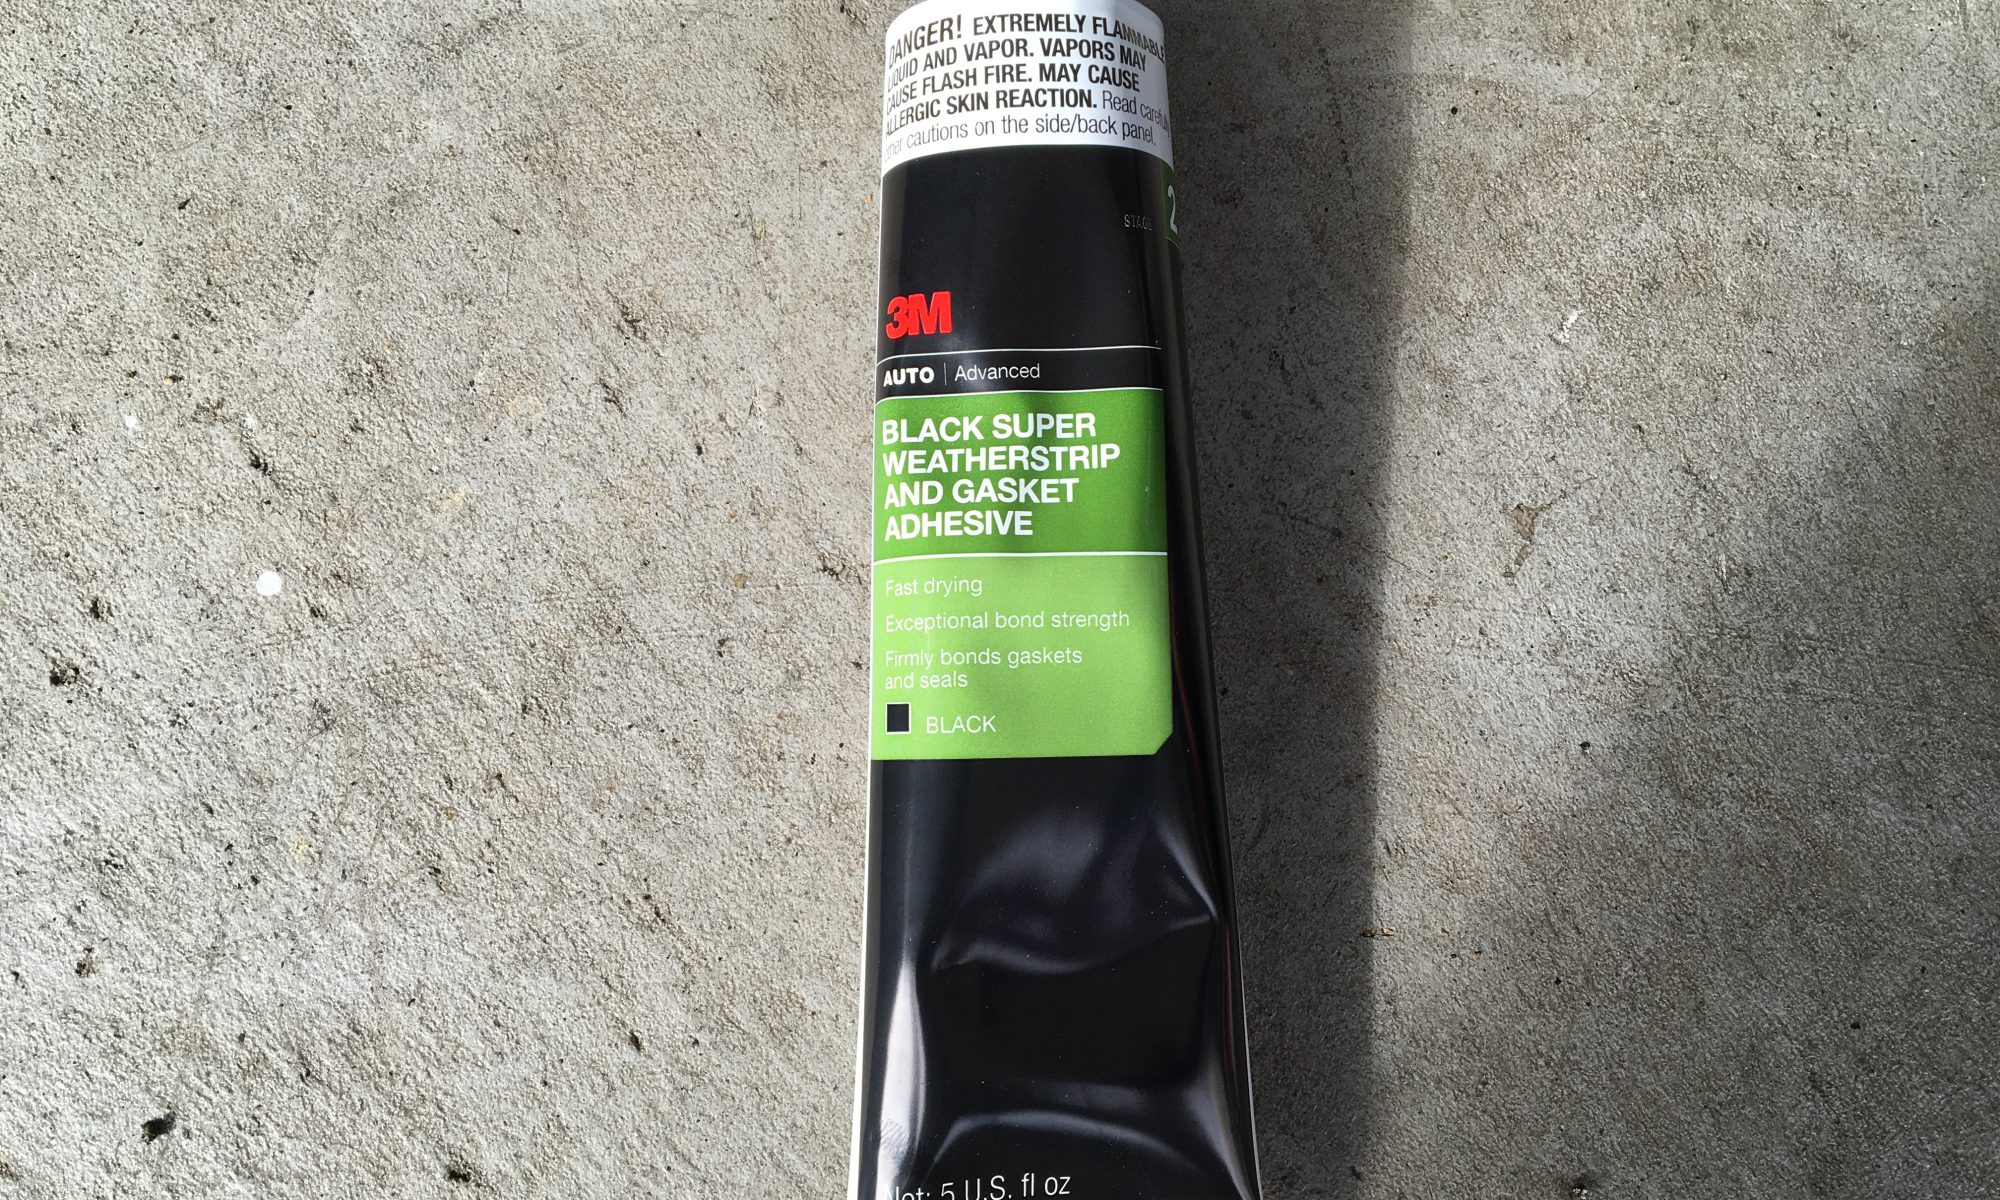
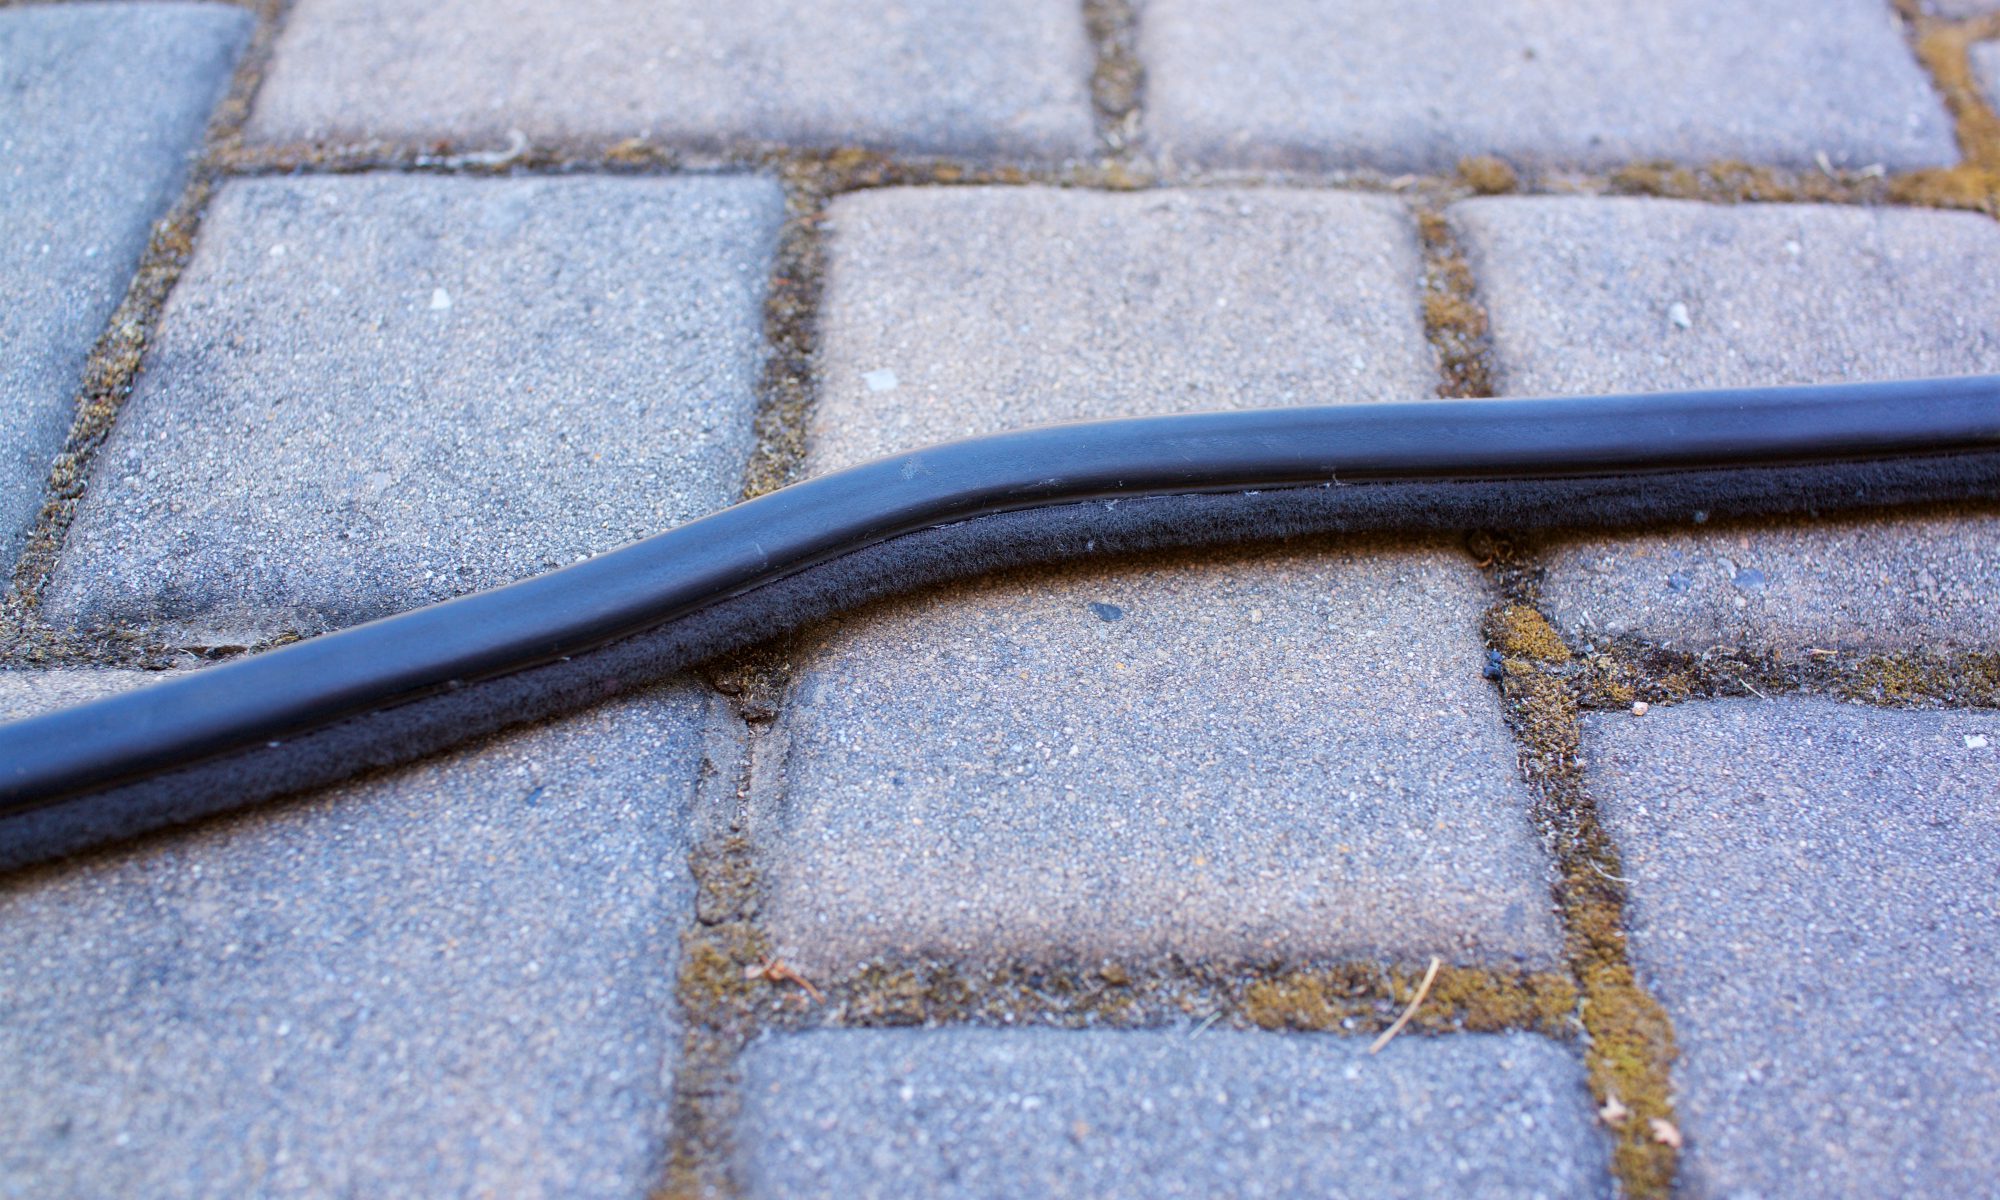
I was on a mission to replace as much old rubber on the car as possible. One item that needed attention was the trunk seal. It was holding up fine and there were no leaks, but it was a little unsightly. The hardest part of the job was removing the old adhesive, which took some effort and patience. I used 3M Black Super Weatherstrip and Gasket Adhesive and was careful with the positioning of the seal, particularly in the corners.
I never really wanted to own a black car, but with the E28 M5, you really don’t have a choice. There’s beauty in a deep gloss single-stage black car, but over time, wear and tear is particularly unforgiving on black paint. I find this especially true in the glare of mid-day California sun.
The paint on the M5 was definitely in unknown condition when I purchased the car, sight-unseen. I relied on the seller’s description, in which they stated “Appears to be original paint and even has some very tasty hand painted M tri-color pin stripes.” I asked a lot of specific questions about rust and received detailed undercarriage photos. Thankfully, the car is indeed rust free.
Also from the seller’s description: “There are a few small belmishes here and there, but overall in above average condition for the age and miles! The worst of the cosmetic blemishes include a cracked dash, small stone chips, a ding in the driver’s side rear door on the pinstripes, a very small clear coat issue next to the sunroof near the driver’s door, a crack in the passenger side fog lamp, and a few makes in the lower air dam.”
At the time, this was a red flag to me that the paint was actually not original, as clear coat on the roof indicated a 2-stage respray at some point. I also regret that I didn’t ask specifically about matching VIN numbers on the panels, but took the “original paint” description to imply the panels were in tact. It wasn’t until long after I had the car that I realized the driver’s front quarter panel was not original. The passenger side has the VIN stamped into it in addition to a VIN tag. The driver’s side is stamped with a different number, possibly a part number and there is a VIN tag, but it has been painted over with single stage paint. If I had to guess, I’d say the hood, and both front quarter panels have been re-sprayed with single-stage and the roof has been re-sprayed with 2-stage. It’s possible only the top of the passenger front quarter was blended in, but there definitely seems to be some primer sanding marks on the very top next to the hood. The good news is that I really can’t tell where it starts and ends. Also, the pinstripes seem very old and are equally matched, so I believe this damage/paint preceded them.
In any case, I wasn’t in love with the pinstripes, even if they were M Motorsports colors. They were faded in some places and I wasn’t going to get them restored or repaired. Thus, I looked into how to remove them. It was clear they were hand-painted. I ended up getting a 3M Denibbing Tool, which is a tiny handheld sander, perfect for a job like this. I got a pack of 1,500 grit tips and used pretty much all of them to get around the whole car. I used Griot’s Garage Speed Shine to keep the work area lubricated and took my time. It was a little scary to end up with wet-sanded paint, but this was the path forward.
The next step was paint correction over the entire car. I had an old Porter Cable dual action polisher, but wanted something a little more professional for this job. After a lot of research, I ended up getting the full Griot’s Garage BOSS G15 Long-Throw Orbital Pro-Grade Kit, which included a variety of foam pads, microfiber pads, and finishing creams and sealants. I watched a lot of videos and then just got to it. I was really pleased with the results and also how well it removed the sanding marks from the pinstripe removal. The ability for the system to safely remove the scratches and restore a deep luster was amazing. After a full polishing, the entire car was sealed with their beautiful wax.
It was a ton of work over a couple days, but the results were stunning. Again, I learned to give up on perfect, because the car has some underlying imperfections that this process just cannot fix. That said, I couldn’t have been more pleased with the results and improvement over the condition in which the car arrived. This level of correction will only be required once and future paint work will be limited to mild polishing and sealant wax.