Because the car didn’t come with any records, I had no idea when the valves were last adjusted. As a critical step in baselining the car, I wanted to complete this task and I was now in full DIY mode. Earlier this year, I performed a carbon cleaning on my Audi RS4 and that was the most extensive and invasive engine work I had done to date. That experience, along with a lot of reading, gave me the confidence that this was well within my capabilities.
The first step was to procure the BMW SIR 3012 Tappet Depressor tool. I also purchased a set of angled feeler gauges as well as a new pen-style magnet. The one I had misplaced was the telescoping type, but the non-telescoping one I used turned out to be perfect for the job. I also bought a remote starter switch, which I used to bump the engine to rotate the cams to the proper position before depressing the tappets. Finally, I downloaded an Excel Worksheet, which was super helpful in logging clearances and determining the shims needed.
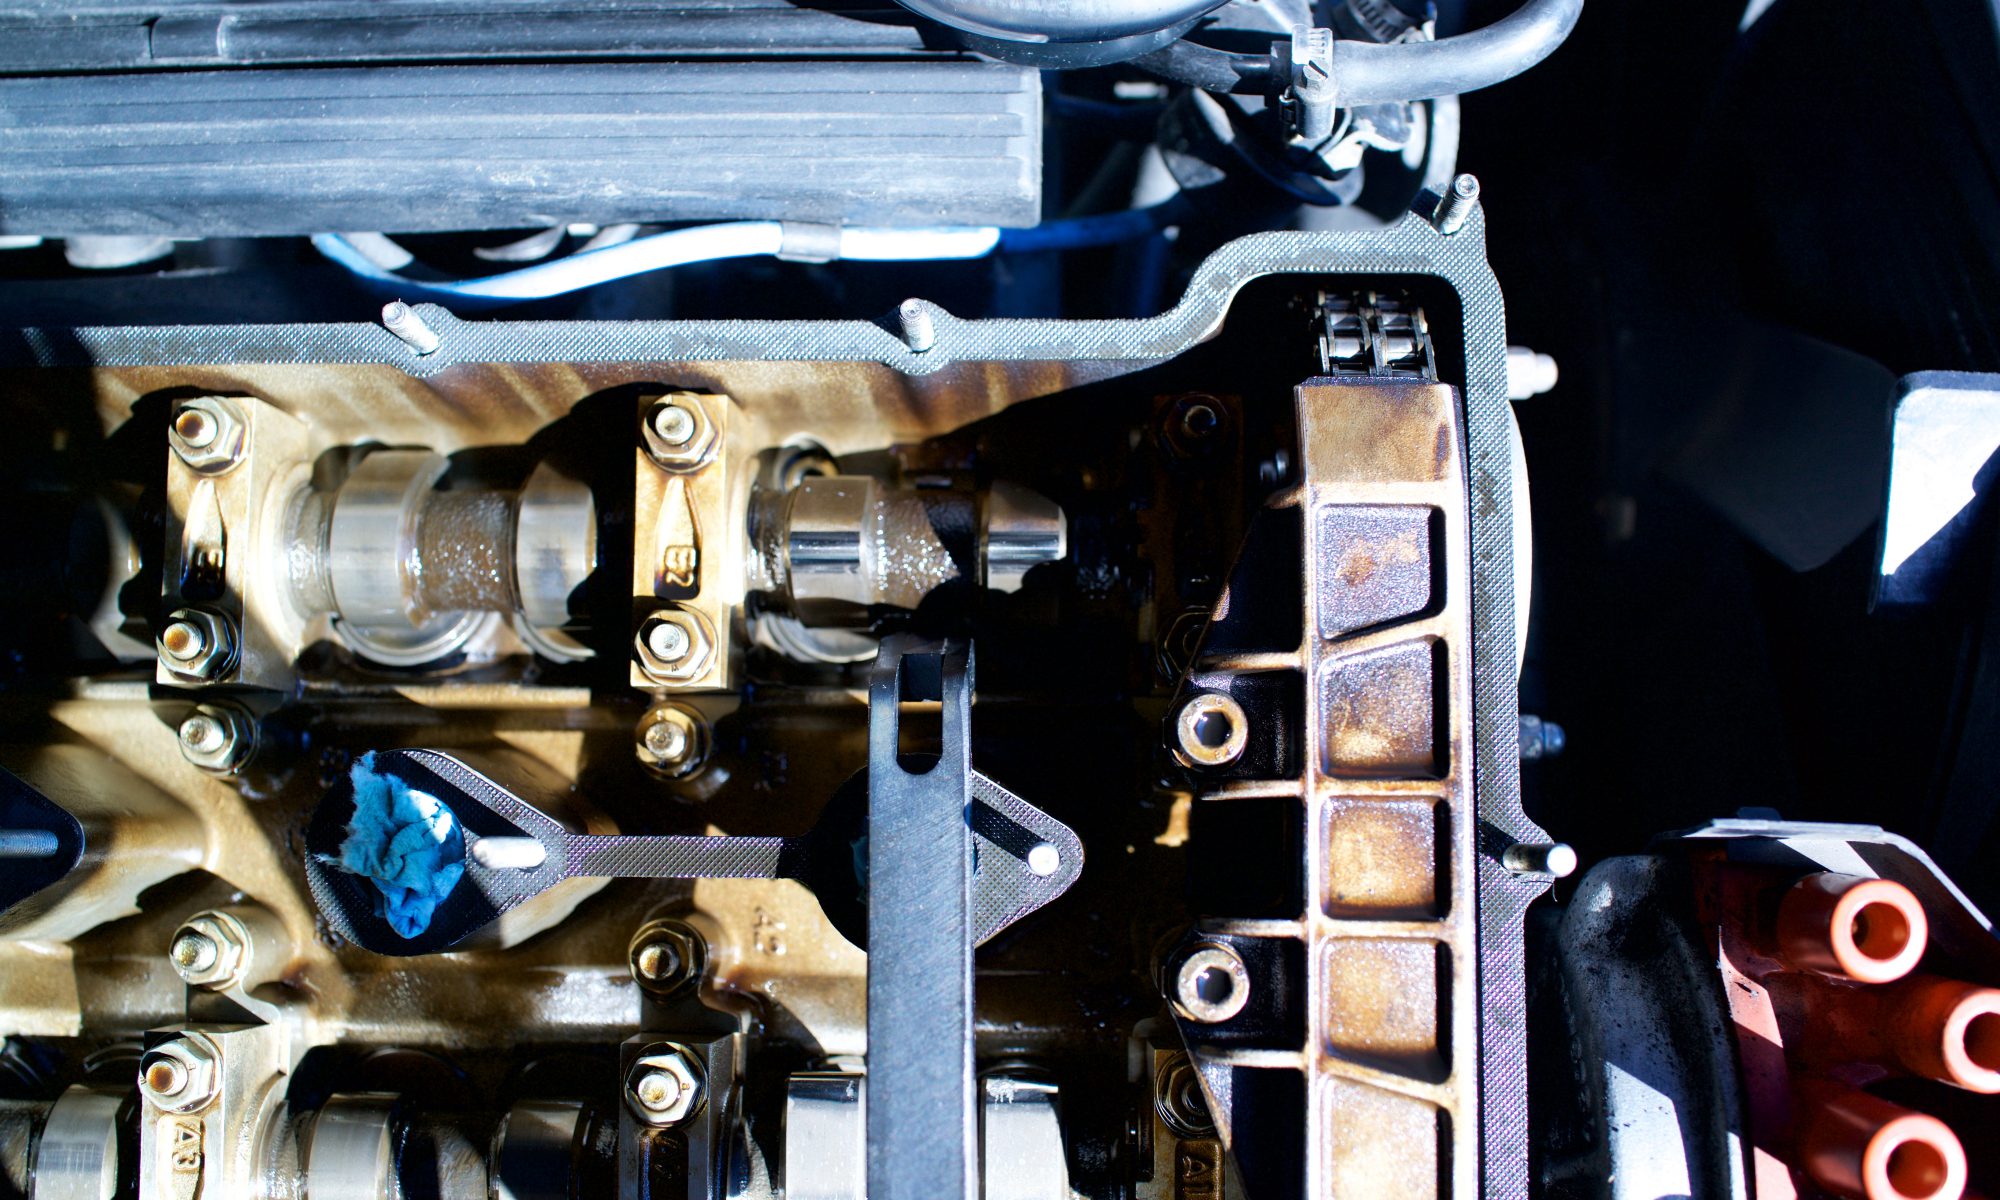
I basically followed the procedure here, except as noted, I used the remote starter switch across pins 11 and 14 on the diagnostic port instead of turning the engine by hand. With the plug wires removed from the plugs and distributor, there was no risk of the engine starting up. Measuring all of the clearances using the feeler gauges was a little tedious and time consuming, as I often had to check multiple times to ensure I had the proper measurement. I used an ball inflation needle attached to my air compressor. I didn’t heed the warning to remove the excess oil from the cam tray and on the first blast of air on the #6 cylinder, I covered myself in engine oil. Lesson learned!
Once all of the clearances were measured, it turned out that I only had 5 valves out of spec. I let the internet get in my head a little and optimized the intake for 0.30mm and exhaust for 0.33mm. I adjusted the spreadsheet a little to make sure the right shim was acquired. The steps of the feeler gauges, which were primarily marked in inches sometimes made it difficult to zero in on the optimal shim. I didn’t have a set of shims on hand, so I ordered the 5 shims needed. Coincidentally, all were different sizes and none matched another shim that was going to be replaced.
The cam tray remained open (and covered) while I waited for the shims to arrive. I spent that time tackling the cleaning of the valve cover and eventually the entire intake. Once the shims arrived, it was a quick procedure to rotate the engine, depress the tappets, swap out the shims, and confirm the final measurements. It turned out that one of the five shims wasn’t needed as the original shim turned out to be closer to spec than the replacement shim. I felt confident that the valves were now all completely within the optimal clearance.
I’m going to keep the SIR 3012 tool just in case I end up with another S38 or (or S14???) engine in the future.