Replace Coolant Expansion Tank and Flush and Fill Coolant

The quickest way to be scorned by the E28 community is to post pictures of your engine with an old, yellow coolant expansion tank. Replacing it was a no-brainer, but the part is specific to the M5 and is not cheap ($135). I multitasked when the car was up for the front suspension overhaul.

With the age of the coolant unknown, I decided to flush the existing coolant. Not wanting to use tap water, I went through a lot of distilled water to flush the coolant as much as I could front the block. Removing the drain plug from the block resulted in an uncontrollable deluge and a bit of a mess.

I put a new washer on the plug and reinstalled it. I replaced the expansion tank and then filled with a 50/50 solution of distilled water and Genuine BMW coolant (blue). As always, the internet offered both insight and controversy on the correct proportions and on the use of water wetter. I decided to just go for it.

Replace Driver’s-Side Engine Mount

Per my post about the passenger engine mount, I had to order the correct driver’s side mount per BMW. Replacing the mount was very easy, as I had already removed it once and it simply required jacking up the engine a bit to provide the necessary clearance to remove the threaded bolt from the subframe. I felt a lot better about using the correct part. I also replaced the nuts and washers on both sides at this time.

Replace Sunroof Seals

Again, in the spirit of replacing the rubber bits, I had sourced the front and rear seals for the sunroof. It was relatively easy to remove the sunroof and replace the seals. Reinstalling the roof and getting it right required a few adjustments, but eventually it was all in place per the BMW specs.

Replace Reverse Light Switch Wiring

When I performed my driveshaft and shifter assembly repair, I didn’t take enough care to secure the reverse light switch wiring. The excess slack quickly got tangled up in the driveshaft, causing it to wear and break. Thus, my reverse lights were rendered inoperable.

Also, when torquing down the guibo nuts, I had a feeling one was stripped as it kept spinning and the torque wrench would not click. My understanding was that these nuts and bolts were single use, so I went ahead and ordered new replacements for all of them in anticipation of dropping the exhaust and driveshaft (again) to repair the reverse light.

Sure enough when I tried to remove the stripped nut, it just kept spinning. It took me a while to figure out how to remove it, especially in the tight area with not many options. Eventually I used some vise grips to apply some longitudinal force on the nut as I wrenched the bolt. Again, these bolts can only point towards the front of the car, so there’s limited space between the guibo and driveshaft flange and the transmission. With this method, I was able to slowly back off the nut and remove the stripped bolt.

I only needed to move the driveshaft out of the way vs. removing it completely. While wrestling with it, the halves became separated and the front half ended up being removed. Thankfully, the two halves were already marked as maintaining its balance was important. I used those marks to extend the lines on the splines to get it lined up for reassembly.

One issue I had was that the replacement bolts, which were the correct part number, were too long. When inserted back to front (the only way), the bolts would not clear the flanges on the transmission and thus would not allow the driveshaft to turn. I could have used multiple washers to get the necessary clearance, but I decided to get the right length bolts locally with the correct strength grade.

I now had functioning reverse lights and my driveshaft was perfectly secured.

Replace Passenger-Side Engine Mount

I had sourced new motor mounts when I ordered the parts for my driveshaft project and replaced the transmission mounts at that time. The M5 is interesting because it uses different designs for the left and right motor mounts. Based on my research, some people suggested using two of the passenger motor mounts, as they appear to be more robust in their design. It seams reasonable when looking at them.

When I went to remove the old mounts, I found that they had indeed each failed in their own way. The passenger mount was cracked not only on the metal flange, but the rubber had also separated from the metal. The driver’s side mount failed in a simpler, though equally catastrophic way. The metal part had completely separated from the rubber part, rendering the mount only able to support the weight of the engine, but not provide any support when rebounding.

After looking at it, even though I had two passenger mounts on hand, I decided that the BMW engineers chose these mounts for a purpose and that I would replace the driver’s mount with the specified part rather than implement a hack.

Install MWRENCH Steering Mount Fix

I wasn’t happy with my steering feeling. I researched a bit and found that the steering mount is prone to failure. I decided to order Ed Raether’s MWRENCH steering mount fix. When I went to install it, I found that my steering mount bracket appeared connected to the front subframe, but when I loosened the bolt, I found that the welds had failed and only friction was holding it in place. I cleaned up the subframe per the instructions and assembly was very straightforward.

This repair immediately fixed the vagueness I had been experiencing in my steering and I was very happy with it.

Replace Windshield Spray Nozzles, Check Valve and Hoses

A clean windshield is important, especially when you have an extremely pitted one and are driving in the California sunshine. Thus, my failed windshield washers were a safety concern more than just a nuisance. Upon inspection, I found that the plastic “T” check-valve had failed and was leaking. If I was going to replace it, I also decided to replace all the old, yellow fluid hose.

When I tried removing the hose from the old, brittle washer nozzles, the nipples both broke off. It wasn’t until I ordered new ones that I realized the heated ones are expensive (like so many parts on this car). I bought all new hose clamps and retaining clips while I was at it. It all works and looks great now.

Replace Rear Brake Rotors, Pads and Parking Brake Shoes

I was having some issues with my parking brake, which might have been a combination of adjustment at the handle and/or at the shoes. I knew the front rotors and pads were new when I purchased the car, but the history of the rears were unknown and they looked worn. I decided to replace everything back there, including new brake rotors, pads, sensors and parking brake shoes. The parking shoe kit included new springs and retaining screws, which all looked a lot better than the old rusty ones.

I even got an assist from a very special helper.

Repair Exhaust Hanger

Although I was fortunate to source an OEM exhaust, one issue with it that was disclosed was that the stock hanger had been cut from the rear muffler in order to be used with whatever aftermarket exhaust the original owner was using. This left a pretty gnarly area on the rear muffler, but the shop that installed it assured me there was no hole and it sounds great.

Rather than reattach the hanger to the original spot, one was welded on the pipe to make the hanger simpler and removable. After a couple years, the weld failed so I just popped over the shop and the owner welded it back up and made it stronger.

Replace Rear Subframe Bushings and Pitman Arms

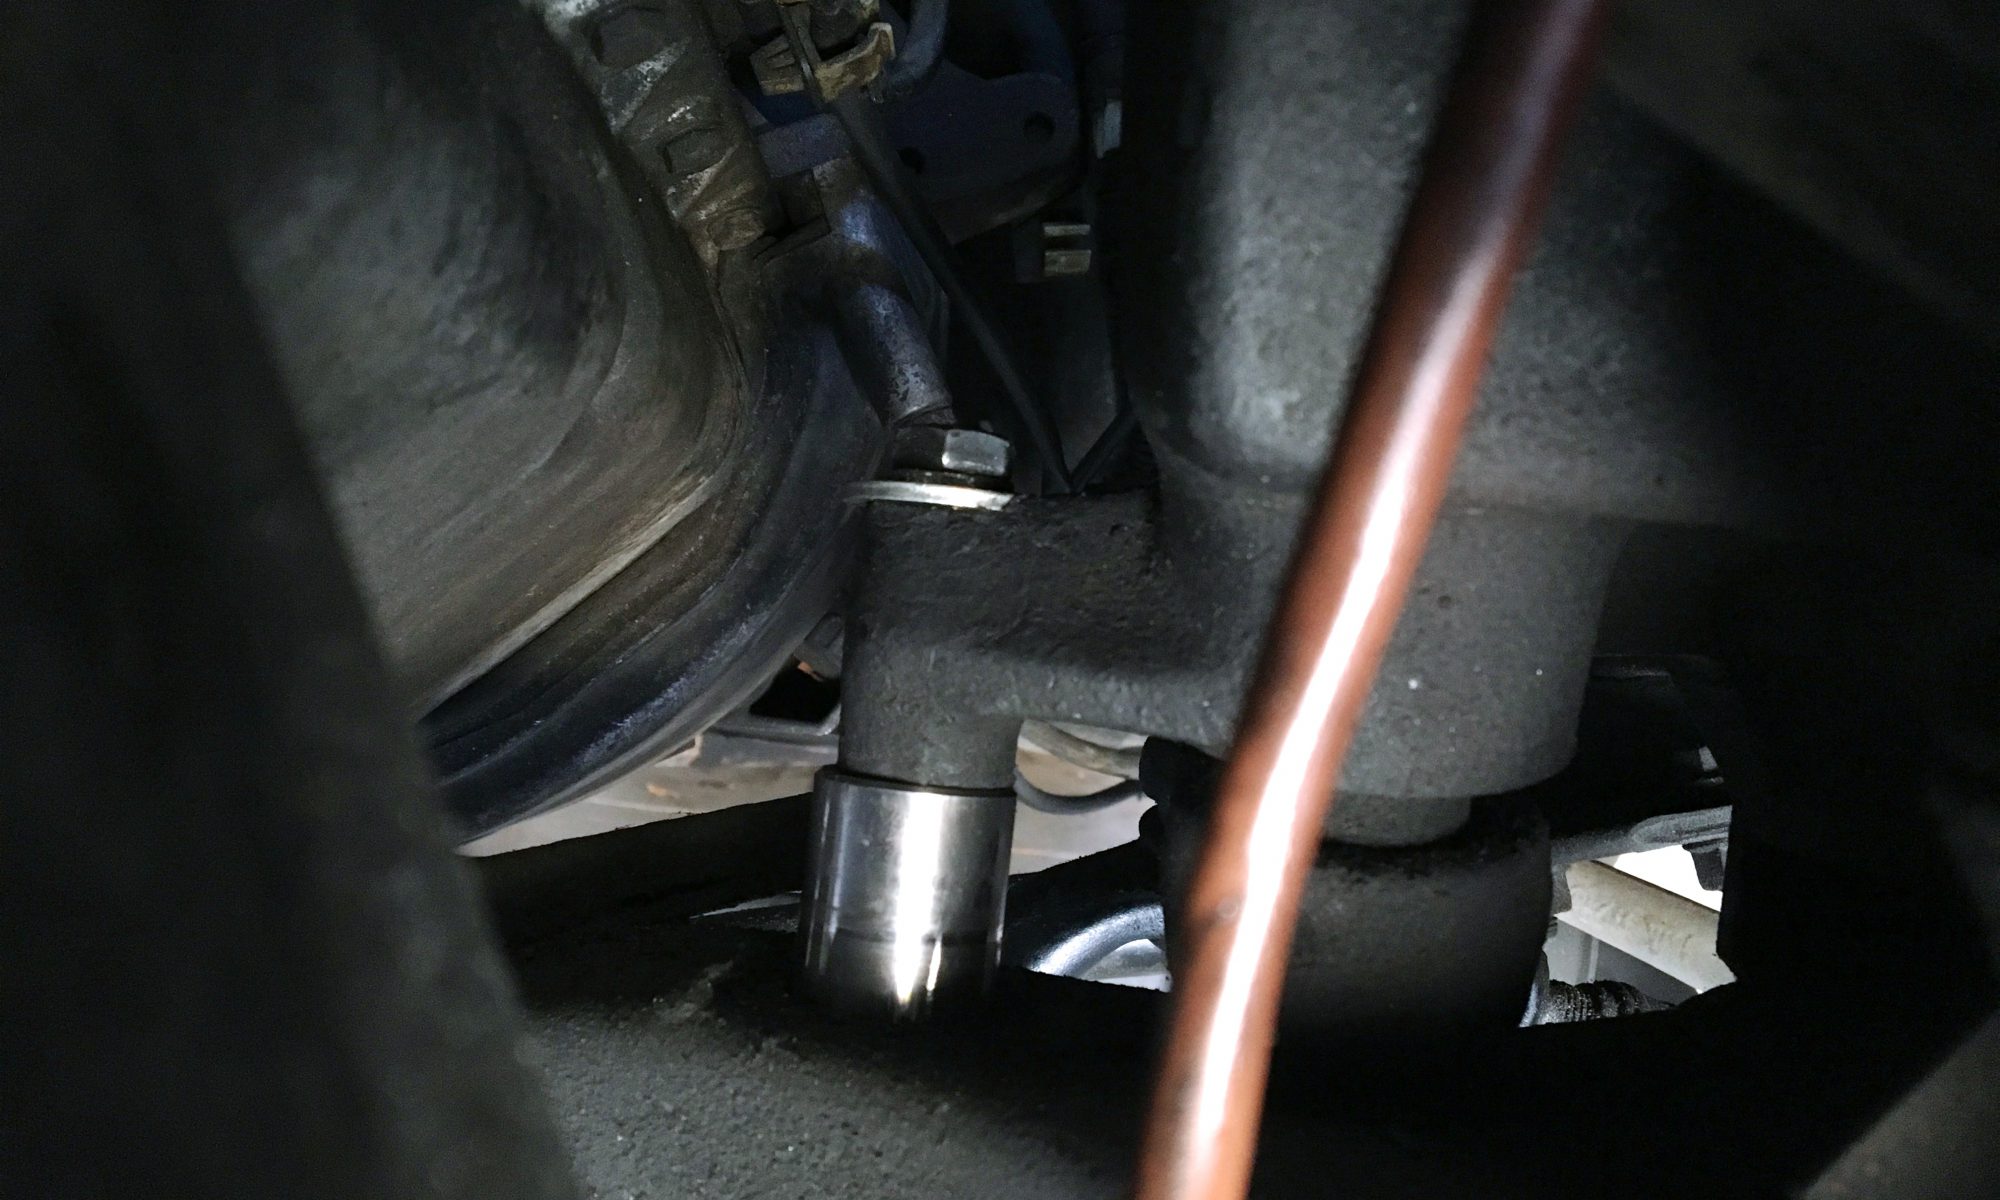
Even though I fixed the driveline shudder, there was still a very pronounced “clunk” coming from the rear end. This is a common problem and easily diagnosed as failed rear subframe bushings. I read a lot about what a PITA job this is, not only to get the old bushings out (101 ways, including a sawzall), but also to get the new bushings in.

I ordered new Lemforder subframe bushings and Pitman arms (dogbones) as well as new pins and nuts. I also had to borrow a special tool, which is used to remove and install the subframe bushings. The first step was to put my new bushings on ice to make them easier to install.

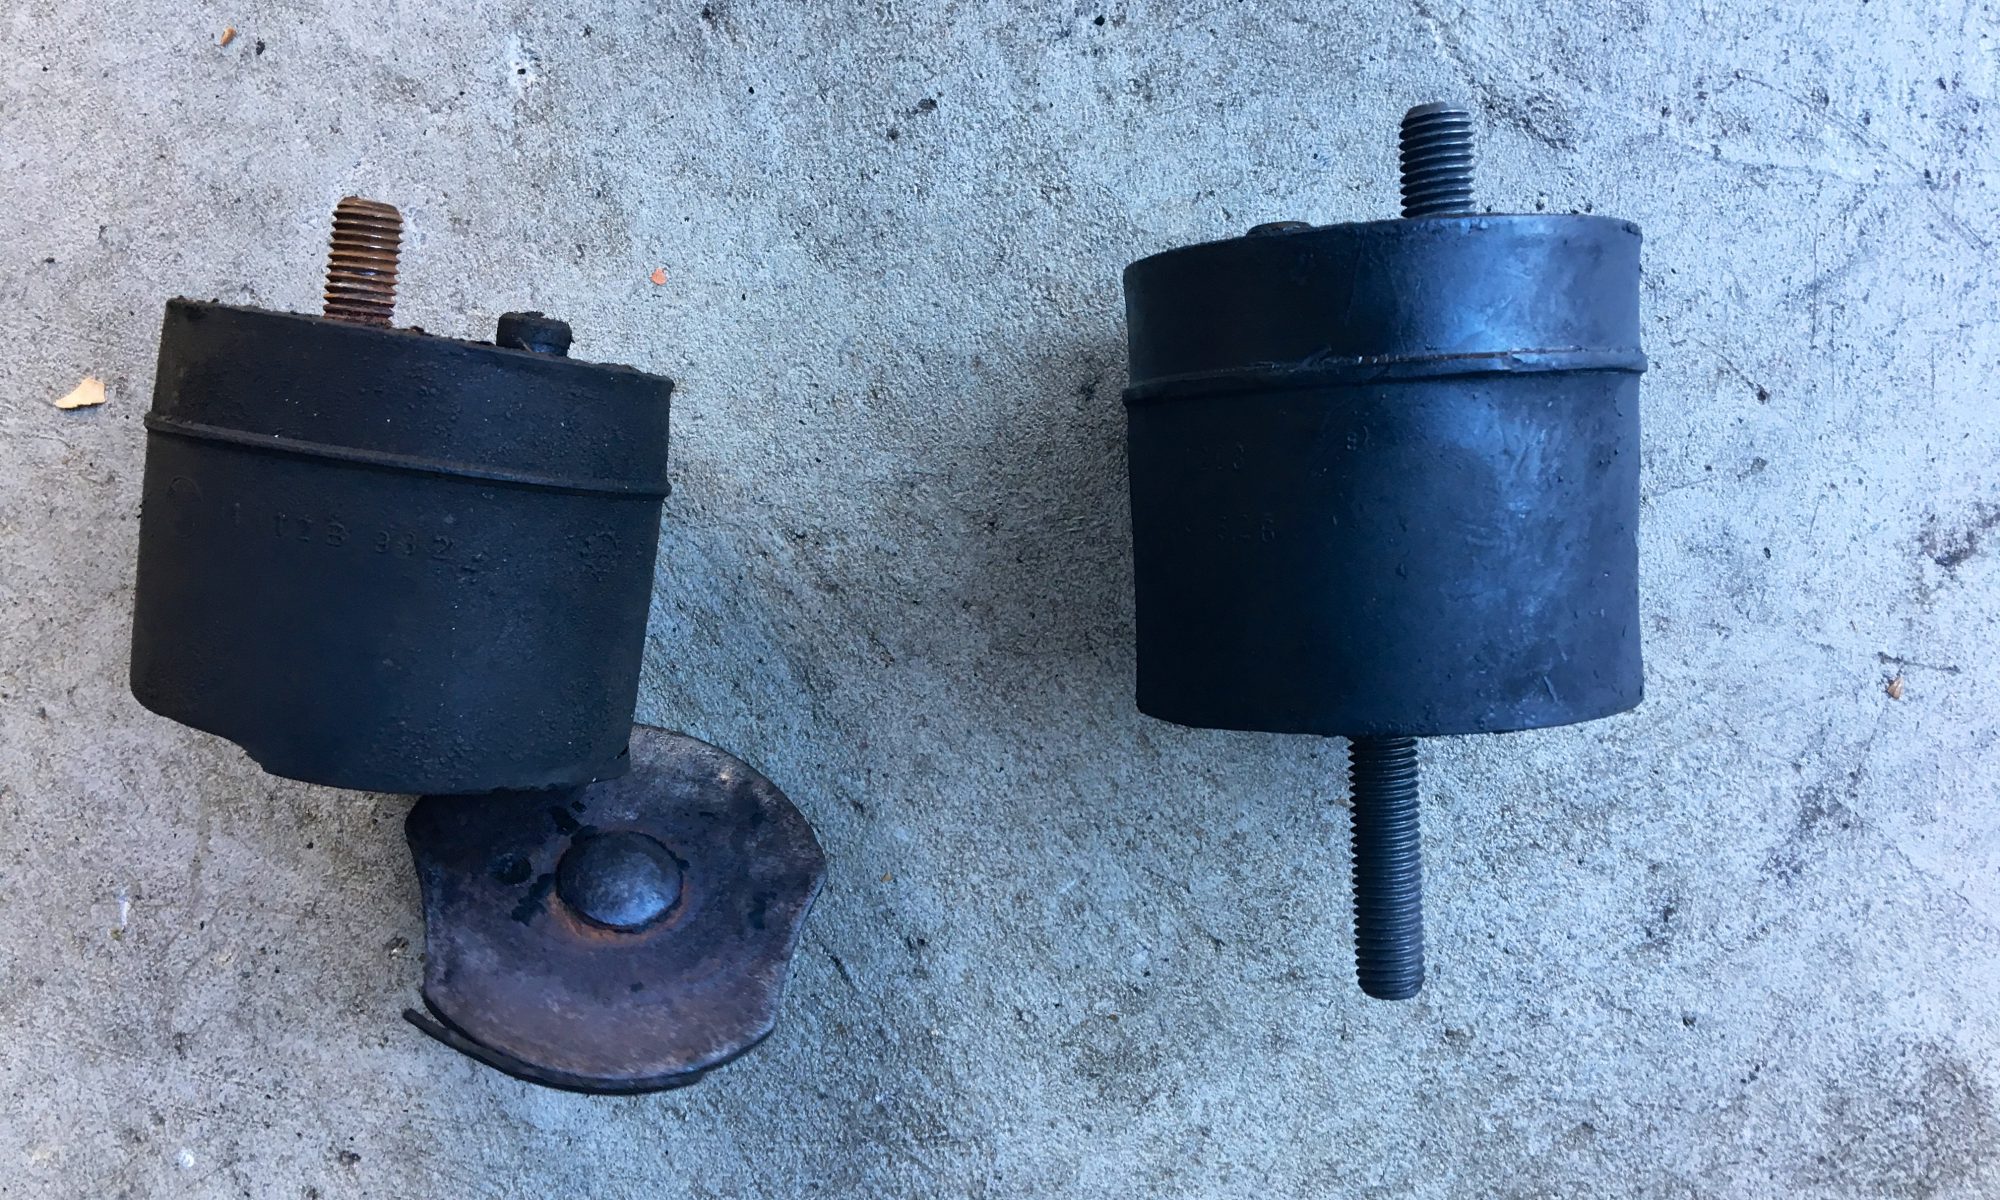
It didn’t take long during the removal step to realize the both old bushings were destroyed, with the inner part completely separated with the outer part, thus rendering them completely ineffective. I still needed to use the BMW Sir Tools 3026, which is no longer available, to remove the old bushings, which are pressed into the subframe and likely bonded to it after all these years. With the proper tool, they pressed right out.

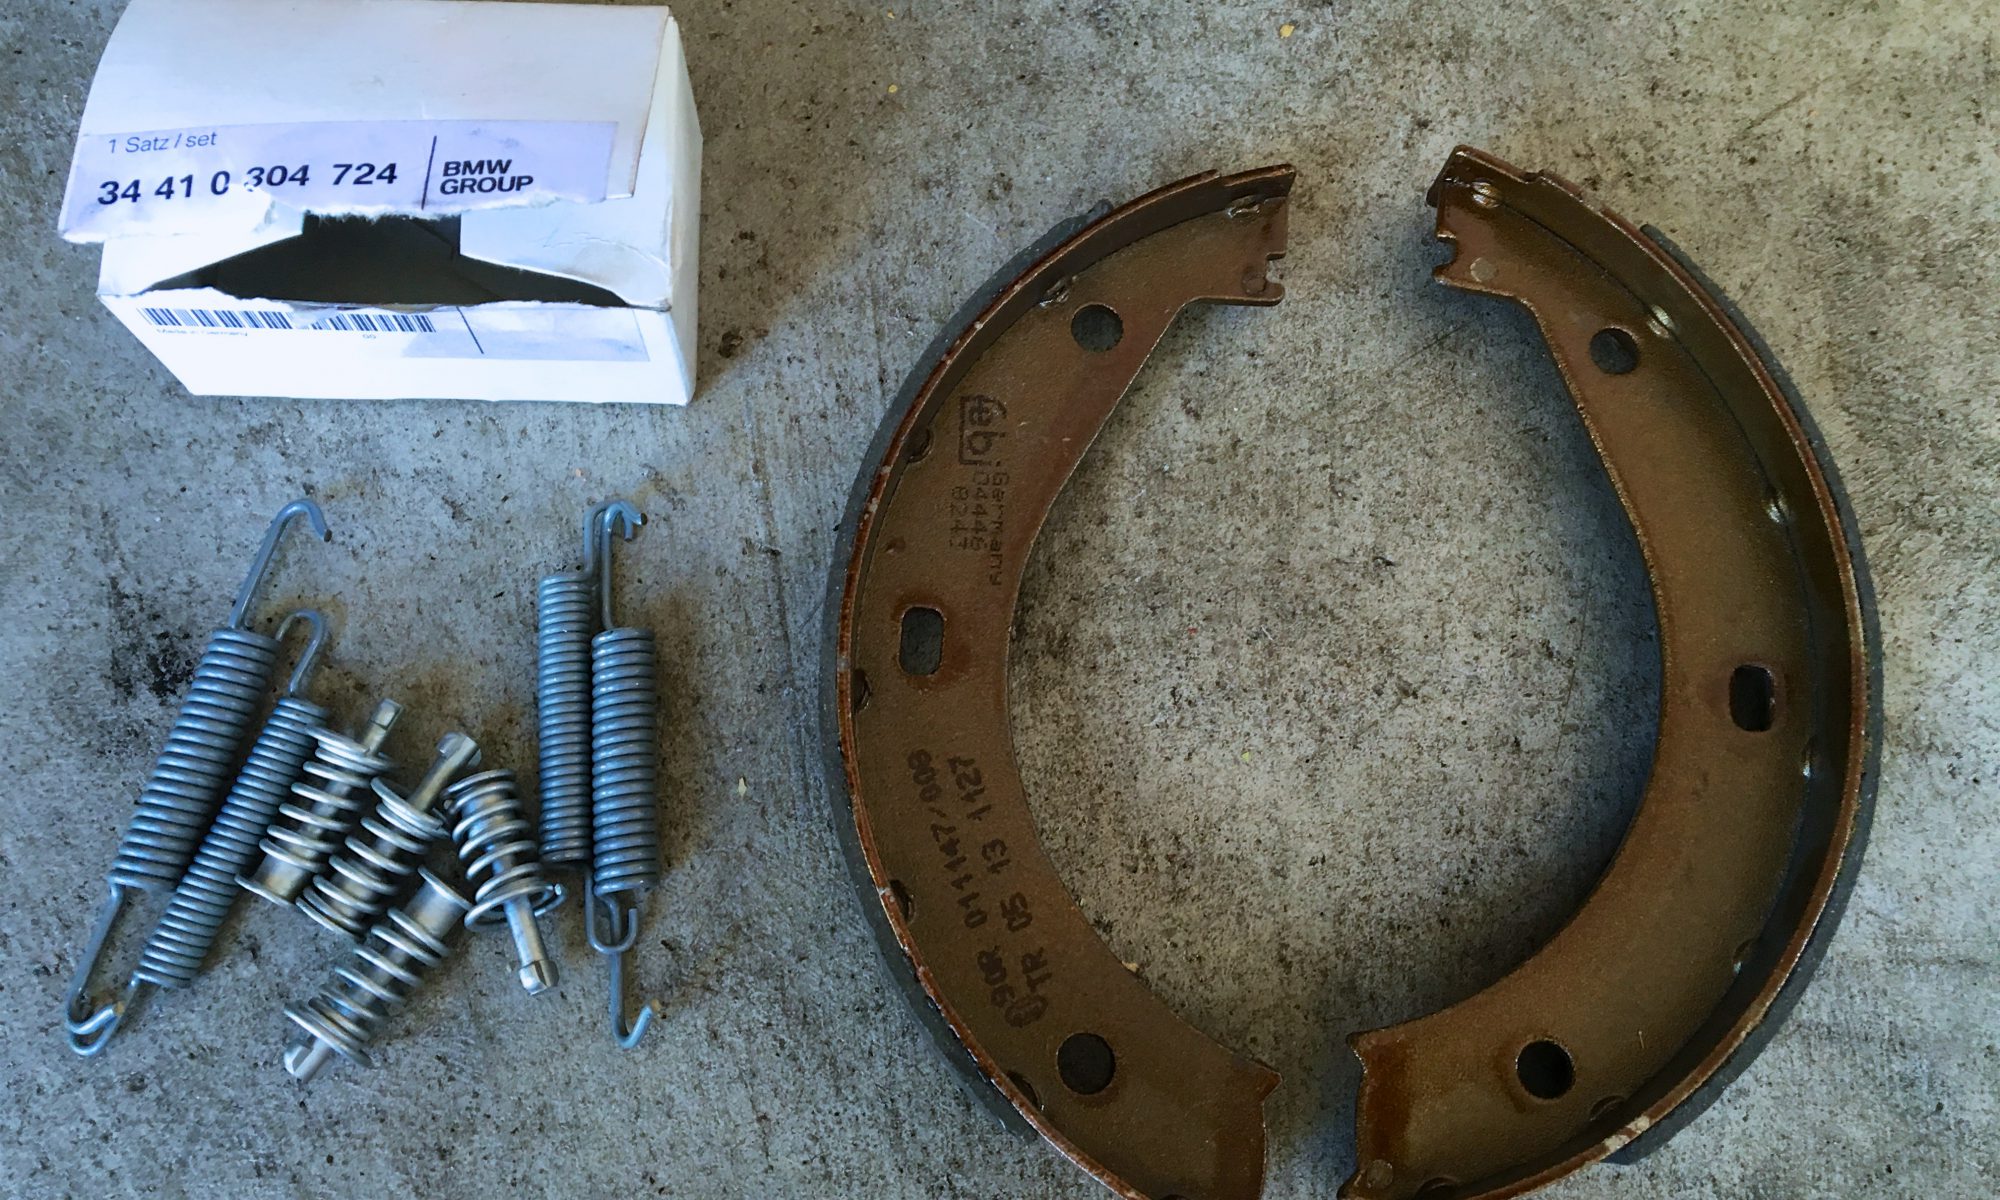
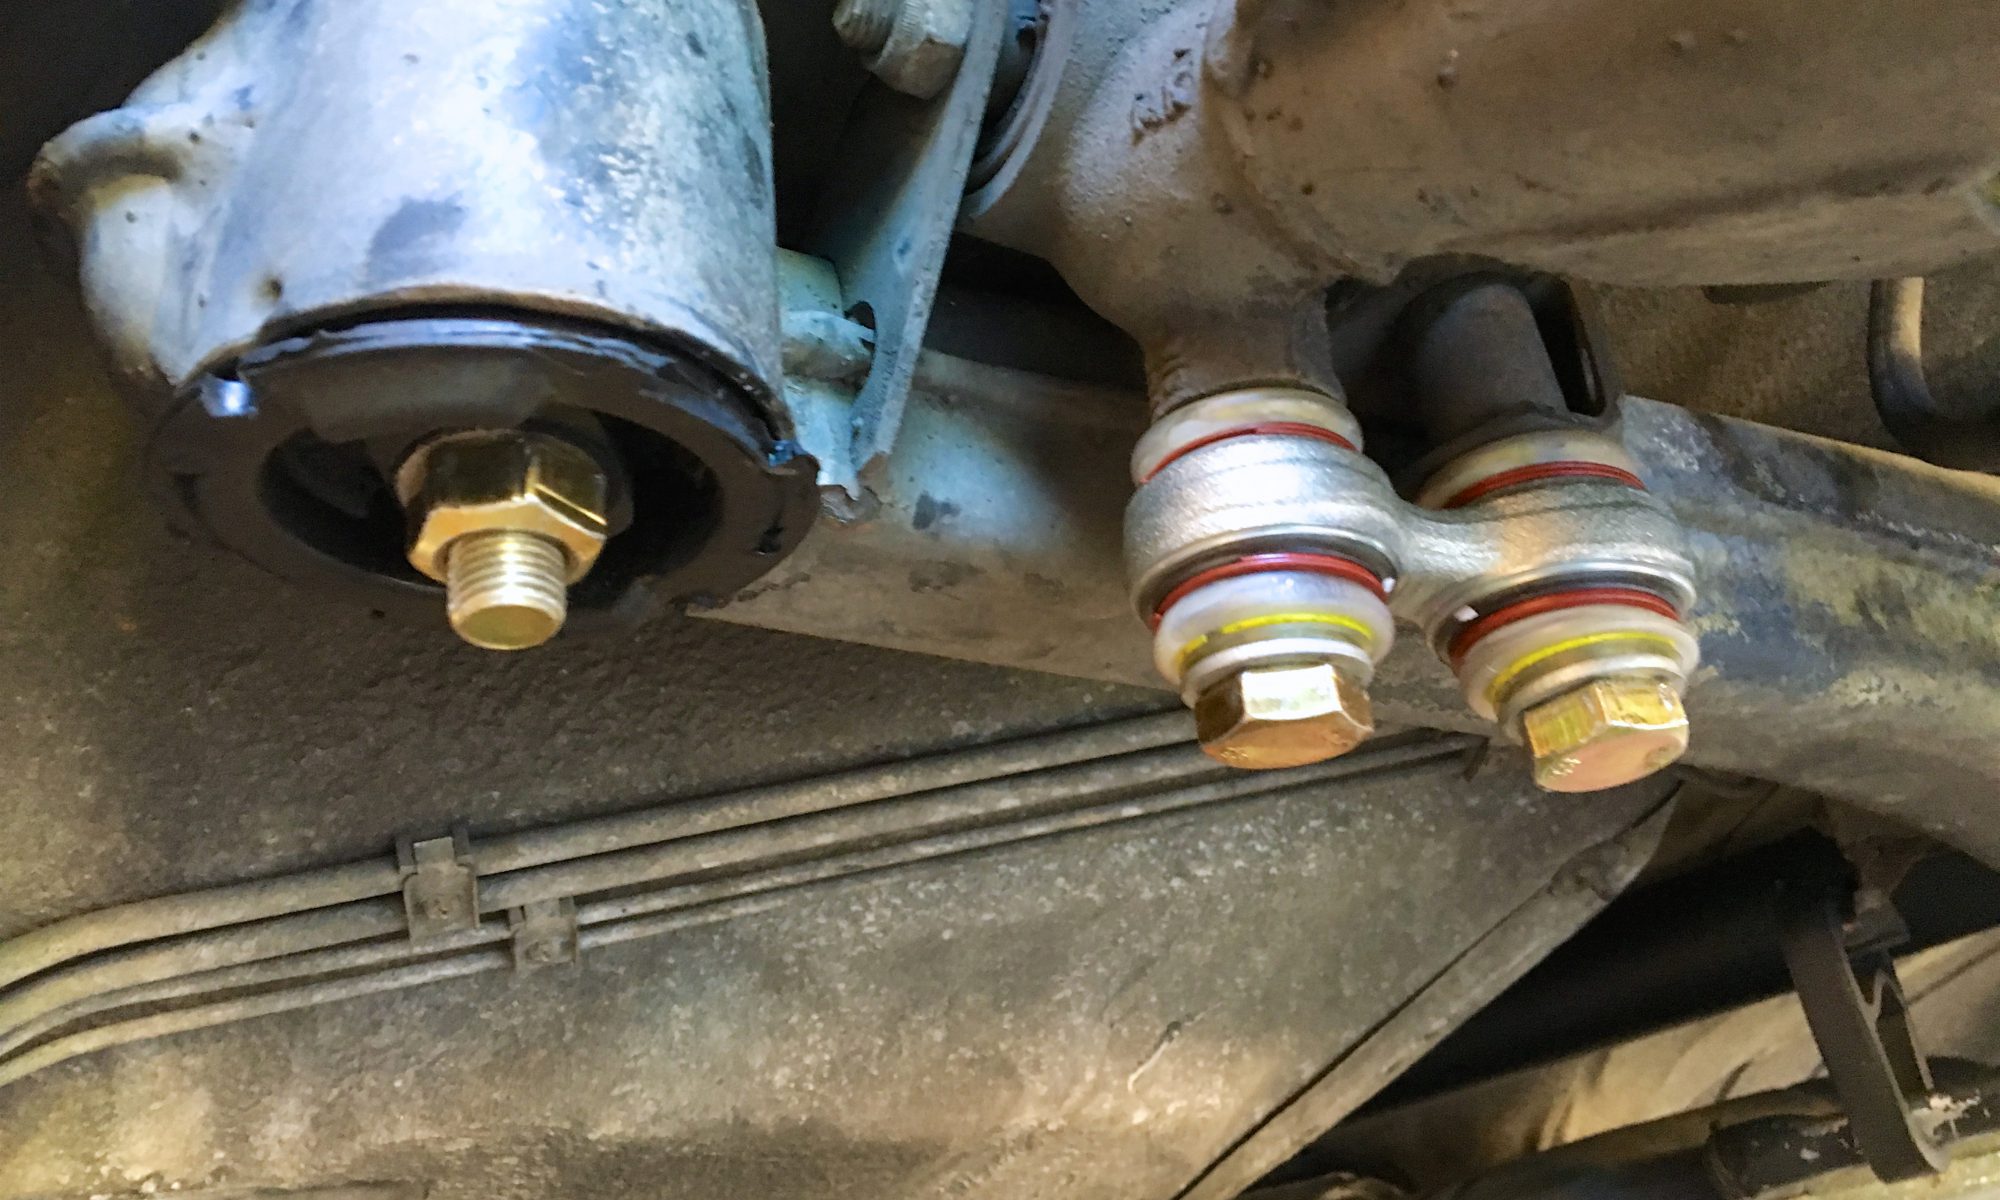
The new Pitman arms were a lot easier to remove and replace. I was also very happy to have my new Milwaukee M18 impact wrench, which made quick work of spinning off the old nuts. The new ones sure looked a lot nicer than the old ones, which were very clearly worn.

After removing the subframe bushings from the freezer and spraying them down with water and a drop of dish soap, they actually pressed in pretty easily. I kept tightening the nut on the tool to try to get the bottom of the bushing to press all the way into the subframe. Despite not getting quite there, I ended up crushing the thrust bearing, which was actually kind of scary as the bearings flew out in many directions (eye protection!). The took came with a replacement bearing, so I was able to also complete the other side. What I realized was that the bushing is slightly taller than the subframe, so when it gets pressed into subframe all the way, it is then getting compressed within the tool versus going in any further. I didn’t try it, but it seems that using the cup that is used for removing the bushing instead of the flat plat designed to accept only the bushing “ears,” would allow the bushing to be pressed further into the subframe and then let the bottom be pressed in to the ridge of the bushing.

In the end, I had to source some real thrust bearings that matched the size and specifications of the original ones, as I didn’t want the owner of the tool to be stuck with a hobbled tool.

This repair completely eliminated the rear-end “clunk” and tightened up the handling considerably.