Ordered 10 quarts of oil on April 7, 2016 and recorded the mileage as 181,815 on April 3, 2017. I didn’t document this one for some reason, so the image is for illustrative purposes only.
Perform Oil Change
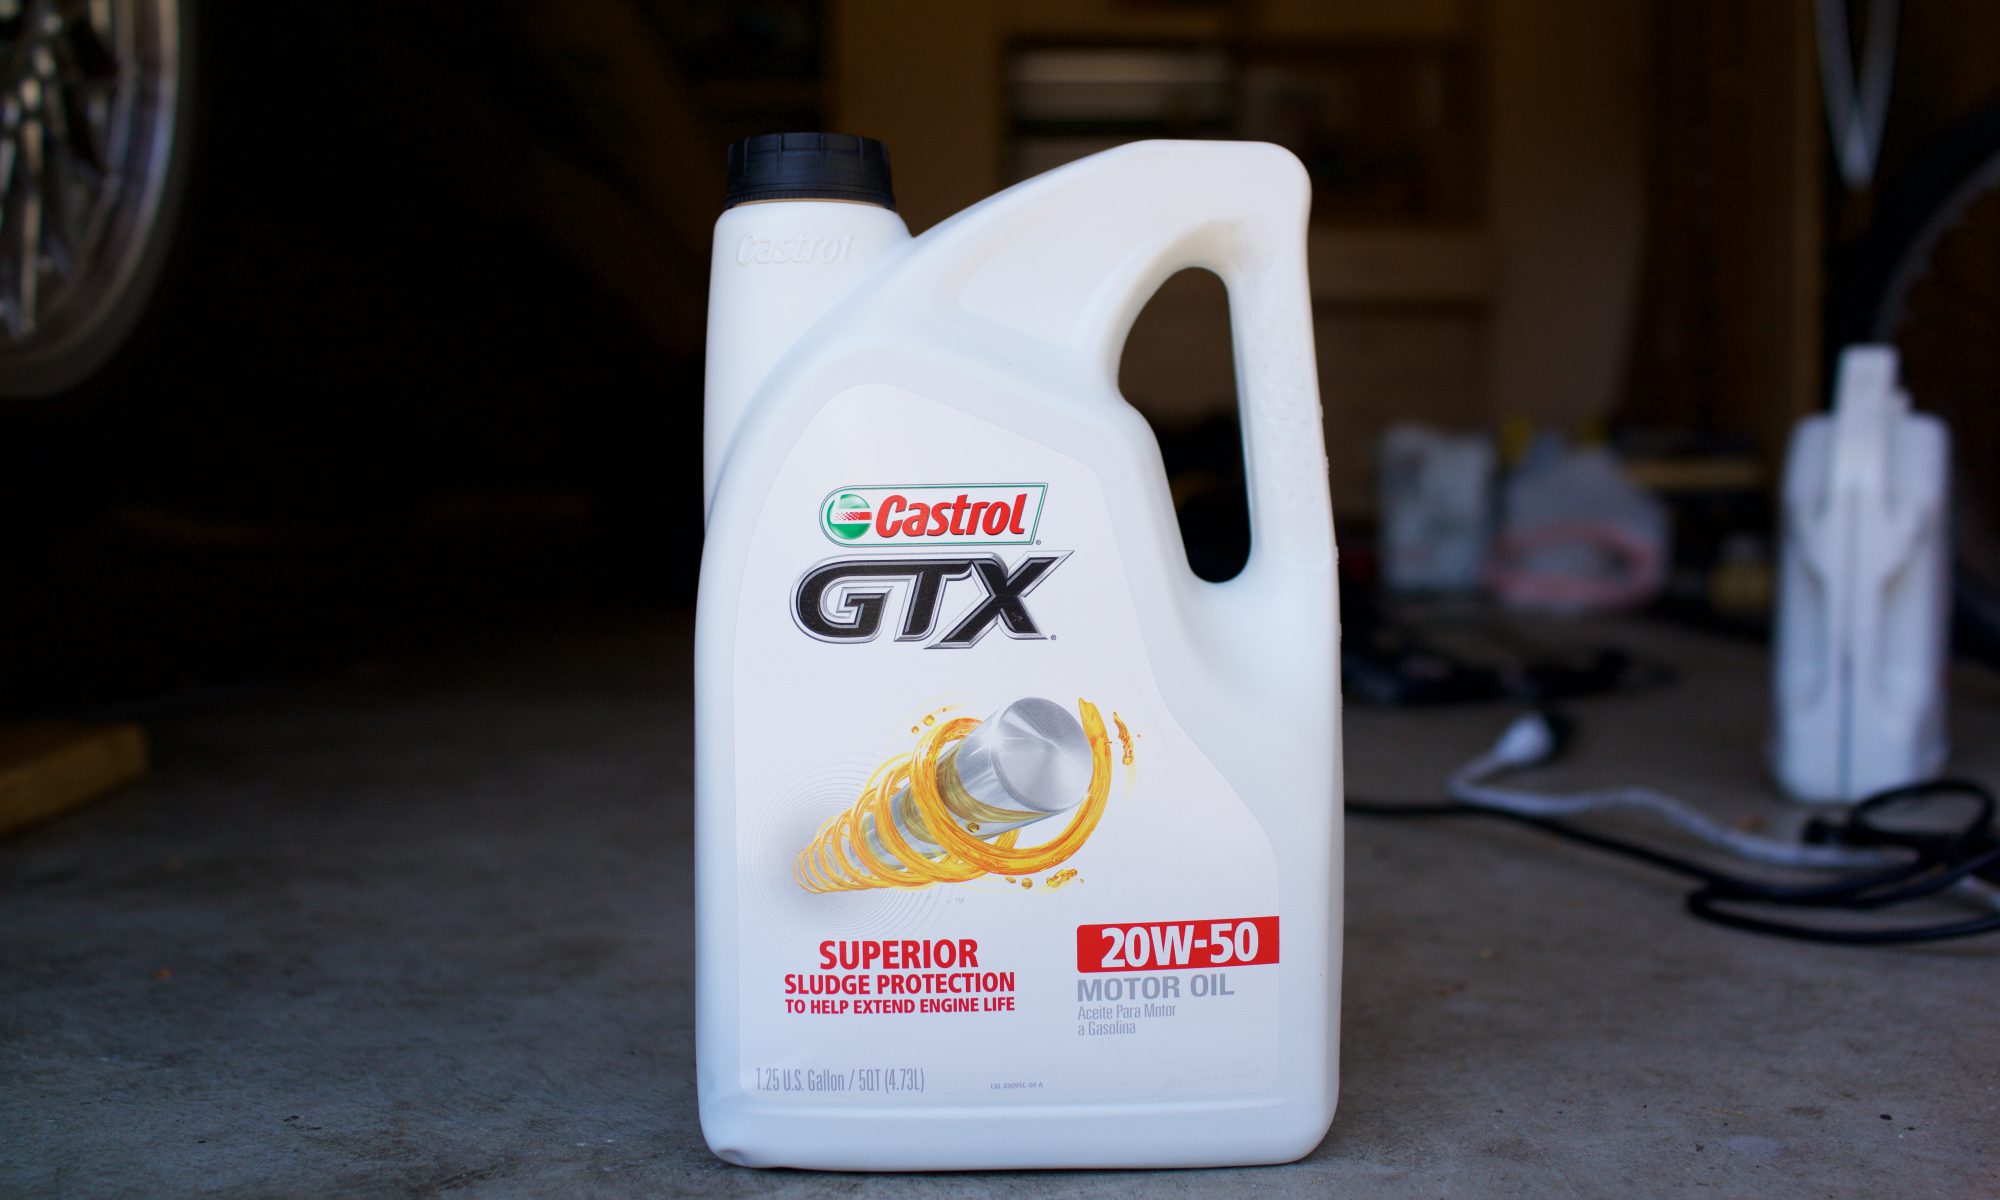
Ordered 10 quarts of oil on April 7, 2016 and recorded the mileage as 181,815 on April 3, 2017. I didn’t document this one for some reason, so the image is for illustrative purposes only.
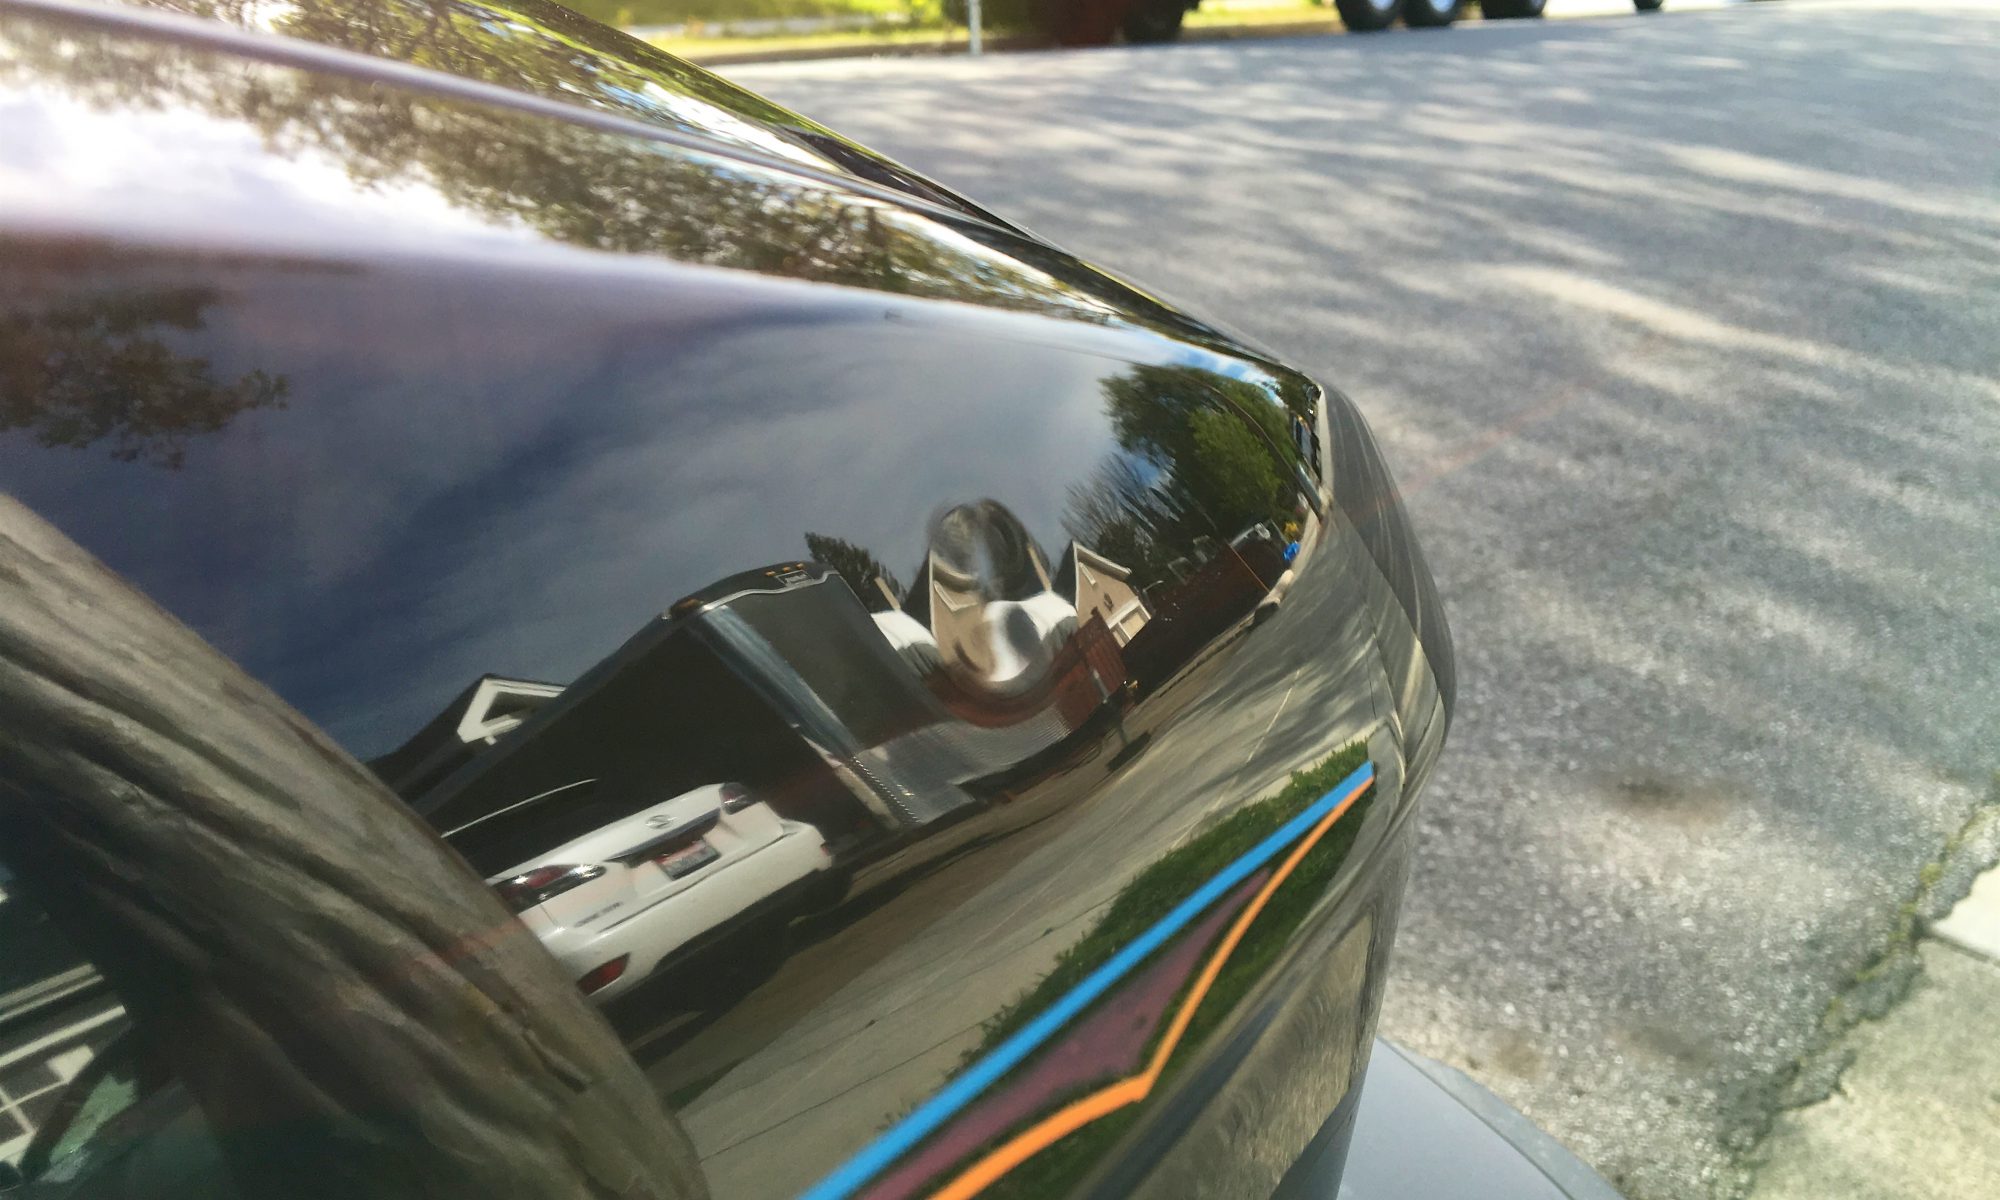
One of the things that’s always hard to see in photos are the slight (and not slight) imperfections in the body and paint. This was especially true of this black M5 in eBay photos, even when photographed very beautifully. The feedback I gave to the seller was that while I can appreciate the low aperture, narrow depth-of-field photos for their beauty, they can and did actually obscure the issues, even if that wasn’t their intention. The feedback was taken to heart.
I had avoided the prospect of painting this car, even though I knew that it would be the sure-fire way to make the body perfect. I felt it would be a slippery slope to euro bumpers, lights, etc., all of which I think would look great, but would probably not make financial sense as it would be unlikely I would get the money back out, especially for the windows-out paint job I would have wanted.
One step I took to mitigate my desire to turn this project into a money pit was to have the dents removed. I figured that would be on the critical path to painting anyway. I did some research and found “the” painless dent remover in the bay area. I took the car in for an examination and we agreed upon how much and how long it was going to take and how much I wanted to spend. I dropped the car off right before spring break, as we were going to be out of town for a while and he could take his time with the car.
When I returned, I found there were some panels that were a couple spots that were yet to be completed and one dent in particular was on the crease and took up a majority of his time. Originally, we agreed upon $1,000, but given that it wasn’t complete, he told me to pay what I thought it was worth. This put me in a tough spot, so I figured it was about 80% and gave him $800. We agreed to what he would do to complete it.
It does look a lot better and some panels are now perfect. That said, I always wanted this and every other car to be perfect, but after almost 30 years, sometimes that’s just not possible (same with “original”). This is one of the biggest things of which I had to let go, which also helped me avoid going down the paint rabbit hole.
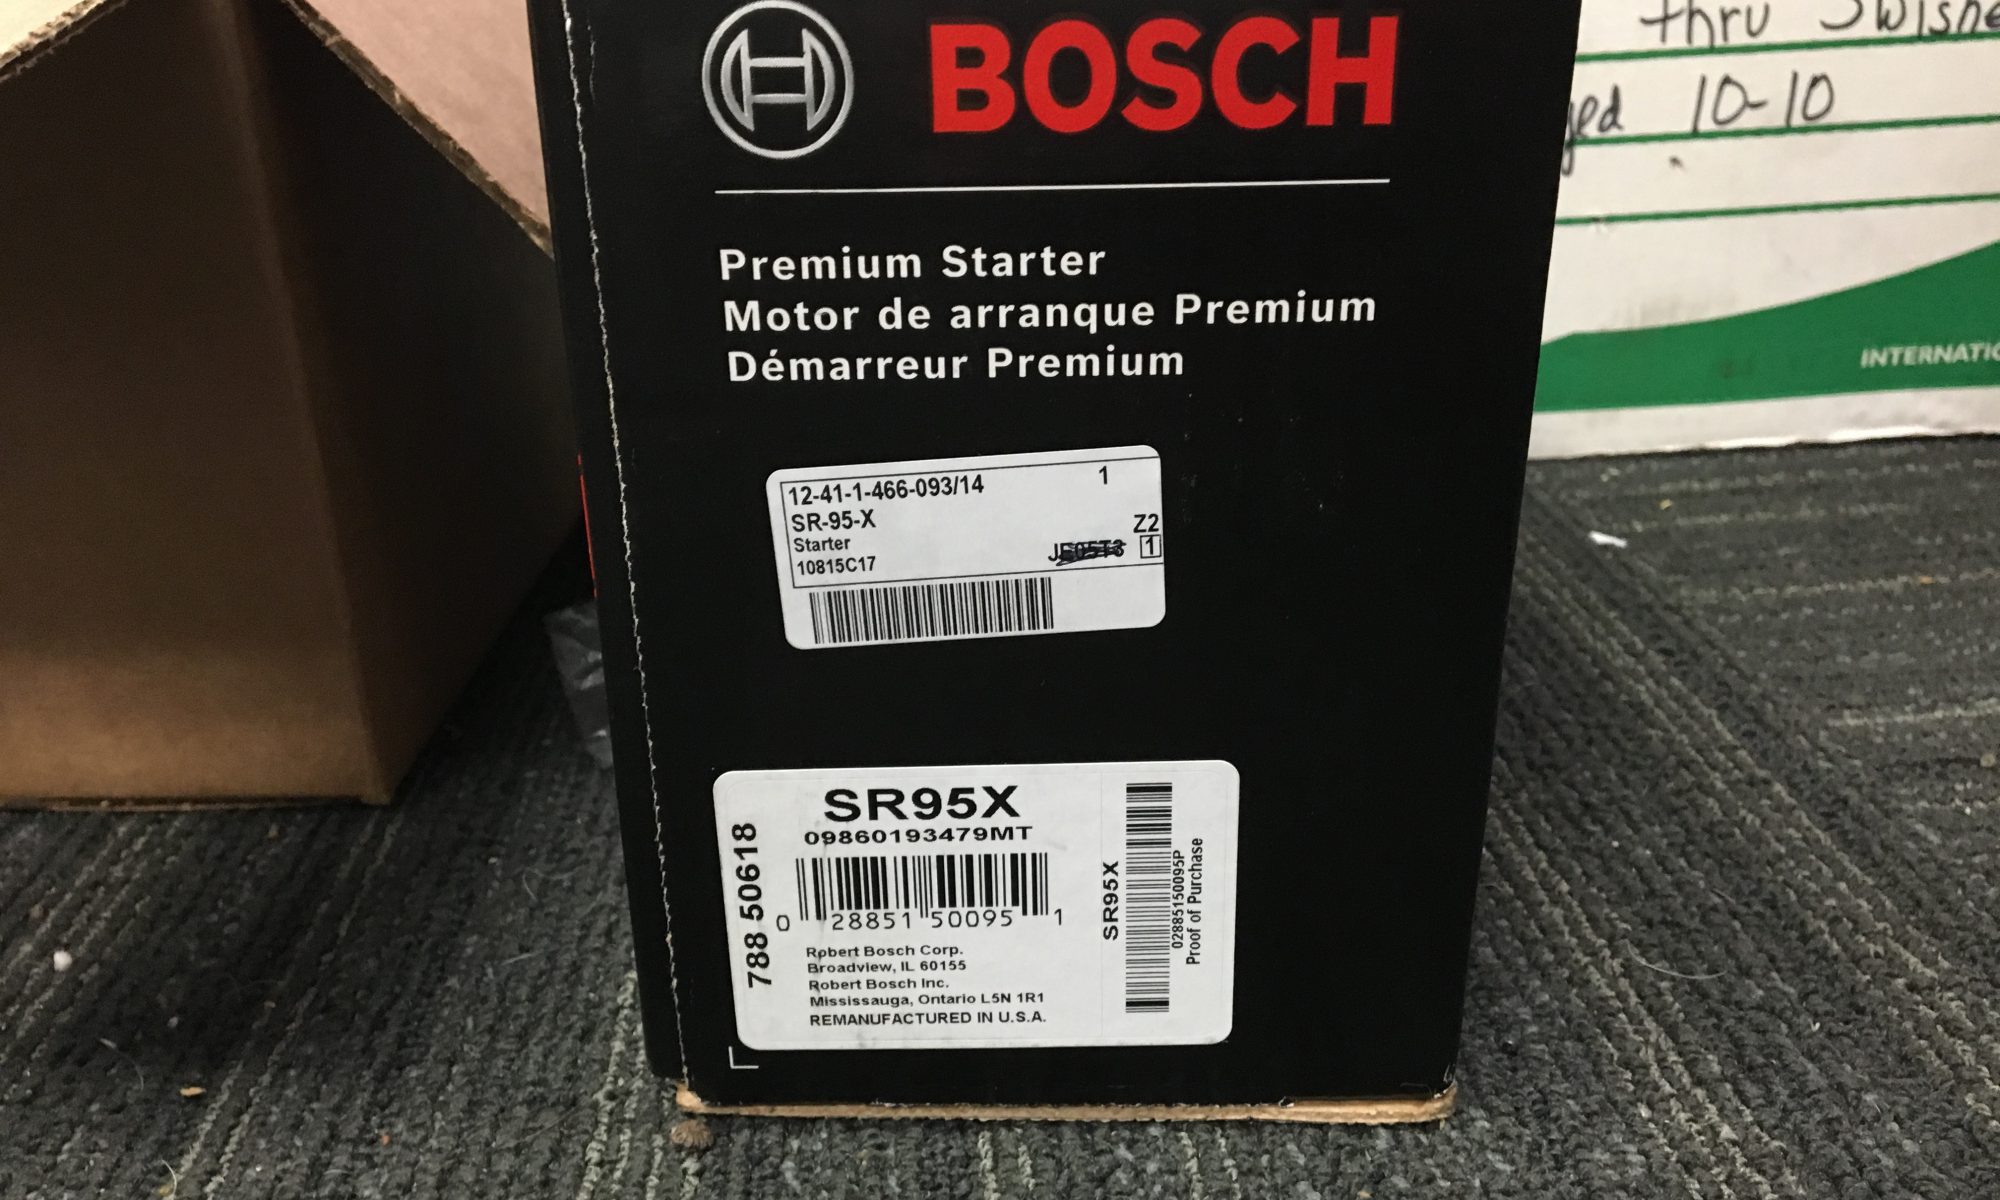
There were some strange noises coming from the starter one morning, so I took it straight to the shop that fixed it the first time. They said:
“Visually through the inspection plate we could not see any problems with the ringgear. We removed the starter motor we had installed in October. We bench tested this motor and it worked okay on the bench. We checked with our vendor and they had a replacement in stock. We then double checked with a different vender (sic) and found that they were showing a different part number. We hae (sic) installed this other part number and it is starting fine at this time.”
They had it done the same day and it’s been perfect ever since.
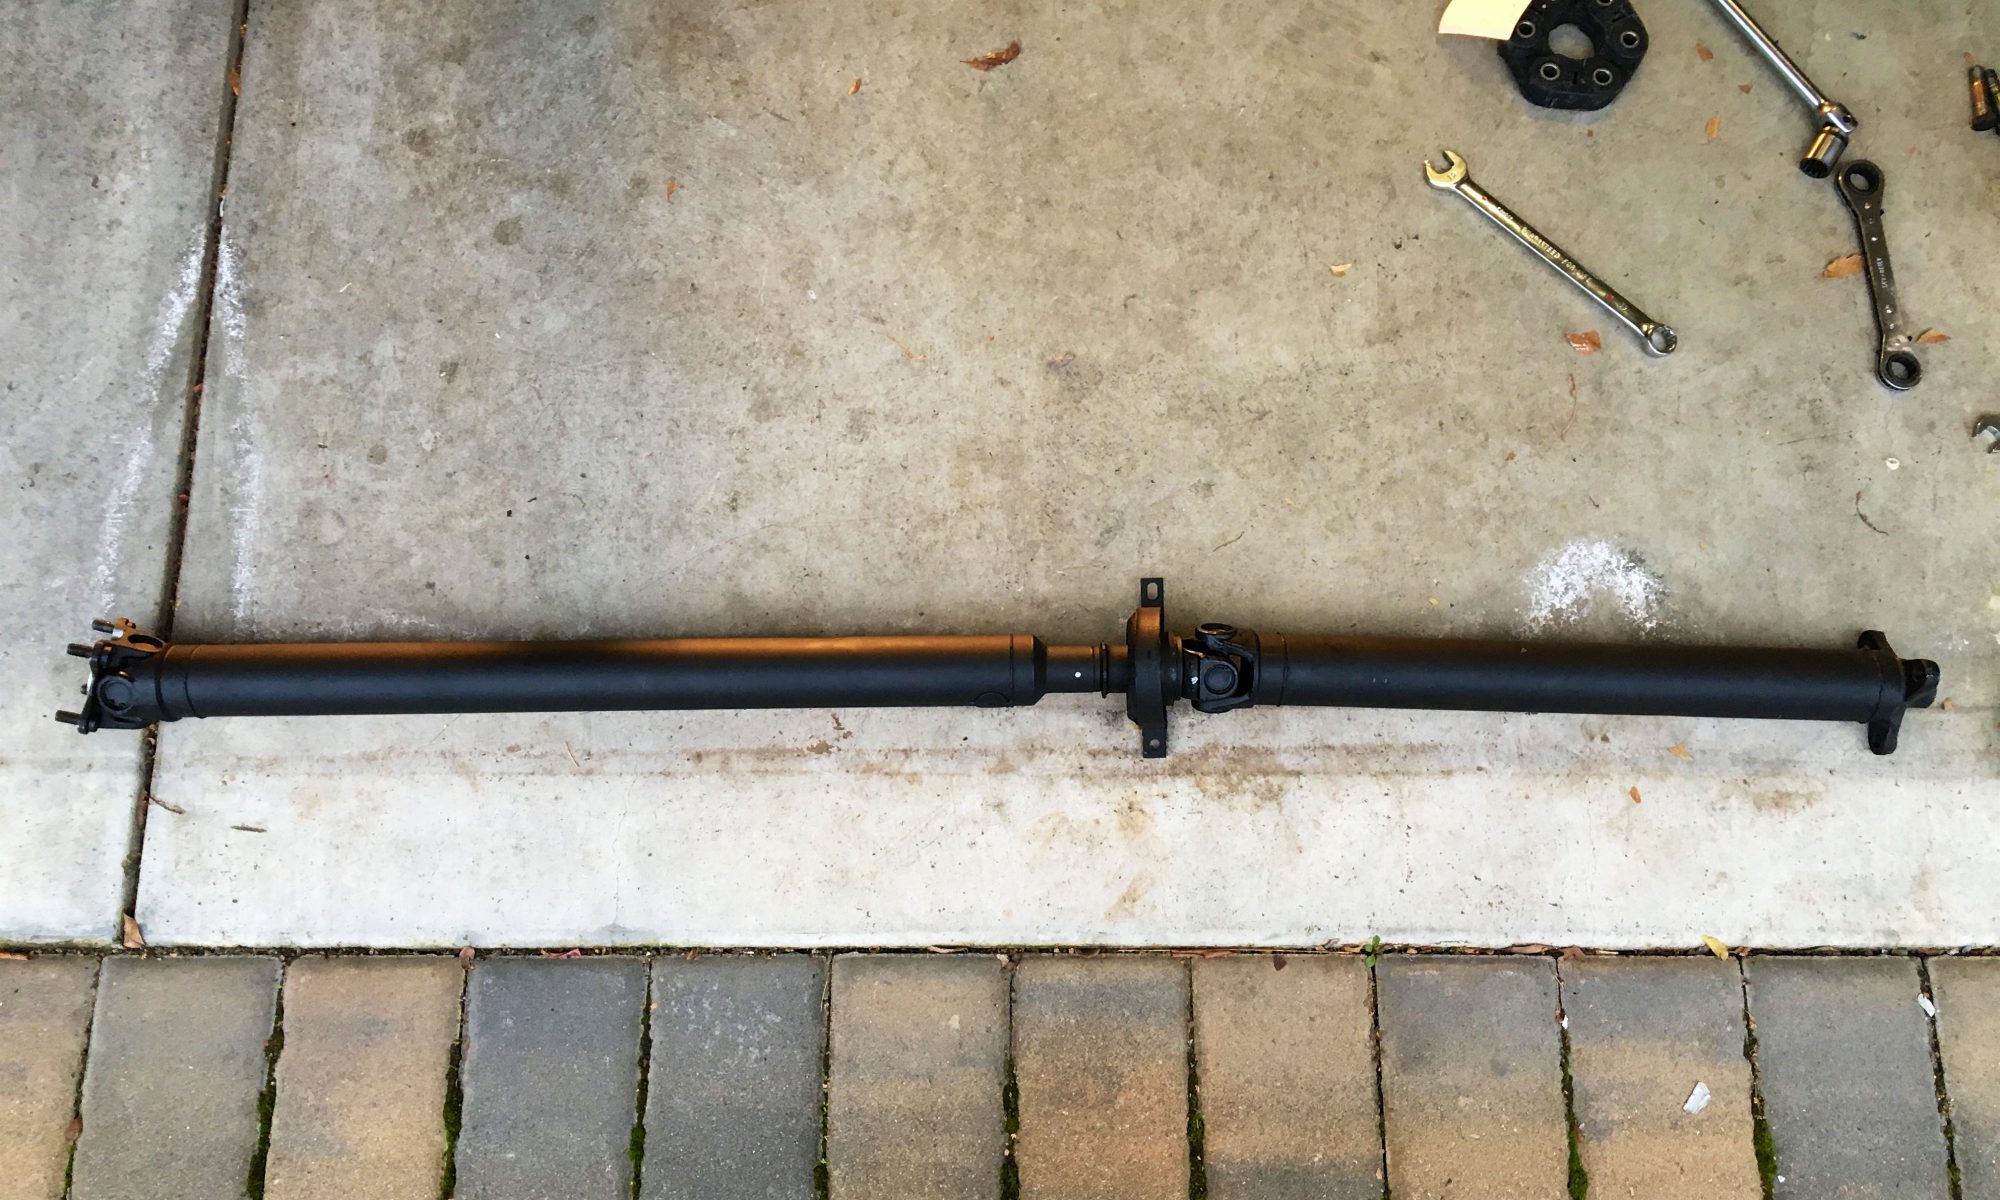
The main reason for my long list of holiday projects was the driveline shudder I had experienced since my first drive in the M5. It was very easy to replicate, so I was disappointed that the seller had not disclosed it, though they didn’t deny that it was occurring or an existing problem. In any case, it was my mission to fix it.
As stated in the shifter rebuild post, I didn’t want to deal with just the CSB, which was likely the root cause of the issue, so I bought a completely rebuilt and balanced driveshaft with a new CSB installed. I had already removed the old driveshaft to complete the other projects, so I was just waiting for the new one to arrive to install it. Aside from installing the new bolts and nuts both fore and aft, the key step to installation was pre-loading the CSB prior to tightening it down.
It was a no-brainer to also replace the guibo (apparently actually “giubo” or flex disk) while installing the driveshaft. To avoid twisting the actual guibo itself, you really had to tighten the flange side nut, which also made torquing difficult. Finally, there were some posts online that indicated that it didn’t matter which way the bolts/nuts went, but I found that there was no clearance to insert the bolts towards the rear of the car, which would have made tightening and torquing a lot easier. This seems like it would only be possible by removing the flange from the transmission output first.
While it was all apart, I also replaced the transmission mounts, which was easy relative to cleaning the transmission support. With the “new” driveshaft, shifter assembly and transmission mounts, it was looking pretty good under the car.
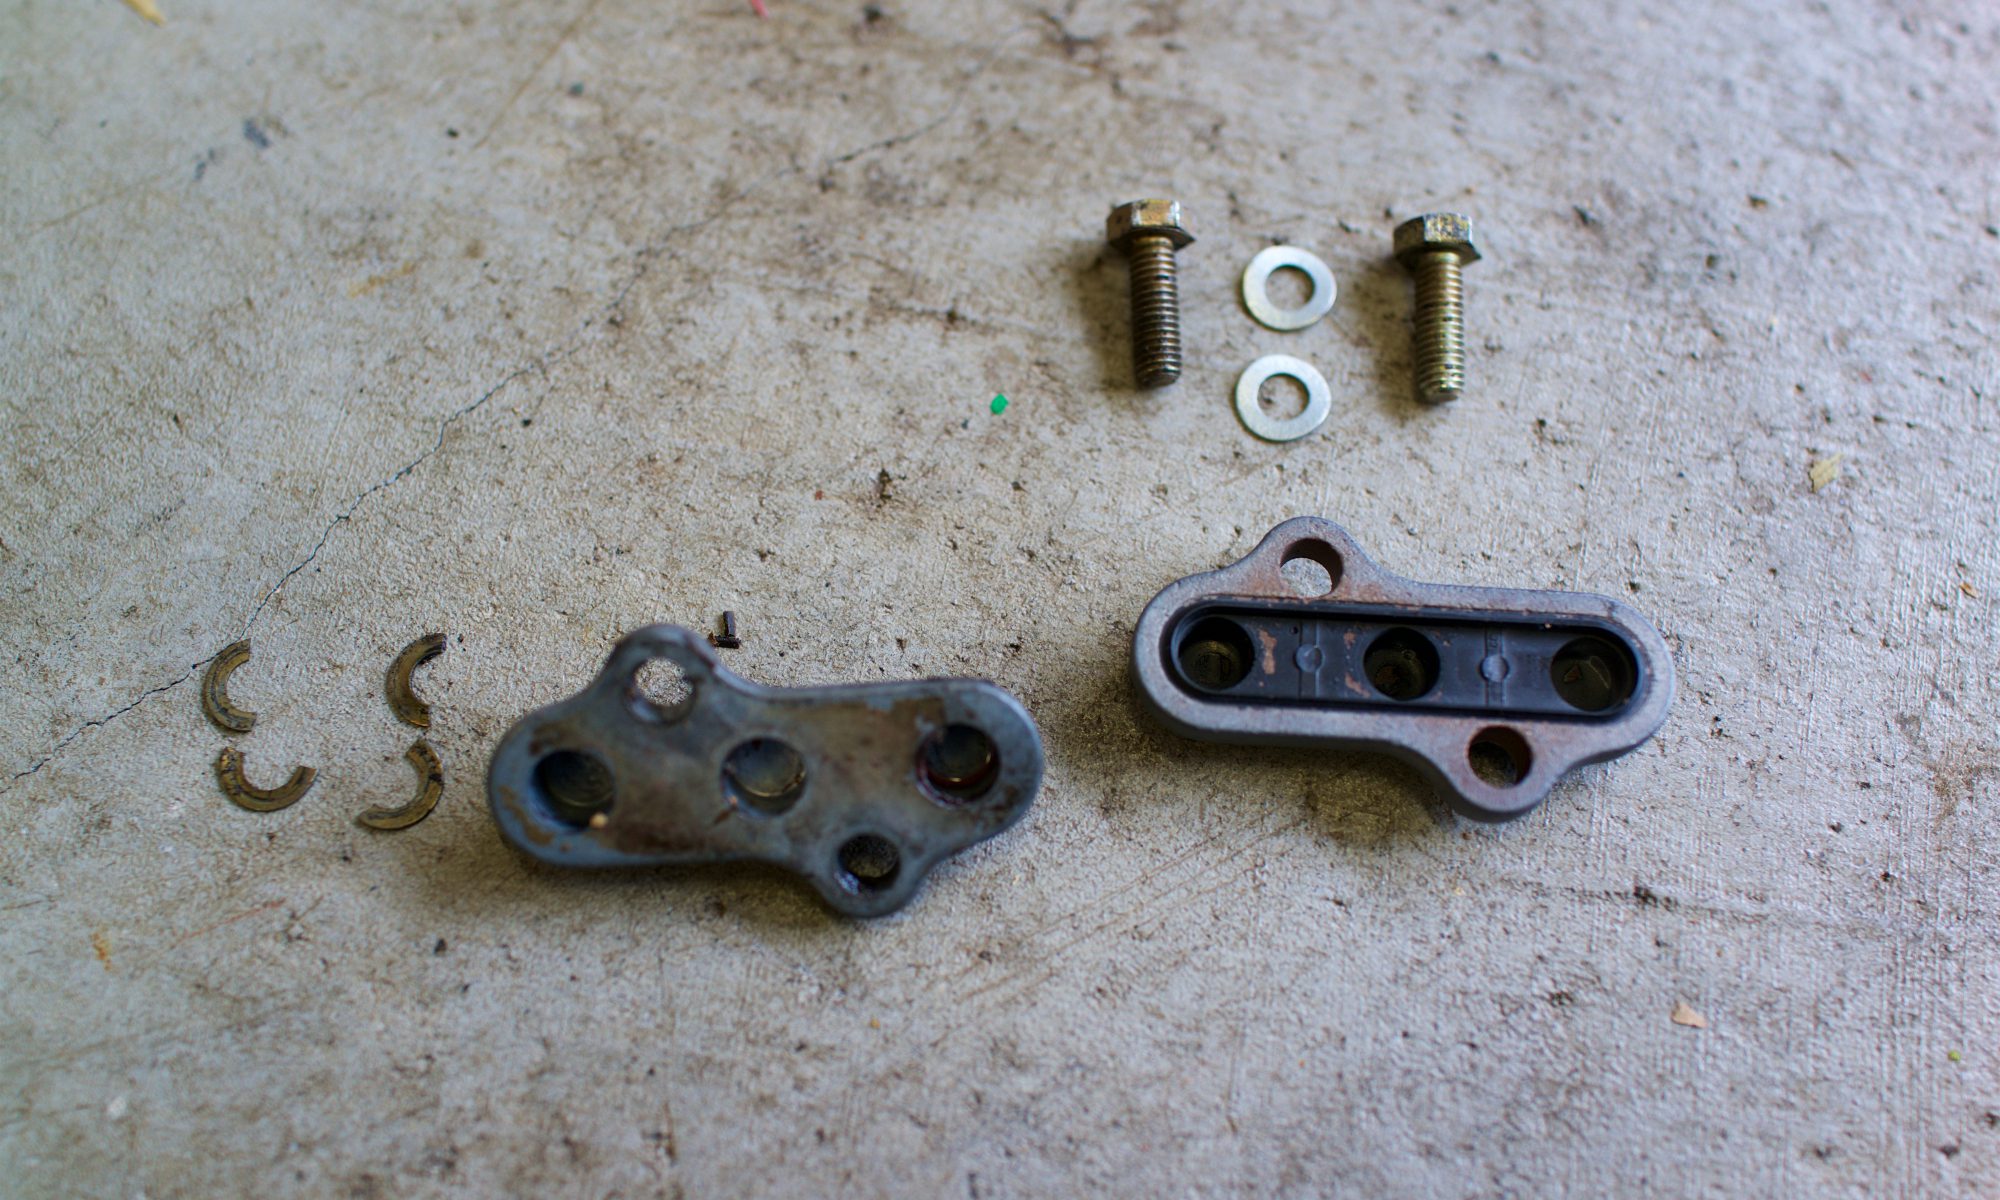
While I was rebuilding the shift linkage assembly, the transmission selector rod joint was removed from the selector shaft. This was a good opportunity to replace that seal, which is typically the main source of transmission fluid leakage. Because I had dropped the transmission down to remove the driveshaft from the transmission, this was also a good time to replace the shift detent plate, which is on top of the transmission.
To remove the selector shaft seal, I fashioned a pick out of a small screwdriver, procured just for this purpose. It took some time to get the old seal out, being careful not to nick the wall of the transmission output. I inserted the new one on with a socket. No more leaks!

In my quest to rid the car of its dreaded driveline shudder, I zeroed in on the center support bearing (CSB). I didn’t want to deal with pulling off and pressing the bearing on, so I ended up ordering a complete remanufactured driveshaft. In anticipation of having to drop the exhaust and the driveshaft, and timing the project with the holidays when I’d have more time, I ordered a bunch of parts for several projects while it was all apart.
I always felt the shifter was pretty sloppy on the M5 since I received it. There is a long inventory of joints, bolts, bushings, washers, o-rings, circlips, etc. required to rebuild the assembly. I procured almost all genuine BMW parts for the project, to the tune of $254.40.
It wasn’t too difficult to drop the exhaust, especially with the help of my second jack. Removing the center support bearing (CSB) and the guibo from the transmission output wasn’t too bad either, though these were the highest torque bolts I had yet to encounter on the M5. The bolts on the driveshaft flange provided a little more clearance, but on the transmission output flange, there was a lot less room.
All of the excessive play and vagueness is gone and it shifts like a champ. It was a tedious, but gratifying project.
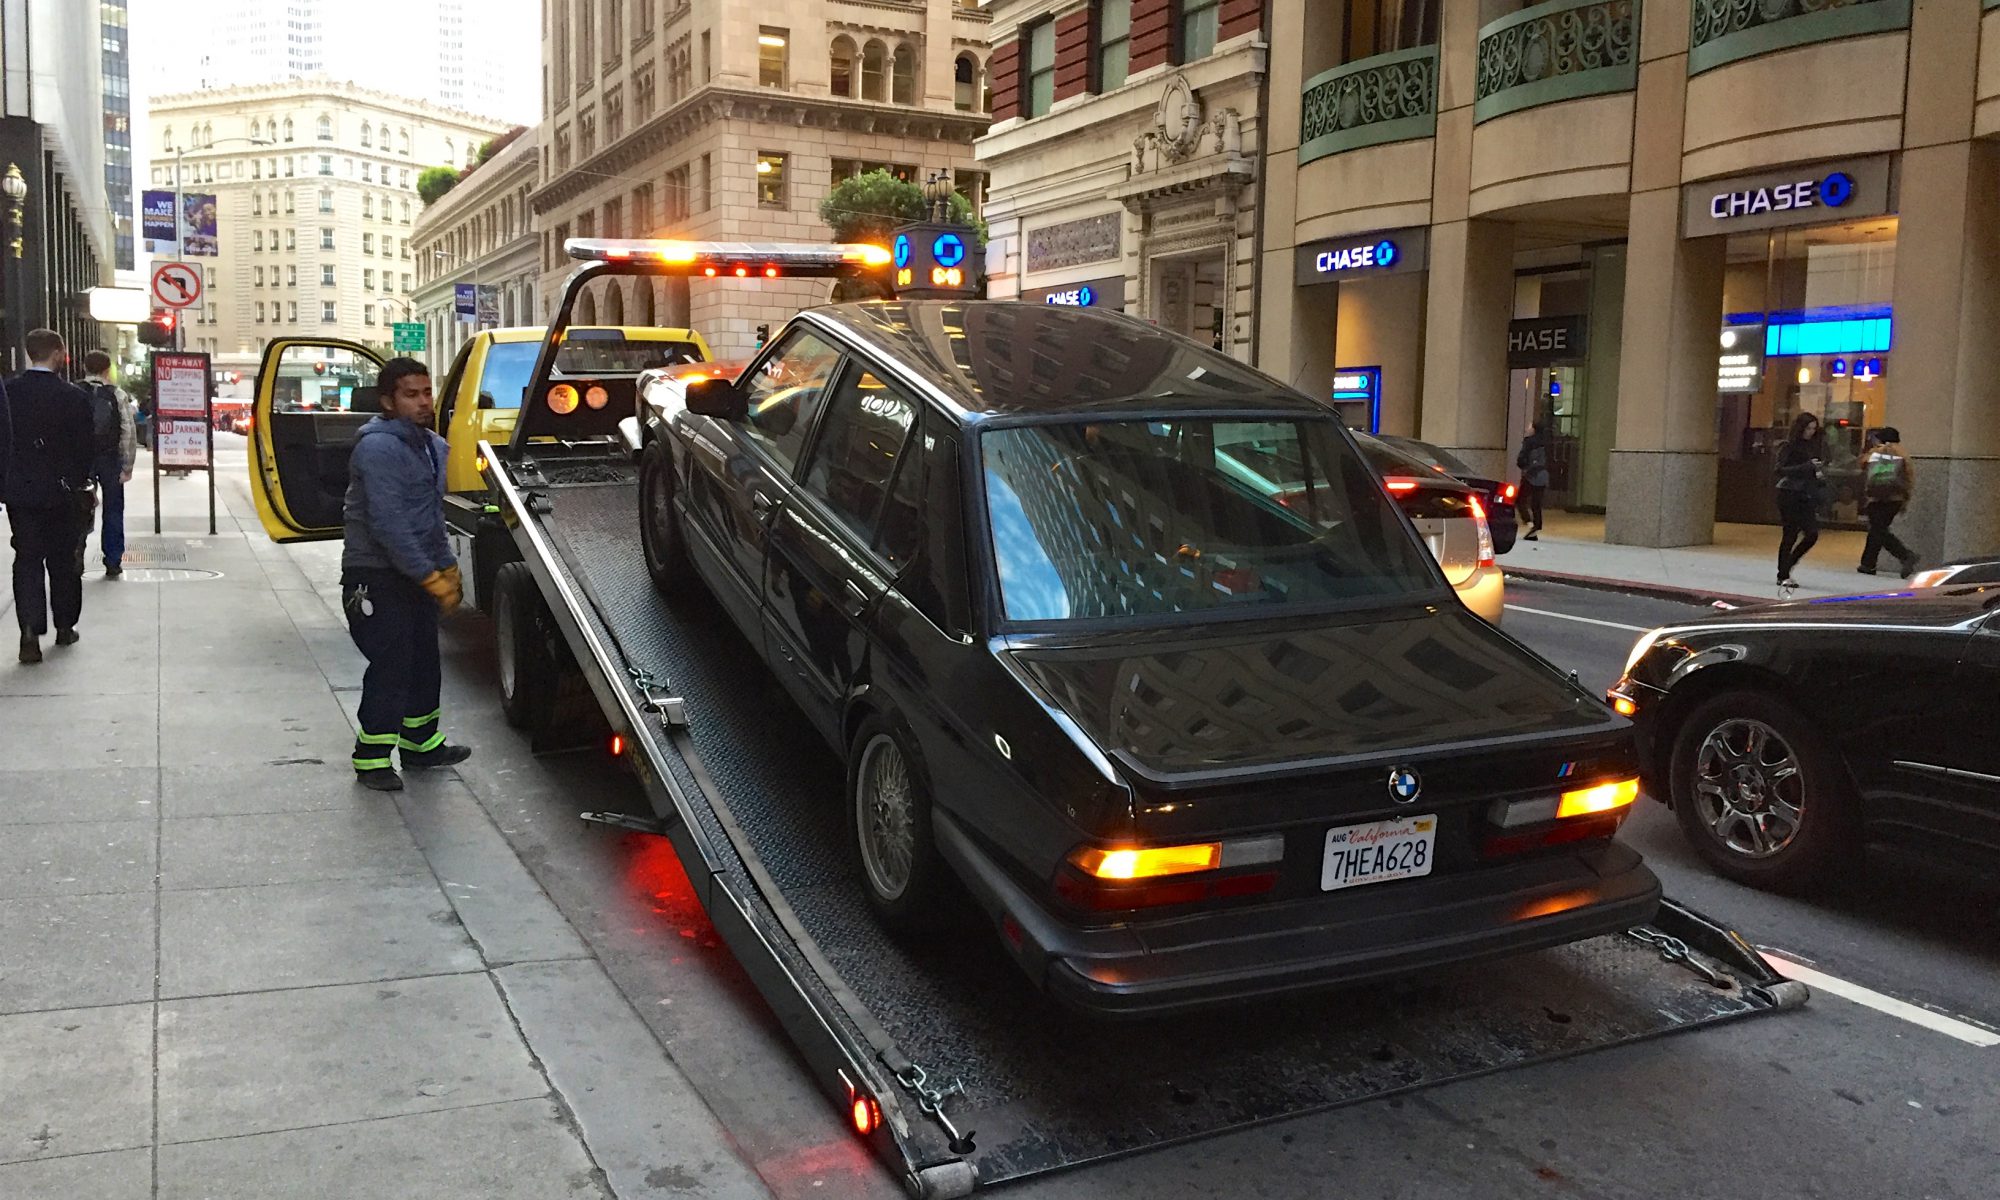
The M5 always started on the first try, except for when I had the intermittent reference sensor connection. One of the advantages of living in the midst of the on-demand economy is taking advantage of awesome services that don’t make economic sense for the business on a per-unit-basis. One such service was, Luxe, the on-demand valet service I used in SF for a while before they shut down. It was cheaper than my regular garage and they saved me the time of parking and retrieving my car, and even afforded me the flexibility to strategically position my car for the easiest commute home.
One drawback was having occasionally clueless valets. In one such instance, I was waiting and waiting for my car (you can see it in the App like you can an Uber driver). The car was right around the block, but not moving (specifically on one of the busiest streets in the Financial District). I called and asked what’s up. The driver said the car wouldn’t start. I went down to check it out, and sure enough, it wouldn’t start. I got some more information from them and they said the starter was making a strange noise and eventually there was smoke coming into the cabin. What?????
I had it towed to my local independent vs. home because at this point, I didn’t know what was up and I also didn’t have time to deal with it because it was my daily driver. What I finally pieced together was that the ignition key got stuck in the start position and the starter was going for a while. The burning smell was the wiring to the starter, which the shop indicated was toast, along with the starter itself. I was irked, but relieved it wasn’t something more serious. The valet company was good about paying any parking tickets or moving violations, but I didn’t feel like putting this on them, so I just took care of it.
When all was said and done, I was out $960.81, as the shop, of course, suggested replacing all the rubber bits they had to remove from the intake to get to the starter. Between the intake boots, rubber vacuum and fuel hoses, I felt good about it because I wanted all the rubber replaced eventually anyway. It just stung a little bit because I didn’t like non-elective surgery. I was back on the road and never had the same problem again.
One of the most pleasant surprises about the M5 was that the A/C always blew ice-cold since the day I got it. This was one of the few times when I was able to return some knowledge to the mye28.com community. The whole thread is included here, but here are the relevant posts with links.
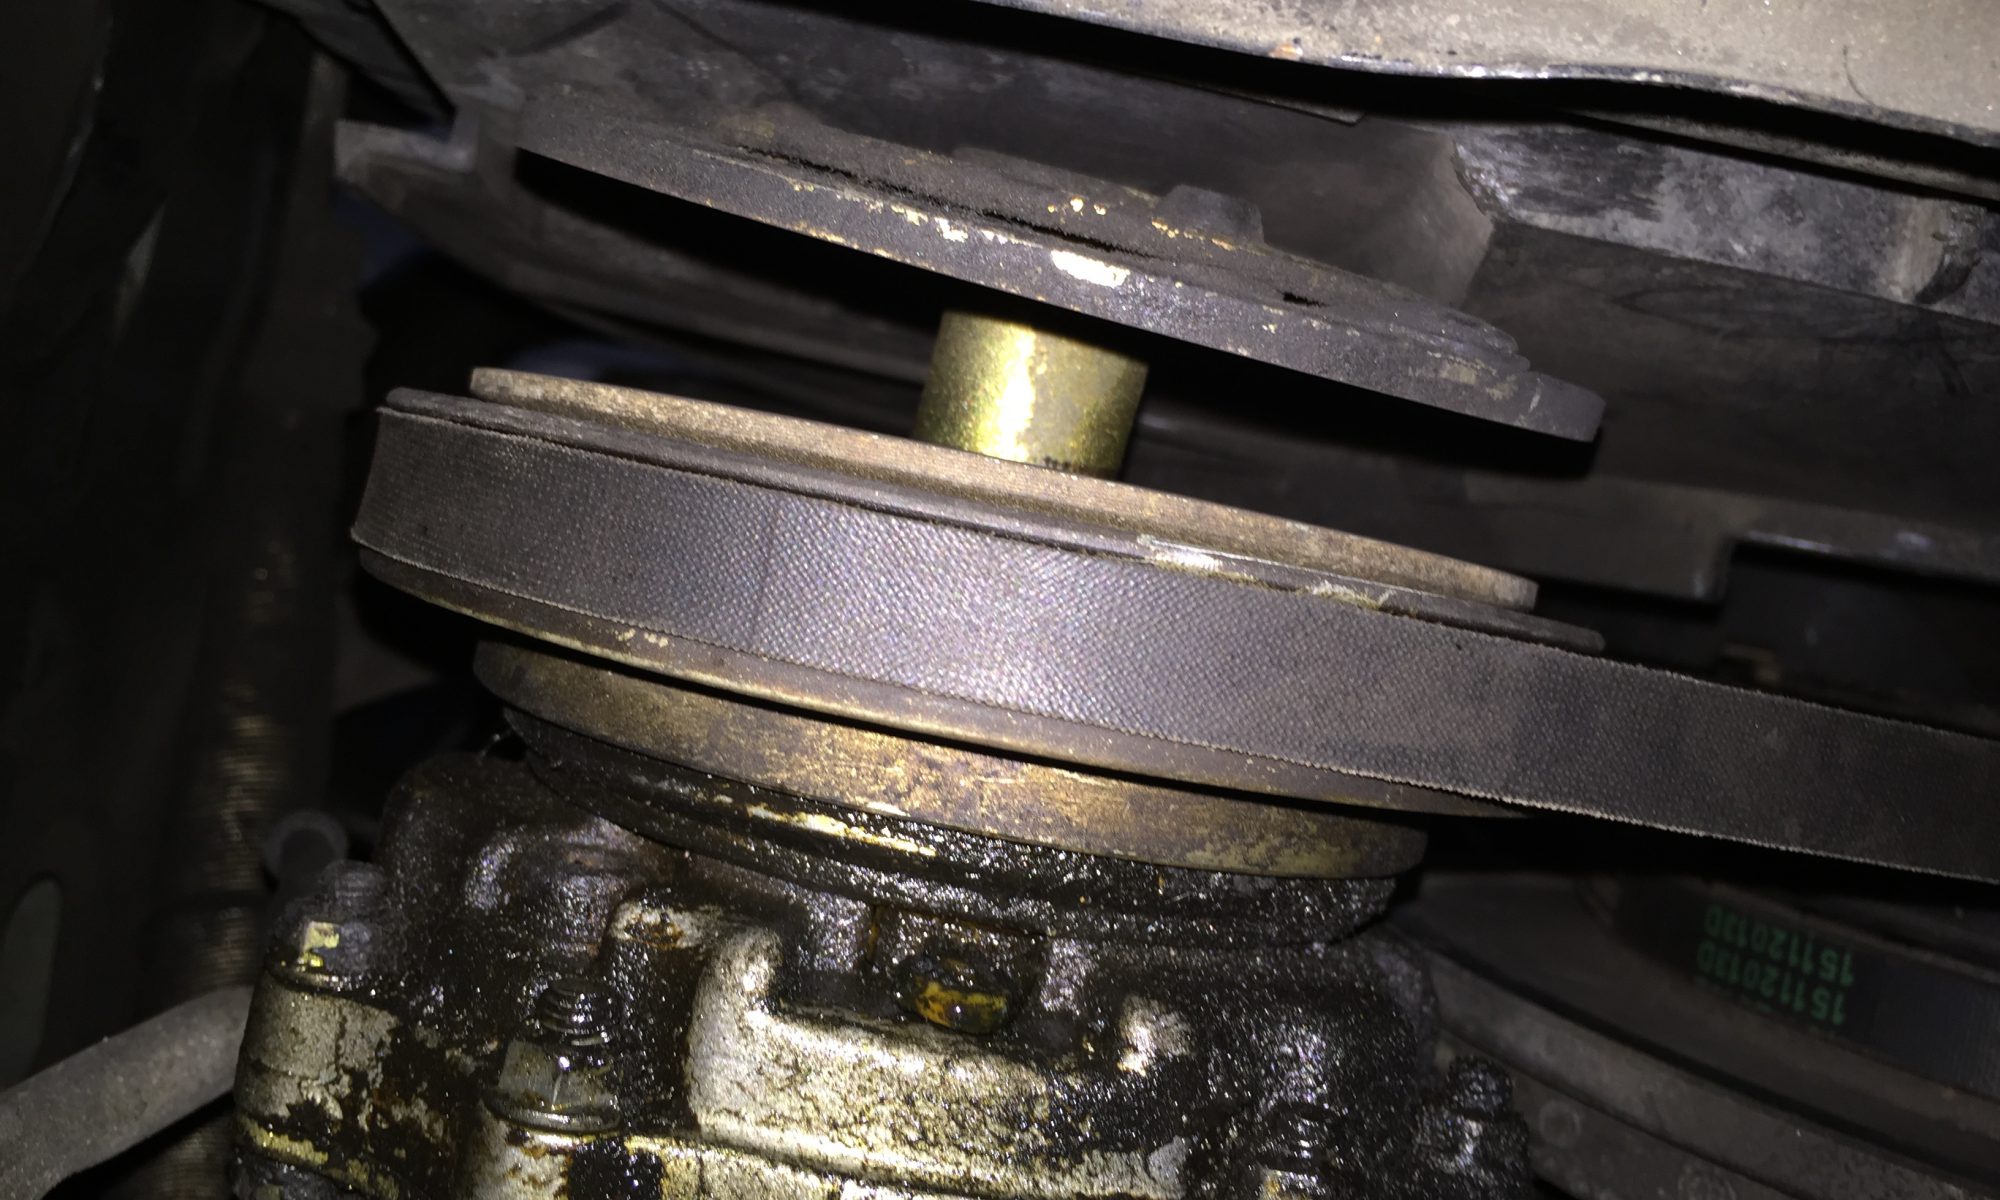
The A/C on my E28 M5 was blowing ice cold. However, yesterday, it stopped working suddenly during my commute. Checked the forums, fuse, switches and then visual inspection of the compressor indicated the issue.
The clutch plate has backed itself out. I’m not sure if it oscillated itself out that far, but there isn’t enough clearance for it to fall out. Despite it backing this far out, it won’t go back in any further by hand (just wobbles on the shaft).
I saw some similar threads, but none were resolved. Thus, I have several questions.
1. Does this look serviceable? If I drop the compressor should I be able to tap this back onto the shaft? Is there a bolt that is meant to retain the clutch plate?
2. The compressor was working fine, so if the whole clutch itself looks toasted, should I try to just R&R that part? There seem to be two different compressors (Seiko and Bosch/Behr), which have specific clutch parts (and I only found the Seiko-compatible clutch on initial search). Is it possible to tell from these photos which one is on my M5? The Seiko is 64 52 1 386 601 and the Bosch/Behr is 64 52 1 386 297.
3. The available clutch part is pretty expensive. Should I just replace with a remanufactured compressor+clutch, even though my compressor and A/C was working fine? If I replace it, does it matter which one 64 52 8 385 713 or 64 52 8 363 550?
4. Unfortunately I don’t have the full history of this car. Does the blue valve in the photo below indicate that the A/C was converted to R134? Is there some other way to tell?
Thanks in advance for any advice.”
I ordered a set of Sanden compressor adapter plates. I figured I had nothing to lose to try to fix the clutch plate. I pulled it down and after fiddling with it a while, I realized why the clutch plate wouldn’t easily re-insert. There is a slot on the shaft of the compressor, which has a key in it. It had fallen out of the slot and was now blocking the clutch plate cylinder from going in. After pushing the key back into the slot and lining up the clutch plate, it popped right back in. I was surprised, because I had read about needing a special puller to get it off.
I cleaned as much as I could while I had it apart. One interest I had was getting the make and model of the compressor currently on the car. FWIW, it’s a Behr 64521380919, which appears to be replaced by a newer model.
Once I got everything back together, the A/C blowed cold immediately. After inspecting the clutch, I could see it catching and turning, even when it wasn’t supposed to be engaged and also when the A/C was completely off. Something was wrong.
I took the kids to swim class and forgot my phone. So, instead of researching the internet for a solution, I was forced to just contemplate my problem. It dawned on my that I had one extra washer left over after reassembling everything (not the first time this has happened). I realized this must be what is used to air gap the clutch.
I took the compressor down again (which went a lot faster the second time – also not the first time I’ve had to fix things a second time). Now, however, the clutch plate wouldn’t just pull off. I feared I now needed the special puller. Coincidentally, I pulled a groin right about then, which slowed me down and also gave me time to think. I cleaned while I considered my options. I didn’t really want to jam screw drivers in there to pry it off. The outside of the plate is threaded, but I knew I didn’t have a bolt that large in my possession. It was about the size of garden hose. Wait, I have one of those. So I dragged it around from the yard and threaded it right in there. With the proper application of the foot wedge, I was able to yank it right off. I was pleased.
Disclaimer: this is a bush fix as it’s clear the threads of a garden hose don’t match the metric ones on the clutch plate. Use this method at your own discretion.
I could see now that the pulley spun freely, which I should have checked the first time had I known at the time. The A/C was now working perfectly, with the compressor cycling on and off as needed.
Hopefully these photos and tips will help someone in the future. I’ve learned so much from this board. Last weekend, I replaced a broken wiper assembly. On Monday, I replaced a frayed accelerator cable, which had frighteningly got stuck at WOT a couple of times in traffic. It always seems to be something with the M5, but so far I haven’t let it defeat me.
One last final bush tip: a kid’s mini basketball works great to support your head and neck while under the car. Cheers!
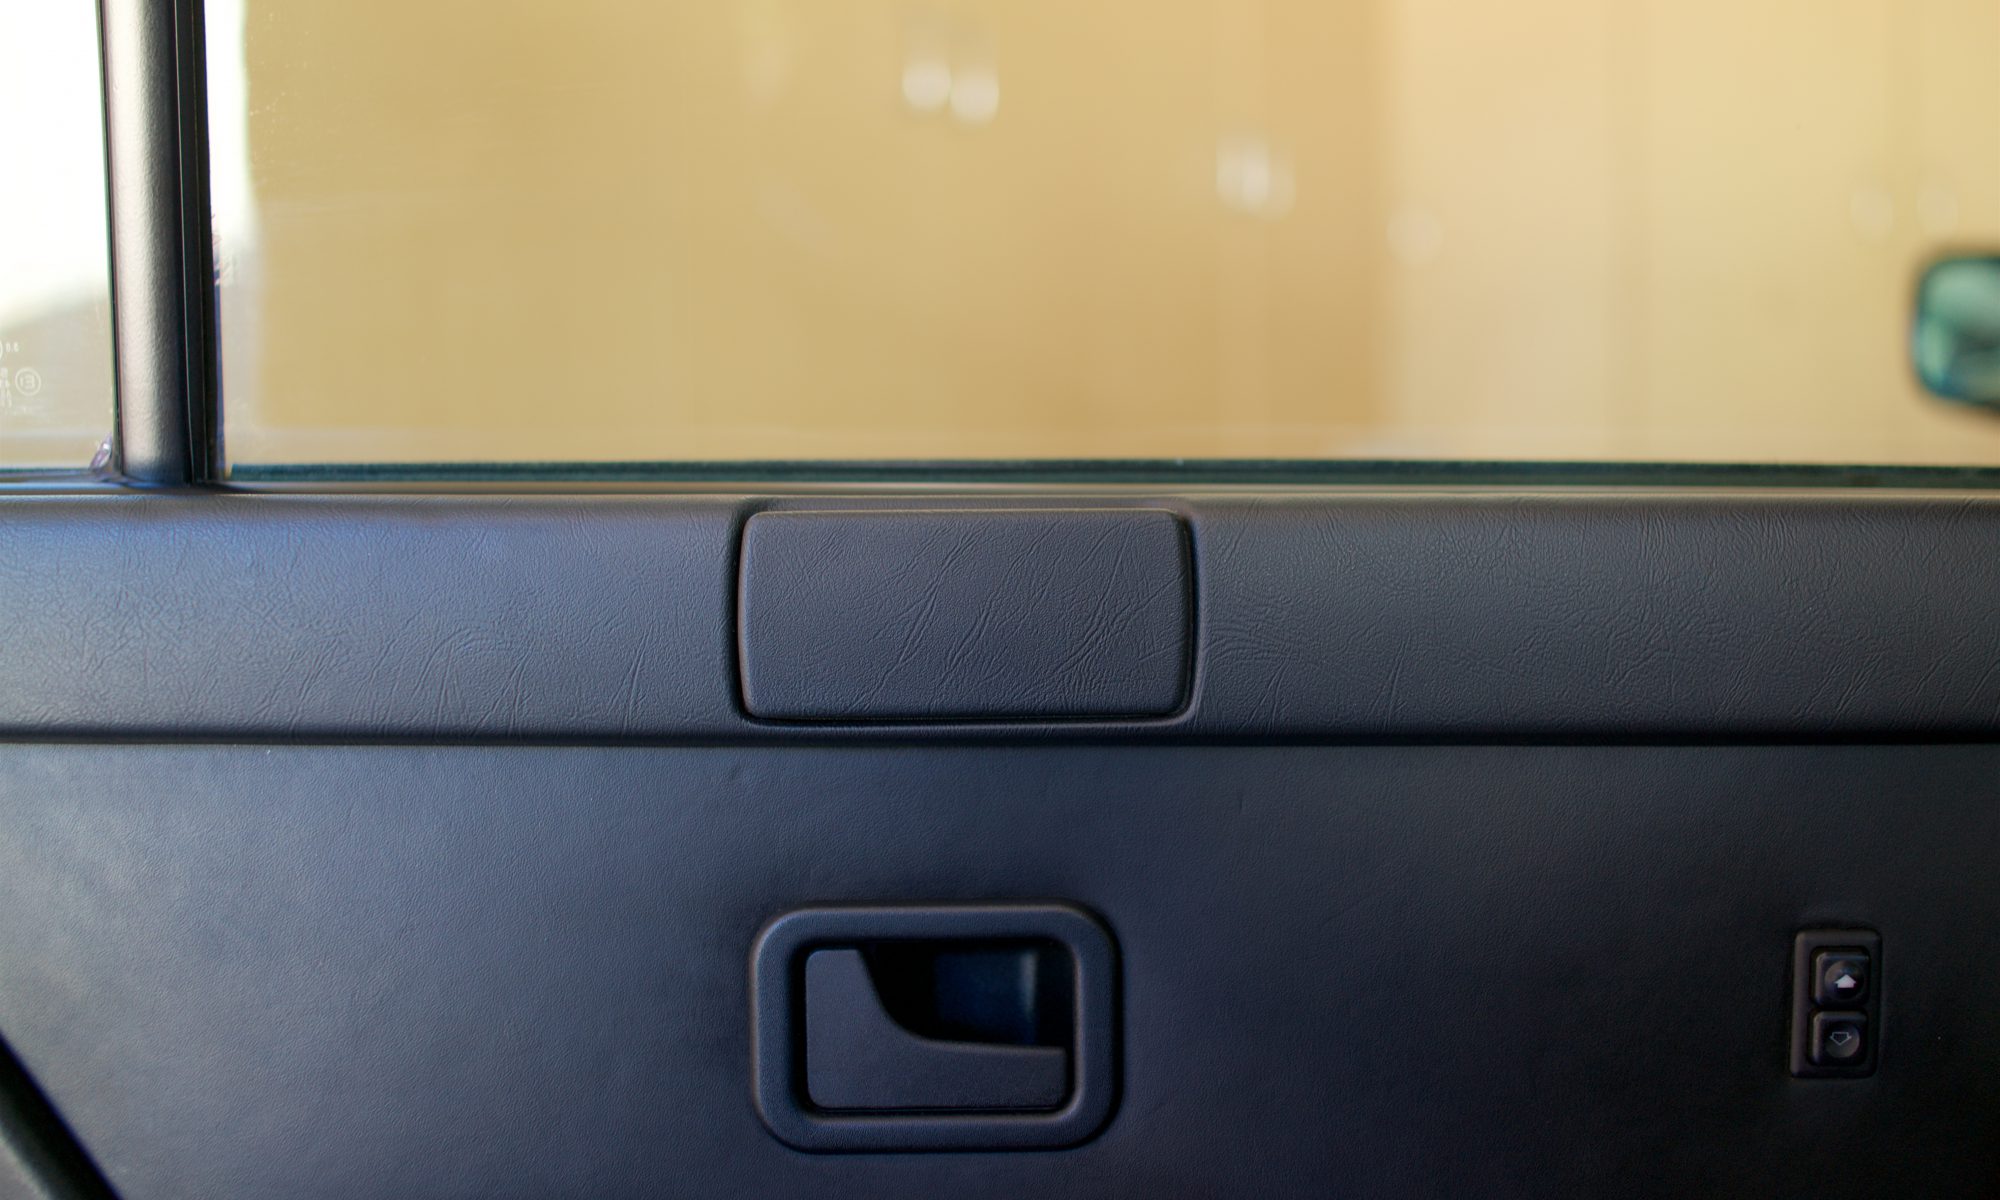
The rear passenger ashtray in the door did not have the right texture or had the texture peeled off. I sourced a proper black one from mye28.com to make it right.
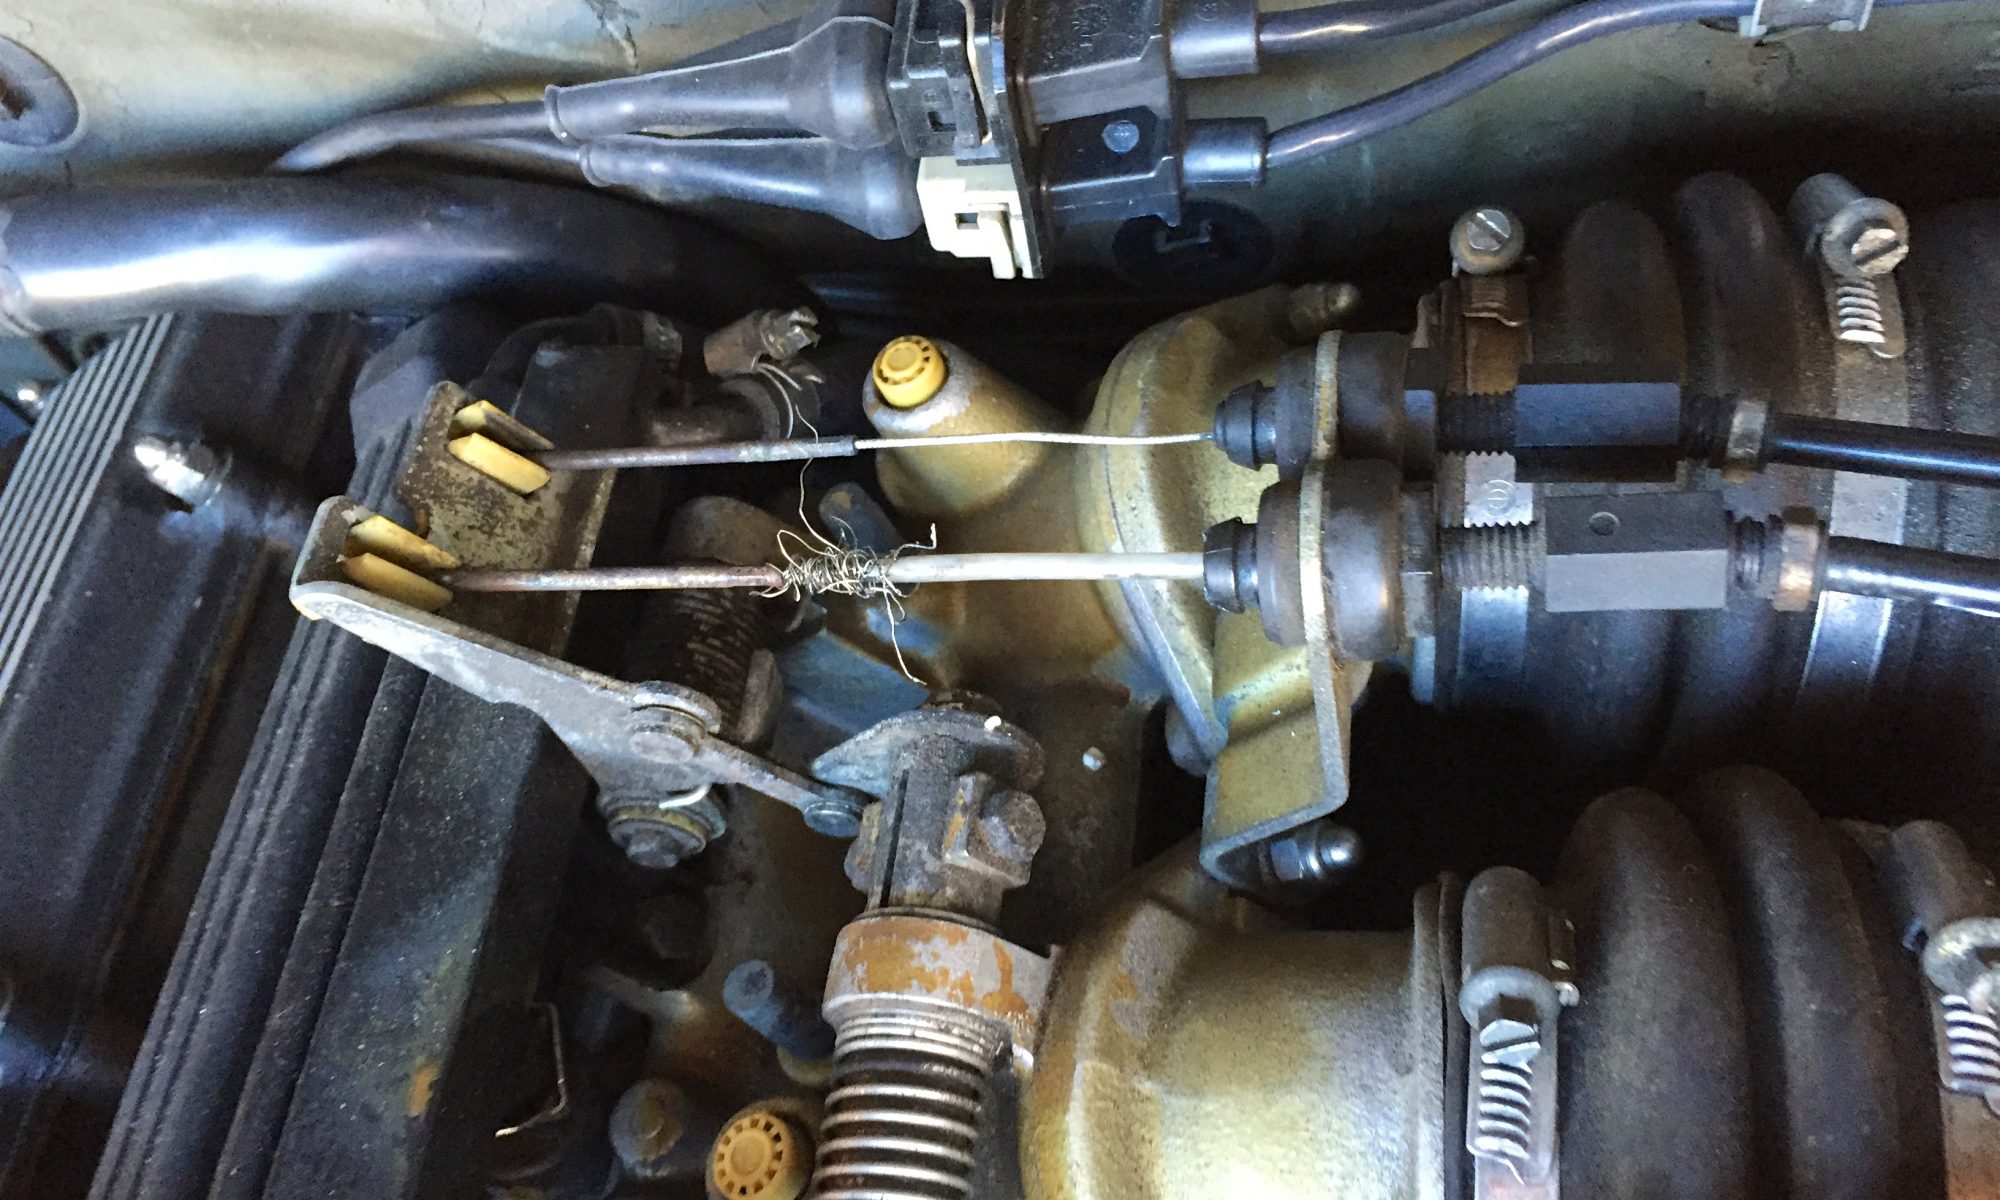
I had been daily driving the M5 to the city because we needed a 3rd car. That stripped throttle cable reared its ugly head when I was driving in San Francisco during morning rush hour and the throttle suddenly became stuck open. That was one of the most alarming incidents behind the wheel. Of course I could just put the clutch in, but the engine continued to rev, so I turned off the ignition. I was coasting along and trying to pull into a side street, which wasn’t easy because of all the pedestrians. When I was ready to go, I restarted the car and it was still stuck with an open throttle and I just let the clutch engage which gave me enough propulsion to coast out of the main traffic artery.
I found that the frayed cable strands had gotten stuck inside the sheathing. The trunk toolkit pliers came in handy as I was able to pull the strands out and smooth them enough to avoid another incident. I was able to cautiously park and commute home.
Unfortunately, it took more than a couple weeks for a new cable to arrive and even the dealership would have had to wait for one from Germany. I was able to drive the car cautiously until the replacement part arrived. The procedure wasn’t difficult, but it was a little work getting the cable end through the firewall. I felt much safer with the new cable installed.